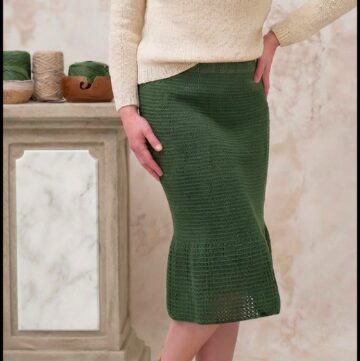
Style breezy days with Free Crochet Skirt Pattern and enjoy flowing texture, graceful movement, and feminine flair for beach trips or casual plans.
A crochet skirt can give an outfit a soft, pretty, and handmade feel. The Free Crochet Skirt Pattern is a lovely way to make a stylish bottom piece that can be worn in many different places and seasons.
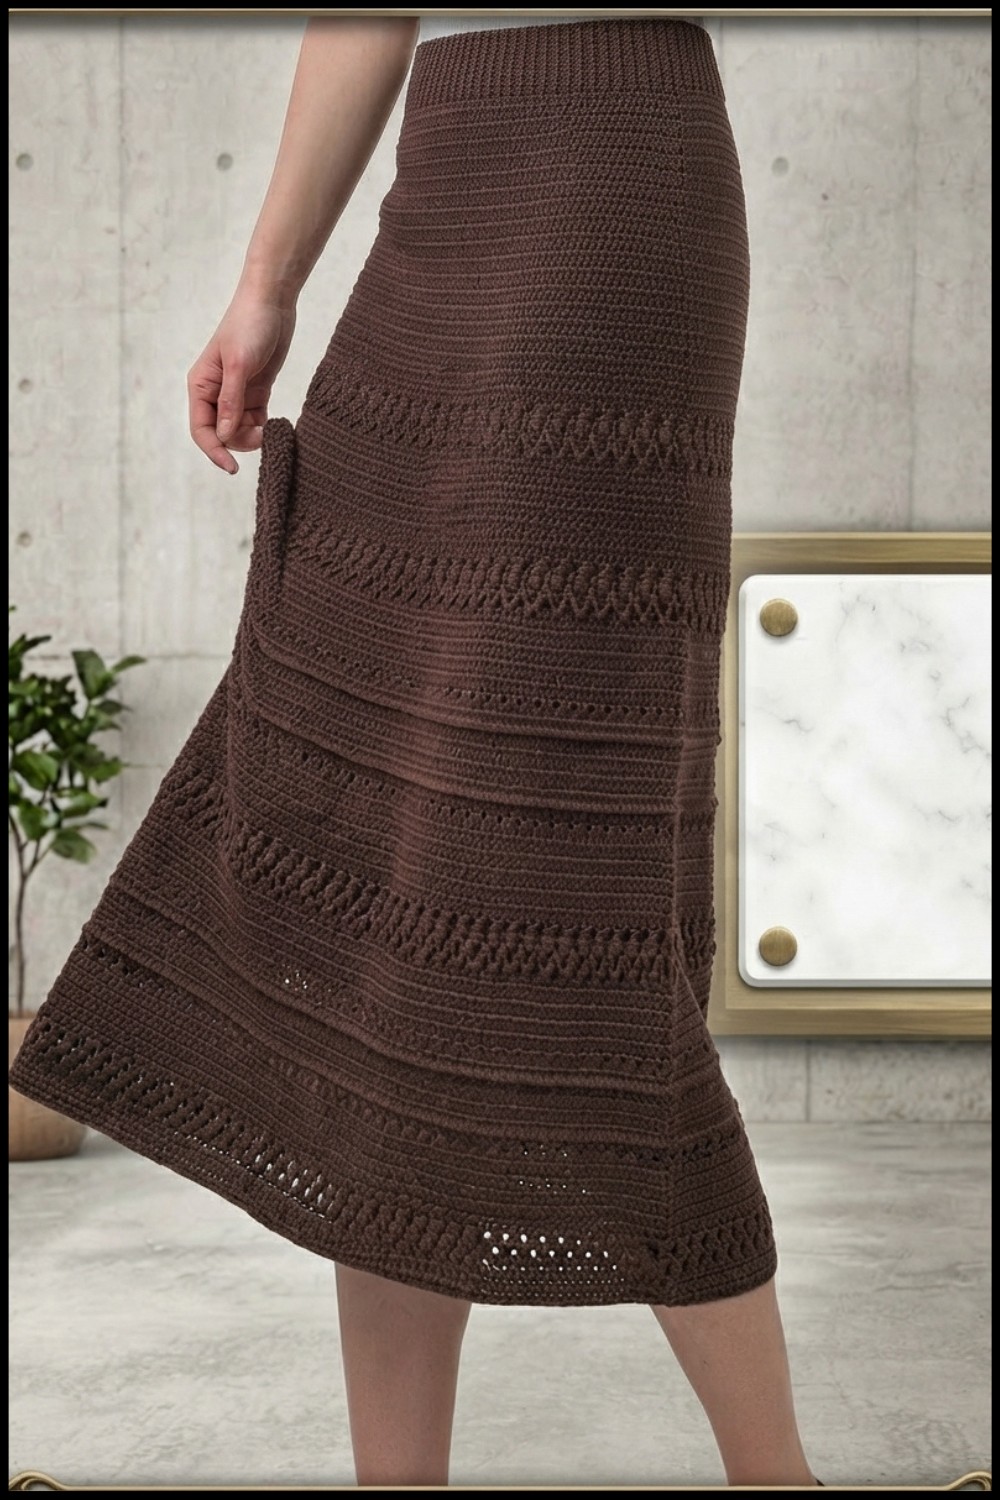
The finished skirt can have a flowing shape that moves nicely as you walk. Crochet stitches give the fabric a warm texture, while open spaces can add a light and airy look. Depending on the stitch style, the skirt may have a simple straight shape, a gentle flare, or a fuller lower part. Small details around the waist or hem can make the whole piece look extra special.
Free Crochet Skirt Pattern with Light and Comfortable Fit
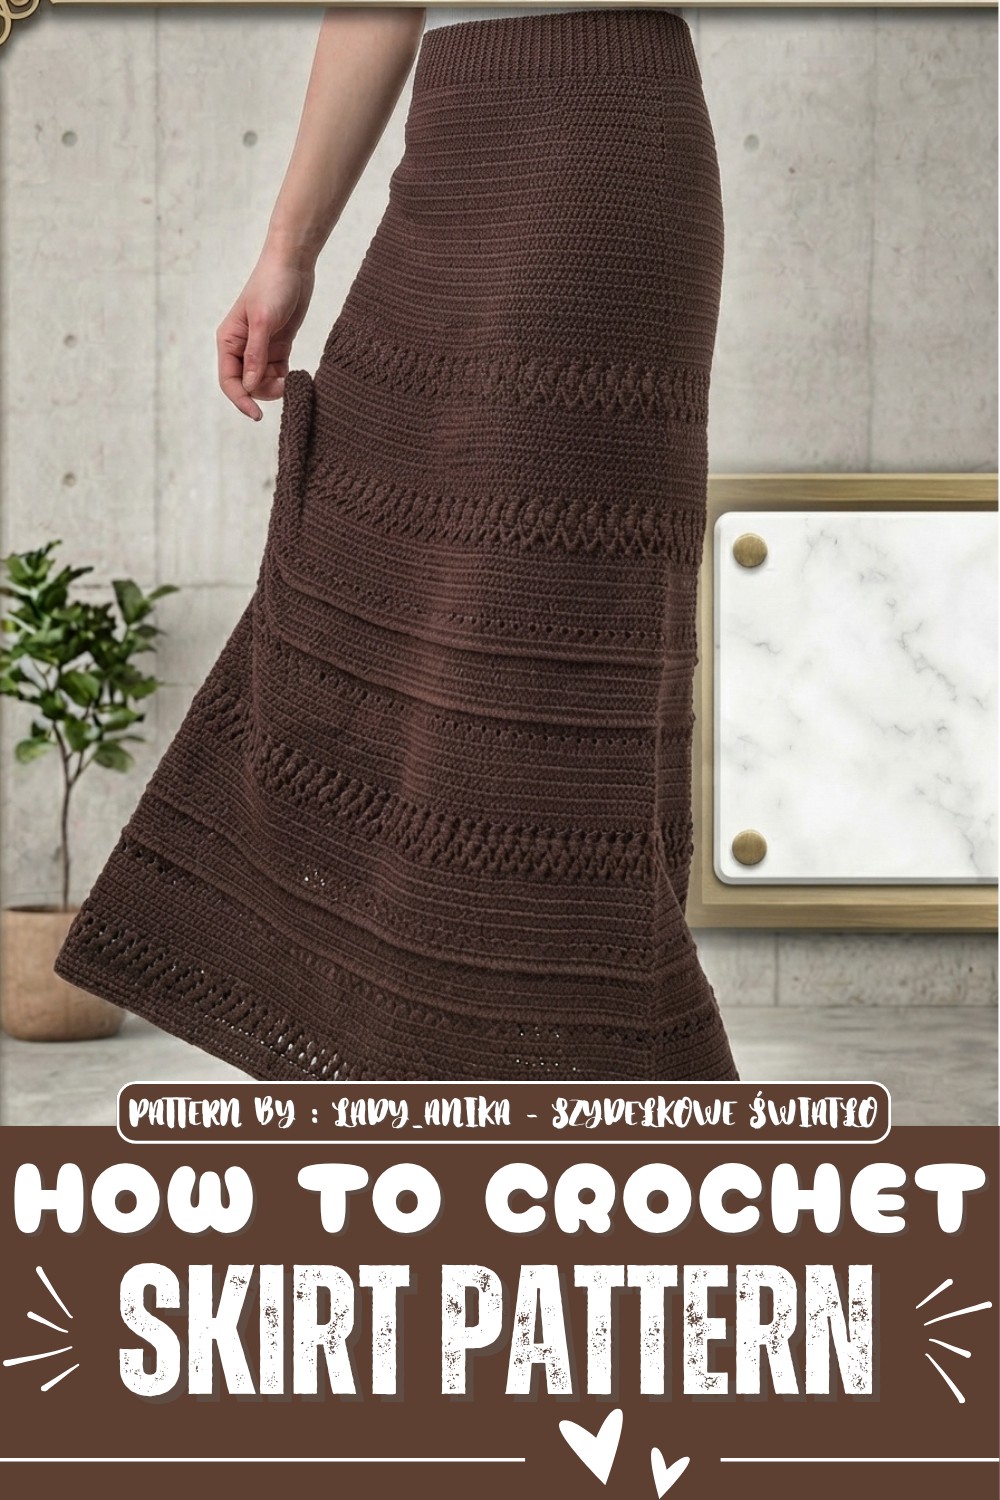
There are many fun ways to wear a crochet skirt. Pair it with a plain top for an easy everyday outfit, or wear it with a cute blouse for a more dressed-up look. It can also work well as a beach cover-up over swimwear. A long skirt can give a relaxed look, while a shorter style can feel playful and modern.
Colors can change the mood of the finished piece. Cream, beige, and soft pink can create a calm look. Bright shades can bring more energy to the outfit. You can even choose two colors to make the stitches and border stand out.
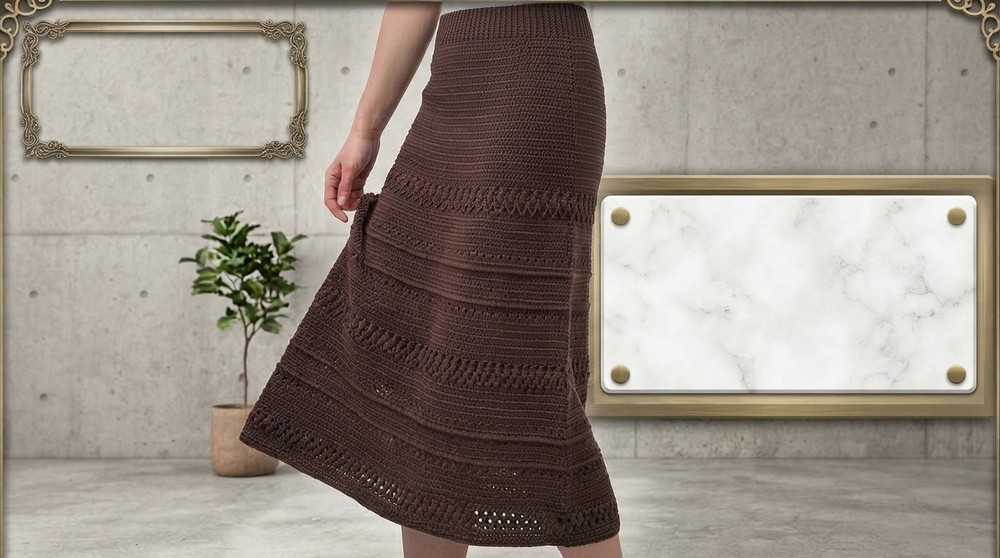
The pattern is shared by Lady_Anika - Szydełkowe Światło, a YouTube channel that offers crochet ideas through clear video tutorials. Watching the project take shape can be helpful when working on the different parts of the skirt.
This crochet skirt can also become a thoughtful handmade gift. Make one in a color that matches a loved one’s style, or keep it for your own wardrobe. It is a useful piece for casual days, warm trips, beach walks, and summer outings. With its soft texture, flowing shape, and handmade charm, this skirt can become a favorite piece that feels both personal and fun to wear.
Crochet Long Skirt Pattern with Zigzag Bubble Motif (Beginner-Friendly)
This step-by-step guide teaches you how to crochet a beautiful long skirt with a textured zigzag bubble pattern. Perfect for spring or summer, this skirt can be customized to your preferred width and length. The design features an elastic waistband made with a tunnel for comfort and flexibility. Follow this clear and simple tutorial to create your own skirt from scratch!
Pattern Highlights
- Zigzag Bubble Pattern: Built on a repeat of multiples of 6 stitches, creating a beautiful openwork wave effect.
- Elastic Waistband with Tunnel: Comfortable and adjustable fit with an easy-to-make casing for the elastic band.
- Customizable Shape: Make your skirt narrow, wide, tubular, flared, or wavy based on stitch multiples and increases.
- Lightweight and Breathable: Constructed with thin cotton yarn and airy stitches, perfect for warm weather.
- Washable and Stretch-Friendly: Stitch pattern relaxes and stretches after washing—plan length accordingly.
Notes Before You Start
- Ensure chain multiples are divisible by 6 for the stitch pattern to work correctly.
- Smaller crochet hooks create tighter fabric; larger hooks make an airy texture but watch yarn requirements.
- Always wash the skirt before final length adjustment since openwork stitches relax and elongate after washing.
- Use stitch markers if needed to mark the beginning of rounds or pattern repeats.
- The pattern is worked in continuous rounds, so you do not join rows after the foundation round.
Skill Level
Beginner to Intermediate
Requirements:
- Basic knowledge of chaining and half double crochet stitch.
- Ability to crochet in the round.
- Working with elastic bands and creating tunnel casing.
Materials
- Approx. 1500–1600 meters of thin, 4-ply cotton yarn (organic cotton preferred)
- Crochet hook size 3.0 mm (or smaller for tighter fabric)
- Elastic band (measure your waist)
- Stitch markers (optional)
- Yarn needle
- Scissors
Measurements & Sizing
- Width: Based on your initial chain.
- Example: 210 stitch chains approximate a 50 cm waist width.
- Length: Customizable—typically mid-calf or longer after washing/stretching.
- Waist: Adjustable with an elastic band inserted into a tunnel.
Abbreviations & Special Stitches
| Abbreviation | Meaning |
|---|---|
| ch | Chain |
| hdc | Half Double Crochet |
| dc | Double Crochet |
| sl st | Slip Stitch |
| sk | Skip |
| sp | Space |
Special Stitches
- Enlarged Half Double Crochet (hdc): Worked into the middle loop of the chain stitch instead of the whole loop for a raised texture. Wrap yarn under the hook from the bottom for consistency.
- Fan Stitch: 3 double crochets worked into the same stitch or space to create an open bubble effect.
Step-by-Step Pattern
1. Foundation Chain & Waistband Tunnel
- Chain a multiple of 6 stitches for your desired waist width.
- Example: Chain 210 stitches for about 50 cm width.
- Add 1 extra chain stitch for turning edge (this will not count as part of the pattern).
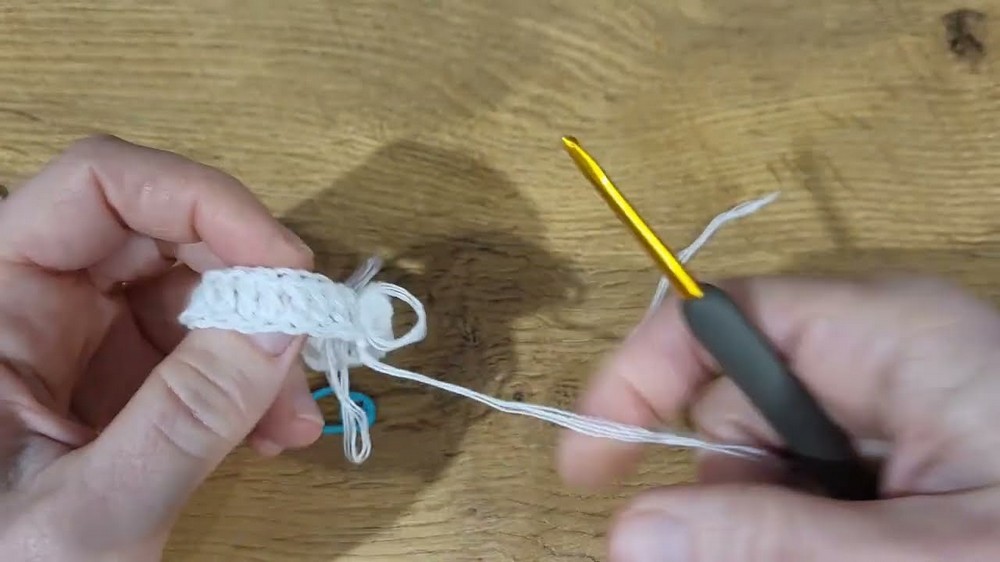
- Turn your work and view the chain from the back to easily find the middle loops of the chains. You will crochet into these middle loops for a fuller texture.
- From the second chain from the hook, work half double crochet (hdc) as follows:
- Yarn over, insert hook into the middle loop of the chain, yarn over and pull through (3 loops on hook), yarn over and pull through all 3 loops.
- Continue working hdc in middle loops across the chain until the end.
- Do not join in the round yet—work flat for the first pass.
- After completing the row, join the stitches with a slip stitch to form a round.
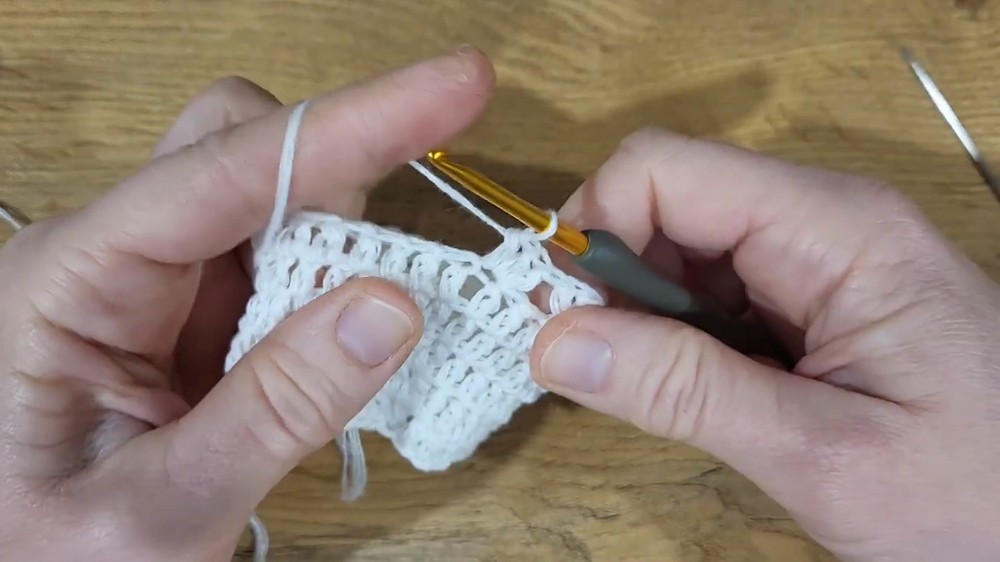
2. Working the First Round of Pattern
- Start the first round immediately after joining, continuing the stitch used in the foundation:
- Work the zigzag bubble pattern around as follows:
- Skip 2 stitches,
- Work a fan (3 dc) in the 3rd stitch,
- Chain 2,
- Repeat from * until the end of the round.
3. Maintaining the Pattern in Subsequent Rounds
- Continue working rounds without joining rows for a seamless look.
- Keep the sequence:
- Skip 2 stitches,
- Work 3 dc fan in the next stitch,
- Chain 2, repeat throughout.
- The zigzag and bubble effect emerges by alternating whether you crochet into the stitch or chain spaces in successive rounds to create a wave effect.
- Use a stitch marker to track your starting point.
4. Increasing for Flare (Optional)
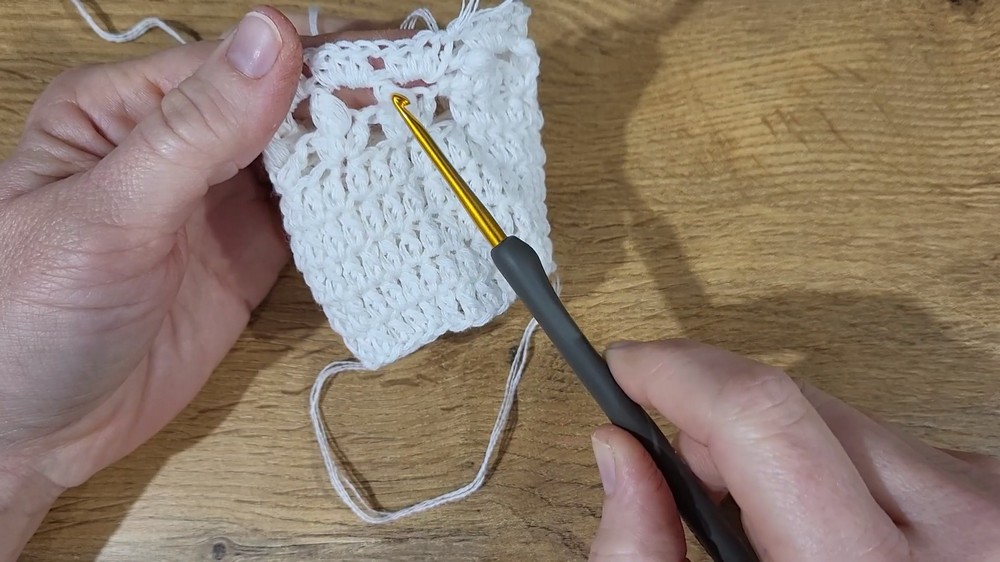
- To create a wider, wavy skirt, increase by adding an extra chain stitch between fans.
- Example for flare:
- Chain 3 instead of chain 2 following the fan, or
- Skip fewer stitches between fans, inserting more fans that expand width gradually.
- Limit increases to certain rounds or only once at the lower skirt for subtle flare.
5. Continuing to Desired Length
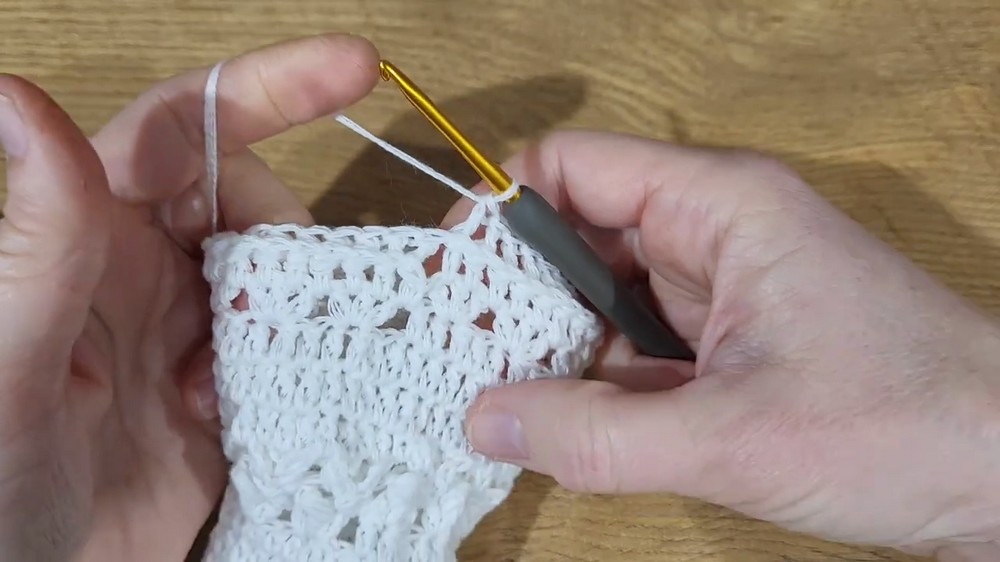
- Keep repeating the ripple and fan rounds until the skirt reaches your chosen length.
- Because the fabric will stretch after washing, stop crocheting slightly shorter than intended length.
- Frequently try on or measure your piece.
6. Creating the Elastic Waistband Tunnel
- Fold the top row of the skirt toward the inside approximately 3–4 cm to form a casing for the elastic.
- Attach yarn and work half double crochets evenly around the folded edge to form the tunnel:
- Crochet one stitch into the folded edge (loop), skip one stitch on the skirt body, continue alternating so the tunnel holds shape.
- Leave a small gap to insert elastic later.
- Measure and cut your elastic to fit your waist comfortably.
- Thread the elastic through the casing using a safety pin or elastic threader.
- Overlap and sew ends of the elastic securely.
- Sew the opening of the tunnel closed.
Assembly & Finished Size
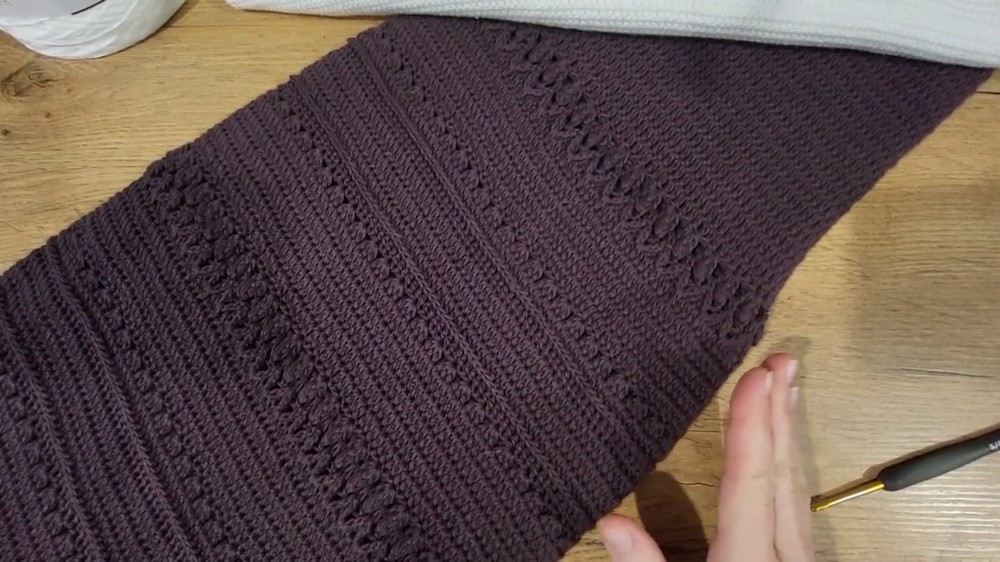
- The skirt is seamless, worked in rounds from the waistband downward.
- Width is defined by foundation chain multiples; length is customizable.
- Elastic waistband tunnel keeps the skirt secure without tightness or sliding.
- Optional lining can be sewn in if desired for modesty.
Conclusion
This long skirt pattern offers a flexible way to create a beautiful openwork design tailored to your taste. The zigzag bubble motif creates a flowing, airy fabric perfect for warm weather, while the comfortable elastic waistband ensures a good fit. With options to customize flare, length, and shape, this skirt can be both elegant and practical. Take your time to practice the stitch pattern, plan your dimensions thoughtfully, and enjoy crafting a unique skirt made just for you.