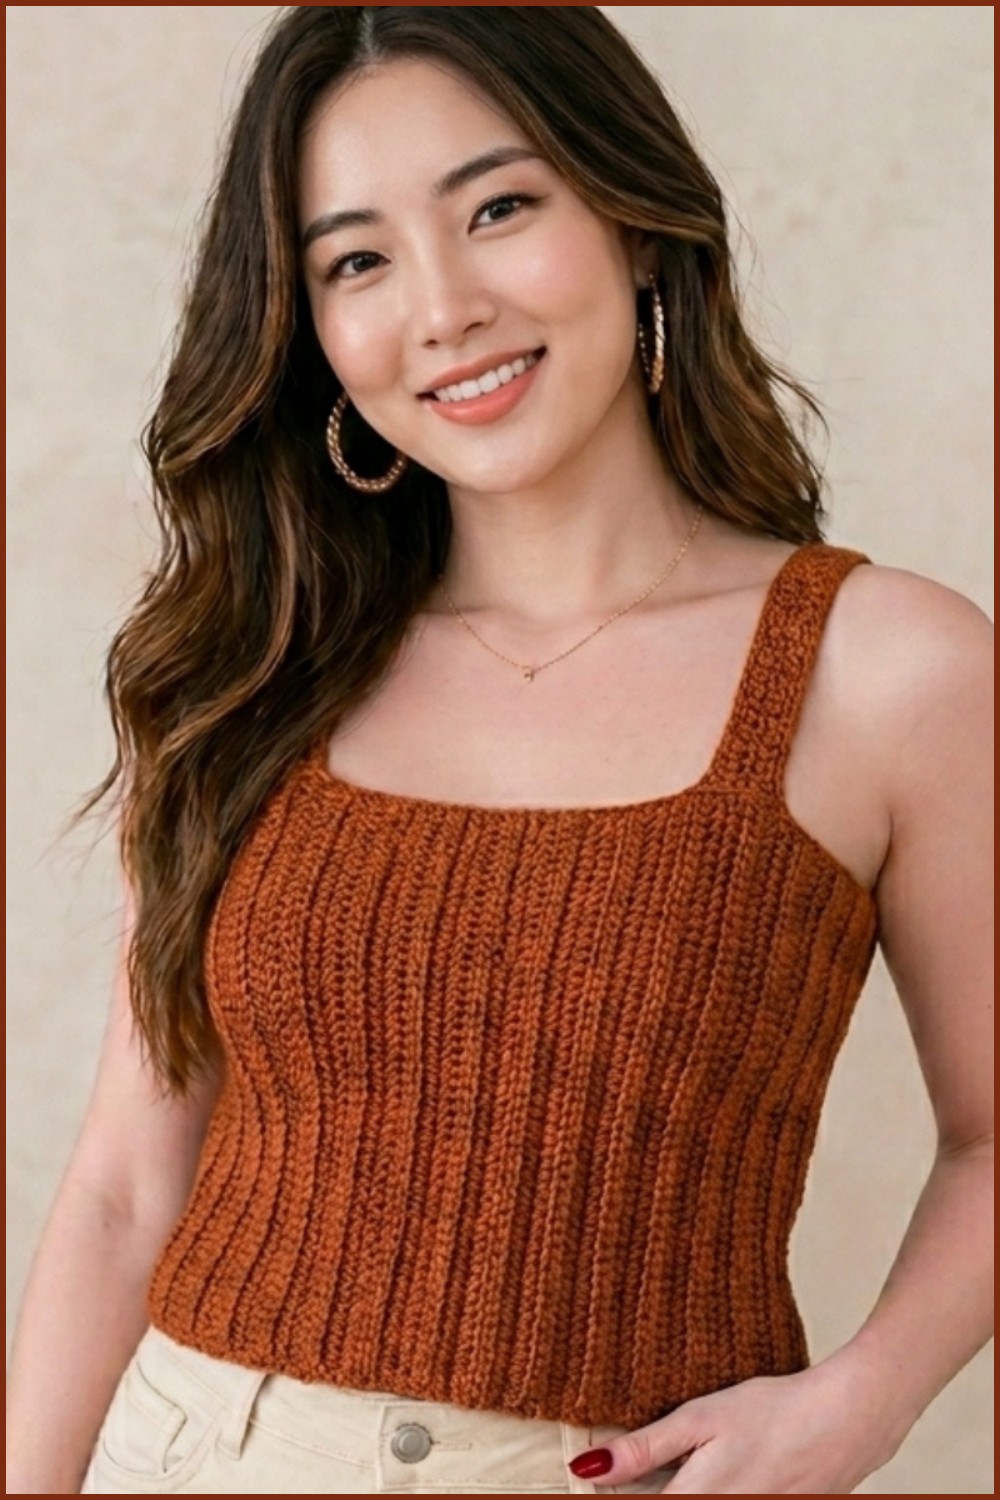
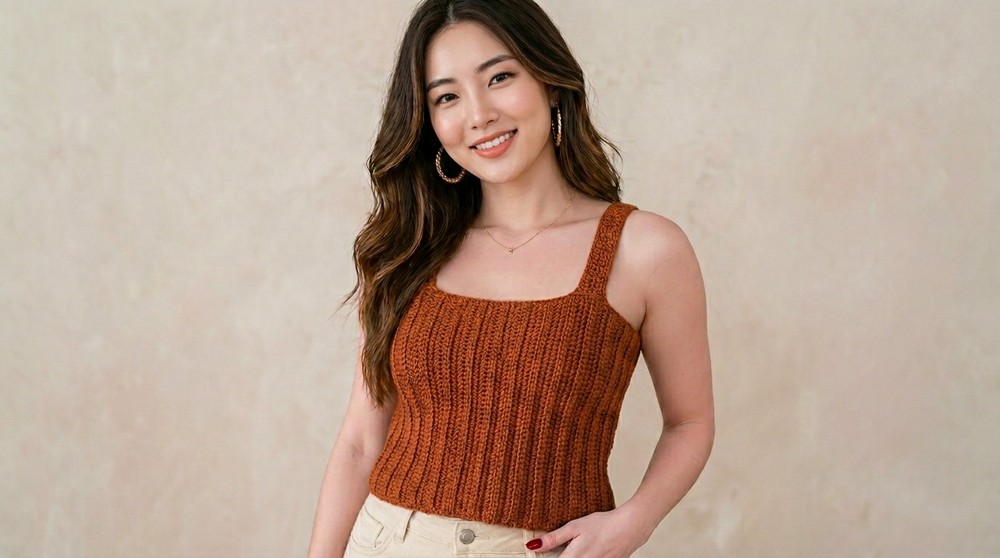
Stitch a simple crochet blouse that is stylish, lightweight, and perfect for pairing with your favorite outfits in any season with easy-to-follow instructions.
A beautifully handmade blouse is a wonderful way to showcase creativity and bring life to any wardrobe. This top is not only stylish but also lightweight, breathable, and perfect for any season, making it a great option for casual outings or even a touch of elegance for special occasions. With delicate stitches and charming patterns, it offers a look that is both unique and eye-catching.
Free Crochet Blouse Pattern That’s Stylish and Unique
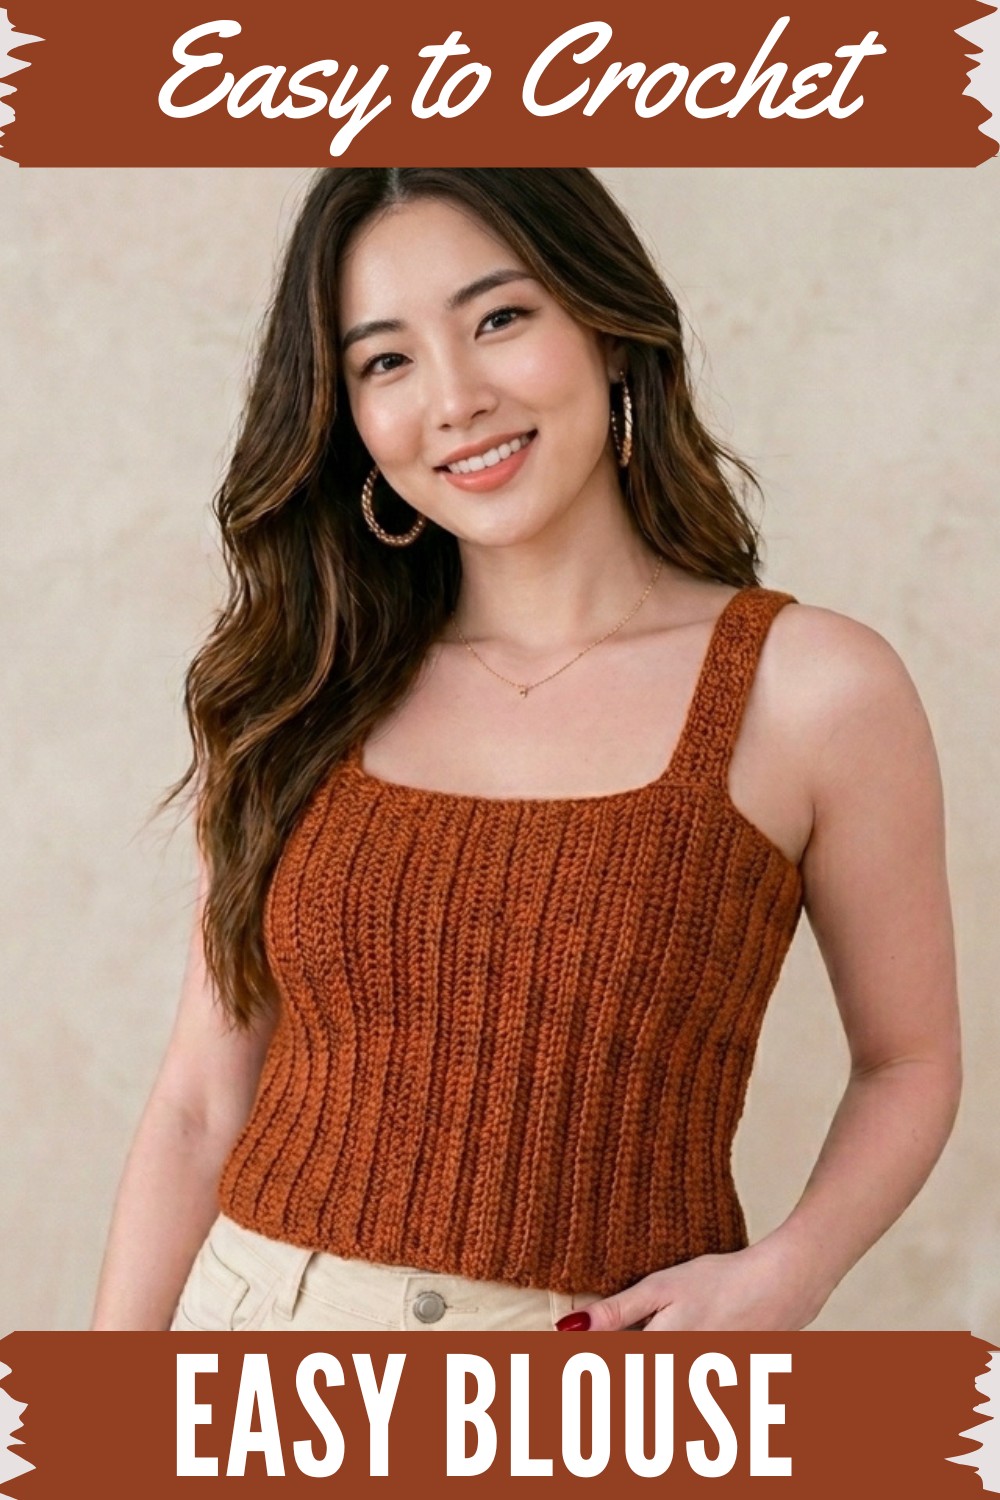
The thoughtful design allows anyone to customize it with their favorite colors, sizes, and even slight variations to match their personal style. Its versatility means it can be paired effortlessly with jeans, skirts, or any other outfit to create a chic and comfortable look. Whether you wear it on a warm summer day or as a layering piece in cooler months, it fits every moment beautifully.
What makes it stand out is how easy yet rewarding it is to make, with simple instructions that can help beginners and experts alike. This blouse brings style and comfort together, making it a lovely addition for anyone who enjoys handmade fashion. Every piece feels personal and special, giving you something to wear that is truly one of a kind.
Crochet Blouse Pattern - Free
Materials Needed
- Yarn:
- Use thin yarn
- Total required yardage depends on the size but aims for 550–800 yards. The combination of leftover yarn in contrasting colors is encouraged for aesthetic appeal.
- Ensure all yarns have similar thickness to maintain consistency.
- Tools:
- Crochet Hook: Size 2 mm (recommended for tighter stitches). If you crochet loosely, opt for a 1.75 mm hook.
- Scissors
- Tapestry Needle: For sewing pieces, weaving ends, and applying finishing details.
- Measuring Tape
Skill Level
- Beginner to Intermediate: Suitable for anyone familiar with basic crochet stitches like chain, half double crochet, and slip stitch.
Key Abbreviations
- ch: Chain
- hdc: Half Double Crochet
- sl st: Slip Stitch
- yo: Yarn Over
Special Techniques
1. Colorful Ball Creation:
Instead of constantly switching colors while crocheting, create a ball with your leftover yarn by tying different yarns together.
- Steps:
- Select your colors (contrast is visually appealing).
- Cut lengths of yarn, approximately 5 arm spans for larger projects.
- Tie the ends together using a strong knot (double knot each pair of yarn before trimming excess ends).
- Roll the tied yarn into a ball for easy use.
- Allow the colors to change automatically as you crochet to simplify the process.
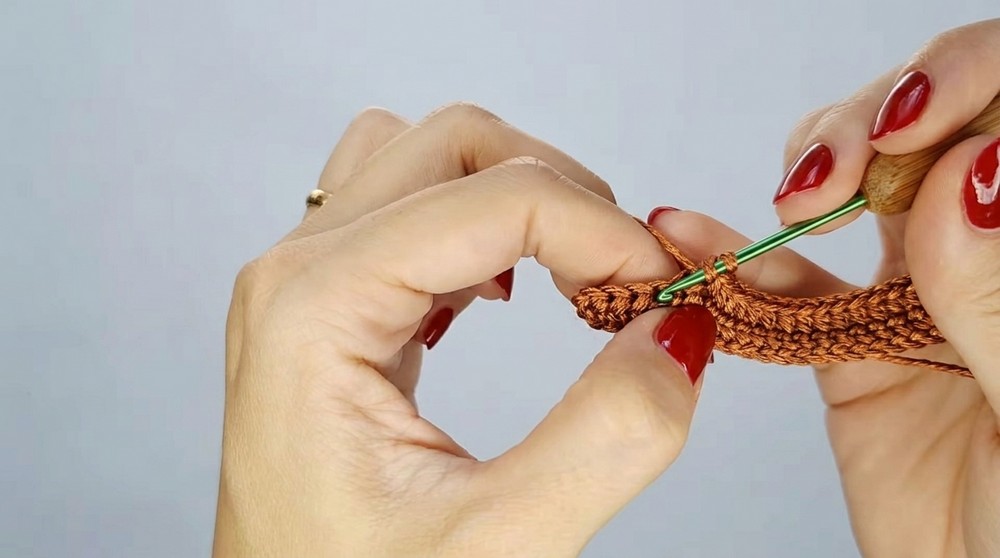
2. Half Double Crochet:
- Yarn over, insert hook into the stitch, pull up a loop (3 loops on hook). Yarn over and pull through all 3 loops.
- Provides a tighter finish than a traditional double crochet.
Step-by-Step Instructions
Step 1: Create the Foundation Chain
- Determine the height of the blouse rectangle:
- Measure from your waist to your desired length (e.g., for a cropped blouse, measure approximately 21 cm; for a longer blouse or dress, measure accordingly).
- For reference, the tutorial uses 31.5 cm or about 61 chains.
- Adjust the chain count to suit your preferred length.
- Foundation Chain:
- Start with a slip knot and create chains for the desired length.
- Example for the tutorial: 31.5 cm chain strip.
Step 2: Work the Rectangle
- First Row:
- Begin in the third chain from the hook.
- Yarn over and make a hdc in the third chain. Continue crocheting hdc across each chain.
- Second Row:
- At the end of the row, ch 2. Turn your work.
- Work hdc across each stitch (ensure you pick up both loops of the base stitch to create a stable fabric).
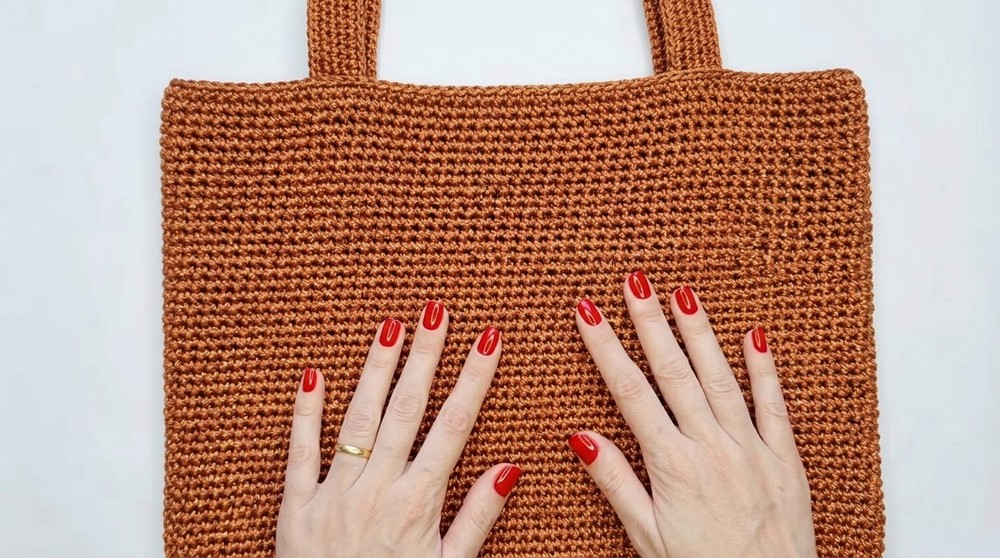
- Repeat this process of ch 2, turn, hdc rows until you complete a rectangle that spans your bust measurement width.
- Measurement Tips:
- Measure the piece against your bust to ensure it fits.
- Use stretch allowance: Crochet tends to stretch; account for this when determining width.
- For tighter fits: Push the fabric against your body to test elasticity.
- Reference Measurements:
- For a bust size of 86 cm, the tutorial created a rectangle measuring 72 cm wide (crochet naturally stretches to accommodate).
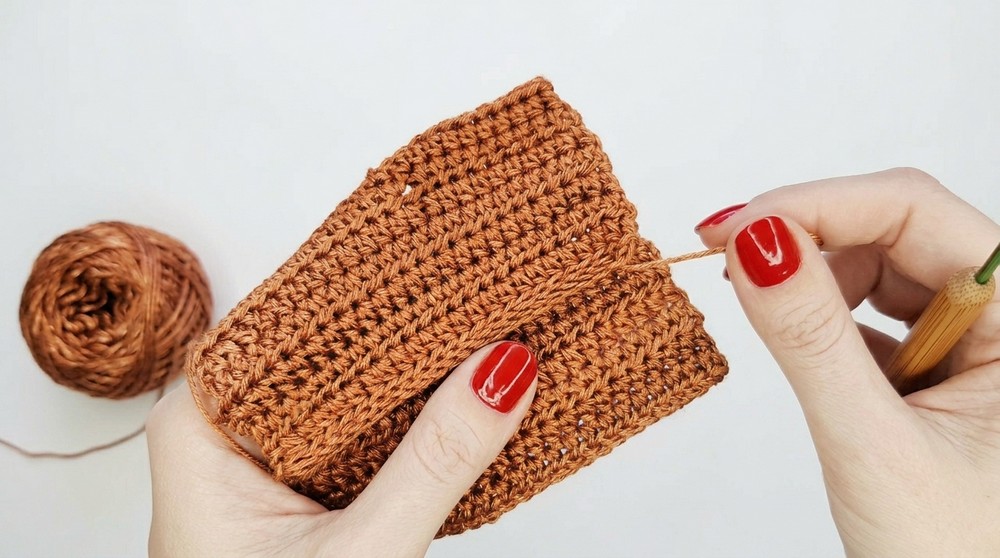
Step 3: Seam the Rectangle
- Fold the Rectangle:
- Bring both short edges of the rectangle together (there is no right or wrong side as the blouse is worked back and forth).
- Slip Stitch Seam:
- Insert hook through one loop of the foundation chain and one loop of the last row. Yarn over and pull through both loops (sl st).
- Repeat for the entire seam.
- Alternative Seam:
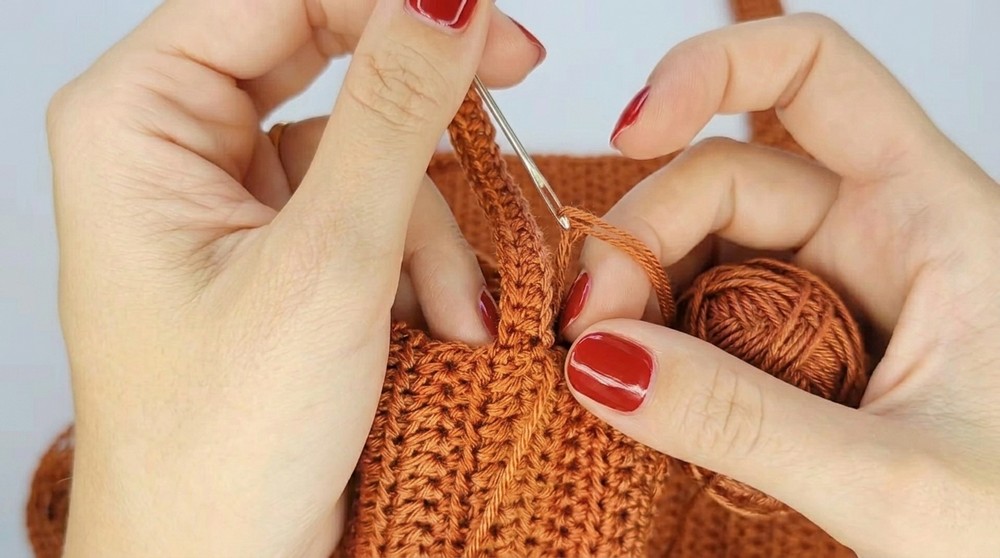
- Use a tapestry needle to sew the seam with whip stitches for a neat finish. Tie off and weave in the ends.
Step 4: Create Straps
- Determine Strap Length:
- Measure from the top of the blouse over your shoulder to the back. For reference, 33.5 cm straps were made in the tutorial.
- Create straps to your preferred size or mimic an existing tank top for accurate measurements.
- Foundation Chain:
- Create chains matching your strap length.
- Work Strap Width:
- Row 1: Begin in the third chain from the hook; work hdc across the chain [optional: keep straps thinner by only completing one row].
- Repeat rows of hdc until straps reach your desired width. Tutorial straps are 4 rows wide for a sturdier look.
Step 5: Attach Straps
- Position Straps:
- Measure placement on the blouse (e.g., 17 cm apart from the center in the tutorial for size S/PP).
- Use stitch markers to mark strap positions for symmetry.
- Sew Straps:
- Using a tapestry needle, sew one end of the strap to the front of the blouse at the marked position.
- Flip the blouse and align the strap properly in the back. Sew the other end securely.
Step 6: Final Touches
- Optional Finishing:
- Add a row of sc around the neckline and hem for a cleaner finish.
- The blouse can be left as is for a more natural design.
- Secure Ends:
- If concerned about unraveling during washing, apply fabric glue to woven ends.
Tips
- Use Up Scrap Yarn:
- Gather leftover yarn with similar thickness for aesthetic uniformity.
- Color Choices:
- Bright and contrasting colors create an exciting look, while neutral tones yield a more understated blouse.
- Customization:
- Make it a dress by extending the rectangle length and adding ruffles to the hem.
Conclusion
Congratulations on making your crochet blouse! This easy and practical design allows you to repurpose leftover yarn into a fashionable and highly customizable piece. Whether you want a cropped top or a dress, the possibilities are endless. The colorful ball technique adds charm and convenience to your project.
Key Remarks
- This project excels in sustainability by utilizing scrap yarn.
- The strap placement and the seamless rectangle design are beginner-friendly yet elegant.
- Share your creation, and enjoy the process of crochet creativity!