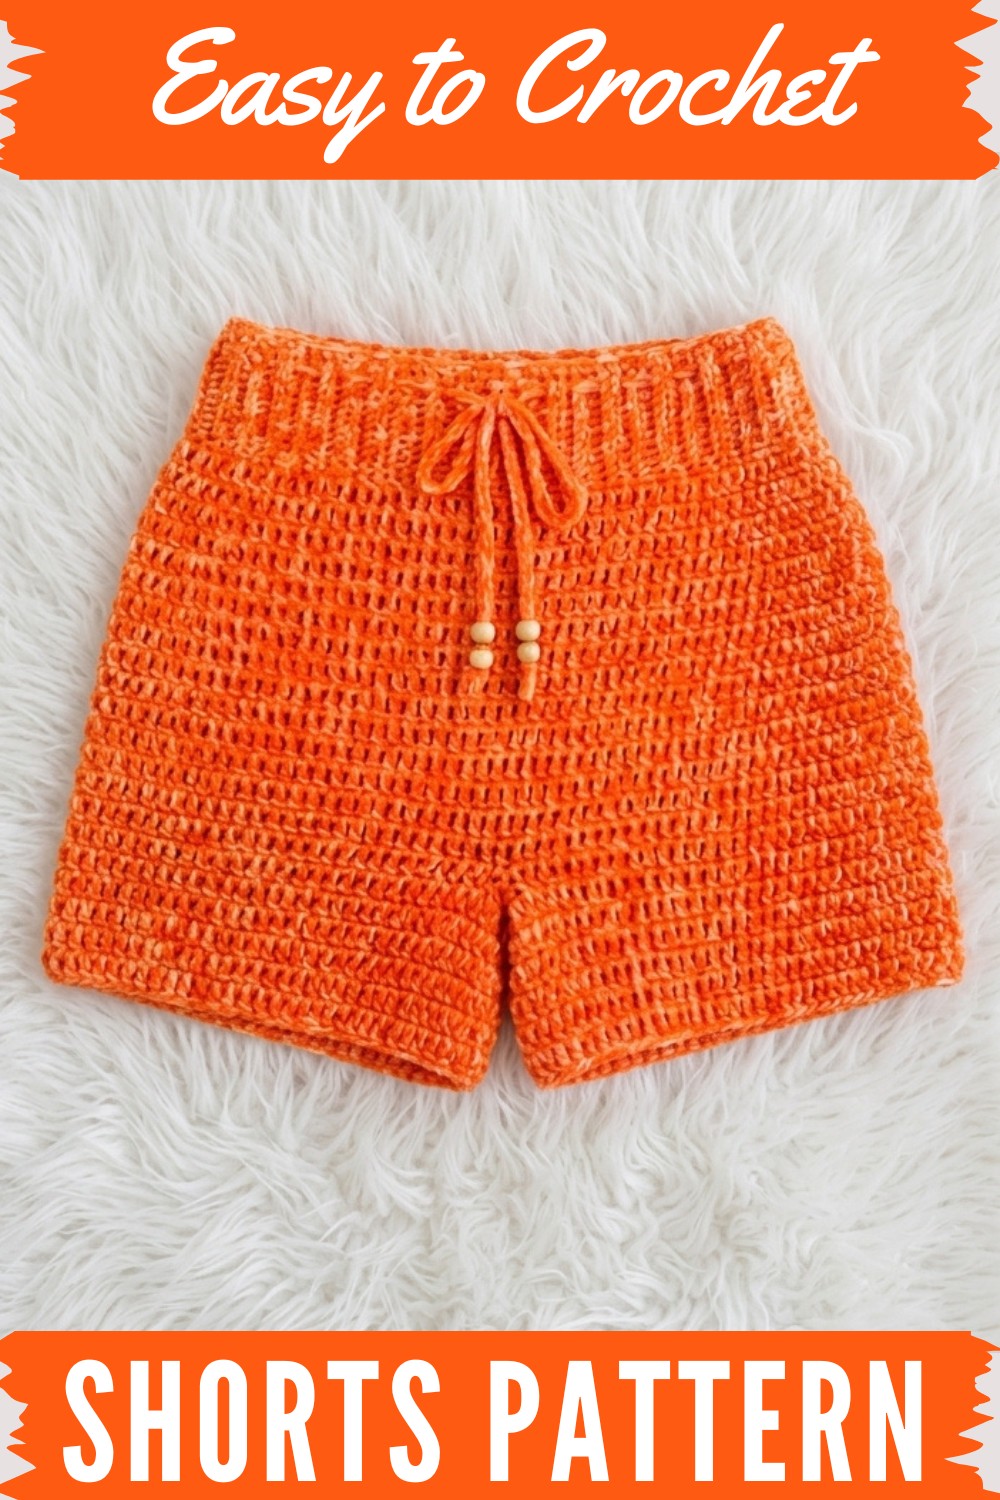
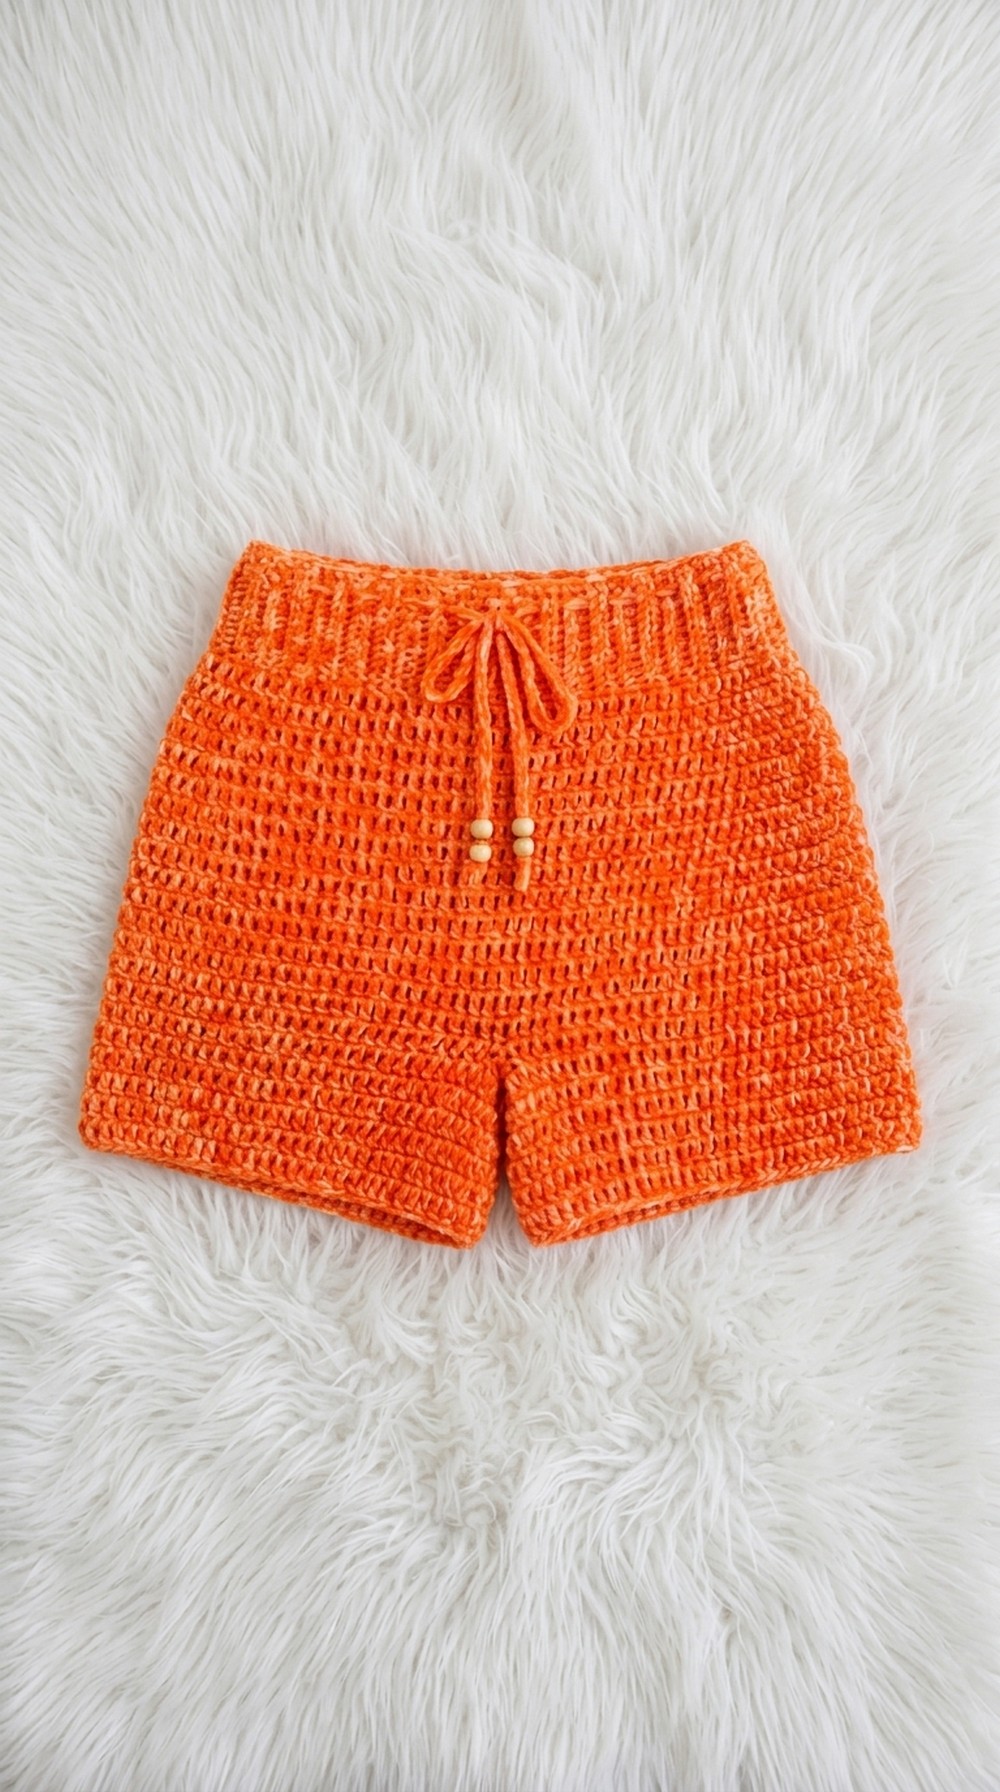
The first time I made crochet shorts, I was amazed at how comfortable and stylish they turned out. Using a Free Crochet Shorts Pattern, I quickly realized how much fun you can have customizing your very own pair. These shorts are truly special because you get to pick your favorite yarn colors and stitch patterns, turning them into a piece that’s just right for you.
Crochet Your Own Shorts With These Easy Steps
One of my favorite things about crochet shorts is their unique look. Unlike store-bought shorts, a handmade pair has tiny details, like cute lace trims, or textured stitches that make each pair one-of-a-kind. Many patterns feature a beautiful drawstring waist or pretty decorative edges, so you can go as simple or fancy as you like. The overall design is relaxed but fashionable, you can wear them at home, at the beach, or just out and about on a summer day.
The texture of crochet shorts is soft and cozy. If you use cotton yarn, they feel cool and breathable against your skin, which is perfect for warm weather. The stitches give the fabric just enough stretch for comfort, yet keep it sturdy, so the shape holds up even after lots of wearing and washing.
In terms of shape, crochet shorts usually have a comfy, slightly loose fit, so you can move easily. Some patterns let you make them extra short for a sporty vibe, or a bit longer for more coverage. No matter which you choose, the shorts look cheerful and handmade, a true celebration of your crochet skills!
Crochet Shorts Pattern (Step-by-Step, Beginner Friendly)
This pattern will help you create a pair of crochet shorts starting from the waistband all the way to the legs, with clear step-by-step instructions suitable for adventurous beginners and intermediate crocheters. Both pattern and simple description are provided for each part.
Before You Start
- Choose the yarn and hook recommended for the right drape and stretch.
- Take your body measurements (hips, desired length, thigh circumference).
- Familiarize yourself with the basic stitches.
- Ensure you have stitch markers, scissors, and a measuring tape handy.
Pattern Notes
- Shorts are worked from the top down, in rounds and rows.
- The waistband is created first as a ribbed band for elasticity.
- Increase rows are added for fit around the hips and bottom.
- The piece is then separated and joined for the legs (thigh portions).
- Waist tie or elastic band can be added.
- Adjust the length of the body and leg sections as desired.
How I Made the Crochet Pattern (Summary)
- Created a stretchy ribbed waistband using single crochet worked in back loops only.
- Joined ends of the band to form a circle.
- Worked single crochet round the edge, then switched to double crochet for the body.
- Increased at marked points to shape the shorts.
- Separated for leg holes, worked each leg in the round.
- Finished with an optional drawstring and tidy single crochet edging.
Skill Level
Adventurous Beginner / Intermediate
Finished Size
- Customizable to fit your body measurements. Example size: Large (hip 44” / 112cm).
Materials
- Yarn: Worsted weight (or 3 strands DK held together for a full look)
- 4 mm crochet hook
- Tapestry needle
- Stitch markers
- Measuring tape
- Scissors
Measurements / Sizing
Example Sizes (can be adapted):
- Hips: 44” (measure around widest part)
- Desired rise (waist to crotch): 8”
- Thigh circumference: as measured, divided equally for two legs
Gauge
- Gauge: 16 single crochet (sc) in BLO x 16 rows = 4” x 4” (10 x 10 cm)
- Make a gauge swatch and adjust hook if needed.
Stitch Abbreviations
| Abbreviation | Description |
|---|---|
| ch | Chain |
| sc | Single crochet |
| dc | Double crochet |
| sl st | Slip stitch |
| st(s) | Stitch(es) |
| BLO | Back loops only |
| RS/WS | Right side / Wrong side |
Special Stitches
- Single Crochet in Back Loop Only (sc BLO):
Insert hook into the back loop of the stitch, yarn over, pull up a loop, yarn over, pull through both loops. - Invisible Join (for finishing):
Fasten off and use a tapestry needle to weave yarn end through stitches for a tidy seam.
The Pattern!
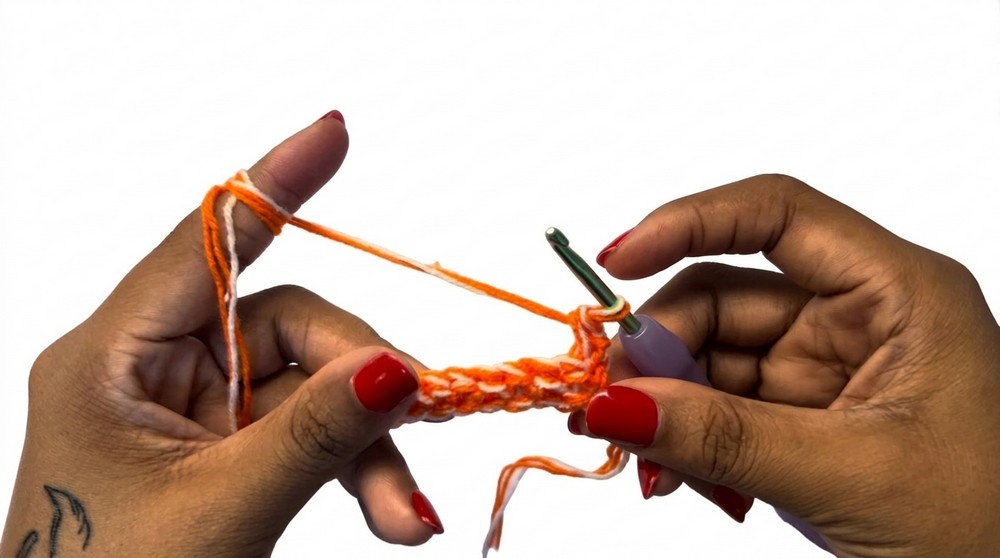
1. Waistband (Ribbed Band)
- Ch 12 (for approx. 2.5" wide waistband; adjust for preferred width).
- Row 1: Sc in the second ch from hook and each ch across. (11 sc)
- Ch 1, turn.
- Row 2–end: Sc in first st (through both loops), then sc BLO in each st to last, sc through both loops in last st. (11 sc)
- Repeat until the band fits snugly around your hips (measure against yourself).
- Slip stitch through both layers to close the band and create a ring.
Make a long strip by crocheting back and forth, picking up only the back part of each stitch except the ends. Keep going until it wraps comfortably around your hips, then join the ends so it forms a waistband ring.
2. Body of Shorts
- Turn band RS out. Work one round of single crochet (1 sc per row end of band). Count your total sts; this count will be your stitch count for the body.
- Join with sl st to first sc. Ch 2, do not count as st.
- Work 1 round of dc in each st around. Join with sl st.
- Increase Round: Mark the center front and center back (use stitch markers). At these points, work 2 dc in the same st (increase).
- Next round: Continue dc in all sts, increasing at the same center points as before (2 dc in each marked st).
- Repeat increase rounds for 3 total increase rows.
- Work as many plain rounds of dc (no increases) as needed for your rise (e.g., to reach 8”).
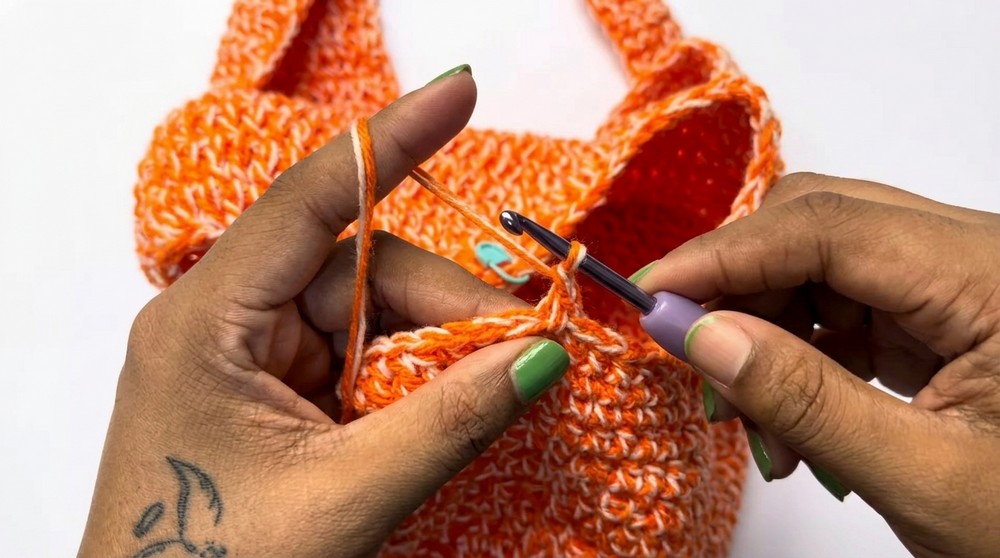
After the waistband, crochet around with one stitch per row along the edge. Then switch to double crochet, and every so often add stitches at the front and back to give the shorts shape. Do a few rounds with increases, then keep going in double crochet to reach the length you want down to your lower hip.
3. Forming the Leg Openings
- Locate and mark the center front and back. Divide stitches evenly for two legs. Add stitch markers at these points.
- To form crotch ‘bridge’: Attach yarn at one marker, ch the number needed to reach across the gap to the opposite marker (e.g., 20 ch), sl st at opposite marker. Fasten off. Repeat for the other side if needed.
- Rejoin yarn at center of the bridge (find halfway point of chain for symmetric start).
- Ch 2, work dc in each st around leg opening (including into the chain), join with sl st.
- Continue in dc rounds for desired length (e.g., 6–8 rounds). Repeat for second leg, ensuring stitch counts match.

Split the bottom opening equally for the left and right legs. To create the “crotch,” crochet a chain to span between those two points. Start your leg rounds at the middle, working all the way around each leg hole, using double crochet, until the legs are the length you want.
4. Waist Drawstring (Optional)
- Ch a length long enough to go round your waist (e.g., 250 ch).
- Weave the chain through the waistband with a tapestry needle or hook.

Make a long chain and weave it in and out along the top of the waistband to act as a drawstring, or use elastic for a stretchy finish.
Problem & Solution
Problem: Band or leg openings too loose or tight.
Solution:
If you find the waistband or legs too loose, use a smaller hook or fewer stitches per row/round. If too tight, try a larger hook or extra stitches. Use your own measurements for accuracy, and try on as you work.
What You Can Make With These Stitches
- Ribbed waistbands for shorts, skirts, or pants
- Crocheted shorts, skirts, or even full-length pants
- Cozy sleepwear or swim cover-ups
- Modify for children's or men's styles
Assembly & Finishing
- Use a tapestry needle to weave in all yarn ends securely.
- Optionally, go around the waist or leg openings with a row of sc for a neat edge.
- Add your drawstring or elastic as preferred.
- Steam block or gently hand wash and dry to shape your shorts.
If you follow these steps, you'll get comfortable, stylish crochet shorts! For each section, first work by the step-by-step pattern, but if the pattern feels confusing, just read the plain English summary and work at your own pace. Adjust measurements as you go by trying on or measuring against yourself. Enjoy the creative process!