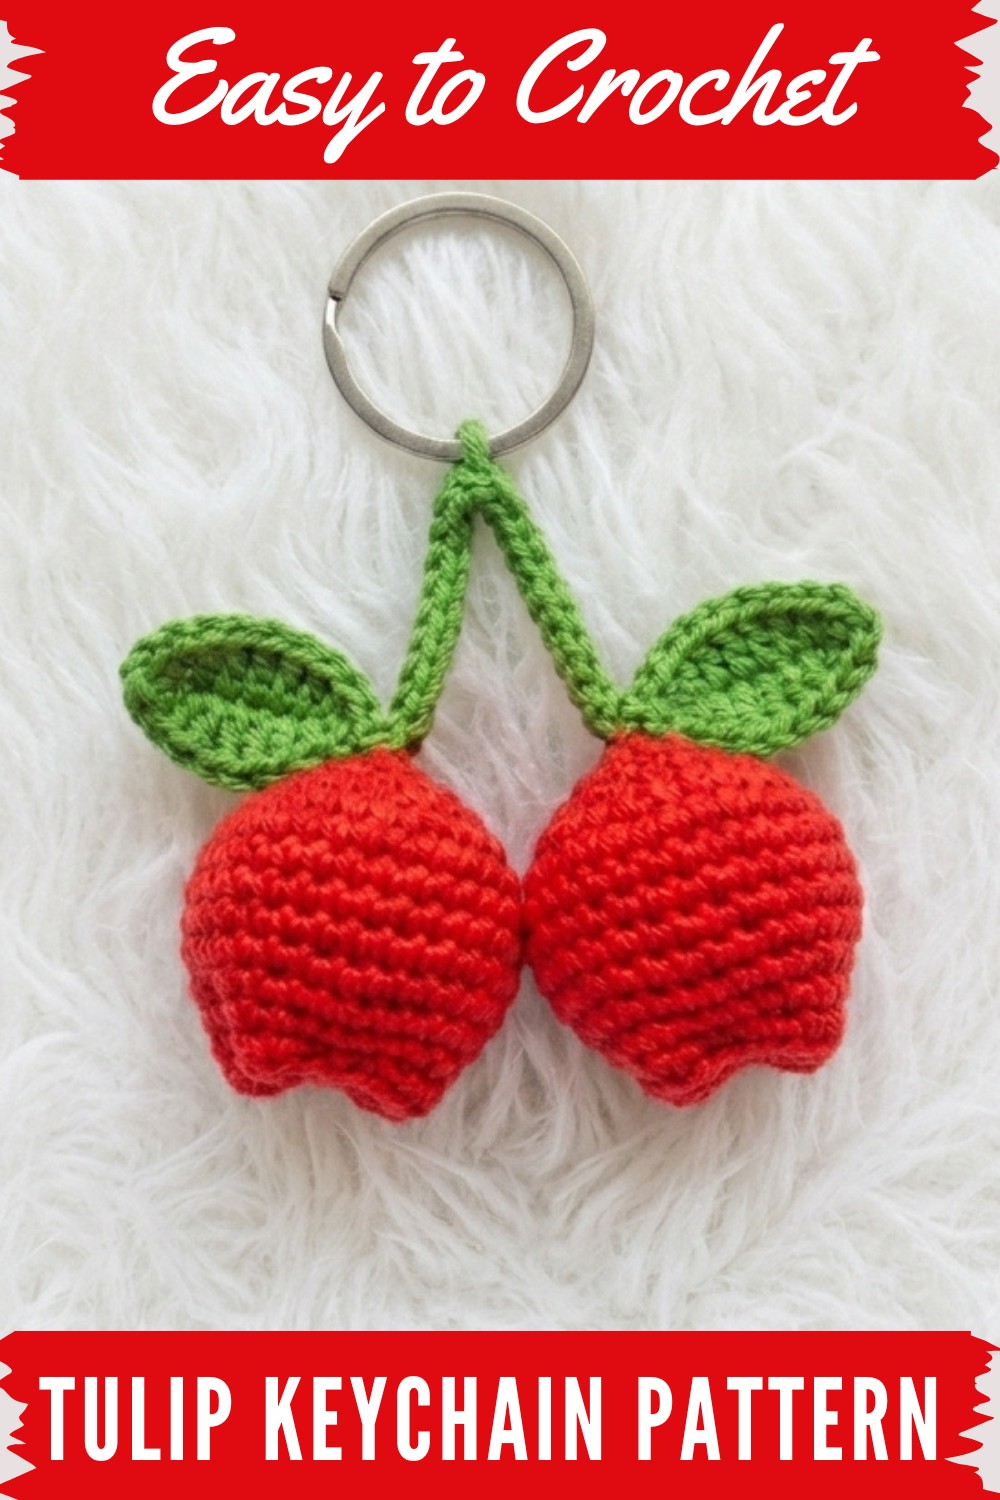
Make a stunning crochet tulip keychain using this free pattern, perfect for adding a touch of handmade charm to your keys or gifting to someone special.
One of the easiest and prettiest things to make as you start learning crochet is a tulip keychain. Using a Free Crochet Tulip Keychain Pattern, you create something colorful, useful, and full of charm all at once. This tiny tulip is the perfect project for skill-building because it uses basic stitches, but it still looks so impressive when finished.
A crochet tulip keychain stands out for its lovely, flower-like shape. The petals form a soft, rounded bloom that really looks like a little tulip in your favorite shade, bright red, soft pink, sunny yellow, or even a playful purple. The neat green stem and leaf give it extra personality, and it always makes me smile to see how people react when they spot the tiny blossom hanging from my keys or bag.
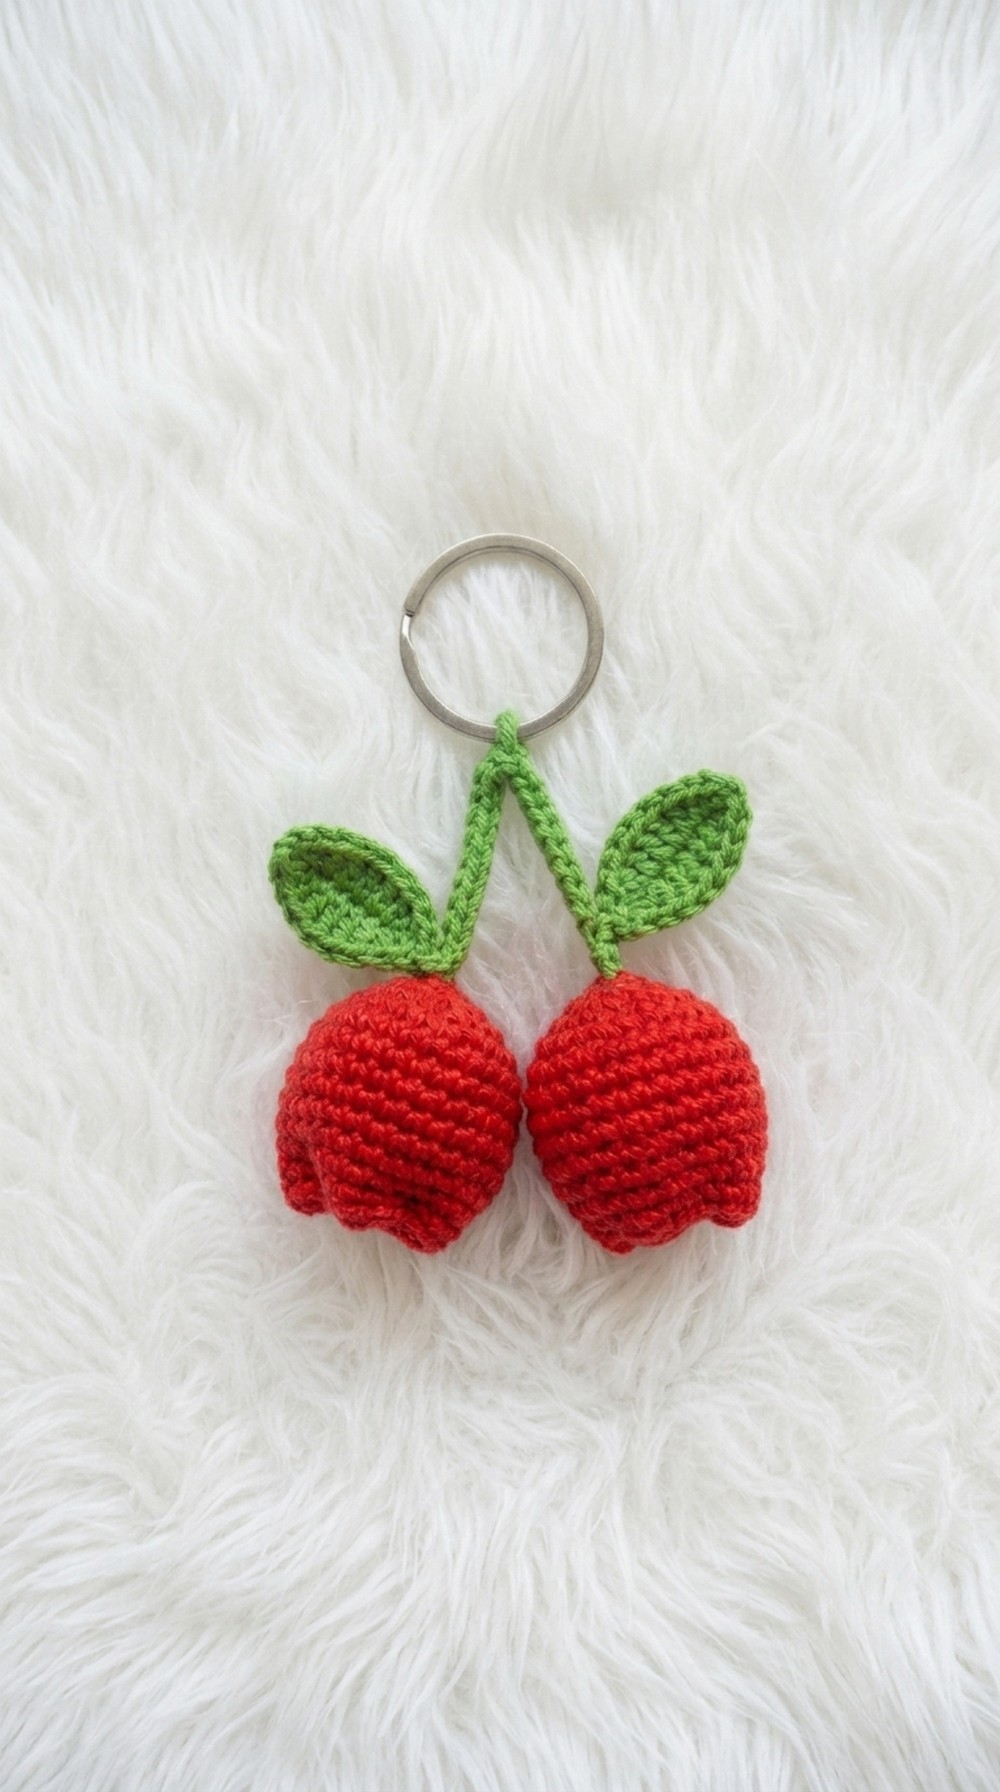
Crochet Tulip Keychain For Spring – Free Pattern
The texture of the crochet tulip is both sturdy and gentle. The stitches create a slight puffiness that makes the flower feel soft yet strong enough for everyday use. Thanks to its compact size, the keychain feels light and never gets in the way, but it adds such a fun touch to backpacks, purses, and even pencil cases.
What I love most is how this little project lets you play with color and learn new crochet techniques, all while making a delightful accessory. Crocheting a tulip keychain is not only a fantastic way to practice your skills, but also makes for a thoughtful handmade gift. Friends and family will love the cheerful flower, and you’ll always have a bit of spring wherever you go.
With free patterns available, anyone can stitch up a lovely tulip keychain—no matter your level of experience. It’s a small project with a big burst of color, perfect for sharing or keeping close!
Pretty Tulip Keychain – Step-by-Step Crochet Pattern
Create an adorable, puffy tulip flower keychain to brighten up your bag or keys. Inspired by the pattern, this project is simple, quick, and perfect for using up yarn leftovers.
Pre-Crafting Essentials
- Familiarize yourself with the magic ring and basic stitches: chain, slip stitch, single crochet, half double crochet, and double crochet.
- Tidy your workspace and sort your yarn by color and part (flower, stalk, leaves).
- Have your keychain ring and tools close at hand for assembling the final piece.
Project Insights
- The tulip bloom is made in continuous rounds, then stuffed and closed for fullness.
- The stalk is a simple chain with slip stitches for firmness.
- Leaves are formed with increasing stitch height to give a natural, realistic shape.
- All pieces are sewn neatly together and attached to a key ring.
Pattern Design Highlights
- Crocheted a rounded tulip flower with structured body and sewn-shut top.
- Created a sturdy stem and small leaf using slip stitches, single, half double and double crochet.
- Used contrasting yarn for leaves and stalk for visual interest.
- Joined all components for a cheerful, portable accessory.
Ability Level
Suitable for Beginners:
Simple shaping, only basic stitches, and minimal sewing required.
Project Dimensions
- Tulip flower: Approx. 4–5 cm (1.5–2 inches) long
- Stalk: About 7–8 cm (3 inches)
- Leaf: About 3–4 cm (1.2–1.5 inches)
- Keychain: Suits standard split ring
Materials List
- Polyester or acrylic yarn in desired tulip, stem, and leaf colors (eg. pink/yellow/red for flower, green for stem/leaf)
- 3.0 mm crochet hook (for flower)
- 4.0 mm crochet hook (for stem and leaf)
- Tapestry needle
- Scissors
- Stitch marker (optional, for beginners)
- Small amount of stuffing (dacron/polyfill)
- Keychain ring/hardware
Measurements and Schematic
- Bloom: 4–5 cm height, 3 cm diameter after stuffing
- Stem: 7–8 cm long (can be adjusted by number of chains)
- Leaf: ~4 cm long, ~1.5 cm at widest point
Gauge & Stitch Pattern
- Tight stitches are preferred; stuffing should not escape.
- Not critical, but keep tension firm and uniform for best effect.
Stitch Abbreviation Key
| Abbreviation | Meaning |
|---|---|
| mr | Magic ring |
| ch | Chain |
| sc | Single crochet |
| hdc | Half double crochet |
| dc | Double crochet |
| sl st | Slip stitch |
| inc | Increase (2 sc in st) |
Unique Stitch Techniques
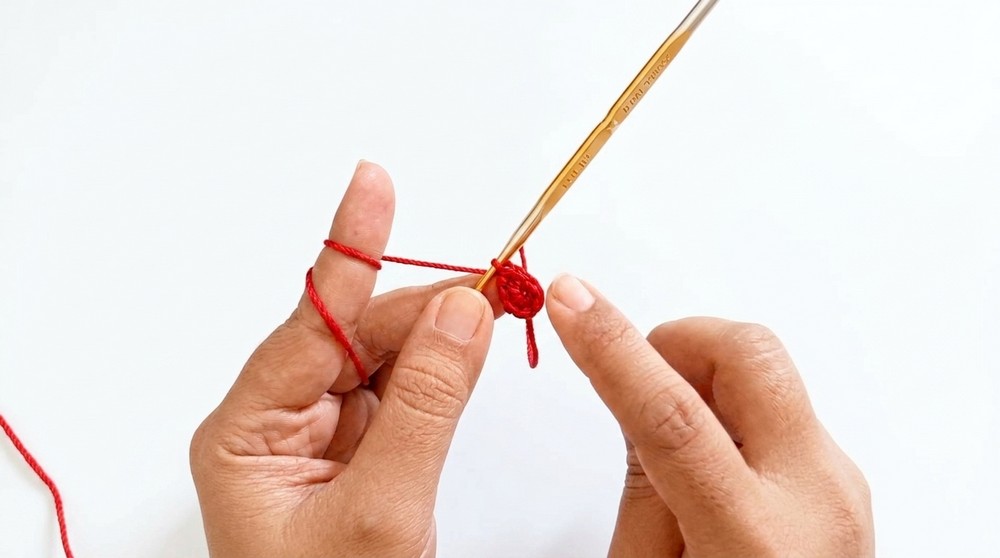
- Magic Ring: Form a ring to crochet into for a closed, seamless start to rounds.
- Single Crochet Increase (inc): Work two single crochets into one stitch to shape.
- Multiple Stitches in Row: Seamless transition from slip stitch, through sc, hdc, to dc in leaf for natural taper.
Step-by-Step Construction
A. Tulip Flower Bloom
Pattern:
- With flower color and 3.0 mm hook:
Make a magic ring. 6 sc into ring. - Round 2: 2 sc in each stitch (12).
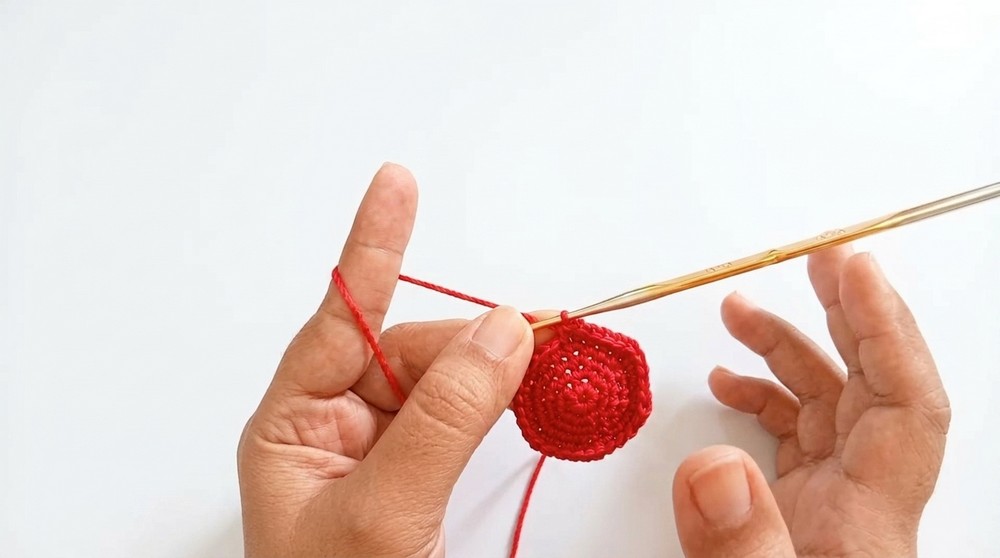
- Round 3: (sc, inc) across round (18).
- Round 4: (sc, sc, inc) across round (24).
- Round 5: (sc, sc, sc, inc) across round (30).
6–13. sc in every stitch (30) for 8 rounds.
After round 13, cut the yarn leaving a long tail for sewing the top.
Plain Guidance:
Start your tulip with a magic ring and 6 single crochet. In every round, increase by adding extra stitches evenly until round 5. For rounds 6 to 13, just crochet one stitch in each, so the flower grows into a tube. Leave a long piece of yarn when you finish—this will help sew it up!
B. Stem
Pattern:
- With stem color and 4.0 mm hook:
Make a slip knot, ch 20. - Starting in 2nd chain from hook (top side of the chain):
sl st in each chain to the end. - Ch 1, fasten off.
Plain Guidance:
With your green yarn, make 20 chains. Crochet a slip stitch in each chain. At the end, cut the yarn (no long tail needed); repeat once more for a fuller, stronger stem, if desired.
C. Leaf
Pattern:
- With leaf color and 4.0 mm hook:
Make a slip knot, ch 10. - Row 1:
In 2nd ch from hook: sl st.
In next ch: sc.
In next ch: hdc.
Next 3 ch: dc in each.
Next ch: hdc.
Next ch: sc.
In last ch: sl st. - Fasten off, leaving a long tail to sew to stem.
Simple Directions:
Start with 10 chains. Work a slip stitch, sc, hdc, then a few double crochets in a row. After the peak, use smaller stitches (hdc, sc, sl st) on the way back for the pointed shape. Cut the yarn, leaving a tail for sewing.
D. Stuff and Shape Flower
- Place the stem through the flower’s open bottom.
- Stuff firmly with dacron or polyfill so the bloom is full and rounded.
- Thread long flower tail onto a tapestry needle.
- Sew the top of the tulip: move across the opening in small whip stitches, pulling tight to close.
User-Friendly Instruction:
Feed your green stem through the flower base. Push in stuffing bit by bit for a plump look. With your yarn needle, sew the flower’s top closed so no stuffing escapes.
E. Attach Components
- Knot and secure the stalk inside the flower base.
- Sew the leaf to the lower third of the stem using the leftover leaf tail; position as desired.
- Attach both tulip pieces (if making a bunch) to a single keychain ring by threading the stem bases through the keyring and knotting or sewing in place.
Layman’s Terms:
Make sure your stem is tied inside the flower base so it doesn’t fall out. Place a leaf on the side of the stem and sew it tightly. If you want a bunch, make two or three tulips and fasten all their stems together before adding your key ring.
Finishing Touches
- Tuck and weave in all loose yarn ends.
- If using polyester yarn, lightly singe leftover ends for neatness (carefully, with a lighter).
- Space flowers evenly on the keyring for best appearance.
- Give the tulip a gentle shaping with your hands.
Troubleshooting & Solutions
Problem: Your tulip is too loose/floppy or misshapen.
Solution: Recount each round to ensure you have the correct stitch count, and keep your stitches fairly tight. Add more stuffing if the flower looks flat or compressed.
Alternate Uses and Inspiration
- Spring garlands or wall hangings
- Bouquet brooches or lapel pins
- Table vase fillers (use floral wire instead of a crocheted stem)
- Flower crowns for dolls or plush toys
- Gift toppers or bag embellishments
For those new to reading patterns: Work the tulip’s bottom (magic ring), increase evenly, then crochet upward with single crochets for a “tulip tube.” Make a flat, sturdy stem and an elongated leaf, sew together, add stuffing, and close the flower. Attach all to a key ring and enjoy your bright, durable floral charm!