
Hook a playful mini accessory with Crochet Stitch Amigurumi Keychain Pattern that turns keys and bags into charming fun pieces with simple beginner steps.
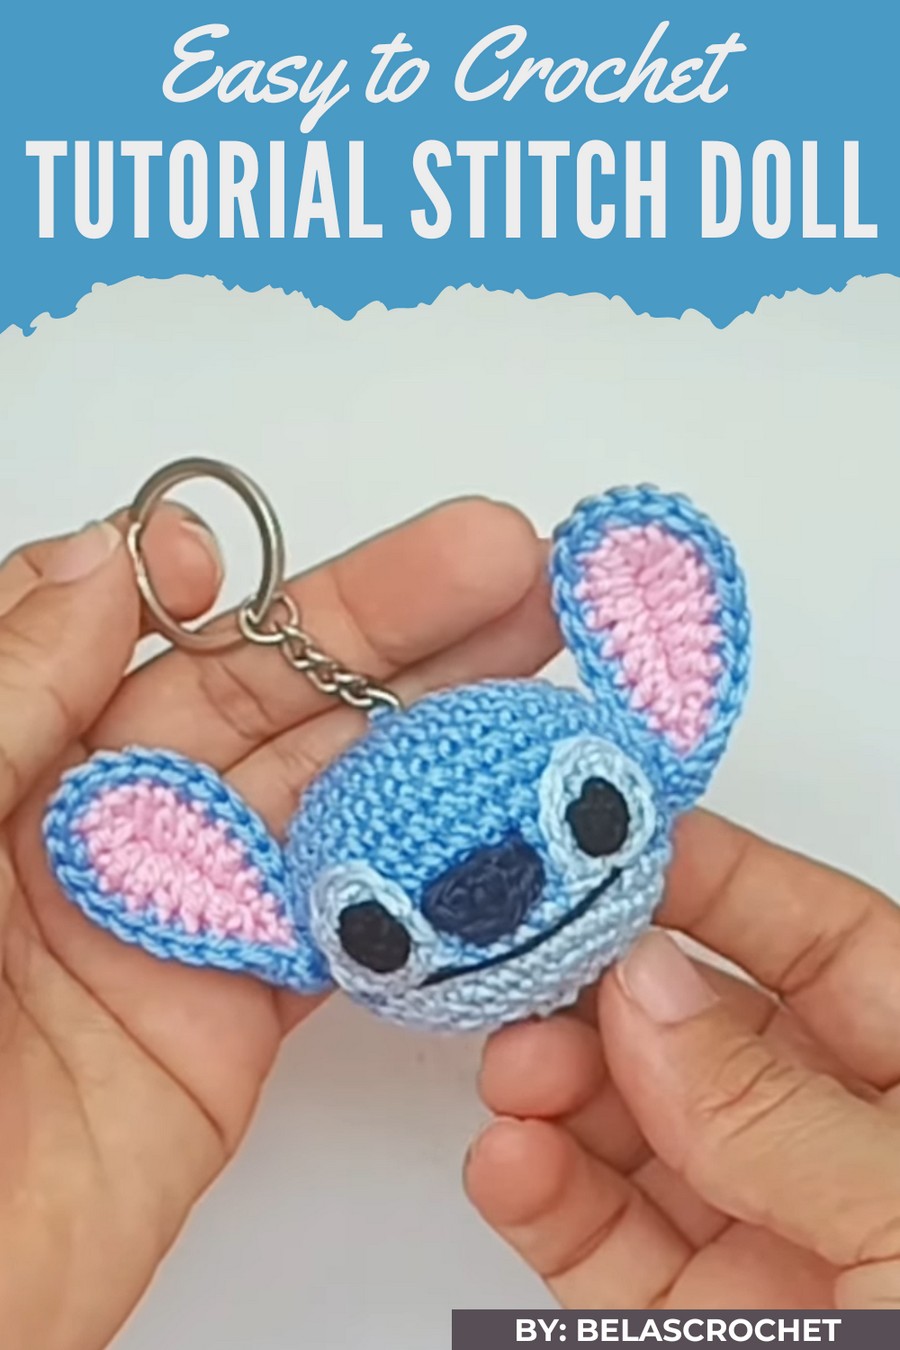
Everyday items don’t have to be boring when they can carry a touch of fun and cuteness, and this tiny creation does just that. The Crochet Stitch Amigurumi Keychain pattern shows a small, soft charm with bright yarn, neat stitches, and a cheerful little shape that instantly makes you smile.
Mini Croche Stitch Amigurumi Keychain Pattern That’s Too Cute
It hangs perfectly on keys, backpacks, or bags, and can also be a thoughtful handmade gift that spreads happiness. Its most special features are its soft texture, detailed stitching, and pocket-friendly size, which make it unique, durable, and a playful little companion that brings joy wherever it goes.
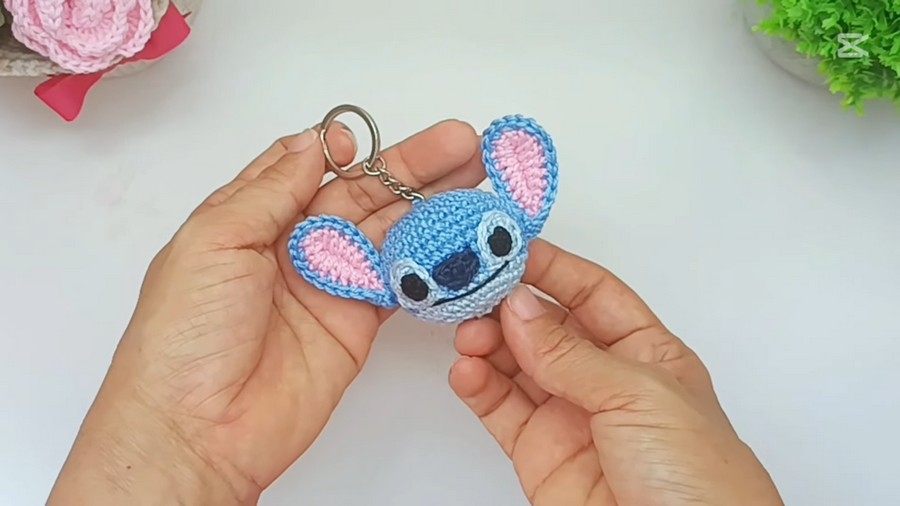
Materials List
Required Materials
- Yarn:
- Medium blue: For the head.
- Light blue: For the accents (e.g., circle around eyes).
- Dark blue/navy blue: For the nose.
- Pink: For the inner ears.
- Black yarn or thread: For the eyes, smile, and embroidery details.
Note: Choose a thin, soft yarn (cotton/acrylic) suitable for amigurumi.
- Crochet Hook:
- 2.5mm crochet hook.
- Other Supplies:
- Cotton fiberfill/synthetic stuffing: For filling the head.
- Tapestry needle: For sewing and embroidery.
- Silicone glue (optional): For attaching small parts like eyes without sewing.
- Keychain ring: To attach to Stitch’s head.
- Stitch markers: To keep track of rounds, especially for spiral work.
- Scissors: For cutting yarn and threads.
Skill Level
Intermediate.
This pattern requires familiarity with crochet in continuous rounds, amigurumi assembly, and finishing techniques like sewing and embroidery.
Key Abbreviations (US Crochet Terminology)
| Abbreviation | Meaning |
|---|---|
| ch | Chain |
| sc | Single Crochet |
| hdc | Half Double Crochet |
| dc | Double Crochet |
| st(s) | Stitch(es) |
| inc | Increase (two sc in one stitch) |
| dec | Decrease (sc two stitches together) |
| sl st | Slip Stitch |
Special Notes
- Continuous Rounds: This pattern works in a spiral unless stated otherwise. Use a stitch marker at the beginning of each round.
- Instructions for Opposite Parts: For mirrored components (e.g., ears and eyes), crochet the second piece in reverse order as instructed in the pattern.
Step-by-Step Pattern
Part 1: Stitch’s Head (Medium Blue)
- Round 1:
- Create a magic ring. Work 8 sc into the ring. Tighten to close.
- Round 2:
- Work 8 inc (2 sc in each stitch). (Total: 16 sts)
- Round 3:
- Work 1 sc, inc around. (Total: 24 sts)
- Round 4:
- Work 4 sc, 1 inc, then 8 sc, 4 inc, 8 sc, 4 inc, and 4 sc. (Total: 32 sts)
- Rounds 5–11:
- Work 1 sc in each stitch for 7 rounds. (Total: 32 sts per round)
Part 2: Color Change
Switch to light blue yarn.
- Round 12:
- Work 1 sc in each stitch (32 sts).
- Round 13:
- Work 4 sc, 4 dec, 8 sc, 4 dec, 4 sc. (Total: 24 sts)
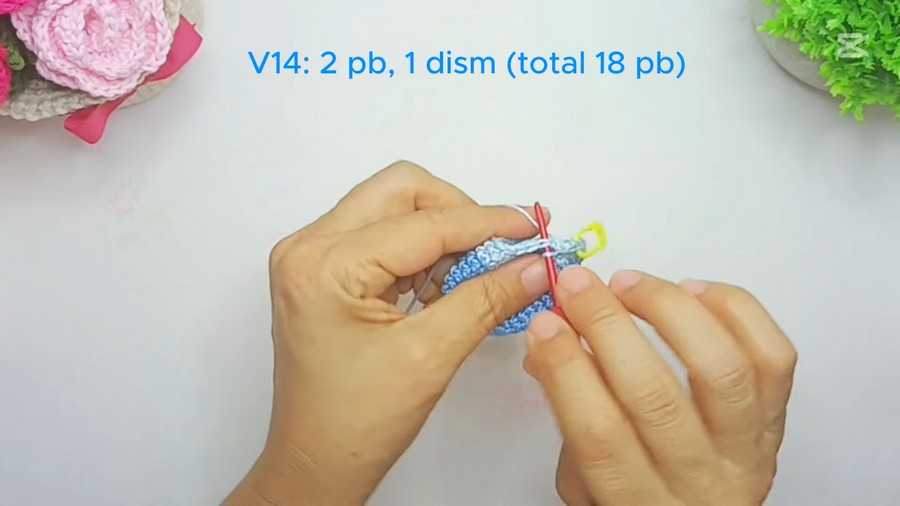
- Round 14:
- Work 2 sc, 1 dec around. (Total: 18 sts)
- Fill the Head:
- Add synthetic stuffing—firm but not overstuffed.
- Round 15:
- Work 1 sc, 1 dec around. (Total: 12 sts)
- Final Round:
- Work 6 dec to close the head. (Total: 6 sts)
- Use a tapestry needle to thread through the last 6 sts and pull tight to close.
Part 3: Ears (Outer Layer: Blue, Inner Layer: Pink)
- Outer Ear (Light Blue):
- Leave a starting tail for sewing. Chain 10.
- Row 1: Work 3 sc into the next 3 sts, 3 hdc into the next 3 sts, and 2 dc into the next 2 sts. Work 3 dc in the last ch.
- Work 1 dc into the next st (on the opposite side of the chain), 1 dc into the next, followed by 3 hdc in the next 3 sts, and 3 sc into the remaining sts. Sl st to join the row.
- Inner Ear (Pink):
- Follow the same instructions as the outer ear. Leave a long tail for sewing.
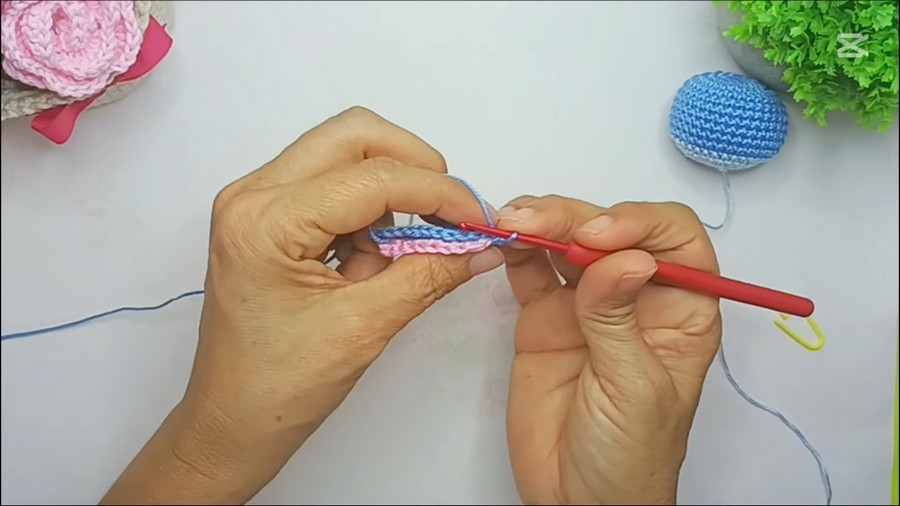
- Assemble the Ears:
- Hold the inner and outer ear pieces together (wrong sides facing).
- Using blue yarn only, crochet 8 sc around the edges of both layers, adding 3 increases on the curves.
- Leave a long tail to attach the ear to the head.
- Sew Ears to Head:
- Attach the ears to the sides of the head, angling them to match Stitch’s signature look.
Part 4: Eyes
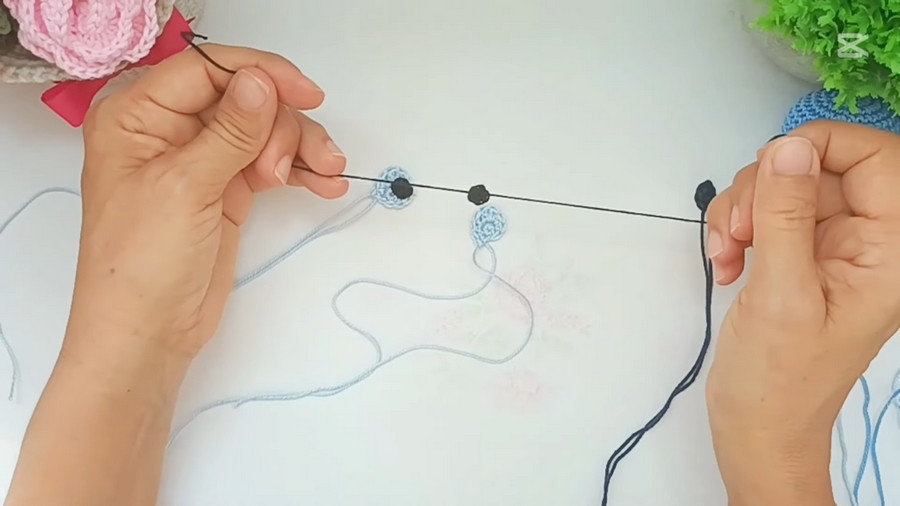
- Eye Base (Light Blue):
- Magic Ring: Work 6 sc into the magic ring. Pull tight to close.
- Round 2: Work 1 sc, 1 hdc in the same st for the first st, 2 dc in the next st, 1 dc, 1 hdc in the next st, and 1 sc in the final st (to maintain symmetry). Leave a long tail for sewing.
- Eye Pupils (Black):
- Magic Ring: Work 5 sc into the magic ring. Pull tight.
- Optional: Use silicone glue to attach the pupils to the center of the light blue eye base, or sew the pupil onto the eye base securely.
- Sew Eyes to Head:
- Position the eyes on either side of the upper half of the nose. Sew securely into place.
Part 5: Nose
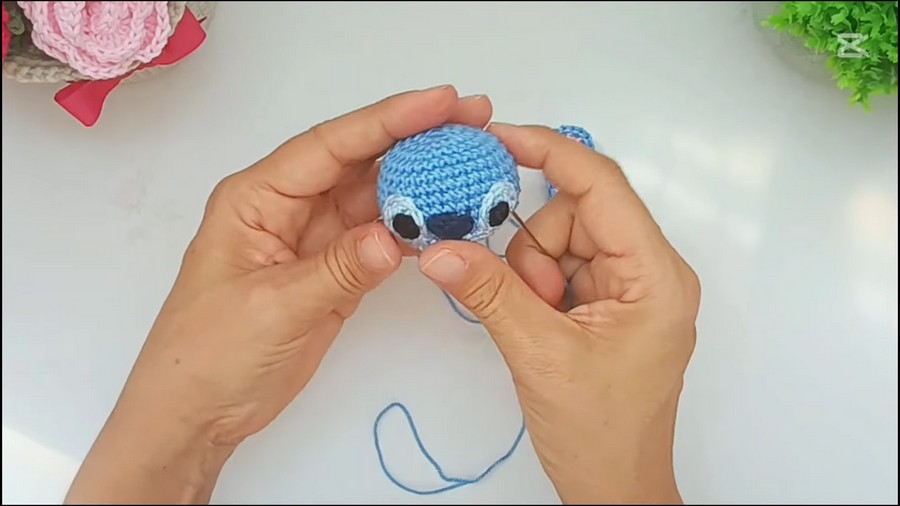
- Navy Blue (or Black):
- Chain 4.
- Row 1: Skip the first chain, work 1 hdc in the next st, 1 dc in the next st, and 1 hdc in the last st.
- Leave a long tail and sew the nose onto the lower part of the head, between the eyes, flat side up.
Part 6: Smile
- Smile:
- Using black yarn for stitching, create a simple curve below the nose for Stitch’s smile.
- Use small stitches to maintain a sleek line.
Part 7: Keychain Attachment
- Attach the Keychain Loop:
- Sew the keychain loop to the center-back of the head for balance. Use leftover long yarn tails to secure the loop firmly.
Conclusion
Congratulations on completing your charming Crochet Stitch Amigurumi Keychain! This adorable amigurumi creation captures the spirit of Stitch while offering a functional and fun addition to your keys or bag. With its playful ears and embroidered smile, this keychain makes a wonderful handmade gift or personal project.
Pattern Corrections
- Ensure precise symmetry when sewing corresponding parts (e.g., ears and eyes).
- If stuffing distorts the shape of the head, distribute it evenly and use stitches to adjust.
Tips
- Tension Control: Use firm tension for the keychain to maintain a compact structure.
- Thread Alternation: Use thinner yarn for facial features (smile, eyes) if bulky yarn compromises the finesse of the design.
- Customize Colors: Experiment with colors to create personalized variants of Stitch or similar characters.



