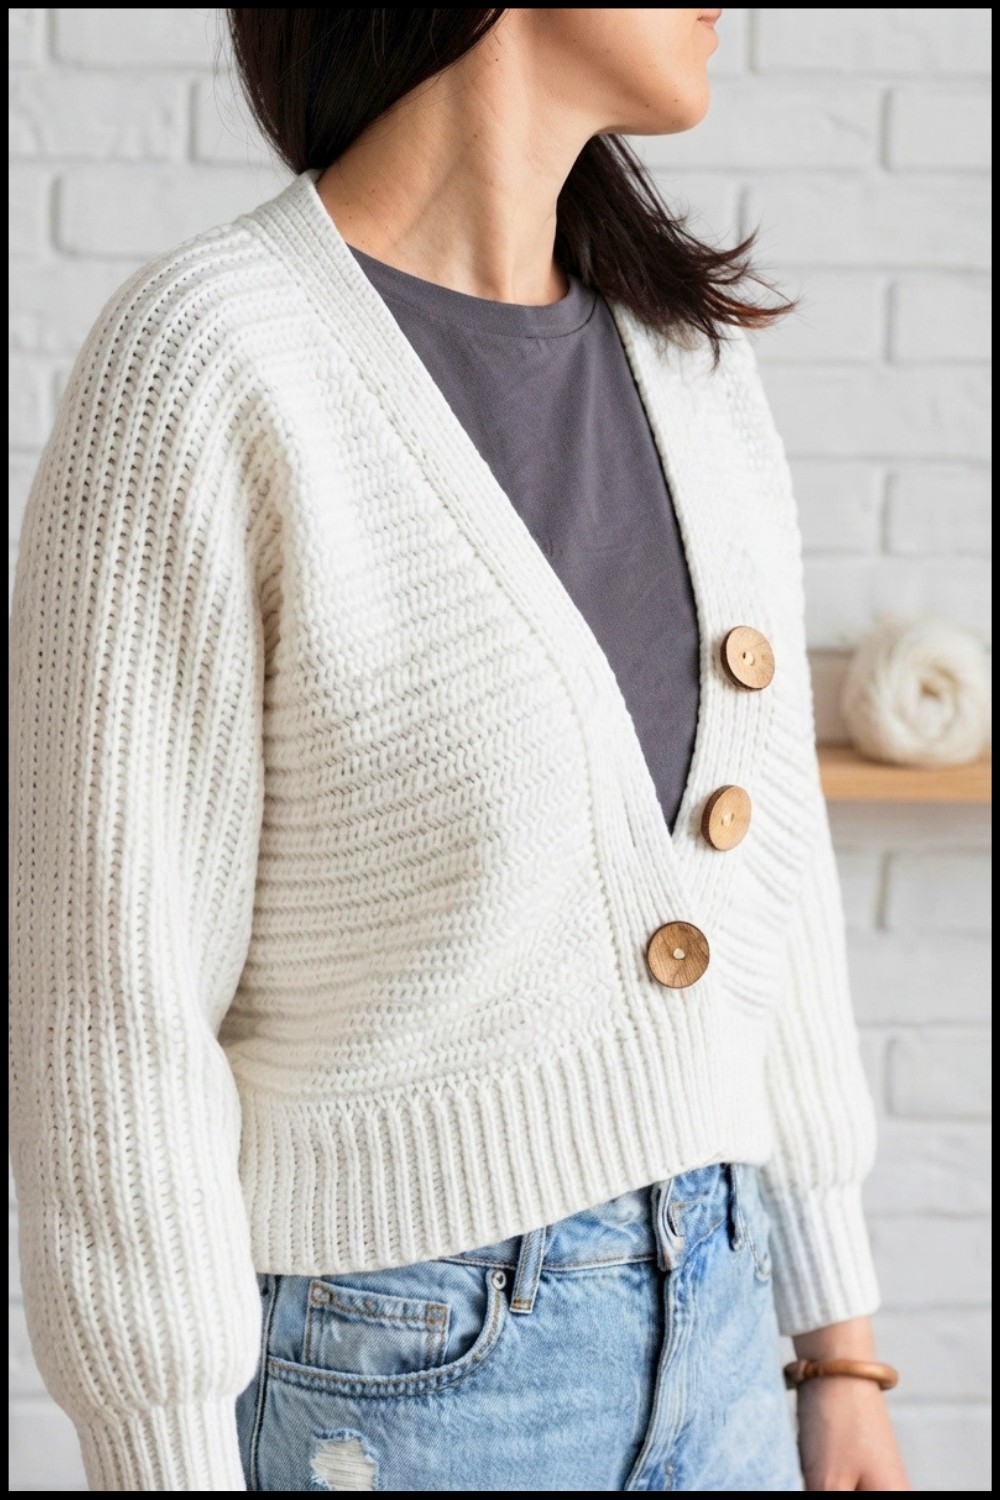
Feel the ease of a breezy and comfortable fit using this free crochet spring sweater pattern that's ideal for casual springtime wear.
Spring calls for light, elegant layers, and a beautifully handmade sweater fits perfectly into this season. Thanks to the creative tutorial by Lady_Anika - Szydełkowe Światło, you can easily create your own Free crochet Spring Sweater Pattern that blends comfort with style.
This crochet sweater is designed with a delicate bamboo and cotton blend yarn that offers a soft, shiny finish, ideal for spring and summer wear. The texture of the sweater is airy yet stable, featuring a gentle wave pattern that adds a subtle decorative touch to its simple silhouette. Its shape is relaxed with wide, loose sleeves that end in snug ribbed cuffs, giving it a modern yet cozy flair. The front includes practical buttons and a neat ribbing that enhances its refined look.
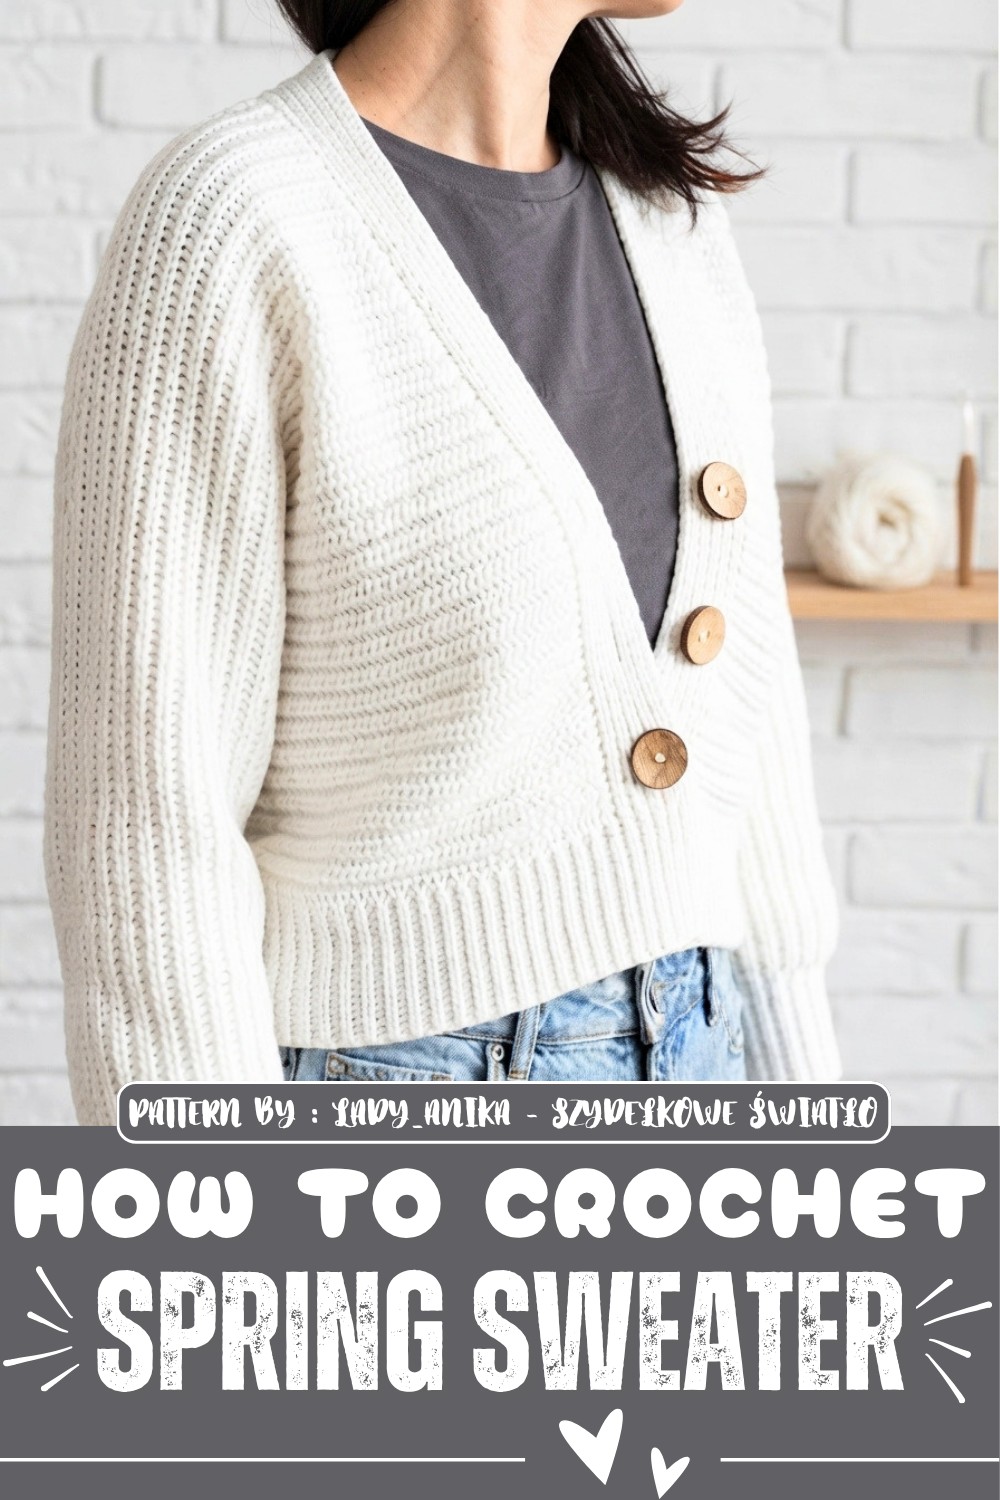
Fresh Free Crochet Spring Sweater Pattern to Match the Season
This project is not only a lovely item to keep for yourself but also makes a thoughtful handmade gift. Its antibacterial bamboo fiber offers a breathable, soothing feel perfect for those with sensitive skin or allergies, making it both functional and stylish. Whether worn casually or dressed up, this spring sweater adds a unique, personal touch to any outfit.
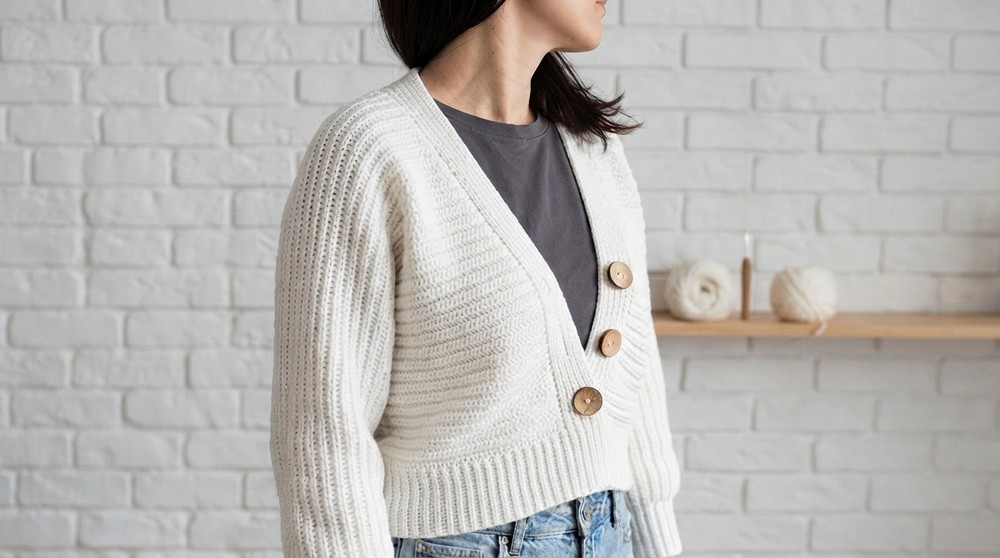
Lady_Anika's step-by-step guide makes this pattern accessible even to crocheters who are new to sweater making, helping you embrace creativity while enjoying a rewarding crocheting experience. Embrace spring’s fresh spirit with this lovely and versatile crochet sweater!
Crochet Bamboo Sweater Pattern – Beginner-Friendly Step-by-Step Guide
Welcome to this easy-to-follow crochet sweater pattern designed with Himalaya Deluxe Bamboo yarn – a soft, breathable blend of 60% bamboo and 40% cotton. This lightweight sweater is perfect for spring and summer, featuring a simple yet elegant stitch pattern, integrated sleeves, and a neat ribbed finish. Whether this is your first sweater or you want a clear guide, this tutorial breaks down every step for your success.
Pattern Highlights
- Yarn: 60% bamboo, 40% cotton, breathable and shiny finish
- Crochet hook: 3 mm for a firm and neat weave
- Main stitch: Wound Half Double Crochet (whdc) on back loops
- Sweater constructed horizontally, sleeves worked together with the body
- Bias shaping with increases on one side for a gentle slant
- Functional buttonholes integrated into ribbing
- Ribbed edges on cuffs and hems provide elasticity and clean appearance
- Optional modifications: separate sleeves or longer cuffs
Materials
- Himalaya Deluxe Bamboo yarn (approx. 6.5 skeins, 100g each)
- Crochet hook: 3 mm
- Stitch markers (to track rows and pieces)
- Tape measure
- 3 bamboo buttons (3 cm diameter)
- Yarn needle (for sewing and weaving ends)
- Scissors
Abbreviations
| Abbreviation | Stitch |
|---|---|
| ch | Chain |
| dc | Double Crochet |
| whdc | Wound Half Double Crochet |
| sl st | Slip Stitch |
| st | Stitch |
Special Stitch
Wound Half Double Crochet (whdc)
- Yarn over (wrap yarn once).
- Insert hook into back loop of stitch.
- Yarn over and pull through (three loops on hook).
- Yarn over and pull through all loops.
- Result: textured, wrapped stitch ideal for stability.
Gauge
- 20 stitches (whdc on back loops) = 10 cm width
- Gauge swatch is important to match sizing; use the swatch instructions below.
Step-by-Step Pattern
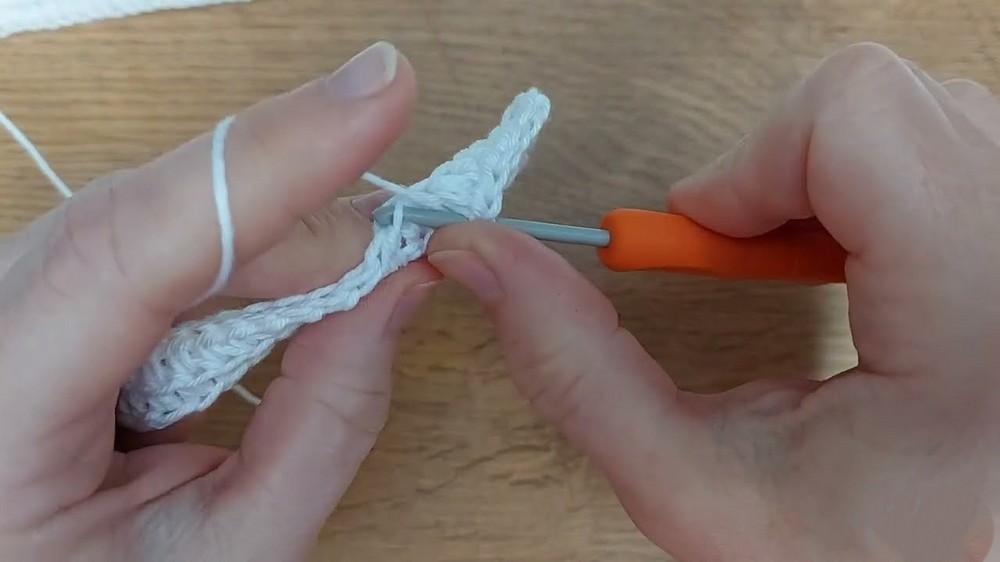
1. Making a Gauge Swatch
- Ch 22 (20 ch for stitches + 2 turning ch).
- Row 1: Skip first ch, work whdc in back loop of each ch across — 20 stitches.
- Turn.
- Work whdc on back loops for 10–15 rows to test tension and texture.
- Measure width and height; adjust hook size if necessary.
2. Back Panel (Main Body)
Foundation
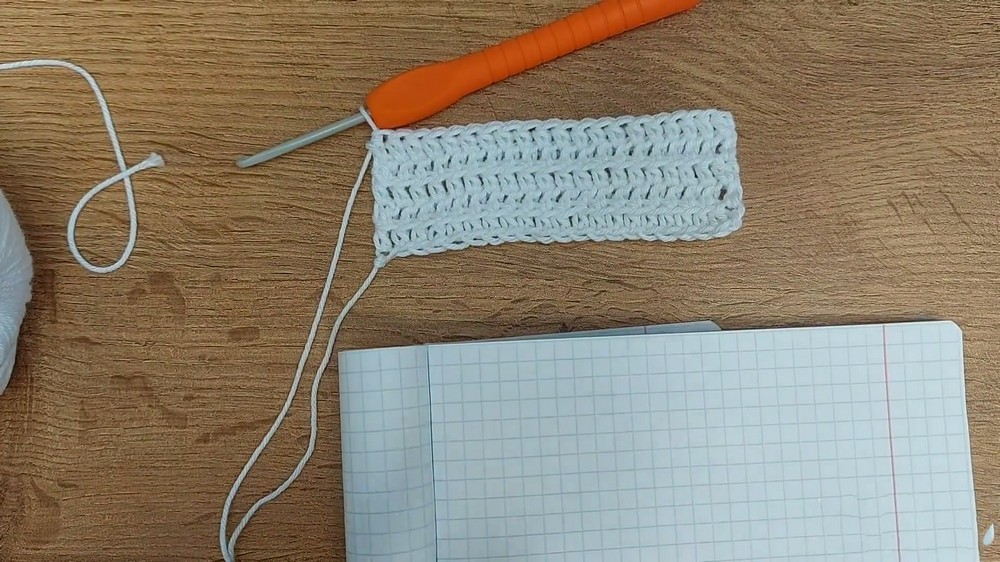
- Ch 100 (to make 50 cm wide back panel based on gauge).
Rows 1 to ~25 cm length
- Row 1: Skip first ch, work whdc into back loops of each ch — 100 stitches.
- Turn.
- Row 2 and onwards: Work whdc into back loops across every row, maintaining 100 stitches.
- Continue until the panel length reaches 25 cm.
3. Creating the Bias Slant (Left Side)
Increasing for Slant
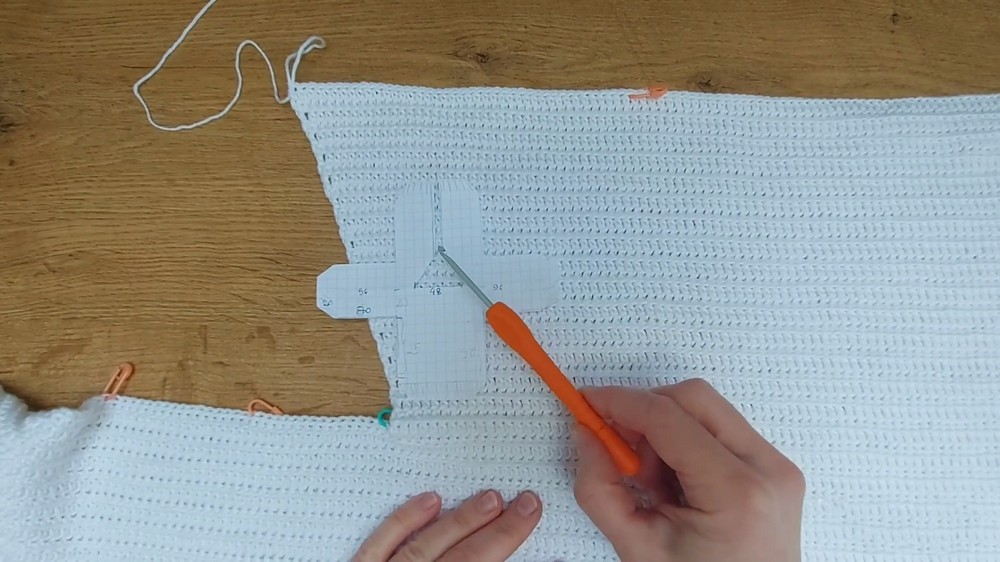
- On left side only (beginning of rows): work 2 whdc stitches into the first stitch (increase).
- On the right side, work normally (no increase).
- Continue these increases for several rows to create diagonal shaping.
- Mark edges with stitch markers.
4. Integrating the Sleeves
Casting on Sleeves
- At the armhole location, attach yarn and ch 70 for each sleeve.
- Work whdc into back loops of the sleeve chains for correct tension.
Working Sleeve Length
- Crochet sleeves for about 20 cm or desired length.
- Keep each sleeve identical in stitch count and rows.
5. Ribbing on Cuffs and Hem
Cuff Ribbing
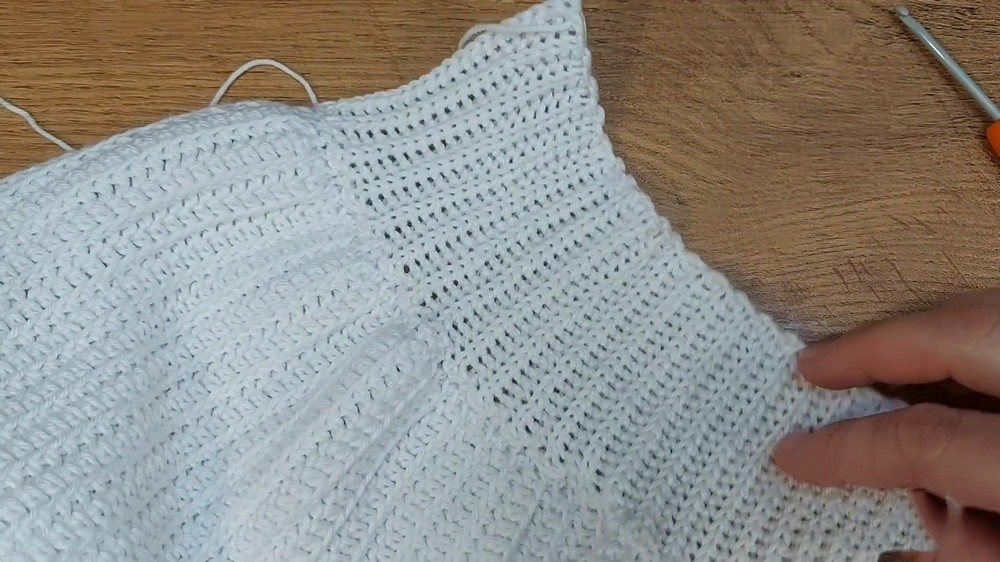
- Around sleeve ends, skip first 3 stitches near edge.
- Work a round of single crochet (sc) in back loops only.
- Group stitches in sets of 3 to provide elasticity.
- Continue ribbing for approx. 4 cm or desired cuff length.
Hem Ribbing
- Repeat ribbing technique around bottom edge of the sweater and neckline for polished finish.
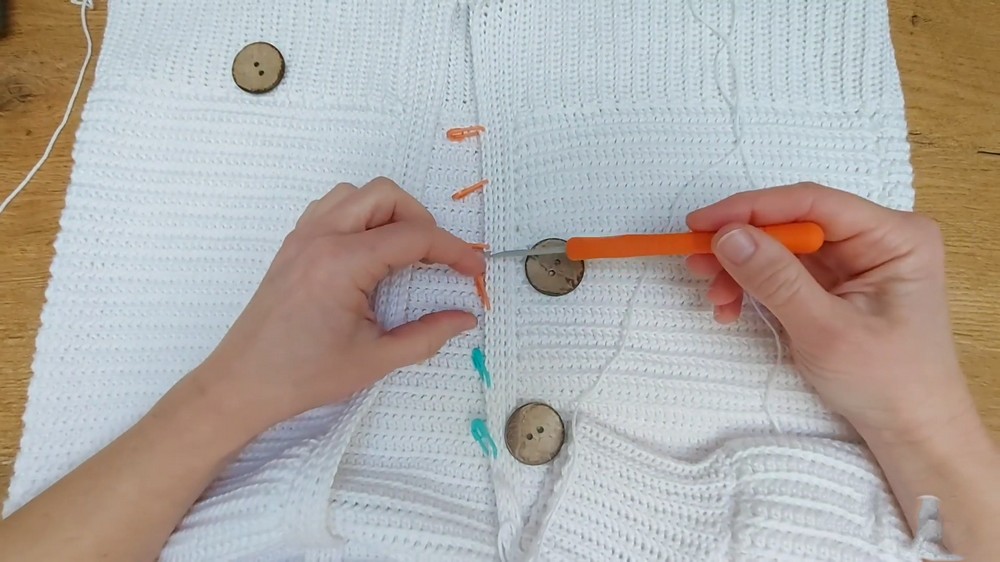
6. Buttonholes and Button Placement
Buttonholes
- Work ribbing until desired length.
- Make buttonholes by replacing 5 stitches with 5 chain stitches approximately every 8 rows (approx. 5 cm apart).
- Secure buttonholes by continuing ribbing pattern on following rows.
Sewing Buttons
- Evenly space buttons opposite buttonholes.
- Sew securely with a yarn needle close to edge ribbing for durability.
7. Assembly and Finishing
Seaming
- Sew side seams together aligning wave and rib patterns.
- Attach sleeves if worked separately.
- Match stitch rows carefully for smooth, flat seams.
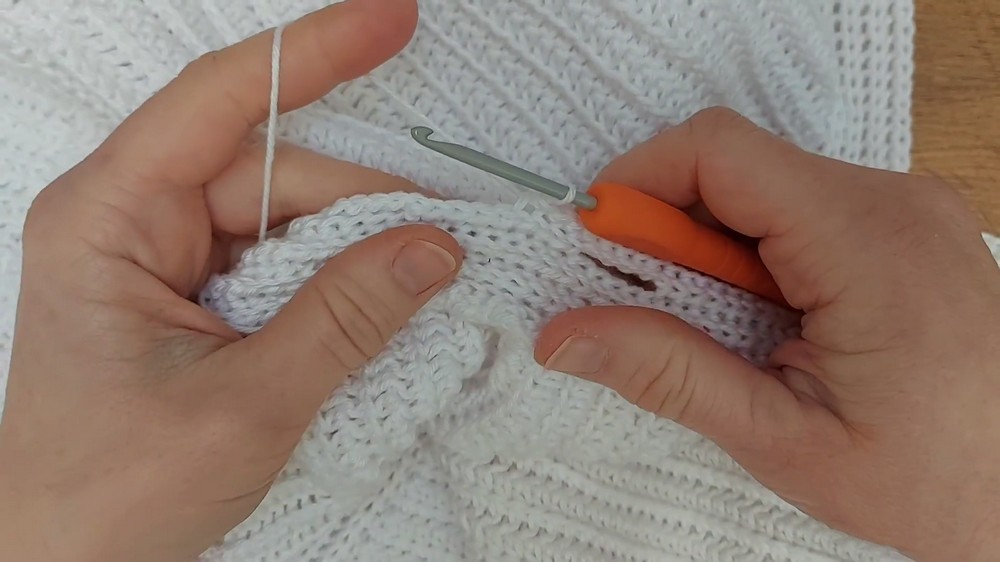
Weaving in Ends
- Use yarn needle to weave in all loose yarns inside ribbing or body panels.
- Make sure ends are hidden and secured to prevent unraveling.
Finished Size
- Width (back panel): approx. 50 cm
- Length (back panel): approx. 25 cm (plus cuff length)
- Sleeve length: approx. 20 cm
- Cuff width: approx. 4 cm
- Button diameter: approx. 3 cm, spaced evenly
- Customizable for larger sizes, longer sleeves, or different yarn weights.
Conclusion
This elegant bamboo-cotton blend sweater offers a balanced combination of lightness, durability, and style. The step-by-step instructions make it approachable for motivated beginners who want to advance their skills with shaping, integration of sleeves, and ribbing techniques. The wound half double crochet stitch creates a gorgeous texture that complements the natural sheen of the yarn. The integrated buttonholes and subtle bias shaping add unique charm and professional detail.
Experiment with button placement, ribbing length, or yarn color to make your sweater reflect your personal style. With patience and attention to detail, you’ll end up with a breathable, antibacterial, and beautiful handmade sweater perfect for any warm-weather wardrobe.