Warm up with a Crochet Seamless Sweater Pattern that combines timeless style & cozy comfort for any occasion while showcasing your creativity.
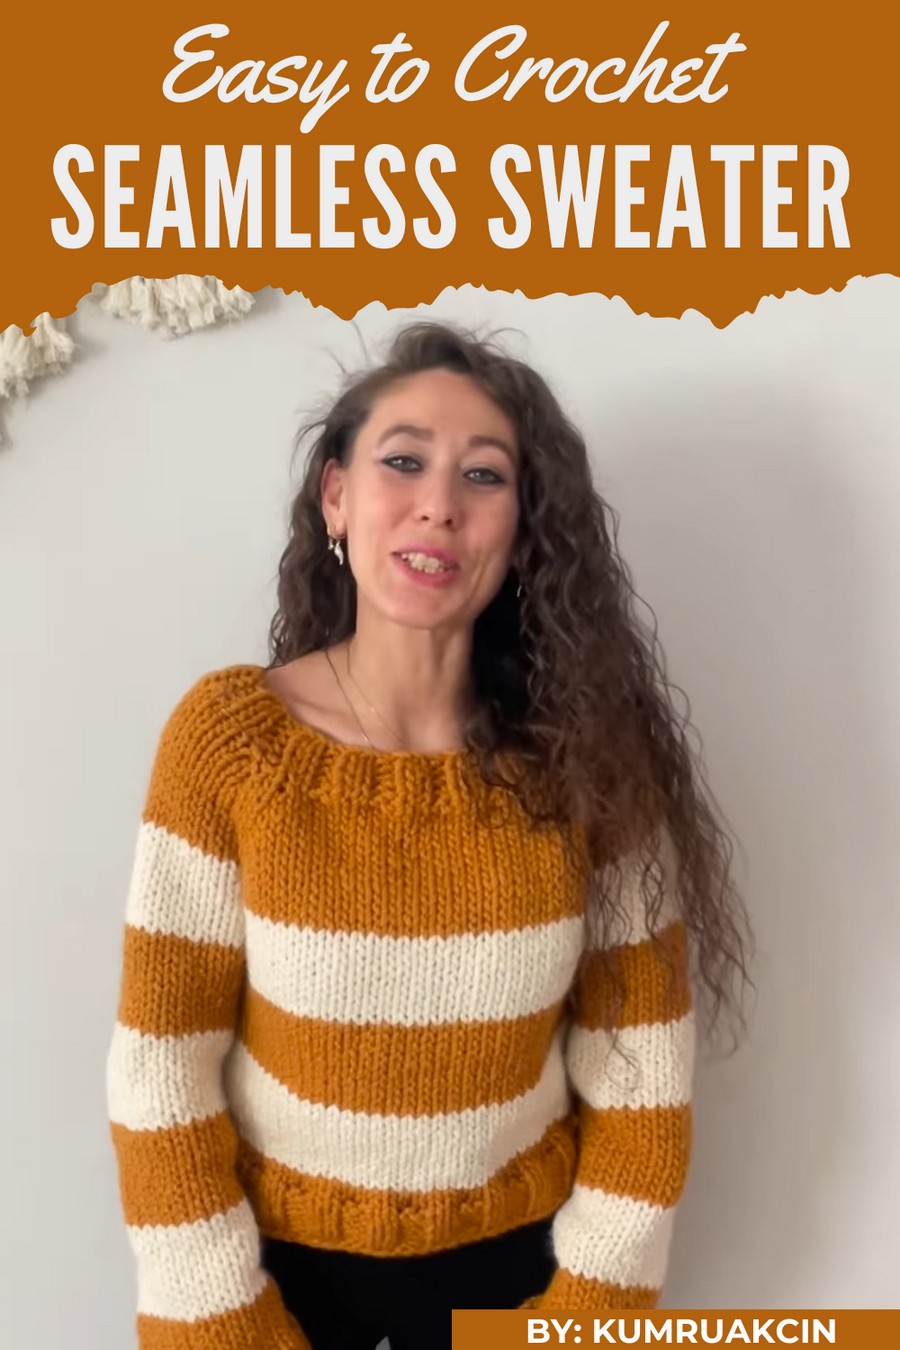
A cozy and stylish addition to your wardrobe, this creation is all about effortless charm and comfort. The Crochet Seamless Sweater Pattern stands out for its neat, polished look, with no visible seams to disrupt its smooth texture. This sweater offers a timeless appeal, making it perfect for casual wear, layering on chilly days, or even gifting to someone special.
Charming Crochet Seamless Sweater Pattern for Comfortable Wear
Its seamless construction ensures a comfortable fit, while its versatility allows you to play with colors and yarns to match your personal style. Whether crocheted in soft pastels or bold shades, this pattern delivers a clean, professional finish that looks stunning on everyone.

What makes it truly unique is the ease of creating a flawless sweater without the fuss of piecing multiple parts together, making it ideal for beginners and experts alike. It's more than just a pattern, it's the key to a stylish, handmade wardrobe.
Materials Required
- Yarn:
- Premium Wool E-series Yarn:
- Color 1 (e.g., Mustard Yellow): approximately 5 skeins (100g each, 60m per skein).
- Color 2 (e.g., Cream): approximately 3 skeins (100g each, 60m per skein).
- If knitting the entire sweater in one color, you’ll need around 7 skeins in total.
- Premium Wool E-series Yarn:
- Knitting Needles:
- 10mm (US 15) circular needles: for elastic sections like the neckline.
- 7mm (US 10.5) circular needles: for ribbed sections on cuffs, hem, and body transitions.
- Circular knitting needle cables: At least 120cm in length for easy movement while working with larger sections.
- Additional Tools:
- Stitch markers: Place at increase points or to separate sections (e.g., armholes).
- Yarn Needle: For weaving in ends.
- Scissors: For trimming yarn.
- Measuring Tape: To confirm sizing throughout.
- Optional: Scrap yarn or spare cables for holding stitches when separating sleeves from the body.
Skill Level:
Intermediate to Advanced
(Familiarity with circular knitting, increases, and working a spiral method is required.)
Key Abbreviations (US Terminology)
- ch: Chain
- st: Stitch
- sc: Single Crochet
- dc: Double Crochet
- hdc: Half Double Crochet
- sl st: Slip Stitch
- k: Knit
- p: Purl
Special Notes
- This sweater is worked from the neckline down, in a spiral pattern for the body and sleeves. Pay special attention to the placement of increase sections and color transitions.
- The neckline uses 10mm needles for elasticity, while the body and ribs are worked with smaller 7mm needles to tighten and shape.
- Be mindful of color changes under the arm to avoid visible transitions on the front or back.
Step-by-Step Instructions
Step 1: Create the Elastic Collar
- Using 10mm circular needles, cast on 64 stitches for neck circumference using your preferred method. (Adjust count for a larger or smaller neck opening.)
- Join in the round, ensuring the stitches are not twisted. Place a stitch marker at the starting point.
- Work in 2x2 ribbing:
- Knit 2, Purl 2, repeat until end of the row.
- Continue the 2x2 ribbing for about 5 rows or until the desired collar height (approximately 6cm).
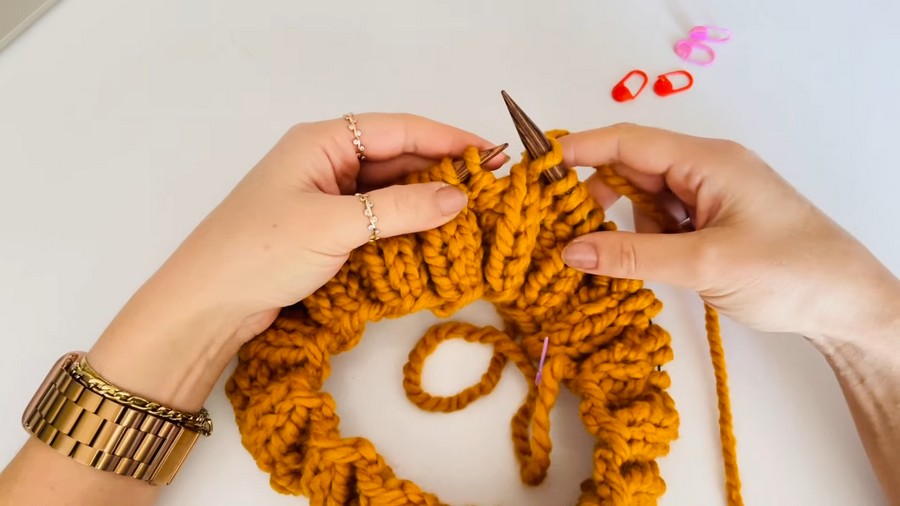
Notes: The loose tension from using 10mm needles ensures the neckline is stretchy and comfortable to wear. Adjust the needle size for a tighter neckline if preferred.
Step 2: Begin the Yoke – Increases for Body and Sleeves
- Switch to 7mm circular needles.
- Divide the stitches into sections:
- Front: 20 stitches.
- Back: 20 stitches.
- Sleeves: 10 stitches for each sleeve.
Use stitch markers to separate these sections.
- Knit Plain:
- Round 1: Work one knit stitch (k) in every stitch.
- Round 2 (Increase Row): At every section marker (front, back, sleeves), increase one stitch before and after the marker by knitting through the front and back loop or by picking up a bar from the previous row.
- This adds 8 stitches per round: 2 for front, 2 for back, and 2 for each sleeve.
- Alternate:
- One Plain Knit Row (No Increases).
- One Increase Row.
- Repeat until the yoke reaches the desired length for the sleeve separation, approximately 21cm from the neckline.
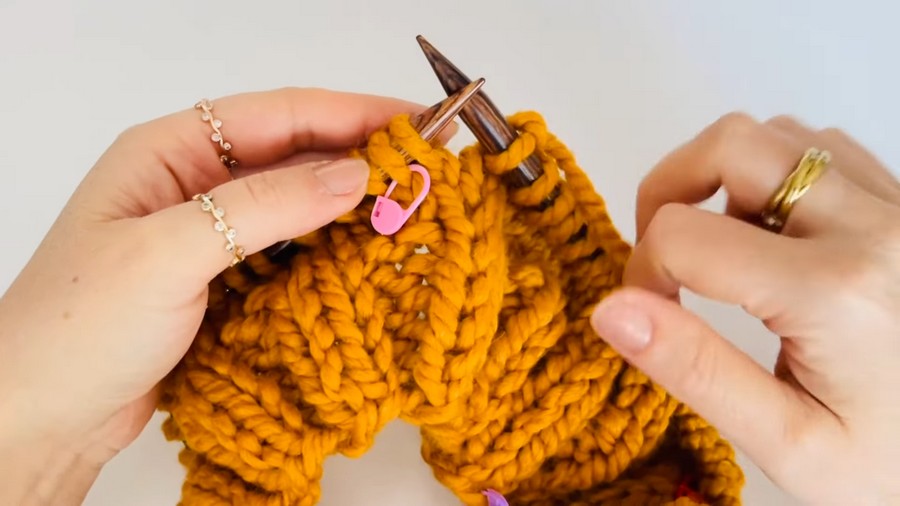
Tip: Regularly try on the sweater to ensure that the increases create the correct yoke size.
Step 3: Separate Sleeves and Continue Body
- Place the sleeve stitches on spare yarn or cables, leaving only the front and back stitches on the circular needle.
- Join the front and back of the sweater under the arms by casting on 2 additional stitches at each underarm gap.
- Continue knitting the body in plain stockinette (knit every stitch) in a spiral pattern.
- Work the body until it reaches the desired length, excluding the hem ribbing (approximately 46cm total length from the neckline).
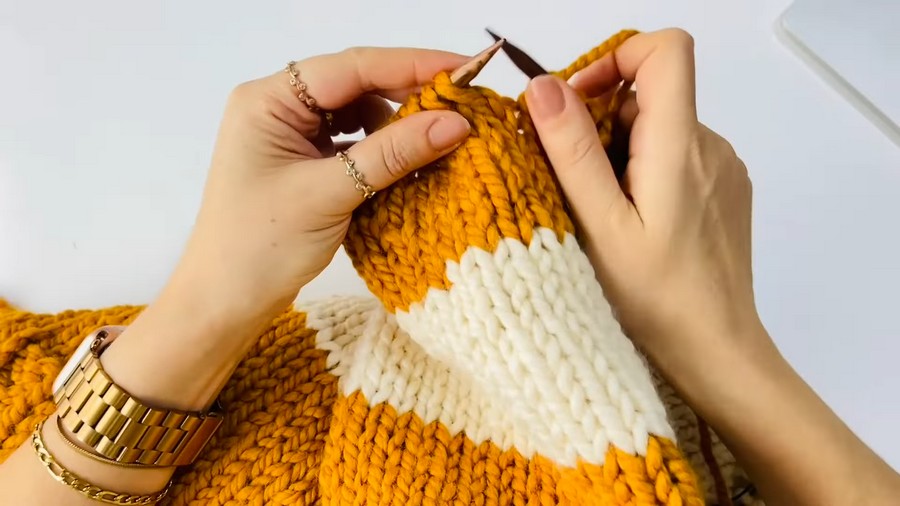
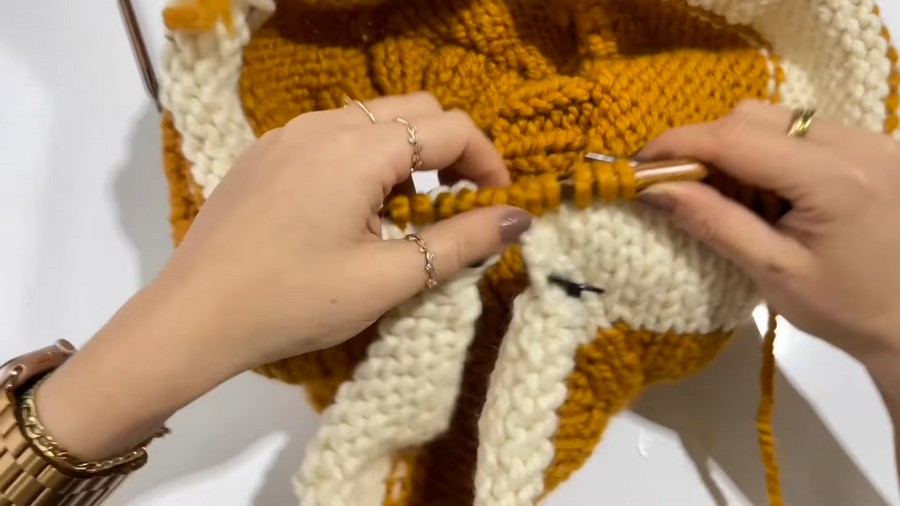
Step 4: Color Changes
- To achieve seamless color transitions, always change the yarn at underarm points where the changes are least visible.
- Tie off the current color and securely attach the new color at the start of the next round. Cut the old color yarn, leaving a short tail to weave in later.
- Alternate: Work 9 rows of Color 1, then switch to Color 2, repeating until the body is complete.
Step 5: Add Ribbing to Hem
- Switch to 7mm knitting needles.
- Begin 2x2 ribbing:
- Knit 2, Purl 2, repeat for 6-8 rows or until the desired hem length.
- Bind off loosely to maintain elasticity.
Step 6: Crochet the Sleeves
- Transfer the held sleeve stitches back to 7mm needles.
- Pick up 2 stitches at the underarm gap to ensure there is no hole.
- Work the sleeves in plain stockinette, alternating colors every 9 rows (as in the body).
- As you approach the cuff, switch to 2x2 ribbing:
- Knit 2, Purl 2, repeat for 6-8 rows.
- Bind off loosely and repeat for the second sleeve.
Conclusion
Your spiral two-color sweater is now complete! This seamless, top-down sweater is stylish and cozy, with flattering color transitions and customizable lengths for the body and sleeves. It's a great project for refining circular needle techniques while creating a versatile wearable item.
Pattern Correction
- Ensure you are increasing evenly across all sections (front, back, sleeves). Missing an increase can distort the shape.
- When separating the sleeves, double-check the stitch counts to avoid holes or mismatched sections.
Tips for Success
- Circular Needle Size: Use a needle with a long cable (120cm) for larger sizes to prevent crowding of stitches.
- Adjusting Sizes: For smaller or larger sizes, cast on fewer or more stitches for the neckline and adjust increases proportionally.
- Testing Gauge: Knit a swatch in stockinette to determine the required needle size for your tension.
- Maintaining Clean Color Transitions: Always make color changes at underarm sections to keep the body front and back clean.