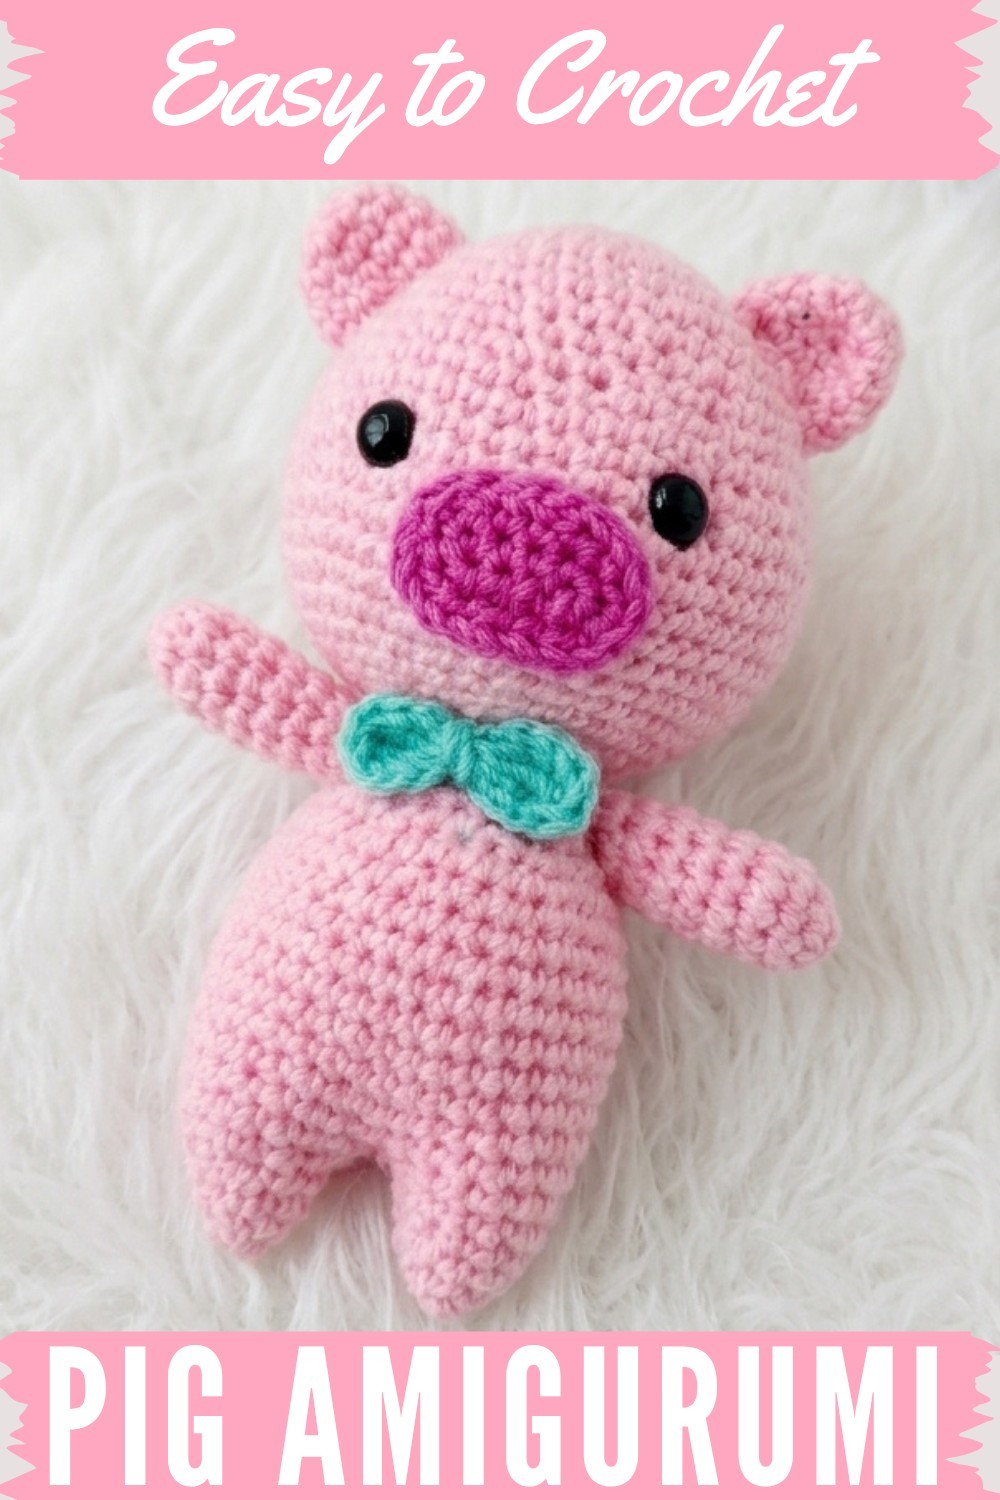
Turn yarn into adorable little pigs with this free crochet pig amigurumi guide, offering an easy and fun way to add charm and personality to your collection.
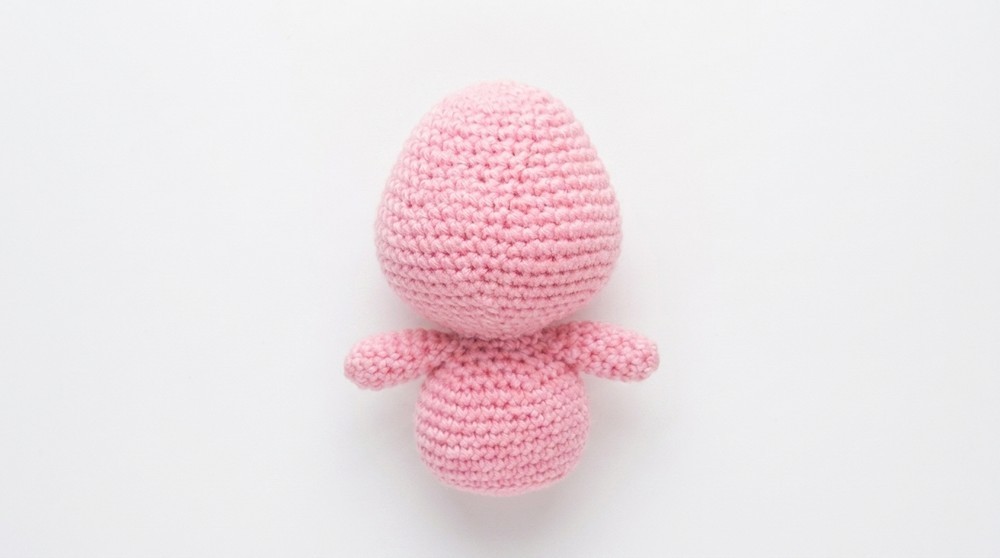
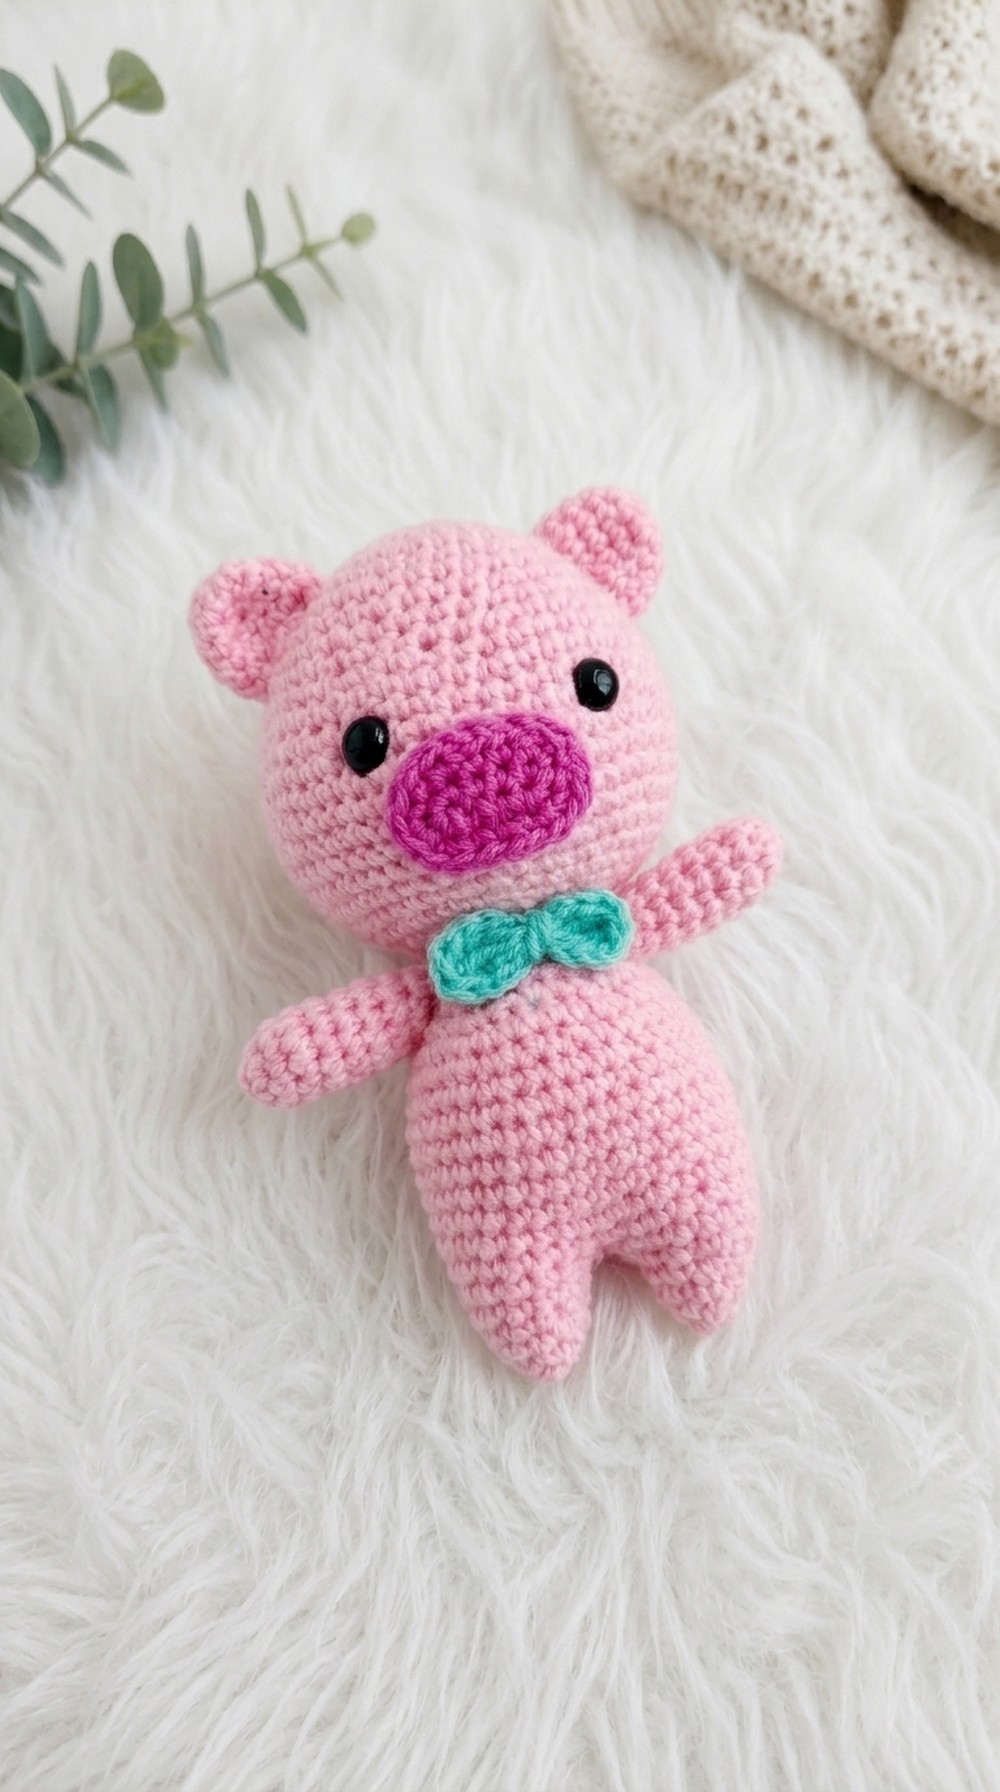
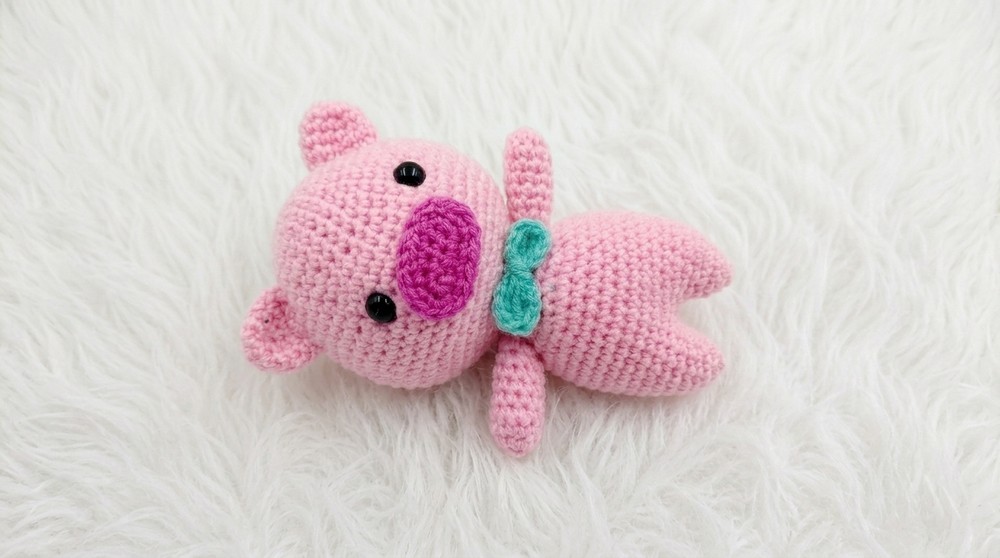
I had so much fun creating an adorable little pig amigurumi that is both cuddly and charming. This project is a sweet, round plush toy with tight stitches that give it a smooth, soft texture perfect for hugging. Its cute shape, tiny legs, and cute snout make it look like a playful piglet ready to brighten anyone’s day.
Free Crochet Pig Amigurumi Pattern Fot Fun
This pattern is ideal for crocheters who have some basic skills, especially those comfortable with working in the round and sewing pieces together. You can easily adjust the size by swapping yarn weight or hook size to make a big pig or a mini one that fits in your hand. The pig is made by crocheting separate parts separately and then stitching them on. A helpful tip is to stuff it firmly but not too tight, so it keeps a nice squishy shape, and take your time with the embroidered facial features to give it character.
Inspired by the joy and charm of farm animals, this design uses soft acrylic or cotton yarn that makes the stitches stand out and feels wonderful to touch. It’s a fantastic handmade gift idea for birthdays, baby showers, or just because you want to spread smiles. Don’t hesitate to get creative by adding accessories like little scarves or hats to make your pig amigurumi truly one of a kind and full of personality.
Crochet Pig Amigurumi Pattern
This adorable crochet pick is perfect as a soft toy, décor, or as a cute, handmade gift. The seamless head and body are crocheted in the round, and details like hands, ears, and a smart little bow add extra charm. The pattern is straightforward and beginner-friendly, with helpful details at every step.
Materials
- 4-ply acrylic yarn, four colors (yellow, orange, black, accent color for bow)
- 3 mm crochet hook
- Scissors
- Yarn needle for sewing
- Stitch markers or contrast yarn
- Fiberfill for stuffing
Gauge (and Stitch Pattern)
Gauge is not critical for this project, but work with firm, even tension for a neat finish.
The pattern uses only single crochet (sc) in rounds and rows, as well as basic increases (2 sc in one stitch) and decreases (sc2tog).
Special Stitches
- Magic Ring: Make a loop, draw up a loop, then work the stated number of stitches into ring, pull tight to close.
- Increase: 2 single crochet (sc) in the same stitch.
- Decrease: Insert hook in next st, yarn over and pull up a loop, insert in next st, yarn over and pull up a loop, yarn over and pull through all 3 loops.
Skill Level
Beginner. This pattern uses single crochet in the round, simple increases and decreases, and some basic seaming.
Stitch Abbreviations
- sc = single crochet
- sl st = slip stitch
- ch = chain
- MR = magic ring
Measurements / Sizing
- Finished pick is approx. 12-14 cm (5"-5.5") tall when using 4-ply acrylic and a 3 mm hook.
- Width is approx. 6-8 cm (2.5"-3").
- Proportions can be easily scaled by adjusting yarn or hook size.
Pattern Notes
- Work in continuous spiral rounds unless otherwise specified.
- Use a stitch marker to keep track of the first stitch of each round.
- Count stitches at the end of each round for best results.
- Make each body part firmly and stuff evenly to keep the pick in shape.
- Invisible join and seamless finishing are recommended for neatness.
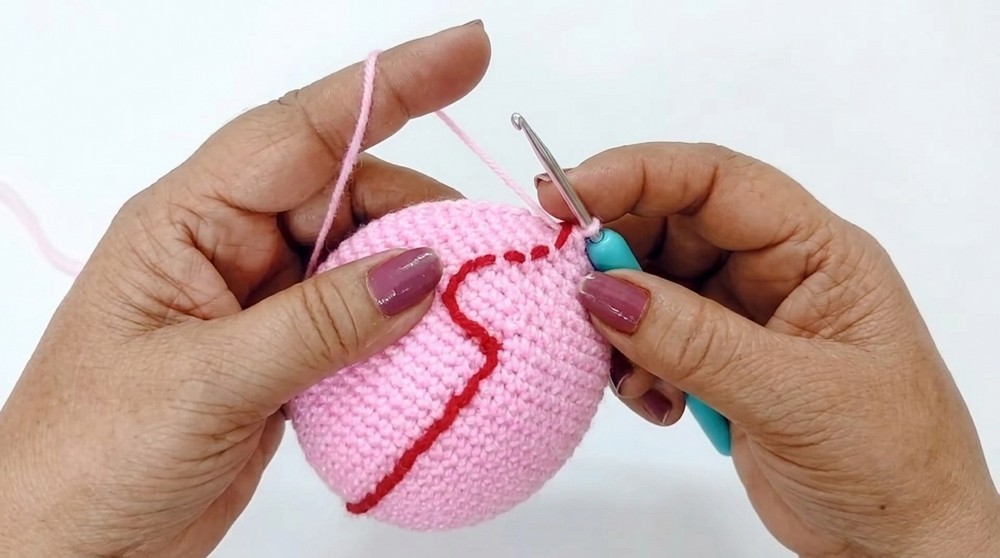
The Crochet Pattern (Step-By-Step)
HEAD
- MR, 6 sc into ring. Pull to close. (6)
- 2 sc in each sc around. (12)
- (Sc in next st, 2 sc in next st) around. (18)
- (Sc in next 2 st, 2 sc in next st) around. (24)
- 1 sc in each st around. (24)
- (Sc in next 3 st, 2 sc in next st) around. (30)
- 1 sc in each st around. (30)
- (Sc in next 4 st, 2 sc in next st) around. (36)
- 1 sc in each st around. (36)
- (Sc in next 5 st, 2 sc in next st) around. (42)
- 1 sc in each st around. (42)
- (Sc in next 6 st, 2 sc in next st) around. (48)
- 1 sc in each st around. (48)
- (Sc in next 7 st, 2 sc in next st) around. (54)

For a softer defined round, alternate with repeat:
15-18. 1 sc in each st around. (54 each round)
Begin Decreases (HEAD-SHAPE)
- (Sc2tog, sc in next 7 st) around. (48)
- (Sc2tog, sc in next 6 st) around. (42)
- (Sc2tog, sc in next 5 st) around. (36)
- (Sc2tog, sc in next 4 st) around. (30)
- (Sc2tog, sc in next 3 st) around. (24)
- (Sc2tog, sc in next 2 st) around. (18)
Slip stitch to close, leave long tail.
Stuff firmly and close opening with needle. Head is complete.
HANDS (Make 2)
- MR, 5 sc into ring. Pull to close. (5)
- 2 sc in each sc around. (10)
3-7. 1 sc in each st around. (10/row) - Decrease twice (sc2tog), then sc in next 6 stitches. (8)
- 1 sc in each st around. (8)
Finish, stuff lightly, sl st to close and leave tail for sewing.
EARS (Make 2)
- MR, 6 sc into ring. (6)
- (2 sc in next st, then sc in next st) 3x. (9)
- (2 sc in first st, sc in next 2 st) 3x. (12)
- (2 sc in first st, sc in next 3 st) 3x. (15)
- 1 sc in each st around. (15)
Finish, sl st to first, leave tail.
BODY AND LEGS (Continuous in One)
First Leg (Make 2)
- MR, 6 sc into ring. (6)
- (2 sc in each st) (12)
- (2 sc in first st, sc in next st) 3x, then sc in rem st to round. (9)
- (2 sc in first st, sc in next 2 st) 3x. (12)
- (2 sc in first st, sc in next 3 st) 3x. (15)
- 1 sc in each st around. (15)
Finish first leg, join yarn on second leg after completion with sl st—do not fasten off.
Joining Legs & Forming Body
- With the first and second legs side by side, work 15 sc around first leg, then continue across foundation to sc around second leg. (30)
- Insert marker for first body round.
- (2 sc in first st, sc in next 4 st) 6x (increase by 6). (36)
10-15. 1 sc in each st around. (36 each row) - (Sc2tog, sc in next 4 st) around. (30)
- (Sc2tog, sc in next 3 st) around. (24)
- (Sc2tog, sc in next 2 st) around. (18)
19-25. 1 sc in each st around. (18)
Finish, stuff firmly, sew closed.
MUZZLE/BEAK (Make 2 Panels)
- With contrast color, chain 5.
- Starting in 2nd ch, work sc in next 3 ch, at last ch: 4 sc (to turn the corner).
- Along the unworked edge of chain: sc in next 2 ch, 2 sc in last ch.
- Place marker, continue in the round.
- Round 2: 2 sc in first st, sc in next 2 st, 2 sc in each of the next 4 st, sc in next 2 st, 2 sc in last 2 st (work increases at curves for shape).
- Sl st to close; leave long tail. Make two panels.
- Place panels together; tighten seams with needle or use glue as preferred for firmness.
Bow
- Magic Ring with accent color, ch 3.
- 3 triple crochet (tr) in ring.
- Ch 3, sl st to ring.
- Ch 3, 3 tr in ring, ch 3, sl st to ring.
- Tighten ring, pull starting tail, wrap centre with yarn several times, tie securely.
- Leave a tail for sewing.
Assembly & Finished Size
- Stuff each part with fiberfill, shaping as you go.
- Sew hands to either side of the body below the head seam.
- Sew the ears on top of the head, equidistant from the centre seam, leaving about 3-4 rounds from the centre between them.
- Sew the muzzle/beak centrally to the head, with the top above the round join.
- With black yarn, embroider small eyes above the muzzle in a cross shape; outline with extra rounds for fullness.
- Sew or tie bow to the “neck” or slightly under the beak.
- Weave in all ends neatly on the wrong side.
- Adjust stuffing and shaping before finalizing seams.
- Finished size is approximately 12-14 cm tall, 6-8 cm wide.