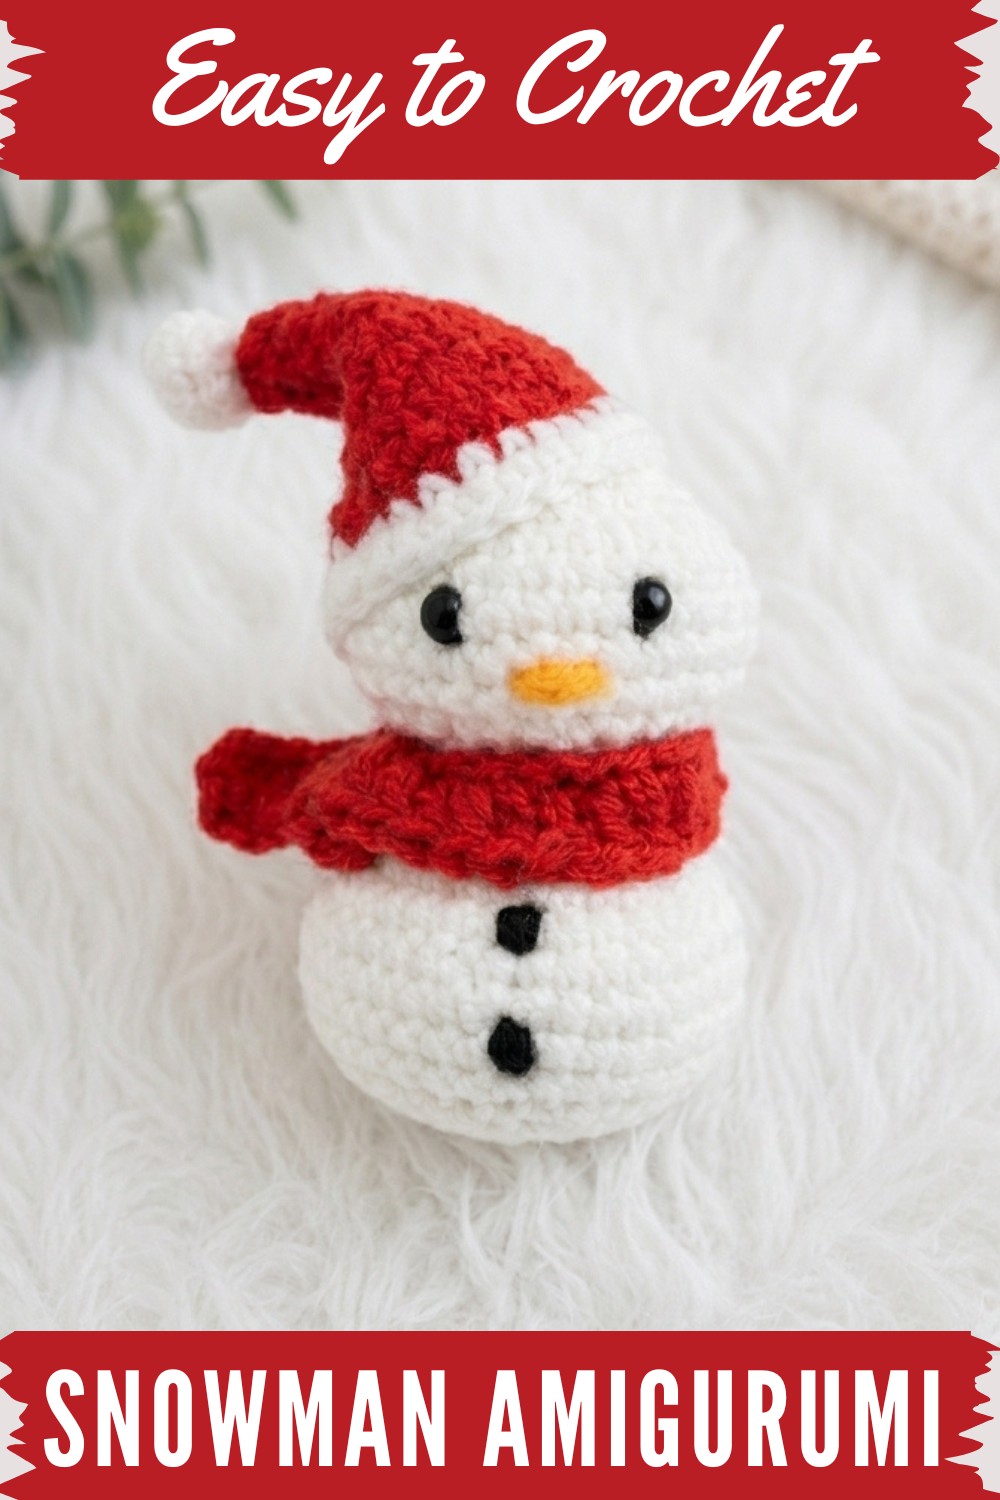
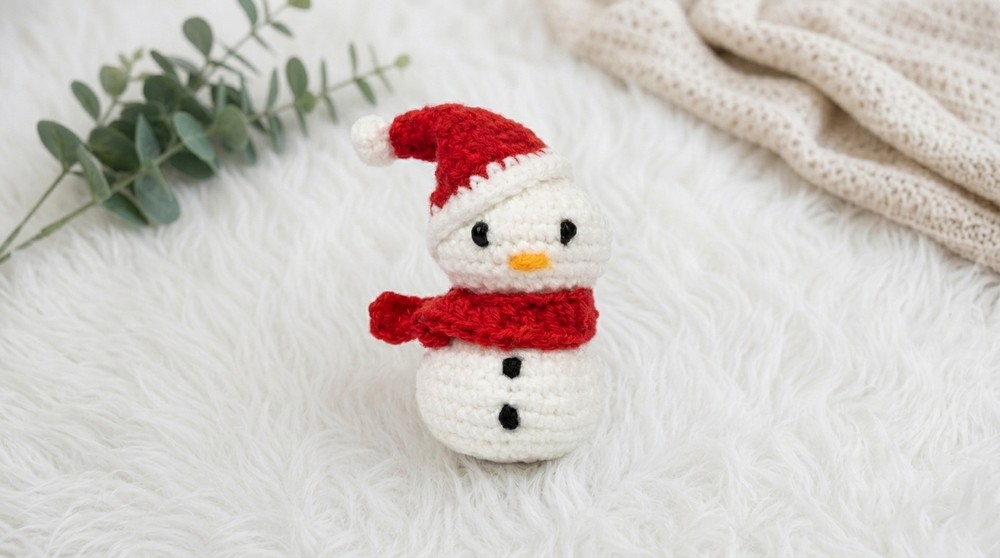
Create a charming Crochet Snowman Amigurumi with this pattern, featuring simple steps for creating festive, handmade snowman decorations.
Last winter, I tried making a cute little snowman to brighten up my holiday decor, and that’s how I discovered a free crochet snowman amigurumi pattern that quickly became one of my favorites. This charming project results in a small stuffed toy, perfect for cozying up your living room or gifting to someone special. With just a few small changes in color or accessories, you can easily turn this snowman into a friendly snow-woman, a jolly reindeer, or even a festive elf, making it quite a versatile pattern to have in your crochet arsenal.
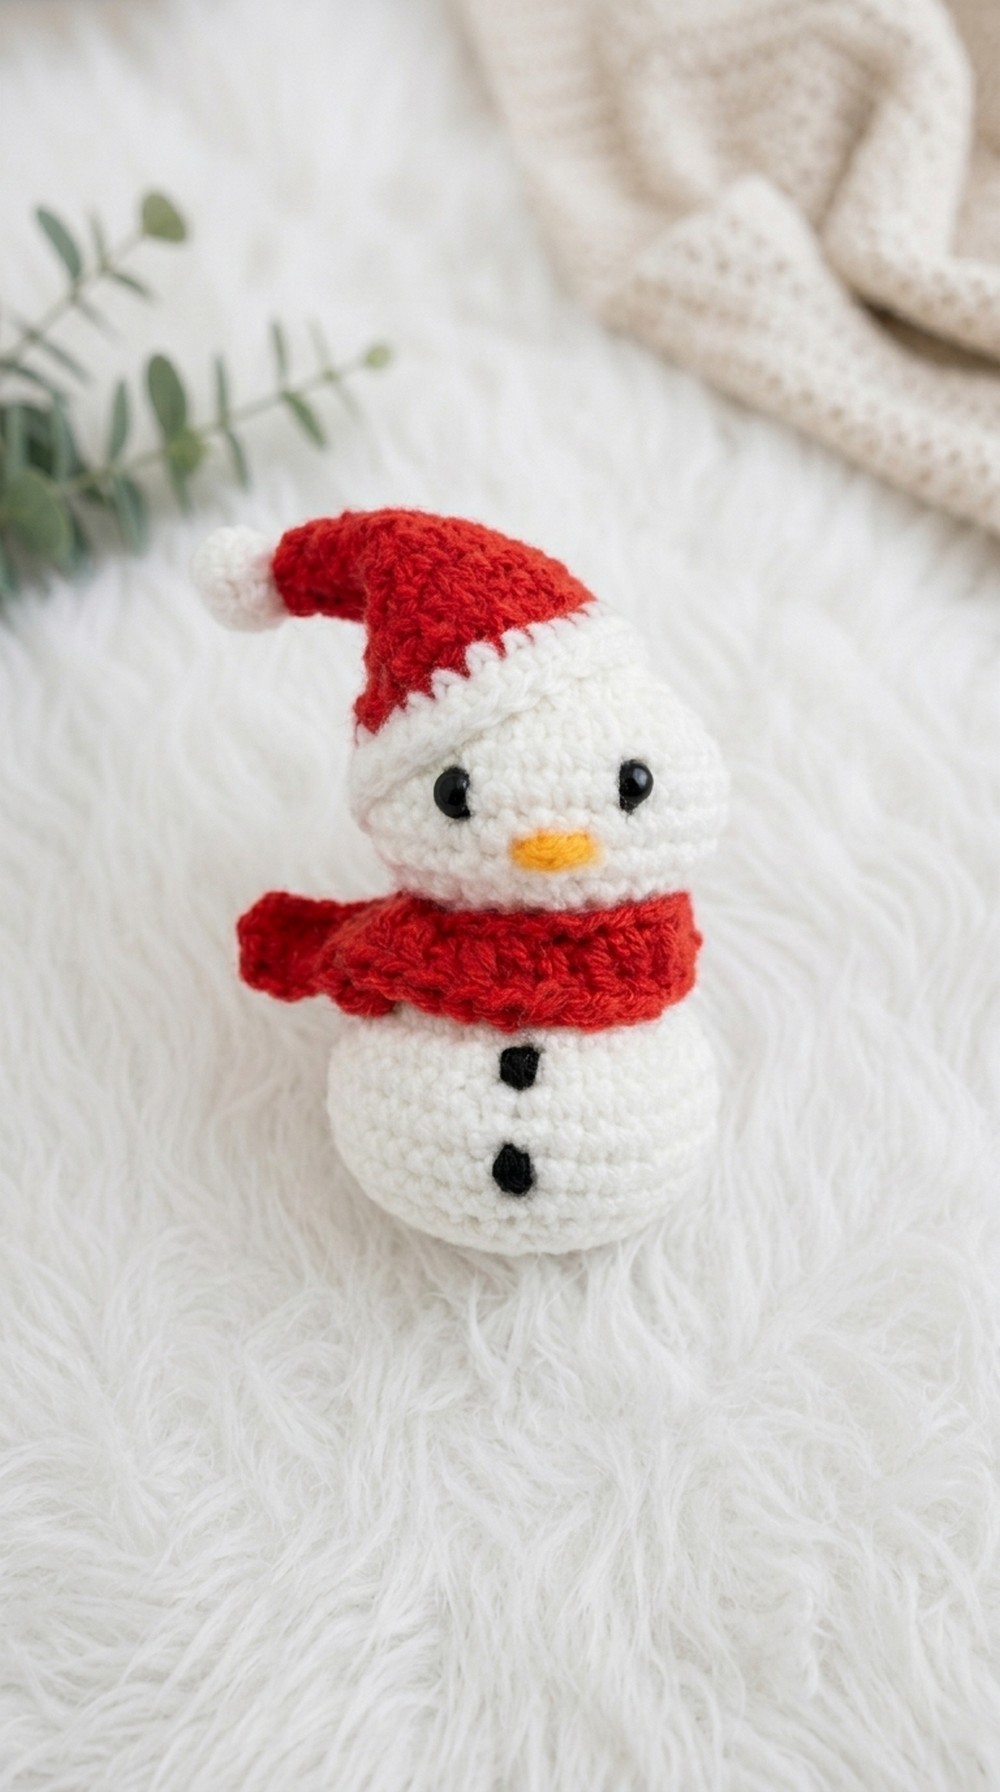
The beauty of this snowman lies in its sweet, simple look. It’s round and plump with a soft texture created by tight single crochet stitches that keep everything neat and snuggly. Its classic style, featuring a little carrot nose, a stitched smile, and a scarf or hat, brings instant holiday cheer. The standout feature is definitely the way the accessories can be customized—bright scarves, tiny buttons, or even little arms made from yarn or pipe cleaners all add personality and charm to this little guy.
Crochet Snowman Amigurumi Pattern - Free
Ideal for beginners, this project mainly uses single crochet stitches worked in the round, making it a great introduction to amigurumi. It’s straightforward but satisfying, offering a chance to practice consistent tension and simple shaping techniques. The easy construction means you’ll have a sweet handmade snowman in no time.
This crochet snowman makes a wonderful gift, an adorable decoration, or a cute collectible to bring some warmth to the cold season. Whether you’re crocheting for family, friends, or yourself, this project is a joyful way to celebrate winter’s magic. If you enjoy small, fun projects and want to try your hand at amigurumi, this free crochet snowman amigurumi pattern is a perfect match for you.
Step-by-step Crochet Pattern For Cute Little Snowman
Pattern Notes
- Work in continuous rounds unless stated otherwise.
- Use a stitch marker to mark the first stitch of each round for easier counting.
- Cotton or polyfiber is recommended for stuffing; do not overstuff for best shape.
- All parts (body, hat, arms, scarf if added) are worked separately and sewn together.
- For a neater finish, weave in all ends using a yarn needle.
Measurements / Sizing
- Finished snowman stands approximately 8-10 cm (3-4 inches) tall using 3 mm hook and DK/4ply yarn.
- Proportions can be easily adjusted by switching yarn weight or hook size.
Skill Level
Beginner: Uses only basic stitches (single crochet, double crochet), simple increases/decreases, and basic sewing.
Stitch Abbreviations
- sc: single crochet
- sl st: slip stitch
- ch: chain
- inc: increase (2 sc in same stitch)
- dec: single crochet decrease (sc2tog)
- dc: double crochet
- MR: magic ring
Gauge (and Stitch Pattern)
Gauge is not critical. Tight, uniform stitches produce best results. If using recommended yarn and hook, 5 rounds in sc = approx. 2.5 cm (1 in) diameter.
Materials
- DK or 4-ply acrylic yarn in white (main), black (eyes/buttons), orange (nose), and color of choice for hat/scarf
- 3 mm crochet hook
- Yarn needle
- Scissors
- Fiberfill or cotton for stuffing
Special Stitches
- Magic Ring (MR): Form a loop, work stated number of stitches into the loop, then pull tight to close.
- Increase (inc): 2 sc in same stitch.
- Single Crochet Decrease (dec): Insert hook in next st, yarn over, pull through, insert in next st, yarn over, pull through, yarn over, pull through all 3 loops.
Summary
This adorable snowman is easy to crochet and great for beginners. The head and body are made in one piece from single crochets, with hats and scarf added as accents. Assembly is simple and makes a perfect gift, ornament, or winter decor!
The Crochet Pattern! (Step-by-Step)
Body and Head (worked from bottom up in one piece)
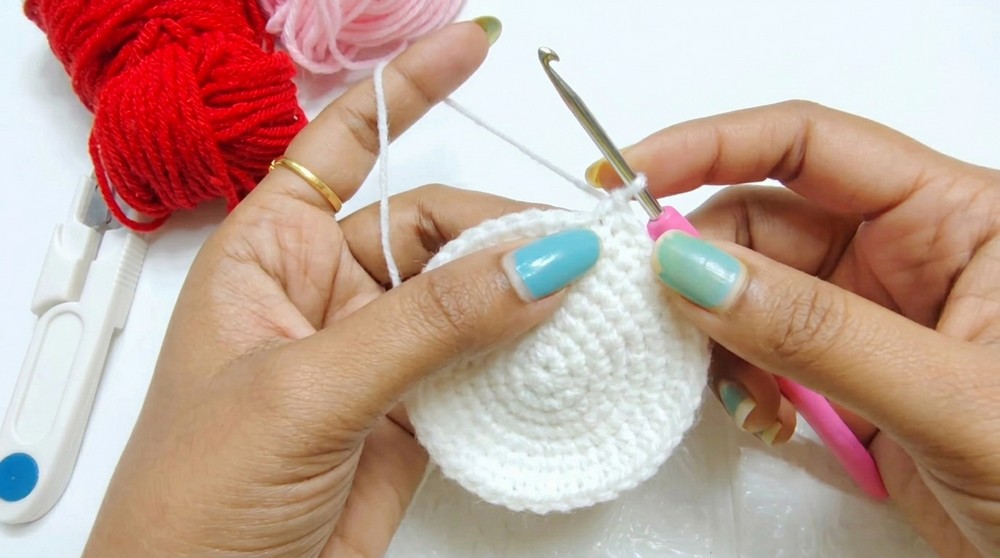
- Start with white yarn. Make a MR.
- Rnd 1: 6 sc in MR. Pull tight.
(6 sts) - Sl st into first sc to join, ch 1.
- Rnd 1: 6 sc in MR. Pull tight.
- Rnd 2:
- Work 2 sc in each st around (inc each stitch).
(12 sts) - Sl st, ch 1.
- Work 2 sc in each st around (inc each stitch).
- Rnd 3:
- (sc in next st, inc in next st), repeat around.
(18 sts) - Sl st, ch 1.
- (sc in next st, inc in next st), repeat around.
- Rnd 4:
- (sc in next 2 sts, inc), repeat around.
(24 sts) - Sl st, ch 1.
- (sc in next 2 sts, inc), repeat around.
- Rnd 5:
- sc in each st around (24 sts)
- Sl st, ch 1.
- Rnd 6:
- (sc in next 3 sts, inc) repeat around.
(30 sts) - Sl st, ch 1.
- (sc in next 3 sts, inc) repeat around.
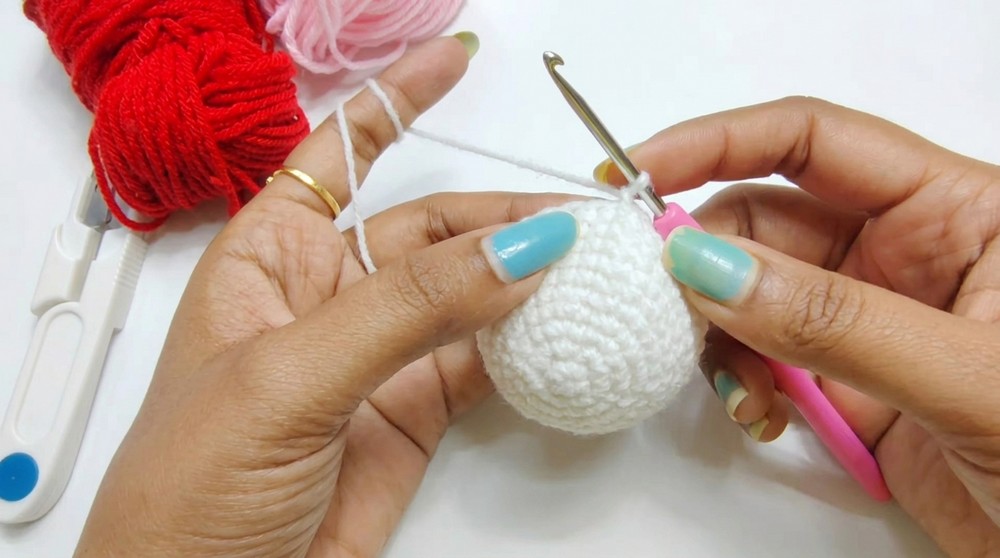
- Rnds 7–10 (4 rounds):
- sc in each st around (30 sts)
- Sl st, ch 1 at the end of each.
(The body is now done and this forms the base for head continuation.)
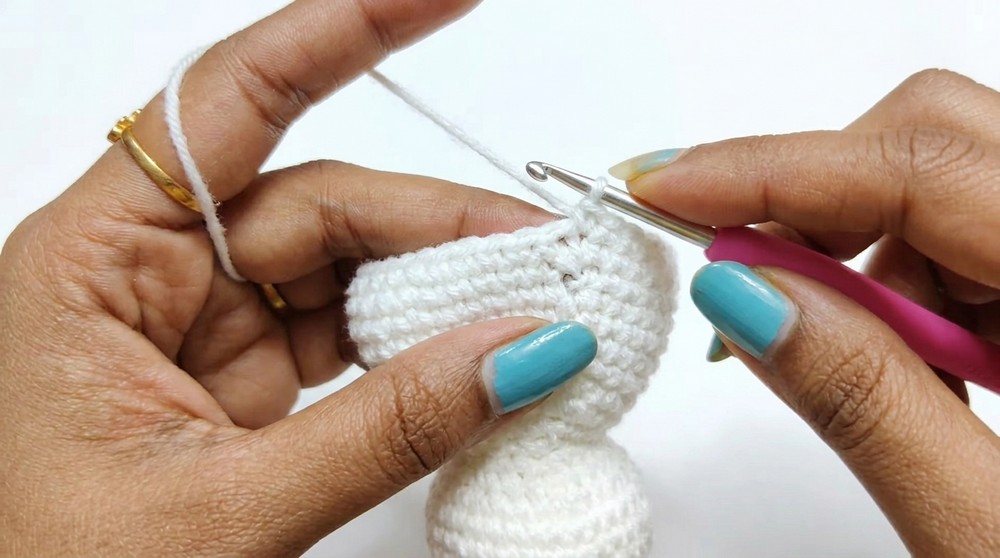
Shaping the Head
- Rnd 11:
- (sc in next 3 sts, dec) repeat around.
(24 sts) - Sl st, ch 1.
- (sc in next 3 sts, dec) repeat around.
- Rnd 12:
- (sc in next 2 sts, dec) repeat around.
(18 sts) - Sl st, ch 1.
- (sc in next 2 sts, dec) repeat around.
- Now stuff the body firmly with fiberfill.
- Rnd 13:
- (sc in next st, dec) repeat around.
(12 sts) - Sl st, ch 1.
- Rnd 14:
- (dec) repeat around to close.
(6 sts) - Fasten off, leaving a long tail. Weave through rem 6 sts to close tightly, secure, and hide end.
Hat
- With color of choice, make MR.
- Rnd 1: 10 dc in ring. Pull tight, sl st to join.
(10 sts)
- Rnd 1: 10 dc in ring. Pull tight, sl st to join.
- Rnd 2:
- ch 2 (does not count as dc), dc in same st.
- 2 dc in each st around (inc each st). (20 sts)
- Sl st to join.
- Rnd 3:
- ch 2, dc in each st around. (20 sts)
- Sl st to join.
- Rnd 4:
- Repeat Rnd 3 if you want a longer hat.
- Fasten off, leave tail for sewing.
Arms (Make 2)
- With white yarn, MR, ch 1.
- 6 sc in MR. Pull tight. (6 sts)
- Rnd 2–4:
- sc in each st around. (6 sts)
- Sl st to close, stuff lightly, leave long tail.
Assembly & Finished Size
- Sew hat to top of head.
- Attach arms on either side of body.
- With a little orange yarn, embroider or sew a triangle for the nose.
- Stitch eyes and buttons with black yarn, or glue on tiny beads.
- Optional: add a scarf with a strip of single crochet, or a pompom at the top of hat.
- Finished size approx. 8–10 cm tall.
- Weave in all yarn tails securely.
Special Finishing Touch:
- For a neat look, always slip stitch at the end of color changes and rounds.
- Work single crochets only in front loops or back loops when instructed for texture (hat brim, etc.).
- Embroider features before final assembly if needed.