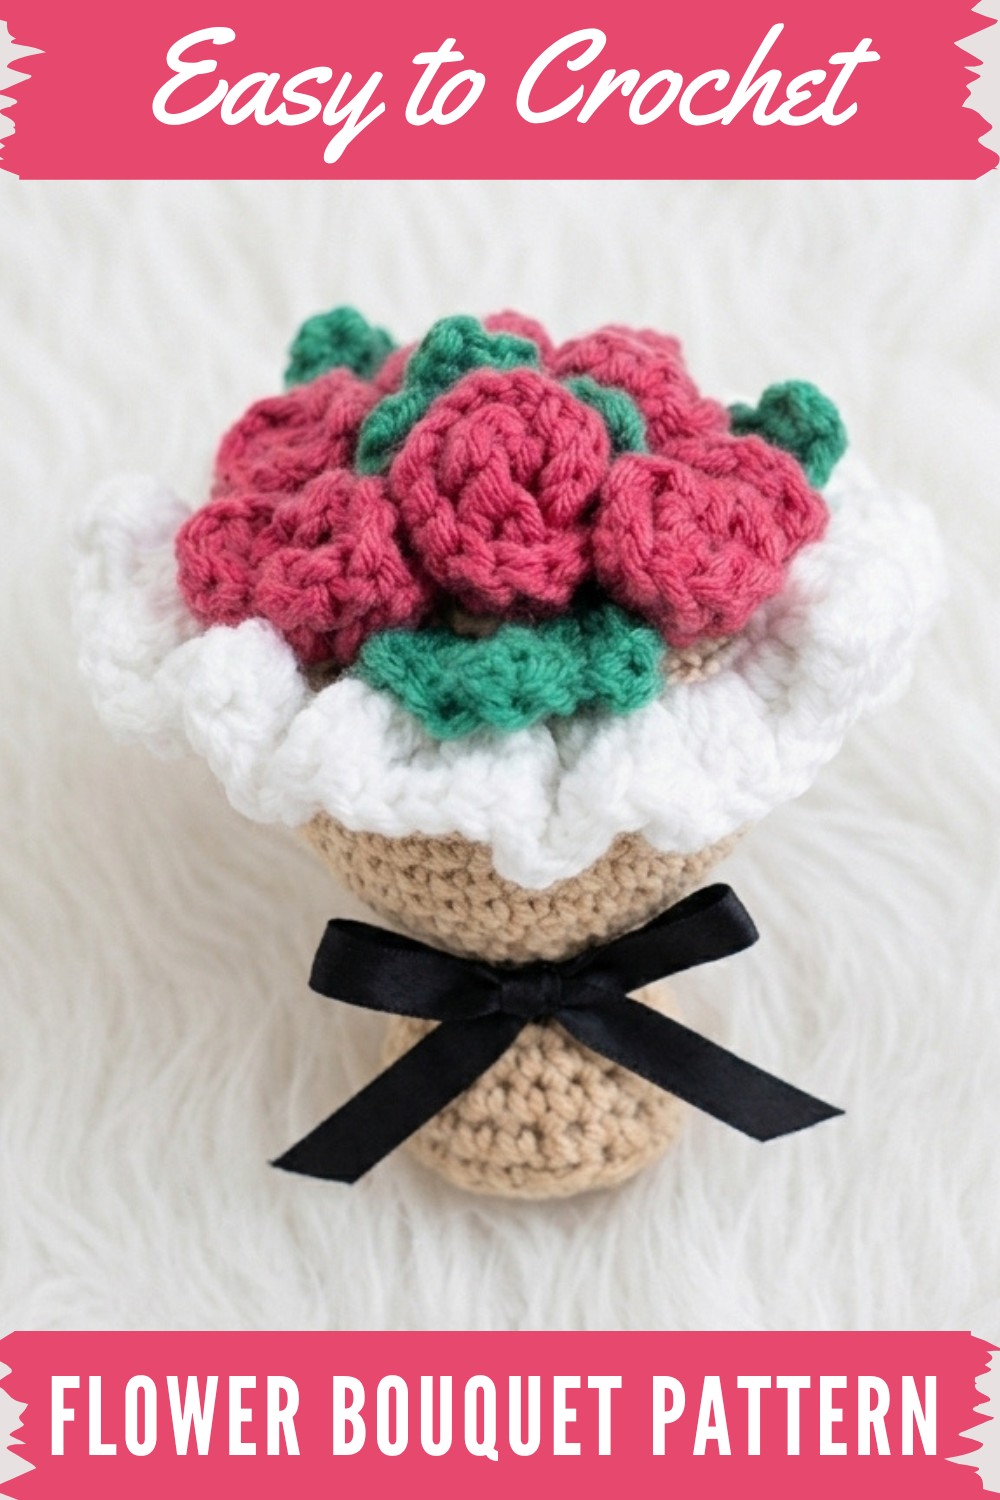
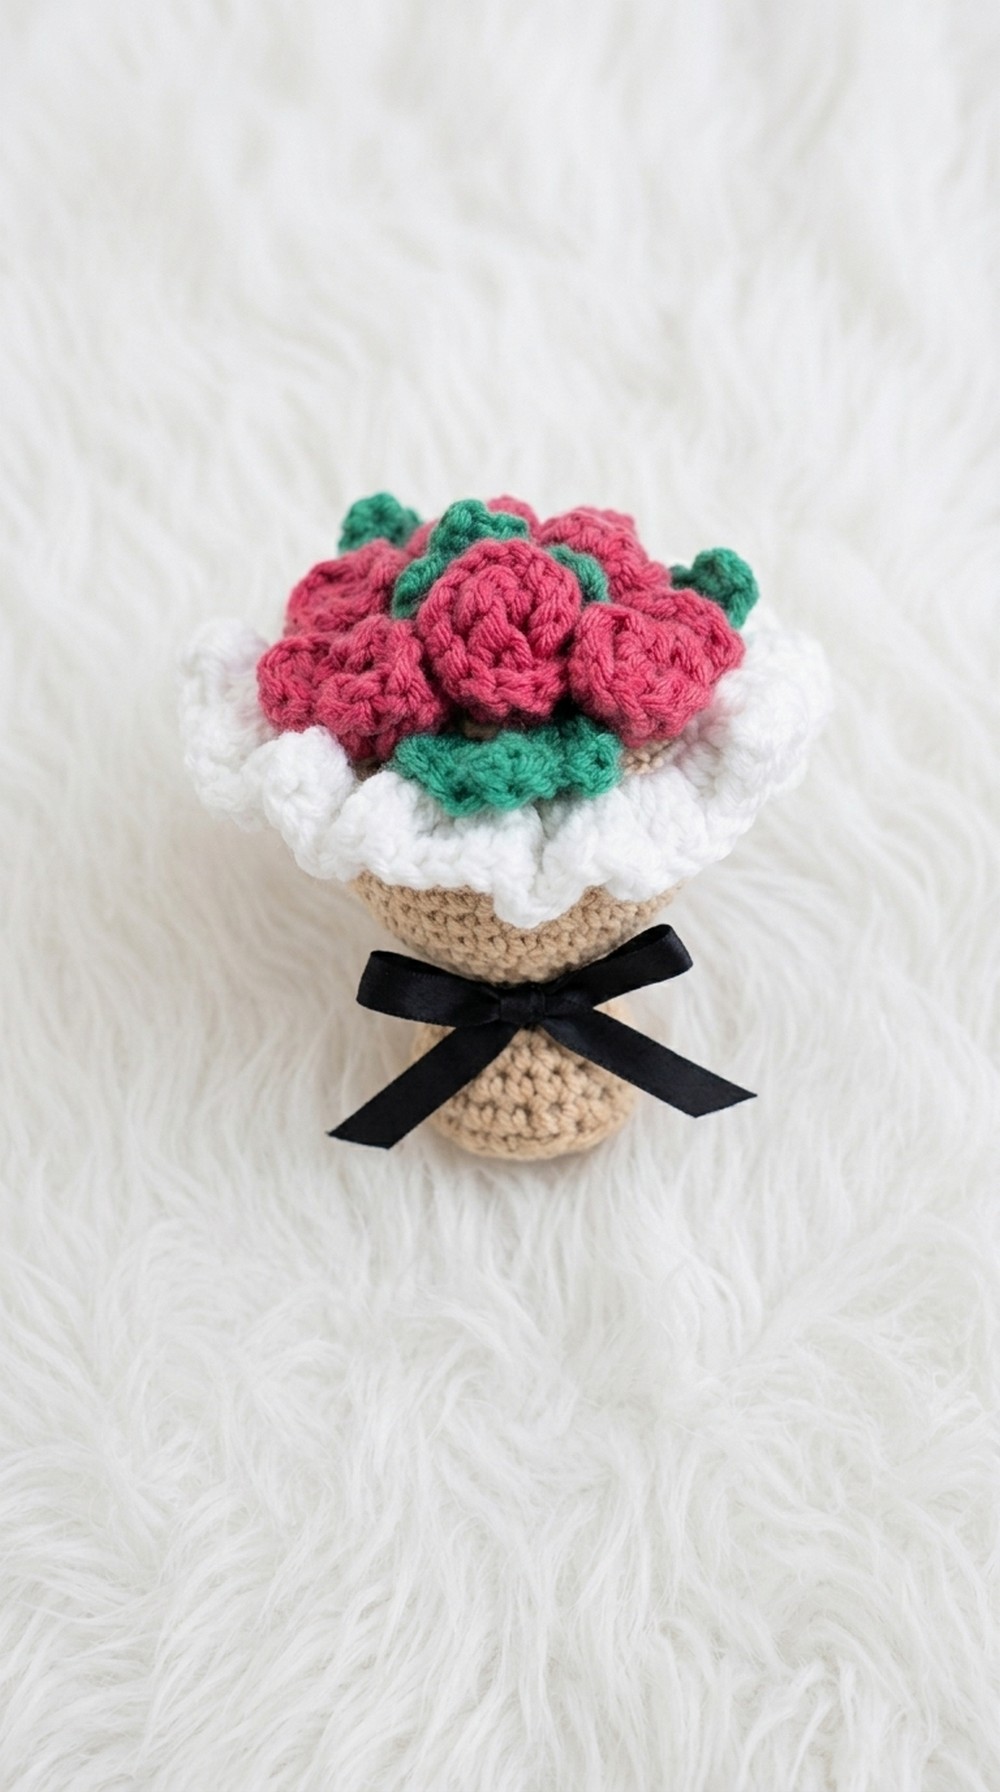
Achieve a timeless crochet flower bouquet with this free pattern to brighten your spaces or surprise loved ones with handmade charm.
Brightly colored yarn, a trusty crochet hook, and a little time are all you need to create a bouquet that never fades. Handmade blossoms like these offer lasting beauty for your home, no matter the season. Each flower feels special, whether it’s a cheerful daisy, a delicate rose, or a playful tulip, every creation comes together in your favorite shades and shapes.
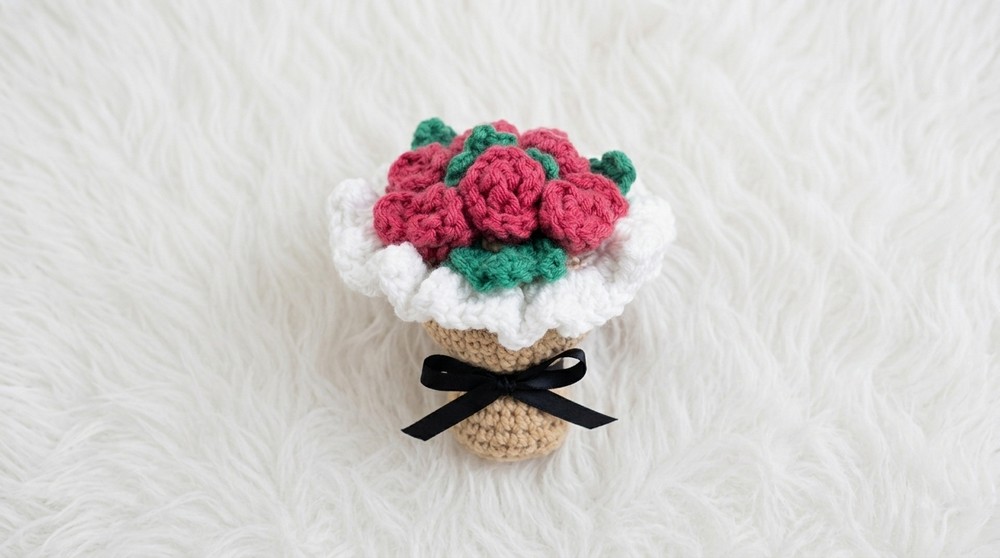
Mixing different petal styles and leaf details brings extra charm to each arrangement. Soft petals with layered textures and gently curved stems create a look that rivals a fresh-cut bouquet. I find it especially fun to experiment with colors, making each flower unique and full of personality.
Easy Crochet Flower Bouquet Pattern Anyone Can Try
These crocheted arrangements can be used in so many ways. They’re lovely as centerpieces on a dining table, brighten up any windowsill, and never need water or sun. Many people love giving them as gifts for birthdays, anniversaries, or Mother’s Day, each petal woven with care makes the gesture even more meaningful. Tuck a single bloom into a wrapped present, or fill a mason jar with a whole bunch for extra flair.
The finished bouquet feels both sturdy and soft, with shapes that hold well even after many years. Free online patterns open this beautiful crochet to everyone, so even a beginner can easily stitch up a bunch of stunning, long-lasting flowers.
Crochet Flower Bouquet – Step-by-Step Pattern
Give the perfect handmade gift for Valentine’s Day, birthdays, or as a charming home accent. This soft bouquet won’t wilt and is an ideal beginner amigurumi project. The following pattern uses classic step-by-step instructions.
Before You Start
- Review how to create: Magic Ring, Chain, Single Crochet, Half Double Crochet, Double Crochet, Back Loop Only, Decrease, and Slip Stitch.
- Read through the entire pattern before beginning.
- Pick out your favorite colors for the bouquet base, leaves, and blossoms.
- Gather all needed materials for a smooth workflow.
Pattern Notes
- Each bouquet starts with a round base, worked continuously in the round.
- The frill (paper wrap) uses the front loops left earlier.
- Decorative leaves and mini roses are crocheted separately and attached.
- All pieces are sewn or glued together for a sturdy, long-lasting gift.
- Adjust hook size and yarn thickness for different bouquet sizes.
How I Made the Crochet Pattern?
- Created a magical ring base, increased rounds for a plush bottom.
- Worked upward for the bouquet cone.
- Shaped and closed with decreases, stuffed gently.
- Added a delicate ruffle using leftover loops from an earlier round.
- Made spiral roses and simple leaves, assembling everything at the end.
Skill Level
Beginner/Advanced Beginner:
Basic shaping, increases, decreases, and simple assembly.
Finished Size
- Base diameter (with sport yarn): Approx. 2.5–3" (6–8cm)
- Height: 4.5"–5.5" (12–14cm)
- Size varies by yarn weight and hook size used.
Materials
- Sport weight yarn in 3–4 colors (main/base, green for leaves, 1–2 flower colors, white for frill)
- 2 mm crochet hook (or appropriate for your yarn)
- Small amount of polyester stuffing (polyfill)
- Ribbon, or yarn for bouquet tie
- Scissors
- Stitch marker
- Yarn needle
Measurements / Sizing
- Bouquet: 12–14cm tall, 6–8cm wide at base, but easily adjustable.
- Make flowers and leaves in various sizes for a custom look.
Gauge
- Amigurumi is usually worked tightly; ensure no stuffing shows through.
- Not crucial for this project, but consistent tension yields neat results.
Stitch Abbreviations
| Abbreviation | Meaning |
|---|---|
| ch | Chain |
| mr | Magic Ring |
| sc | Single Crochet |
| hdc | Half Double Crochet |
| dc | Double Crochet |
| inc | Increase (2 sc in same st) |
| dec | Decrease (sc2tog) |
| BLO | Back Loop Only |
| FLO | Front Loop Only |
| sl st | Slip Stitch |
Special Stitches
- Single Crochet Decrease (sc2tog): Insert hook in next st, yarn over and pull up a loop, repeat in next st, yarn over and pull through all 3 loops.
- Back Loop Only (BLO): Work in the loop further from you for textured ridges.
- Front Loop Only (FLO): Used for frill and flower shaping.
The Pattern!
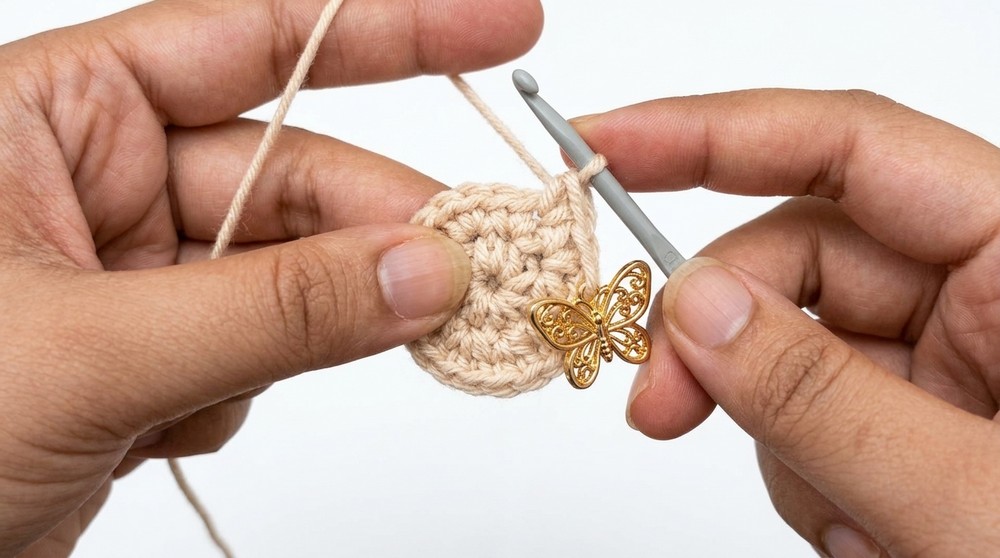
1. Create the Bouquet Base
Pattern Rounds:
- Make a magic ring, place 6 sc into ring (6).
- 2 sc in each st around (12).
- (sc in next st, 2 sc in next st) x 6 (18).
- (sc in next 2 sts, 2 sc in next st) x 6 (24).
- (sc in next 3 sts, 2 sc in next st) x 6 (30).
- (sc in next 4 sts, 2 sc in next st) x 6 (36).
- Working in BLO: sc in each st around (36).
8–11. sc in each st around (36) for 4 rounds.
Beginner’s Breakdown:
Start with a magic ring, which forms a tight center. Add single crochets to make the circle bigger. After each increase row, your piece gets wider, then you’ll just add single crochets around to build up the sides.
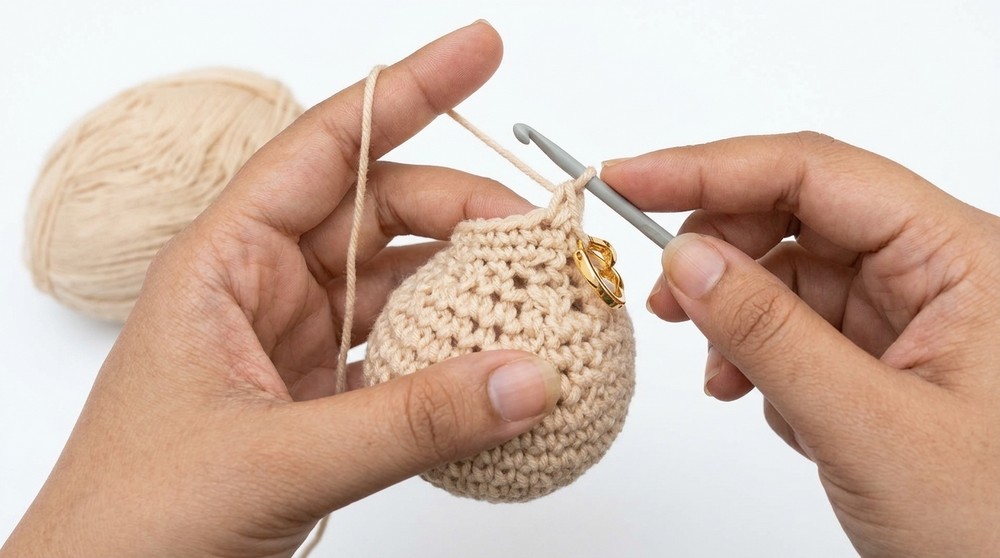
2. Opening & Shaping the Cone
Pattern:
- (sc in next 4 sts, dec) x 6 (30).
- (sc in next 3 sts, dec) x 6 (24).
- (sc in next 2 sts, dec) x 6 (18).
- (sc in next st, dec) x 6 (12).
Stuff the bouquet cone now, packing gently but firmly.
- dec in each st around (6).
Fasten off, lightly close opening, weave in ends.
Everyday Explanation:
Begin to decrease the circle’s size to create a cone. Each decrease row gently closes the top. Remember to pause before you close it completely—now’s the time to push in your stuffing for a plump, solid bouquet shape.
3. Frilly Paper Wrap Effect
Pattern:
- Using a contrasting yarn, attach yarn to any front loop of round 7 (the unused front loops).
- Ch 1. sc in each FLO around.
- Ch 2. In first FLO, make 3 hdc. In next FLO, 3 hdc.
- Alternate around—3 hdc in each FLO to end of round.
- Slip stitch to starting ch-2 and finish off.
Basic Guidance:
Go back to the row where you worked in the back loops and left the front loops unused. Attach your frill color to those free loops. Single crochet all the way around first, then three half double crochets in each for a ruffled, lacy edge.
4. Closing the Bouquet & Tidy Up
- Take the starting tail and weave up any small gap at the starting circle.
- Finish off stuffing and close the decrease side with a yarn needle if needed.
- Hide all loose yarn ends inside the bouquet cone.
Clarified Steps:
Use your original tails and yarn needle to seal up any tiny holes at both ends. Your stuffing will now stay neatly inside. Tuck any remaining ends into the body before you start on the decorations.
5. Crocheting Roses
Pattern for Each Rose:
- Ch 8.
- sc in 2nd ch from hook, inc in next ch, 3 sc in next ch.
- Next 4 chs: 3 dc in each.
- Fasten off.
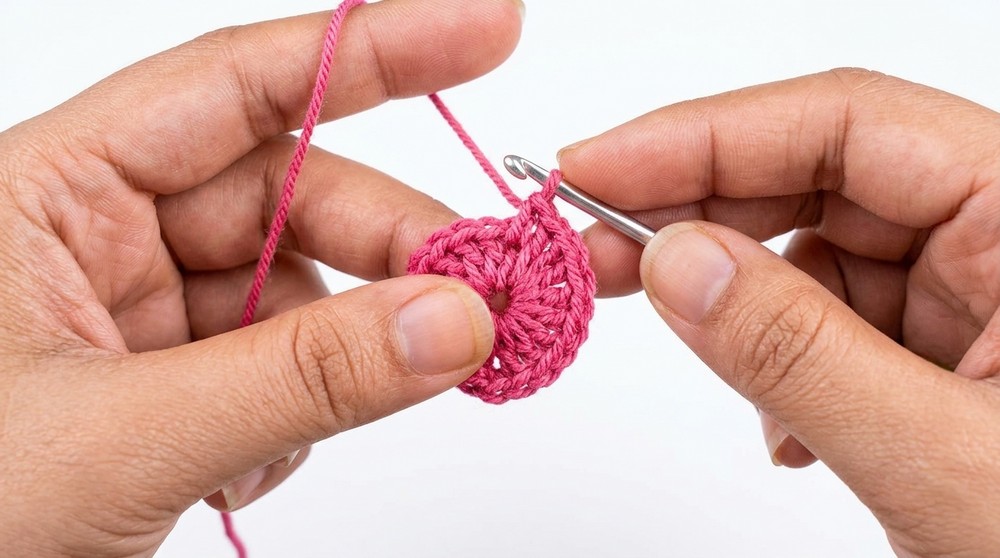
Twist strip into a loose spiral (flower), stitch or glue base securely.
General Directions:
Make a short chain, adding extra stitches in each step for petal shape. The base will naturally curl into a spiral. Roll it up into a rosette and fasten so it doesn’t unwrap.
6. Making Simple Leaves
Pattern for Each Leaf:
- Make a magic ring.
- 3 sc in ring.
- Ch 3. sc in 1st ch, hdc in next, sl st back into ring.
- Repeat ch-3, sc, hdc, sl st two more times for 3 points.
- Fasten off, hide ends.
Illustrated in Words:
Each leaf is like a little “spike.” Begin in a loop, then create a small chain for a pointed tip, work back into the base, and repeat to shape the leaf. Make as many as you like.
Assembly & Finishing
- Sew or glue flowers and leaves to the top of the bouquet cone, arranging them as you wish.
- Secure a ribbon, bow, or crocheted chain around the bouquet handle to finish.
- Tuck and trim any remaining yarn ends.
- Shape the frill and blossoms with your fingers.
- Add a drop of glue for extra security at the base of each flower, if desired.
Solution of Problems
Problem:
If your bouquet cone has small holes or stuffing pops through:
Solution:
Work with consistently tight stitches and use a smaller hook size for a denser fabric. Add more stuffing gradually to avoid stretching the crochet stitches.
If you’re ever confused, simply focus on building the base “cone” shape first—work increases in a circle, climb up for a few rows, then decrease to close. Add the frill by switching colors and looping through the unused front stitches. Whip up flowers in small strips and roll, leaves in a few quick chains. The final touch: arrange and secure everything.
What You Can Make With These Stitches
- Crochet bouquets (roses, tulips, more varieties!)
- Amigurumi toys and plush shapes
- Headbands or pins with spiral roses
- Leafy garlands and decorative vine trims
- Mini bouquets for weddings, celebration gifts, or keepsakes