
Crochet a Sweet Bee Keychain Pattern for Your Keys or Bags
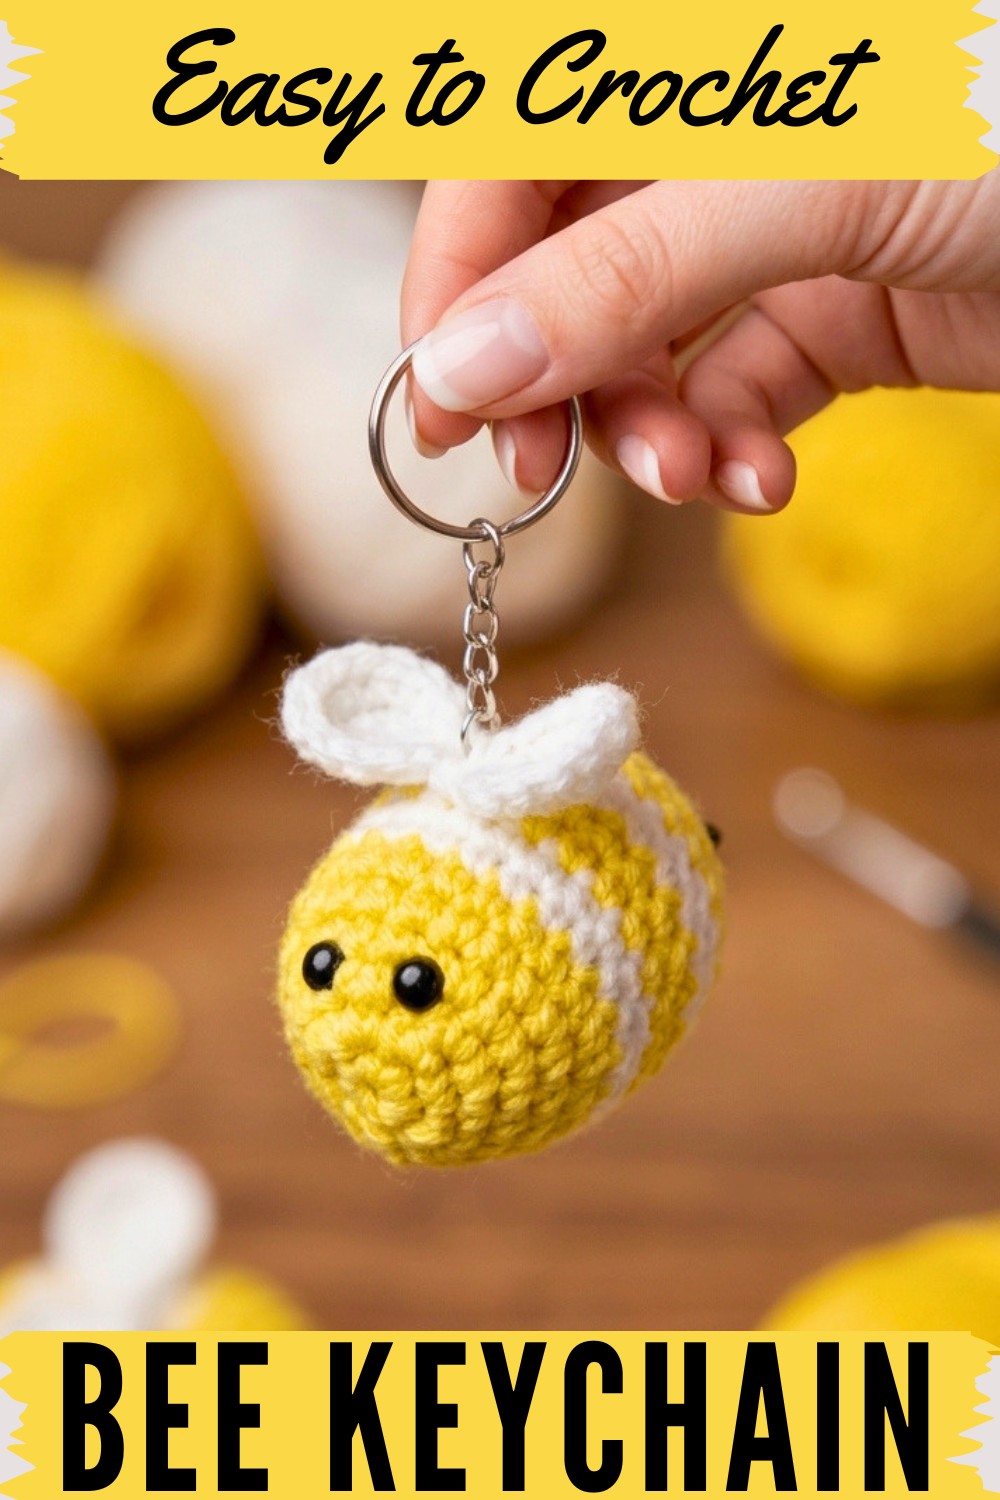
This project is perfect for beginners who want to try working in the round and shaping small amigurumi pieces, while intermediate crocheters will appreciate the opportunity to refine techniques like color changes and simple embroidery. Along the way, you’ll practice creating tight stitches, attaching parts securely, and finishing with clean details—all essential skills for any amigurumi lover.
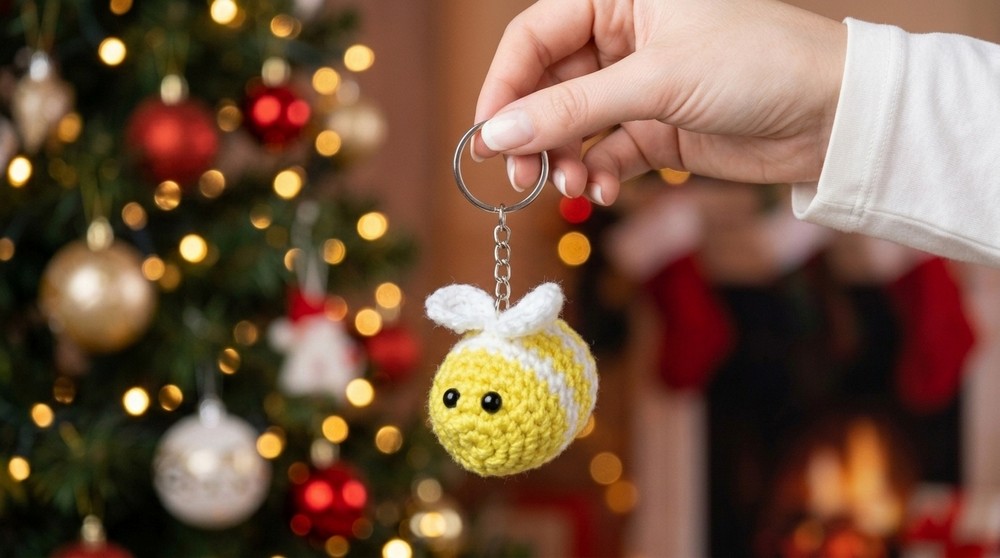
Customization is another fun aspect here. You can mix up the color palette, add tiny accessories like a looped antenna, or even pair multiple bees together for a keychain bouquet. The Free Crochet Bee Keychain Pattern offers a delightful creative outlet that’s both lighthearted and practical—a tiny touch of handmade joy buzzing right at your fingertips.
Crochet Bee Keychain Pattern
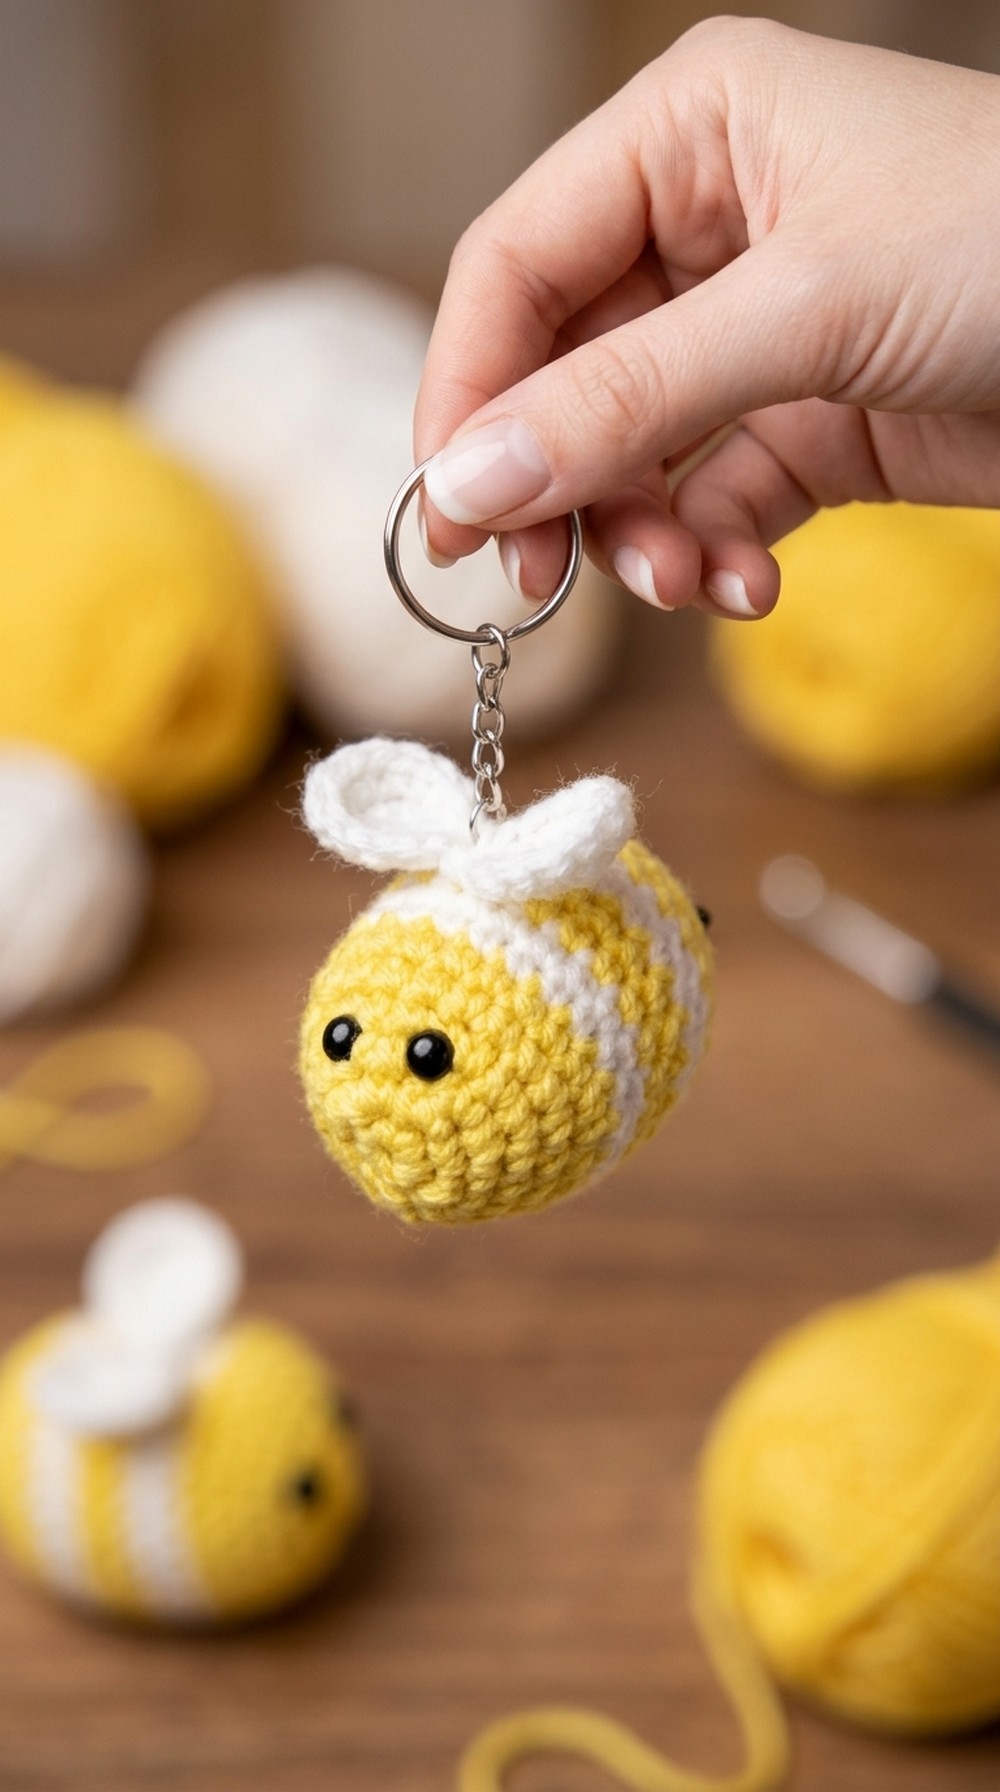
This beginner-friendly crochet tutorial will guide you through making an adorable bee keychain. This charming little bee features a rounded body with alternating yellow and white stripes, safety eyes, and delicate wings. Perfect as a gift or a personal accessory, this pattern is designed to be fun and approachable while providing crocheters with practical shaping techniques. The detailed instructions ensure you can follow along step-by-step to achieve a neat and polished amigurumi bee.
Quick Overview Of Pattern
- Bee Body: Worked in the round starting with a magic ring, using single crochet (SC) increases to shape the body and head.
- Striped Body: Alternating color rounds in yellow and white create the classic bee stripes.
- Decreasing: Body tapers with systematic decreases, stuffed with fiberfill.
- Wings: Small wings crocheted separately and sewn securely to the body.
- Finishing touches: Safety eyes are attached, and yarn ends are woven in for a clean finish.
Notes
- Work continuously in rounds, unless otherwise noted.
- Keep an even tension for smooth, neat stitches.
- Change colors seamlessly between rounds to achieve clean stripes.
- Attach safety eyes before stuffing the bee to stabilize them well.
- Stuff fibers firmly but avoid overstuffing to maintain shape without stretching stitches.
- Use a needle to securely fasten wings inside the body.
Skill Level
Beginner to Intermediate: This pattern requires knowledge of basic crochet stitches, working in a magic ring, increasing, decreasing, changing colors, and sewing pieces together.
Materials
- Worsted weight yarn in yellow and white colors.
- Black yarn or safety eyes (recommended size approximately 6 mm or preference).
- Crochet hook size suitable for yarn (recommended 3.5 mm).
- Fiberfill stuffing.
- Yarn needle.
- Scissors.
Measurements / Sizing
- Finished bee keychain body is approximately 6 cm (2.4 inches) tall.
- Wings approximately 2.5 cm (1 inch) wide each.
- Size may vary based on chosen yarn and hook size.
Gauge and Stitch Pattern
- Gauge is flexible; approximate gauge is 16 SC stitches and 16 rounds per 10 cm (4 inches).
- Pattern primarily uses single crochet (SC) stitches crocheted in continuous rounds with increases and decreases shaping the bee’s form.
Stitch Abbreviations
| Abbreviation | Term | Instruction |
|---|---|---|
| ch | Chain | Yarn over, pull through loop |
| sc | Single crochet | Insert hook, yarn over, pull through loop |
| inc | Increase | 2 SC in the same stitch |
| dec | Decrease | Crochet 2 stitches together |
| sl st | Slip stitch | Insert hook, yarn over, pull through both loops |
Special Stitches
- Magic ring (Magic Circle): Used to start the body with a tight center avoiding holes.
- Increase (inc): Working two single crochet stitches into the same stitch to expand the round.
- Decrease (dec): Crochet two stitches together to taper the shape.
The Crochet Pattern!
Bee Body (Head and Body)
Round 1 - Magic Ring and 6 SC
- Begin by creating a magic ring.
- Work 6 single crochet (SC) stitches into the magic ring.
- Pull the ring closed tightly.
Round 2 – Increase to 12 SC
- Work 2 SC in every stitch around (i.e., two SC in each of the 6 stitches).
- Total stitches: 12.
Round 3 – Increase to 18 SC
- Work the pattern 1 SC, 1 increase (2 SC in one stitch), repeating around.
- This increases stitch count to 18.
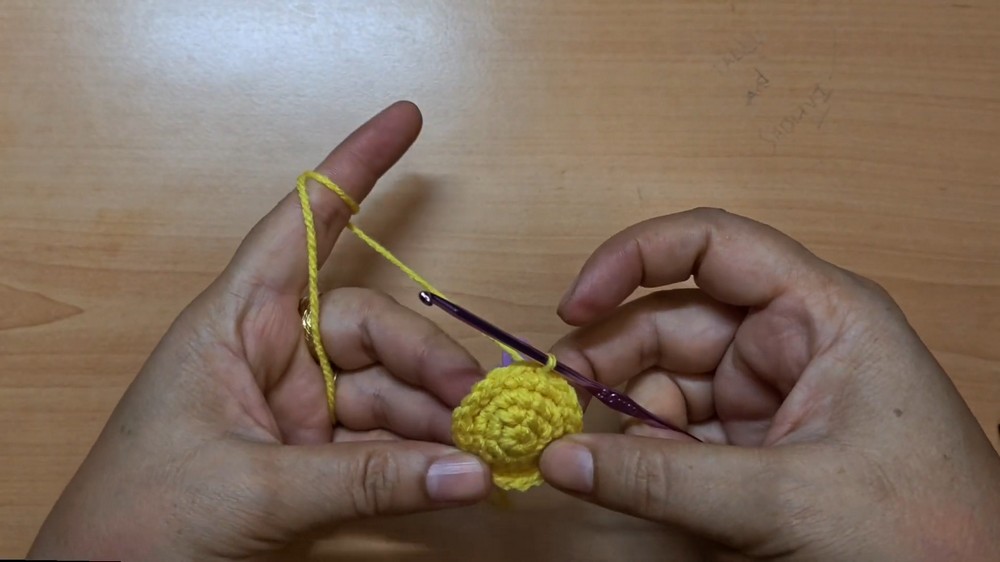
Round 4 – Increase to 21 SC
- Work 5 SC, 1 increase; repeat this three times.
- This round brings stitch count to 21.
Round 5 – Increase to 24 SC
- Work 6 SC, 1 increase; repeat three times.
- Total stitches: 24.
Body Stripes
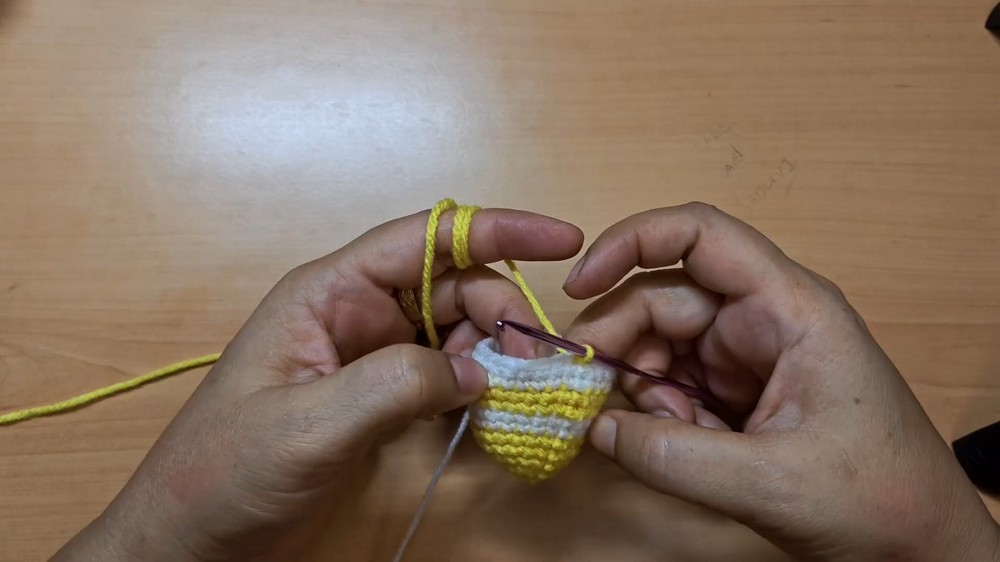
- Round 6: Work 1 round of 24 SC with yellow yarn.
- Round 7-8: Switch to white yarn and work 2 rounds of 24 SC.
- Round 9-10: Switch to yellow yarn and work 2 more rounds of 24 SC.
- Round 11-12: Switch back to white yarn and work 2 rounds of 24 SC.
Closing the Body and Adding Eyes
- Round 13: Work a final round of 24 SC.
- Attach safety eyes securely between the white and yellow stripe rounds towards the front of the body, centered on the 9th and 10th rows approximately, ensuring they are symmetrical.
Decreasing the Body
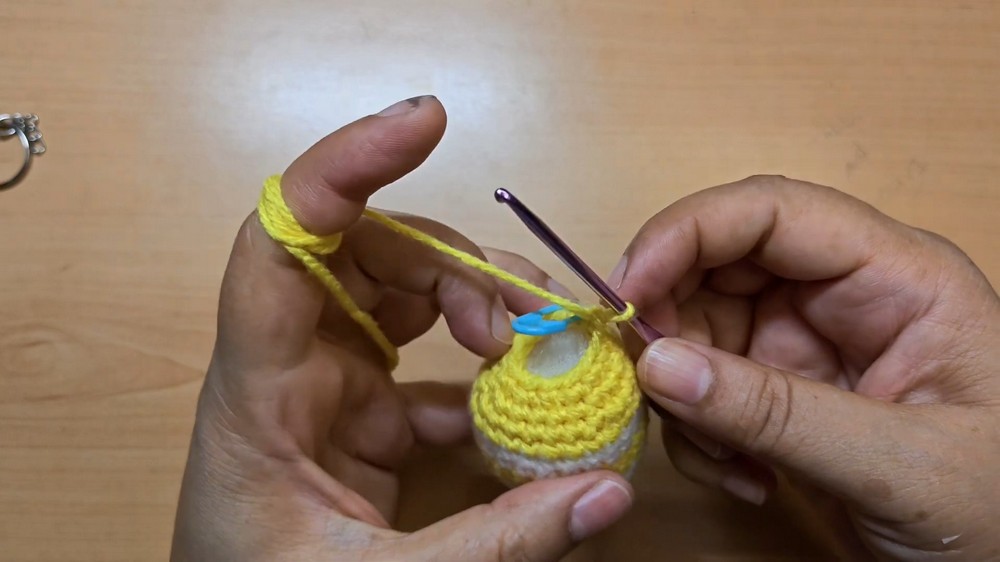
- Round 14: Work 6 SC, then 1 decrease, repeat 3 times.
- Round 15: Work 5 SC, then 1 decrease, repeat 3 times.
- Stuff the bee firmly with fiberfill at this point to give it good shape.
Final Rounds
- Round 16: Work 1 SC, then 1 decrease around.
- Subsequent rounds: Work decreases in every stitch until 6 stitches remain.
- Close the body hole by sewing the remaining stitches together neatly with a yarn needle.
Wings
Wing Foundation
- Create a magic ring and work 6 SC stitches into it.
- Pull the ring closed tightly.
Wing Increase
- Work 2 SC in every stitch to increase to 12 stitches around.
Wing Attachment
- Use a needle to position and attach the wings firmly to the middle section of the bee body, securing with knots inside the body to prevent movement.
Assembly & Finished Size
- Ensure all yarn ends are woven in tightly for durability.
- The completed bee stands about 6 cm (2.4 inches) tall.
- Wings measure approximately 2.5 cm (1 inch) wide each.
- Attach a keyring or clasp using yarn or a jump ring through the top of the bee for a functional keychain.
Conclusion
By following this step-by-step pattern, you’ve crocheted a delightful bee keychain that combines basic crochet techniques with vibrant color changes and shaping skills. The simple body construction, combined with carefully designed stripes and cute wings, makes this an ideal project for beginners looking to create something practical and charming. The finished keychain is perfect for gifting or personal use, adding a cheerful accent to bags, keys, or backpacks.



