
Add a unique touch to your décor with this free crochet owl amigurumi pattern that follows simple instructions to help you create charming handmade owls for any space.
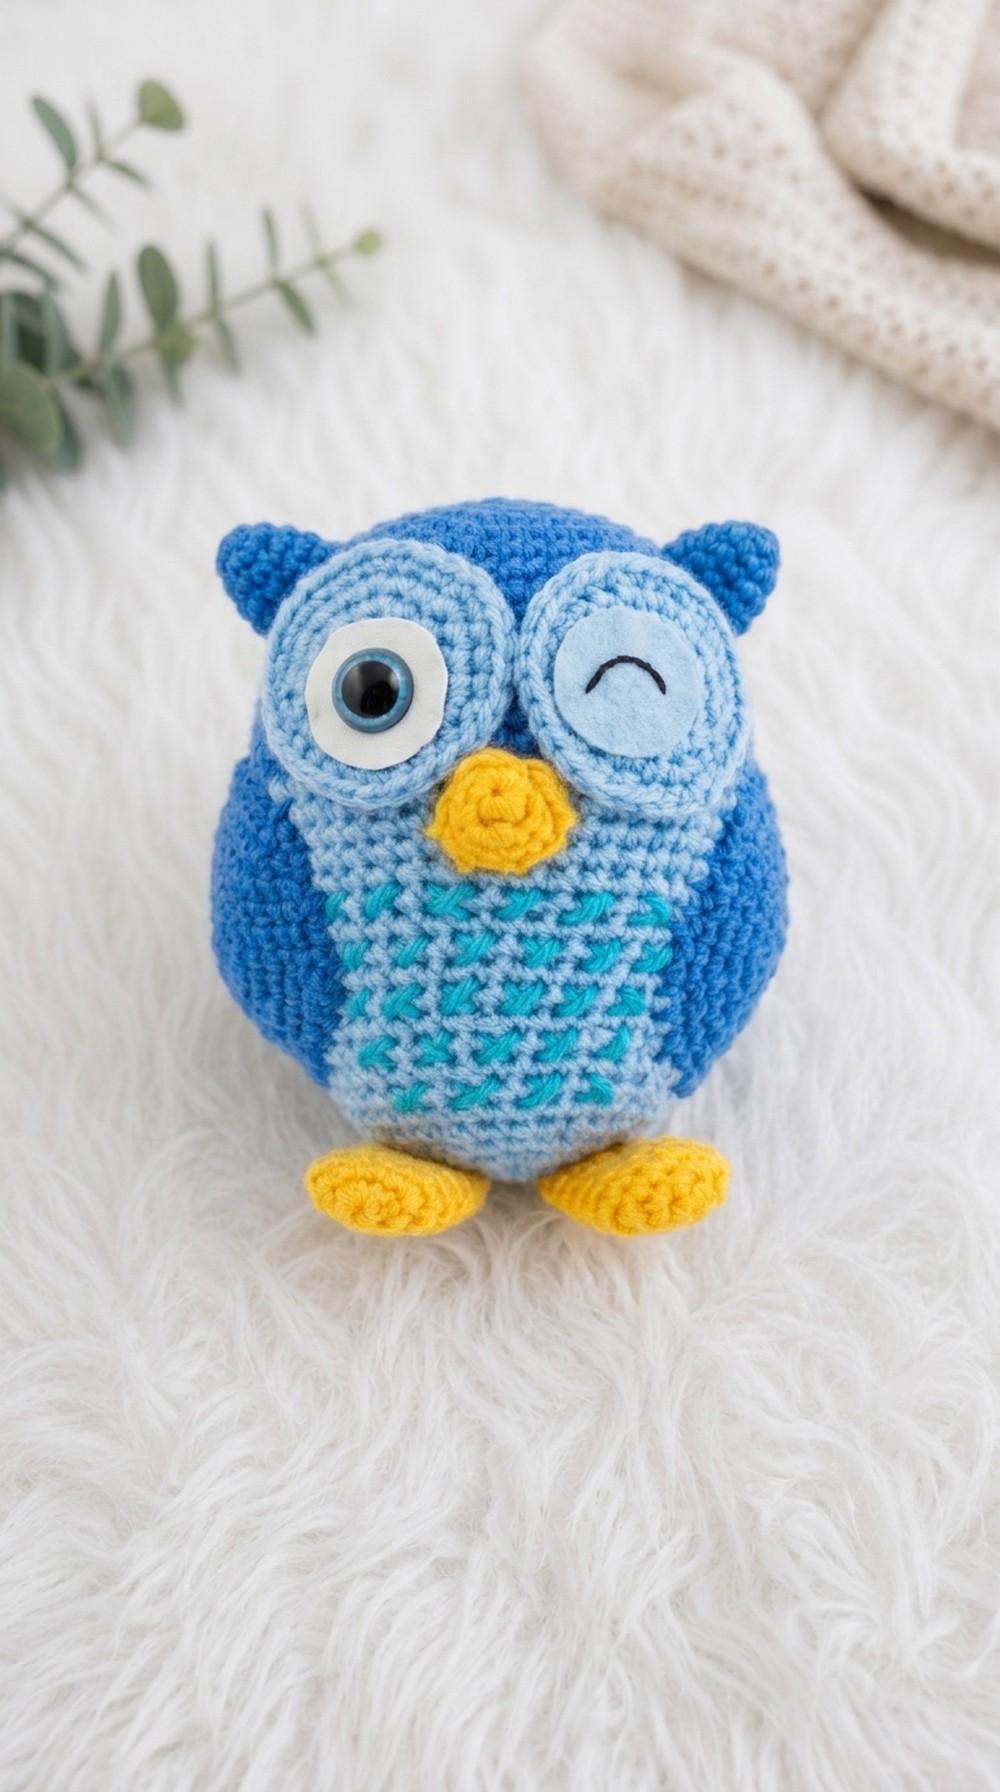
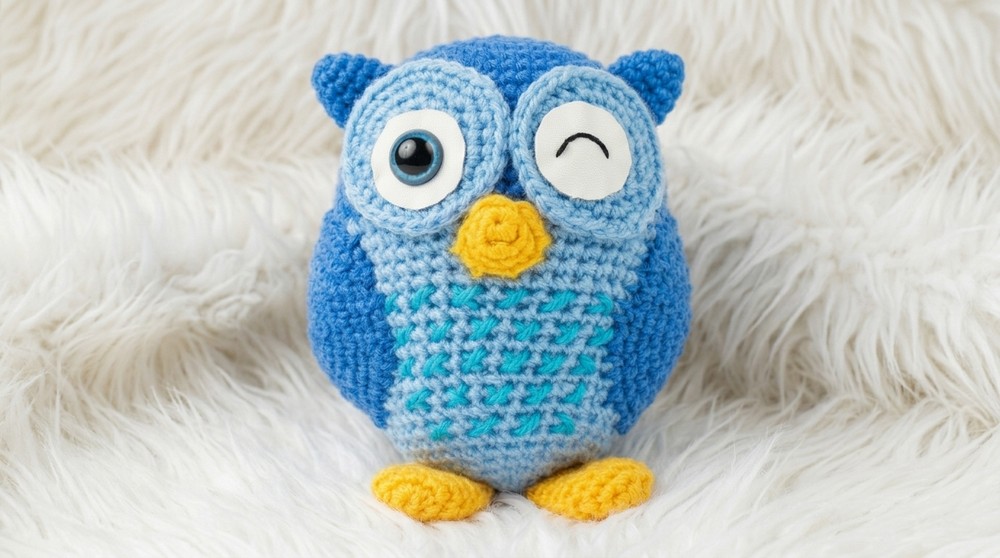
One of my favorite whimsical creations is this charming free crochet owl amigurumi pattern. This sweet little owl showcases a round, huggable shape with big, expressive eyes and tiny wings that add personality and character. The texture is soft yet defined thanks to a combination of tight single crochet stitches and subtle detailing, which brings the owl to life with a cozy, handmade touch.
Craft Beautiful Crochet Owl Amigurumi with This Free Pattern
This project is perfect for crocheters of all skill levels who enjoy making cute, compact toys or decor pieces. The pattern offers a standard size, but you can easily customize it by selecting different yarn weights or adjusting your hook to create owls that range from tiny keychains to larger plushies. Construction involves working primarily in continuous rounds, gradually shaping the body and featuring separate elements like eyes and wings that you’ll stitch on at the end—making assembly straightforward and satisfying.
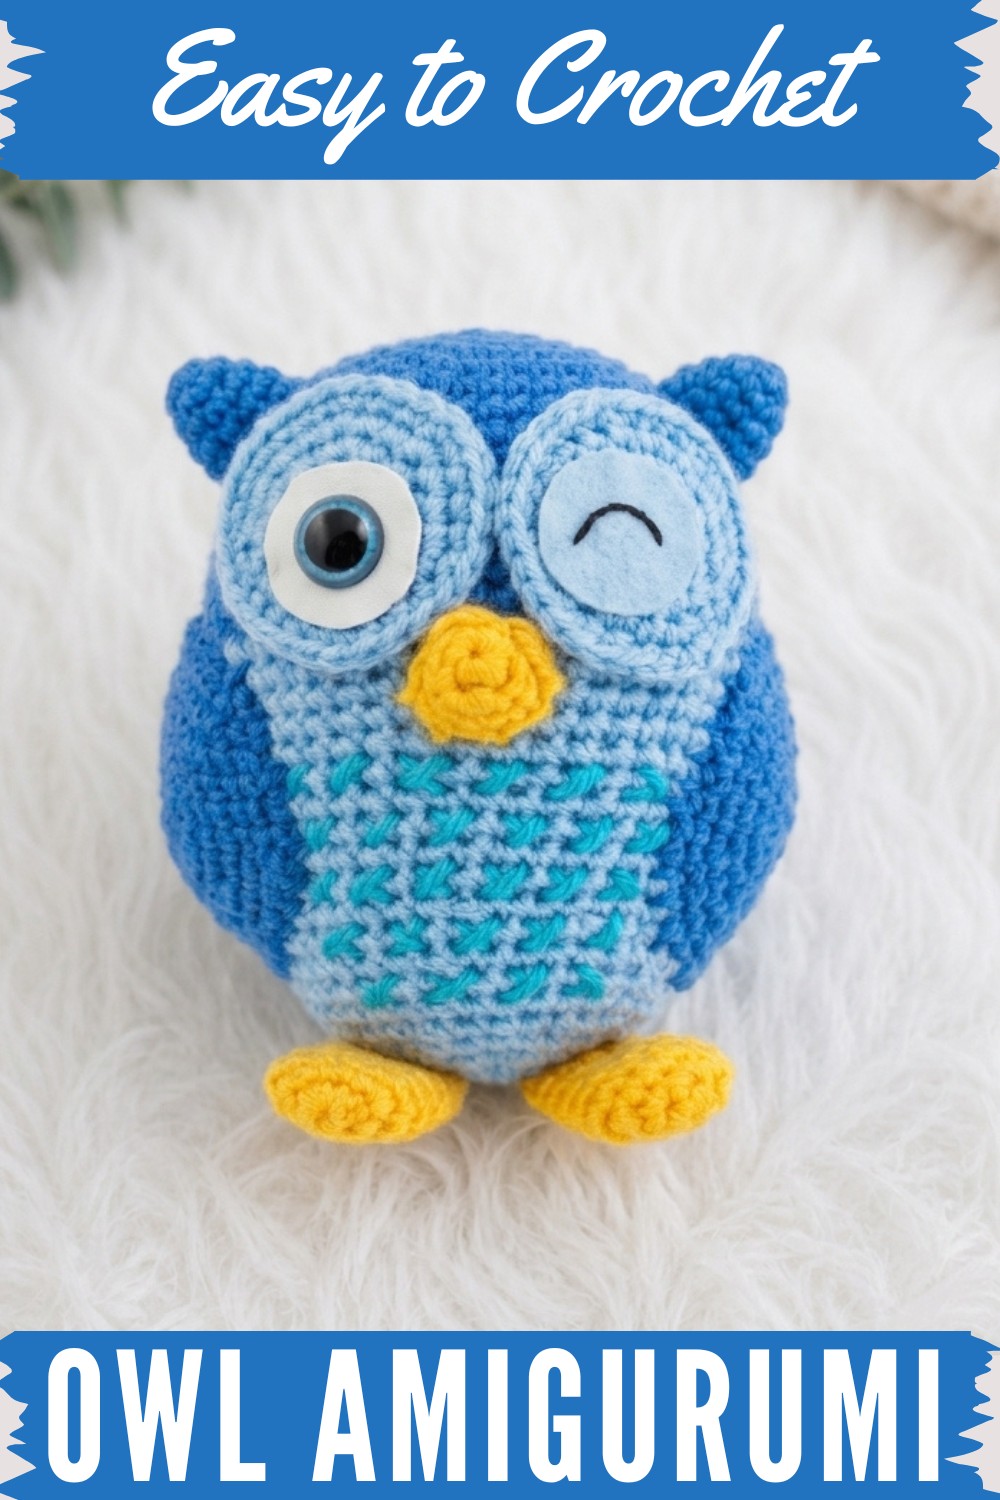
Inspired by the curious and wise nature of owls, as well as their adorable appearance, I love using soft cotton or acrylic blend yarns for this project. These fibers highlight the stitch texture nicely while being durable enough to hold shape through cuddles and play. The finished owls make fantastic gifts for baby showers, birthdays, or as charming shelf decor.
Crochet Amigurumi Doll Pattern (Step-by-Step)
This step-by-step guide teaches how to crochet a cute, soft amigurumi doll using only single crochet stitches, increases, and decreases, based on a video demonstration. The pattern includes the head, body, arms, legs, eyes, and other features in small rounds. Each section is explained in clear detail, including all increases, decreases, and assembly instructions. Whether gifting or keeping, this doll is perfect for beginners seeking to improve their amigurumi skills.
Pattern Notes
- The doll is worked in continuous rounds; use a stitch marker or piece of yarn to mark your first stitch each round.
- Always count your stitches carefully, especially when increasing and decreasing.
- Stuff each part firmly but not so much that stitches stretch.
- Join parts securely with sewing or glue for durability.
- All steps strictly follow the video with no omitted parts or stitches.
Skill Level
Beginner/Confident Beginner
Techniques: Magic ring, single crochet, increasing, decreasing, invisible fasten-off, sewing amigurumi pieces.
Materials
- #4 weight acrylic or cotton yarn ("Four palai wool" as in video)
- Main color (skin/face)
- Contrasting colors (dress, shoes, hair, etc.)
- 3.0 mm crochet hook
- Fiberfill or cotton stuffing
- Yarn needle (for sewing parts and weaving in ends)
- Scissors
- Optional: glue for securing smaller pieces (eyes, etc.)
Measurements / Sizing (Schematic Optional)
- Finished doll measures about 15-20 cm (6-8 inches) tall if using worsted yarn and 3.0 mm hook.
- Schematic: [Head, cylindrical body, arms, legs, eyes, and small features.]
Gauge (Stitch Pattern)
Gauge is not critical; strive for tight, neat stitches to prevent stuffing from showing through.
Stitch Abbreviations
| Abbreviation | Meaning |
|---|---|
| MR | Magic Ring |
| ch | Chain |
| sc | Single crochet |
| inc | Increase (2 sc in same st) |
| dec | Decrease (sc2tog, as described) |
| st(s) | Stitch(es) |
| sl st | Slip stitch |
Special Stitches
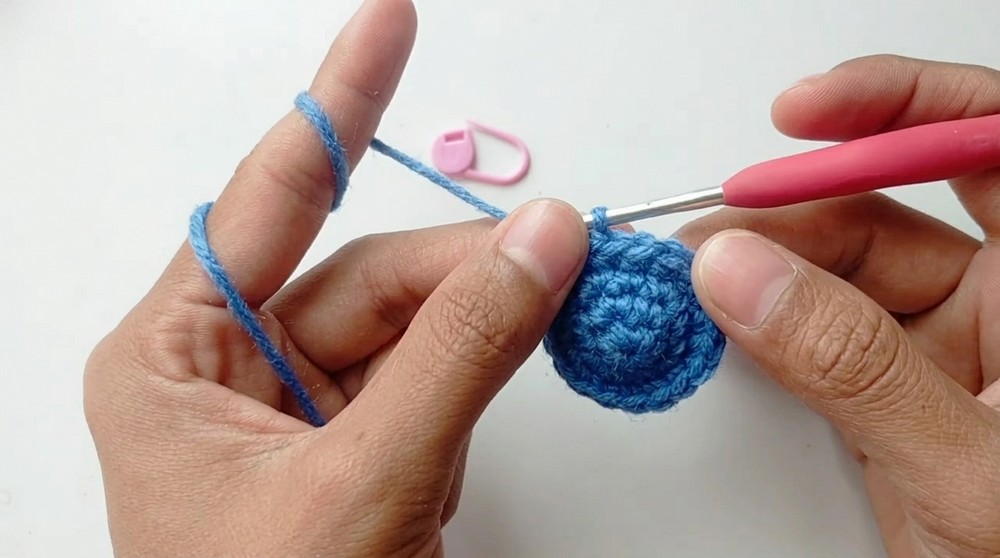
- Magic Ring (MR): Make adjustable ring; crochet into it and pull yarn to close.
- Increase (inc): 2 sc in same st.
- Decrease (dec): Insert hook in st, pull up loop. Insert hook in next st, pull up loop (3 loops). Yarn over, pull through all loops.
- Invisible Fasten-Off: Cut yarn, weave through last few stitches to close.
The Crochet Pattern
HEAD
- MR, ch 1.
- 6 sc into MR. Pull tight.
- R2: Inc in each st (2 sc in each st) — [12 sc]
- R3: (sc, inc) repeat — [18 sc]
- R4: (sc, sc, inc) — [24 sc]
- R5: (sc, sc, sc, inc) — [30 sc]
- R6: (sc, sc, sc, sc, inc) — [36 sc]
- R7: (sc, sc, sc, sc, sc, inc) — [42 sc]
- R8: (sc, sc, sc, sc, sc, sc, inc) — [48 sc]
- R9–R16: sc in each st — [8 rounds; 48 sc each]
- Fasten off, stuff firmly.
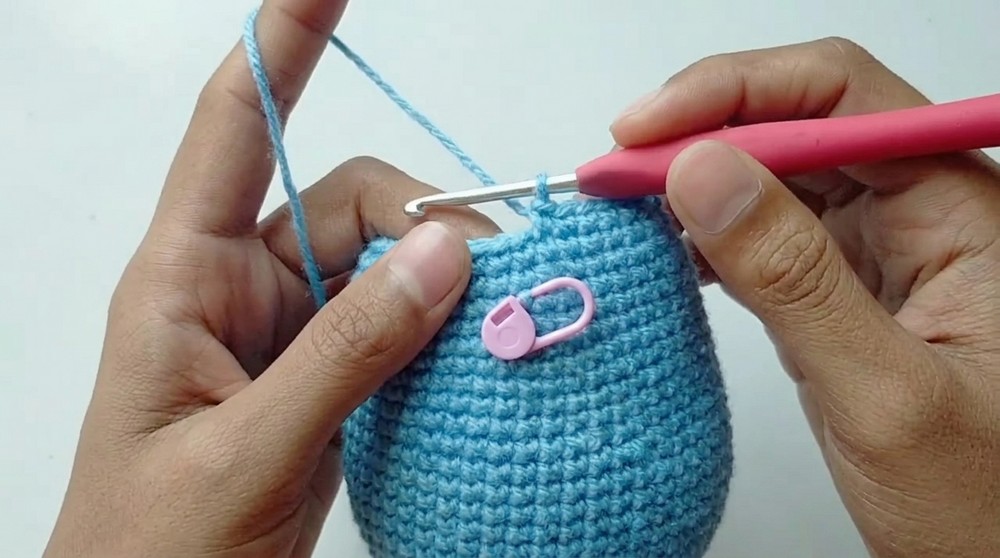
BODY
Start from the head bottom in main color.
- Attach yarn, R1: sc in each st around (48 sc).
- R2: (sc, sc, sc, sc, sc, sc, dec) — [42 sc]
- R3–R5: sc in each st — [3 rounds; 42 sc each]
- R6: (sc, sc, sc, sc, sc, dec) — [36 sc]
- R7–R11: sc in each st — [5 rounds; 36 sc each]
- R12: (sc, sc, sc, sc, dec) — [30 sc]
- R13–R14: sc in each st — [2 rounds; 30 sc each]
- R15: (sc, sc, sc, dec) — [24 sc]
- R16: sc in each st — [12 sc]
- R17: (sc, sc, dec) — [18 sc]
- Fasten off, stuff.
ARM (Make 2)
- MR, ch 1.
- 6 sc in MR.
- R2: Inc in each st — [12 sc]
- R3: sc in each st — [12 sc]
- R4: (sc, inc) — [18 sc]
- R5: (sc, sc, inc) — [24 sc]
- R6: (sc, sc, sc, inc) — [30 sc]
- R7–R8: sc in each st — [2 rounds; 30 sc each]
- R9: (sc, sc, sc, dec) — [24 sc]
- R10: (sc, sc, dec) — [18 sc]
- R11: (sc, dec) — [12 sc]
- R12–R13: sc in each st — [2 rounds; 12 sc each]
- Fasten off, stuff.
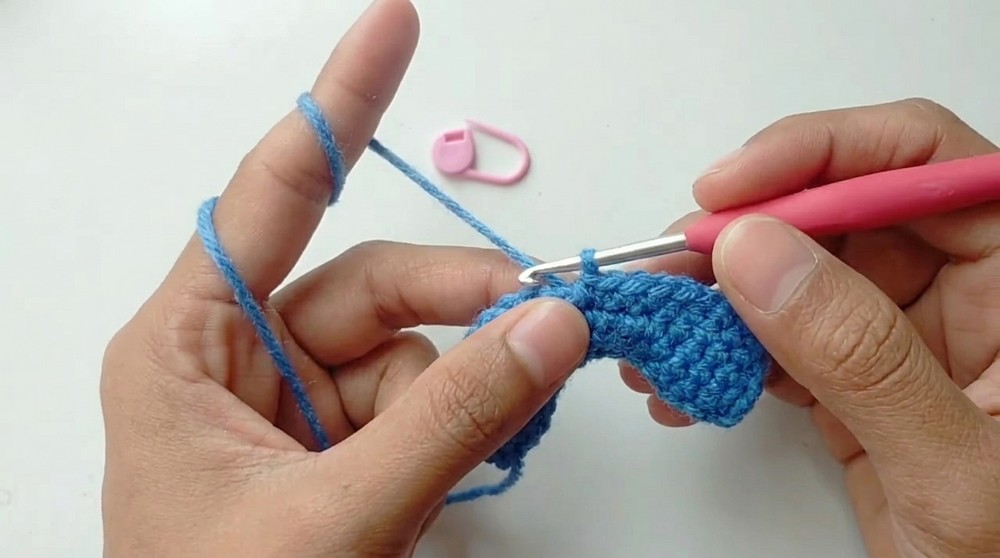
LEG (Make 2)
- MR, ch 1.
- 6 sc in MR.
- R2: Inc in each st — [12 sc]
- R3: sc in each st — [12 sc]
- R4: (sc, inc) — [18 sc]
- R5: (sc, sc, inc) — [24 sc]
- R6: (sc, sc, sc, inc) — [30 sc]
- R7–R8: sc in each st — [2 rounds; 30 sc each]
- R9: (sc, sc, sc, dec) — [24 sc]
- R10: (sc, sc, dec) — [18 sc]
- R11: (sc, dec) — [12 sc]
- R12–R13: sc in each st — [2 rounds; 12 sc]
- Fasten off, stuff.
EYE (Make 2)
- MR, ch 1.
- 6 sc in MR.
- R2: Inc in each st — [12 sc]
- R3–R5: sc in each st — [3 rounds; 12 sc each]
- R6: (sc, sc, dec) — [9 sc]
- R7–R8: sc in each st — [2 rounds; 9 sc each]
- Fasten off, leave long tail for sewing.
NOSE
- MR, ch 1.
- 4 sc in MR.
- R2: (sc, inc) — [6 sc]
- R3: sc in each st — [6 sc]
- R4: (sc, inc) — [9 sc]
- R5: sc in each st — [9 sc]
- Fasten off, leave tail to sew.
MOUTH
- MR, ch 1.
- 6 sc in MR.
- R2: (sc, inc) — [9 sc]
- R3–R4: sc in each st — [2 rounds; 9 sc each]
- Fasten off, leave tail to sew.
Assembly & Finished Size
- Stuff parts as you go, especially before decreasing rounds.
- Sew head to body securely.
- Attach arms and legs symmetrically with yarn needle or glue.
- Sew eyes, nose, and mouth in desired positions.
- Hide all yarn ends inside the doll.
- Finished doll: approx. 6–8 inches (15–20 cm) tall.
- Embellish as desired: embroidery, beads, ribbons.
Quick Pattern Overview for Beginners
- All parts start with magic ring and are worked in rounds.
- Increase by working 2 sc in same stitch.
- Decrease by picking up two loops and pulling yarn through both.
- Head and body: Increase, then straight rounds, then decrease.
- Arms and legs: Similar pattern as head.
- Eyes, nose, mouth: Small rounds, attach with yarn needle.
- Stuff and sew securely. Use glue if needed.
- Completed doll is soft, fully shaped, and ready to decorate.



