
Delight in a charming character with Crochet Anya Doll Amigurumi Pattern that fills gifts home decor and playful collections with personality and fun.
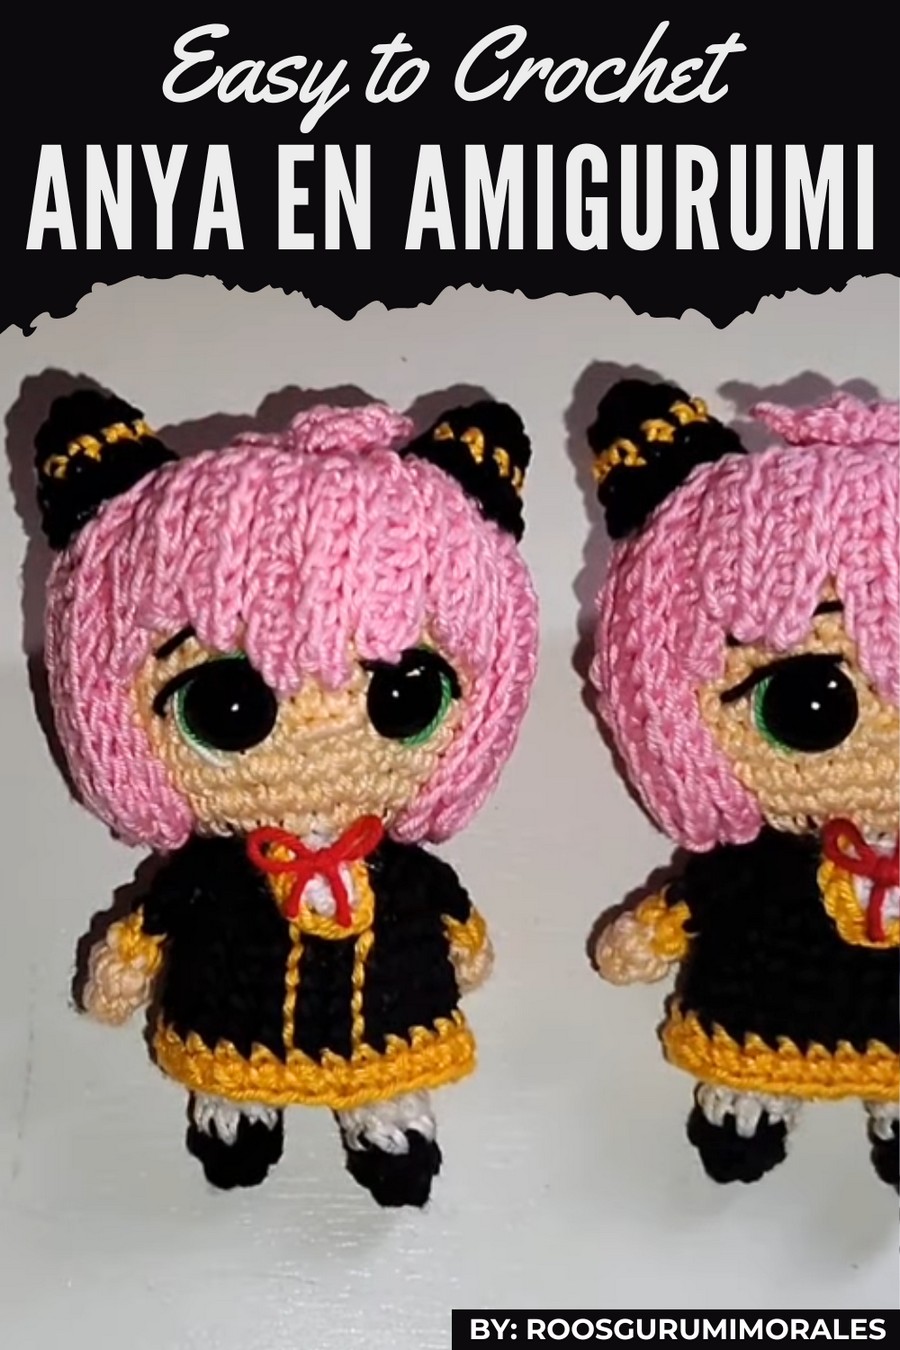
Ever wished for a doll that feels both cute and full of personality? This little creation brings that wish to life with charm, color, and warmth that anyone can enjoy. The Crochet Anya Doll Amigurumi pattern shows a soft, handmade doll with big expressive eyes, tiny stitched details, and bright yarn clothes that make it look lively and friendly.
Charming Croche Anya Doll Amigurumi Pattern You’ll Want
It can be used as a toy for children, a cheerful decoration on shelves or desks, or a thoughtful handmade gift. Its most special features are the detailed face, soft yarn texture, and carefully crafted outfit, making it unique, durable, and perfect for spreading joy everywhere.
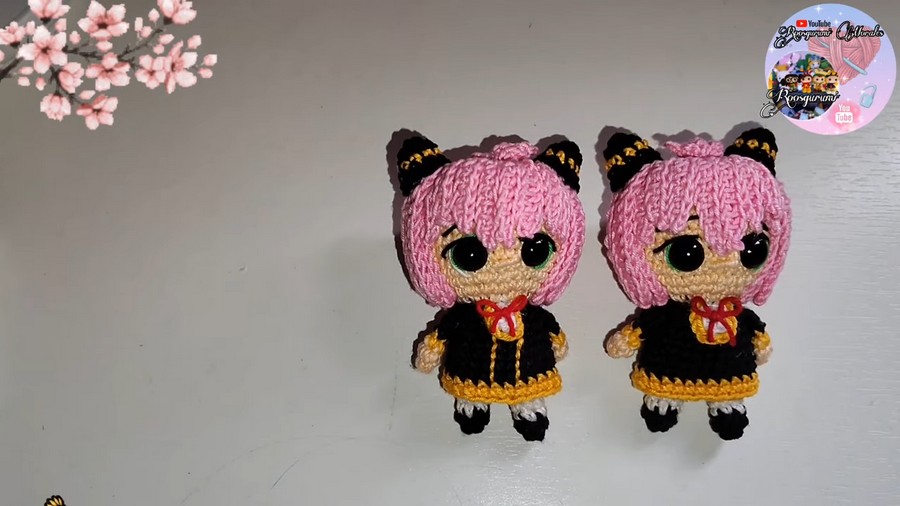
This step-by-step crochet pattern allows you to create an adorable miniature "Anya" doll inspired by the anime Spy x Family. The project features colorful elements, charming expressions, and accessories, making it a fun and artistic piece to crochet.
Materials Needed
- Yarn:
- Black yarn (for shoes, horns, and parts of the dress)
- White yarn (dress and some detailing)
- Skin-tone yarn (body, head, arms)
- Pink yarn (for the hair)
- Yellow yarn (dress accents)
- Green yarn (eye color detail)
- Red yarn (for the bow)
- Crochet Hook:
- Size suited to your yarn (commonly 2.5mm – 3.5mm for amigurumi).
- Tapestry Needle:
- For sewing parts together and finishing details.
- Safety Eyes:
- 6mm or 7mm safety eyes with plastic backing.
- Stuffing:
- Polyester stuffing for the body, head, and small accessories.
- Pins:
- To hold parts of the doll in place before attaching.
- Hot Glue Gun or Sewing Thread:
- For attaching accessories (hot glue is optional for ease).
Notes Before Getting Started
- Skill Level: Beginner-intermediate (requires knowledge of basic stitches, color changes, and working in rounds).
- Stitch Abbreviations:
- sc: single crochet
- inc: increase (2 sc in the same stitch)
- dec: decrease (single crochet 2 stitches together)
- sl st: slip stitch
- ch: chain
- hdc: half-double crochet
- Body and arms are worked in continuous rounds (do not join or chain up). Use a stitch marker at the start of your round to keep track.
Pattern Instructions
PART 1: LEGS AND BODY
Legs (Make 2):
- Round 1: With black yarn, make a magic ring and crochet 6 sc. (6 stitches)
- Round 2: 1 sc in each stitch around. (6 stitches)
- Round 3 & 4: Change to white yarn. 1 sc in each stitch around. (6 stitches)
- Round 5: Change to skin-tone yarn. 1 sc in each stitch around. (6 stitches)
Tie off and leave a long end for sewing. Repeat for the second leg.
Attach the Legs and Begin the Body:
- With the legs complete, chain 1. Attach the two legs together with sc:
- Work 8 sc from the first leg.
- Work 1 sc on one side of the chain.
- Work 8 sc around the second leg.
- Work 1 sc on the other side of the chain. (18 stitches)
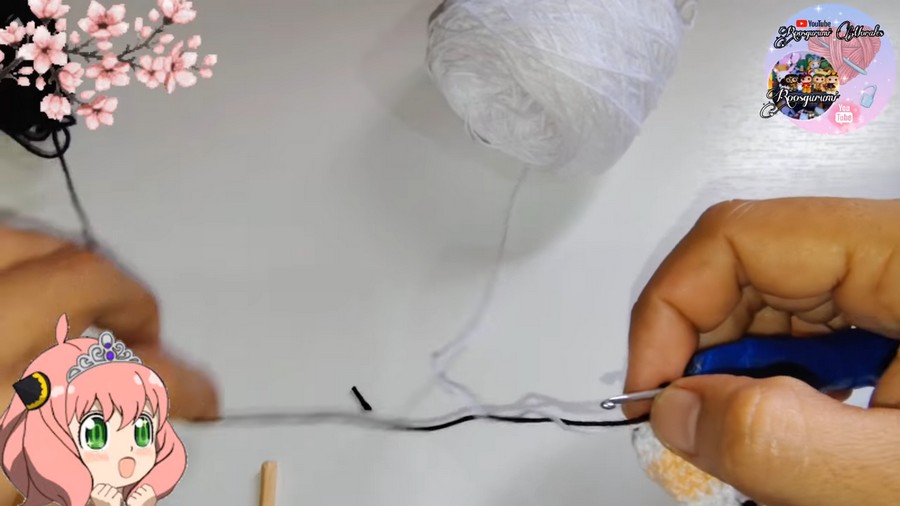
The combined ring forms the base of the body.
- Round 7: Change to skin-tone yarn and sc in each stitch around. (18 stitches)
- Round 8: 7 sc, dec x2. (16 stitches)
- Round 9-10: 1 sc in each stitch around. (16 stitches)
PART 2: HEAD
- Round 11: Increase to start the head. 1 sc, inc x12. (24 stitches)
- Round 12: 3 sc, inc x6. (30 stitches)
- Round 13: 4 sc, inc x6. (36 stitches)
- Round 14-24: 1 sc in each stitch around. (36 stitches)
Stuff the head firmly. Begin decreasing and attach eyes:
5. Round 25: 4 sc, dec x6. (30 stitches)
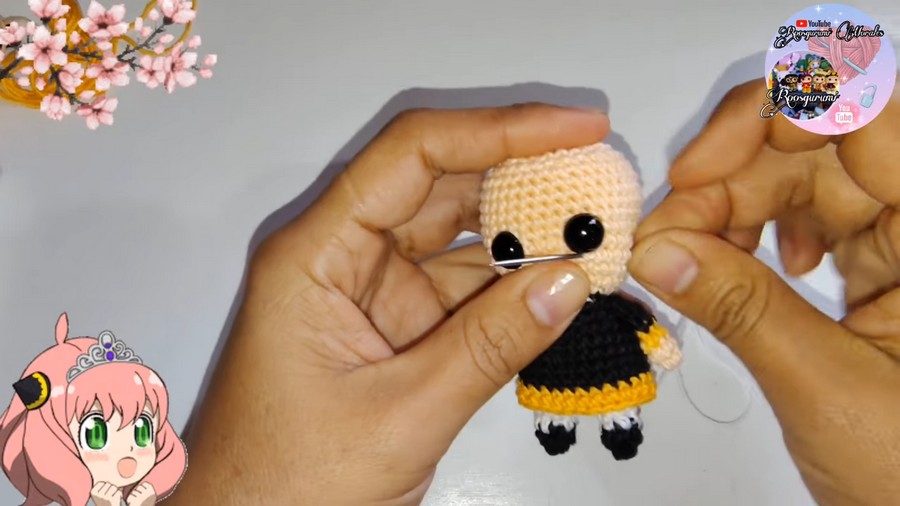
- Round 26: 3 sc, dec x6. (24 stitches)
- Insert safety eyes between Rounds 6 and 7 with approximately 5 stitches apart.
- Round 27: 2 sc, dec x6. (18 stitches)
- Round 28: 1 sc, dec x6. (12 stitches)
- Round 29: Decrease 6 times to close the head entirely. (6 stitches)
Fasten off and leave a long end to sew shut. Embroider a nose and mouth using black yarn and add rosy cheeks with pink blush or yarn.
PART 3: ARMS
- Round 1: With skin-tone yarn, make a magic ring and crochet 6 sc.
- Rounds 2-3: Sc in each stitch around. (6 stitches)
- Rounds 4-5: Change to black yarn. Sc in each stitch around.
Flatten the open end and sc across to close. Do not stuff. Repeat for the second arm.
PART 4: DRESS
- Round 1: Join black yarn into the body’s FLO (front loop only). Sc in each stitch around then 1 sc, inc x9. (18 stitches)
- Round 2: 2 sc, inc x6. (24 stitches)
- Round 3-7: 1 sc in each stitch around in black yarn.
- Rounds 8-9: Change to yellow yarn and 1 sc in each stitch around.
Dress Ruffles:
- Work evenly spaced slip stitches into the FLO of earlier dress rounds for layered texture.
PART 5: HAIR
- Round 1: With pink yarn, make a magic ring of 6 sc.
- Round 2: Inc x6. (12 stitches)
- Round 3: 1 sc, inc x6. (18 stitches)
- Round 4: 2 sc, inc x6. (24 stitches)
- Round 5: 3 sc, inc x6. (30 stitches)
- Round 6: 4 sc, inc x6. (36 stitches)
- Work through BLO from Round 3 onward for a base for extra hair strands.
Hair Strands:
- For each strand, chain 11 and work back into chain with 1 sc, 2 hdc, and sc into the final chain. Attach strand in the next stitch. Repeat around the hairpiece to shape full layers.
Attach the hair to the top of the doll’s head by sewing or gluing securely.
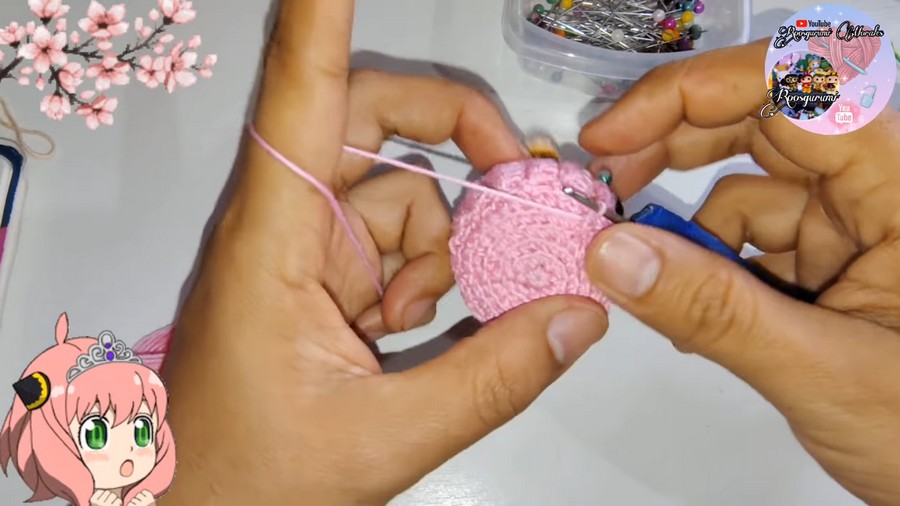
Sideburns and Forehead Bangs:
- Chain 7 for smaller bangs, 9 for longer bangs. Work in the same manner. Attach them to the doll’s forehead.
PART 6: HORNS AND FINAL DETAILS
Horns:
- Round 1: With black yarn, make a magic ring with 6 sc.
- Round 2: Make 1 sc, inc x3. (9 stitches)
- Round 3-5: Sc evenly around.
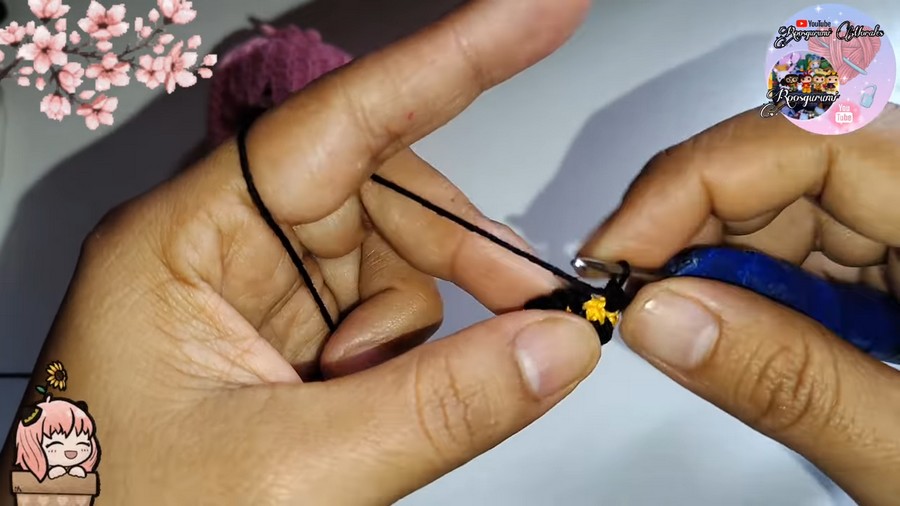
Stuff lightly and attach horns to the hair near the front.
Pro tips
- Stuff Firmly: The doll should be well-stuffed, especially in the body and head.
- Color Changes: Practice smooth yarn transitions for a polished look.
- Hair Layers: Use pins to map out hair placement before attaching.
Styling ideas
- Color Variations: Swap out pink yarn for brown or blonde for differently styled characters.
- Size Adjustments: Use thicker yarn and a larger hook for a larger doll.
Conclusion
Once fully assembled, your Anya doll should stand at approximately 8cm tall. The doll's charming details—rosy cheeks, ruffled dress, and textured pink hair—make it an ideal gift or display piece for fans of Spy x Family.
This doll is beginner-friendly yet rewarding, giving crocheters a sense of creative fulfillment.



