Follow this DIY Polymer Clay Rabbit idea to sculpt a cute and professional-looking bunny, perfect for gifts, decoration, or personal collection.
Crafting can be a fun way to express creativity, and making a tiny, adorable rabbit from polymer clay adds a delightful touch to your projects. This miniature creation is perfect for anyone who loves playful and decorative items. Whether used as a charming desk ornament, gifted to a friend, or included in a collection of handmade figures, it’s sure to spread joy with its cute design.
Easy DIY Polymer Clay Rabbit for Beginners with Simple Instructions
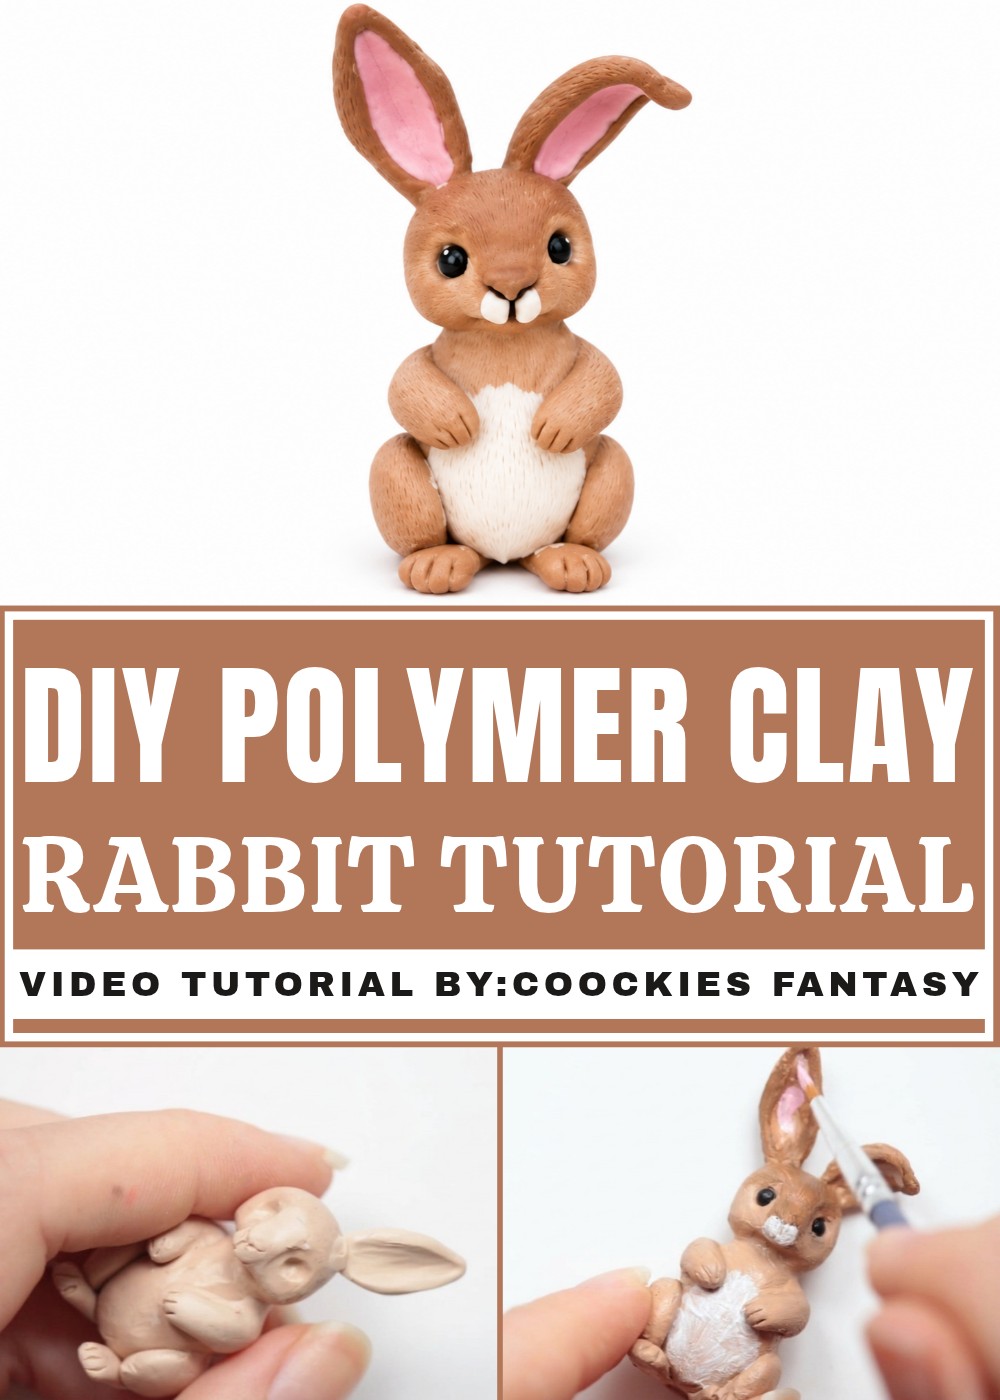
Rabbits are universally loved for their sweet, gentle appearance, and recreating one with polymer clay gives you a chance to add your own personal flair. From its floppy ears to its tiny, rounded body, every detail can be crafted to reflect your style and imagination. You could choose bright colors, pastel tones, or even go for a lifelike look to customize your creation in a way that feels just right for you.
This DIY project is not only enjoyable but also rewarding. Displaying the finished clay rabbit in your room or gifting it as a heartfelt token is a great way to share your creativity with others. Its cheerful and unique design brings a fun and lighthearted energy wherever it goes, making it a wonderful addition to your DIY crafting adventures.
Care and Maintenance
- Handle gently; small appendages can break if dropped.
- Clean lightly with a soft brush; avoid soaking painted pieces.
- Repair small breaks with fresh clay or adhesive; rebake or re-seal if necessary.
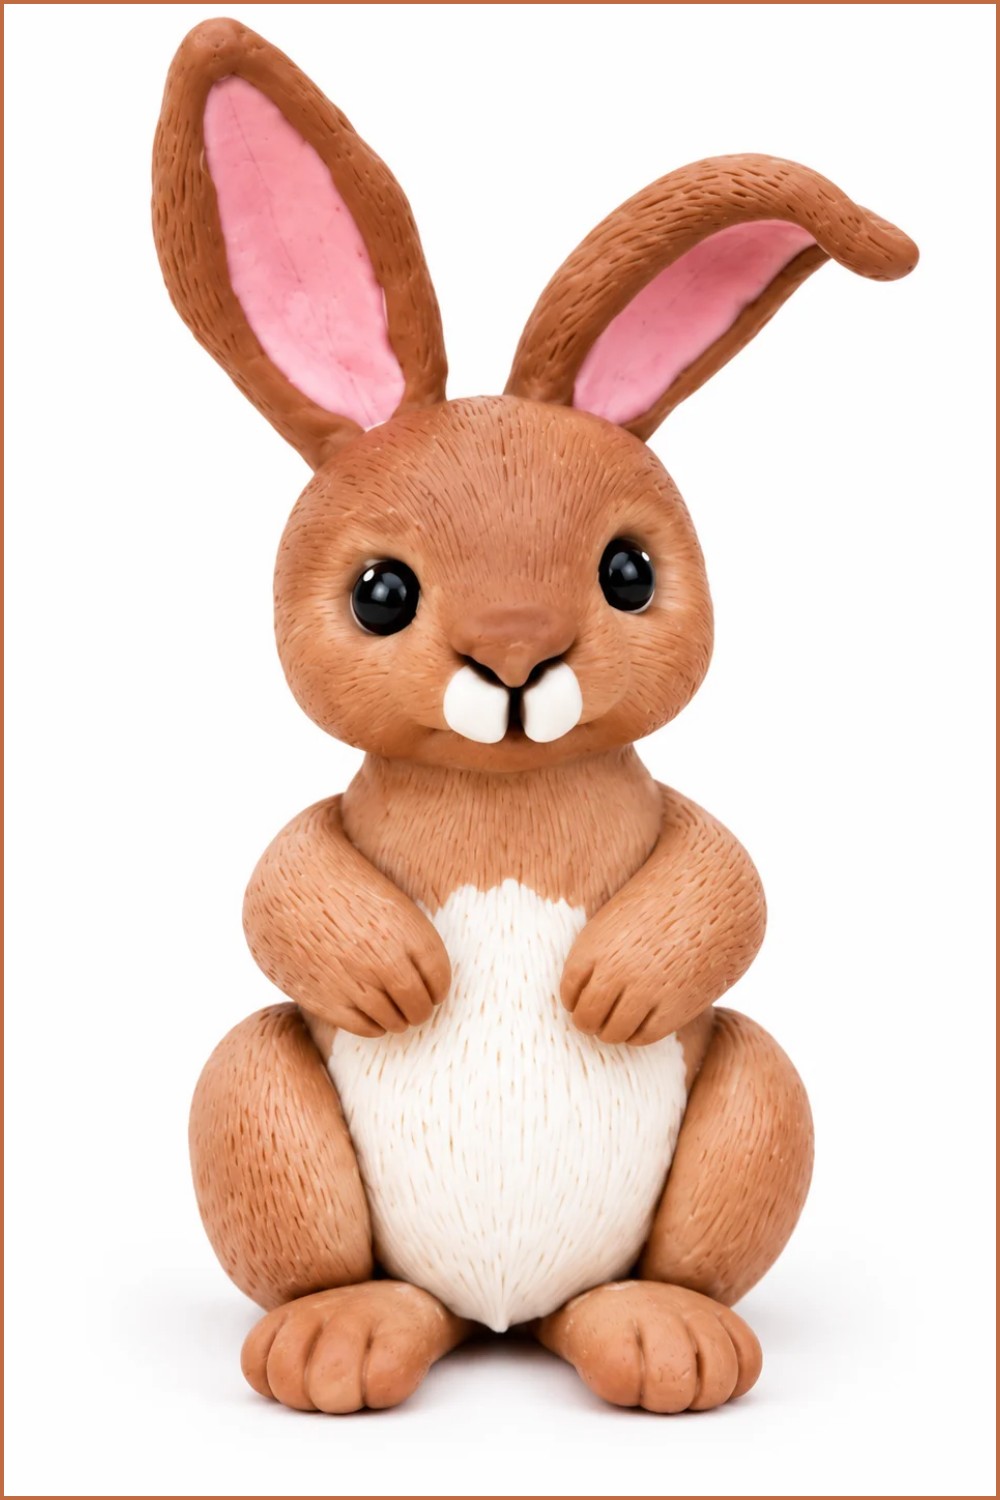
Polymer Clay Rabbit
This tutorial reproduces every step from the transcript to create a small polymer-clay rabbit. It follows the original workflow: form head and body from one piece, sculpt facial features (nose, eyes, mouth), add front paws and hind legs with claws, make fragile ears and textured tail, then bake and paint for final detail. Follow the sequence carefully and smooth seams thoroughly for best results.
Project Requirements
Materials
- Polymer clay in your chosen base color (transcript used a neutral/beige later painted)
- Small amounts of black clay or painted black for eyes (or black paint)
- Acrylic paints: beige/brown tones, white, pink, black
- Varnish or nail polish for finish (matte or glossy)
Tools
- Silicone-tipped smoothing tool or dotting tools of various sizes
- Needle/very fine tool for mouth and muzzle details
- Small blade or needle for fine shaping
- Roller for conditioning clay
- Oven for baking clay per manufacturer instructions
- Brushes for painting
- Optional: toothpicks, sculpting picks
Measurements
- Miniature scale; size not specified in transcript — scale components proportionally (head smaller than body).
- Keep parts small and relatively thin where necessary (ears, tail, paws) but not so thin they break.
Preparation
- Condition clay until soft and even in color.
- Set tools, a clean work surface, and reference images.
- If you plan to paint later, choose a clay color that won’t show through your paint layers (transcript used a neutral base).
Making Process
Stage 1: Block Out Head and Body
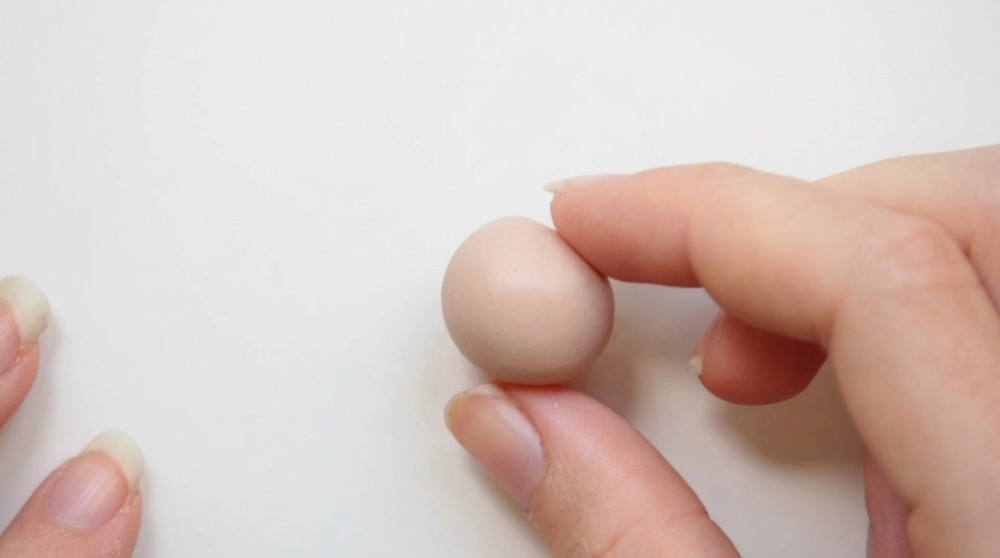
- Roll one ball of clay and form a sausage shape.
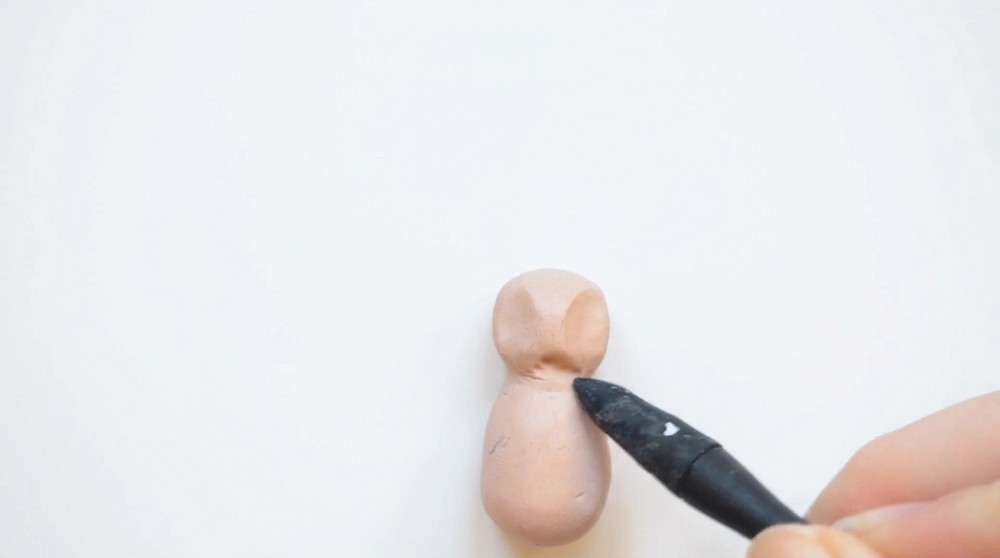
- Mark roughly one-third of the length for the head and two-thirds for the body using a finger or tool.
- Shape the body slightly larger than the head so the silhouette reads like a rabbit.
- Smooth the join between head and body thoroughly with a silicone tool or dotting tool so there is no visible demarcation.
Stage 2: Refine Head Shape and Eye/Nose Hollows
- Use tools to make two small symmetrical indentations where the eyes will sit.
- Between those indents leave a raised band to suggest the bridge of the nose.
- Create a shallow hollow under the head to form the jaw and a subtle chin separation.
- Slightly flatten the top of the nose area to receive the nose piece later.
Stage 3: Create and Attach Nose
- Roll a very small ball of clay and flatten one side slightly.
- Place the flattened small ball onto the nose tip and blend the base carefully using a silicone tool or fingertip until it reads as a single piece with no seams.
Stage 4: Define Muzzle and Mouth
- With a needle or very fine tool draw a short central line under the nose, then extend into simple mouth lines or a small smile.
- Add two small, short stroke marks beside the nose to suggest muzzle lines.
- Rebuild and refine the eye hollows and under-head hollow after adding details.
Stage 5: Add Eyes
- Make two small indents for eyes (use a dotting tool); keep them small and symmetrical.
- Optionally place tiny black clay balls into the indents or paint eyes after baking.
Stage 6: Front Paws (Hands)
- Roll two small sausage shapes for the front paws.
- Flatten one side to form the paw surface.
- Position them just below the head on the front of the body and smooth junctions thoroughly to remove seams.
Stage 7: Hind Legs and Thighs
- Roll two small balls for the thighs (slightly rough, not perfectly round).
- Flatten the back of each thigh so it adheres securely to the rabbit’s back.
- Place them toward the rear on both sides, leaving the front of the thigh more rounded (the rabbit is seated).
- Smooth the back and underside junctions well to add strength before baking.
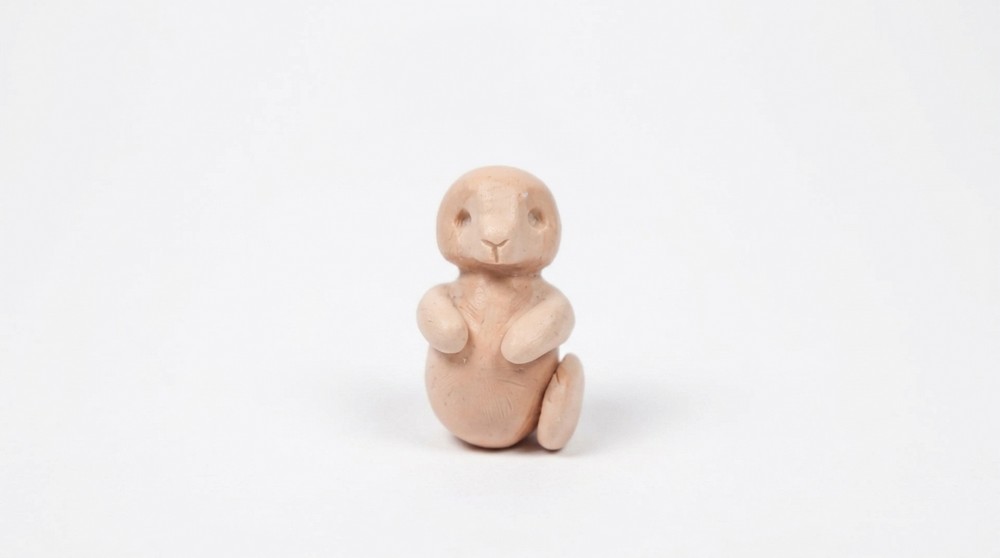
Stage 8: Lower Legs and Toes
- Roll two small sausages, slightly flatten and attach them under the thighs near the belly area to form lower legs/feet.
- Smooth all connections and ensure each appendage is well supported.
- Using a point or needle tool, mark three small toe/claw divisions on each foot (three on each foot as per transcript).
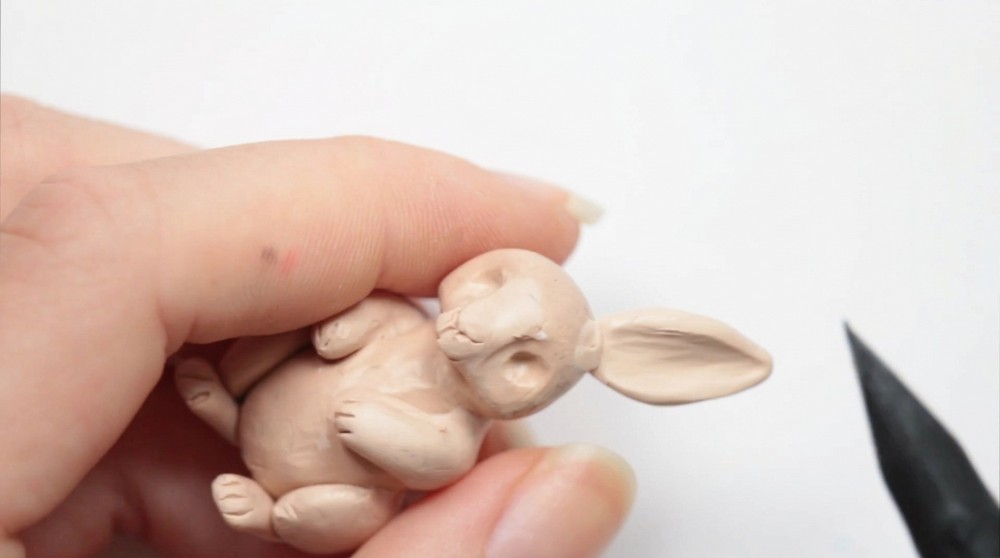
Stage 9: Ears (Delicate Stage)
- Shape ear pieces from small flattened teardrops.
- Hollow or lightly indent the inner ear with a dotting or silicone tool to form subtle edges.
- Flatten the base of each ear slightly and attach them symmetrically to the head.
- Smooth the seam around each ear thoroughly to strengthen the connection.
- Optionally bend one ear slightly for a natural pose but keep both centered and balanced.
Stage 10: Tail (Pompon)
- Roll a small ball for the tail.
- Add texture with dotting and needle tools to create a fluffy pompon effect.
- Attach at the center of the back and blend gently so it reads as part of the body.
Stage 11: Final Clay Details and Eyes
- Place two tiny black balls for eyes (if not painting later).
- Recheck all seams and reinforce any thin fragile parts by smoothing and slightly thickening where appropriate.
Assembly Process
- Review the full model for symmetry and structural strength.
- Reinforce fragile joins (ears, thin paws) by blending more clay at the base if needed.
- Ensure underfoot connections and thigh backs are thick enough to survive baking.
Baking
- Bake according to your clay’s manufacturer instructions (temperature and time vary by brand).
- Allow the piece to cool completely before handling to avoid dents or stress fractures.
Decorative Details (Painting)
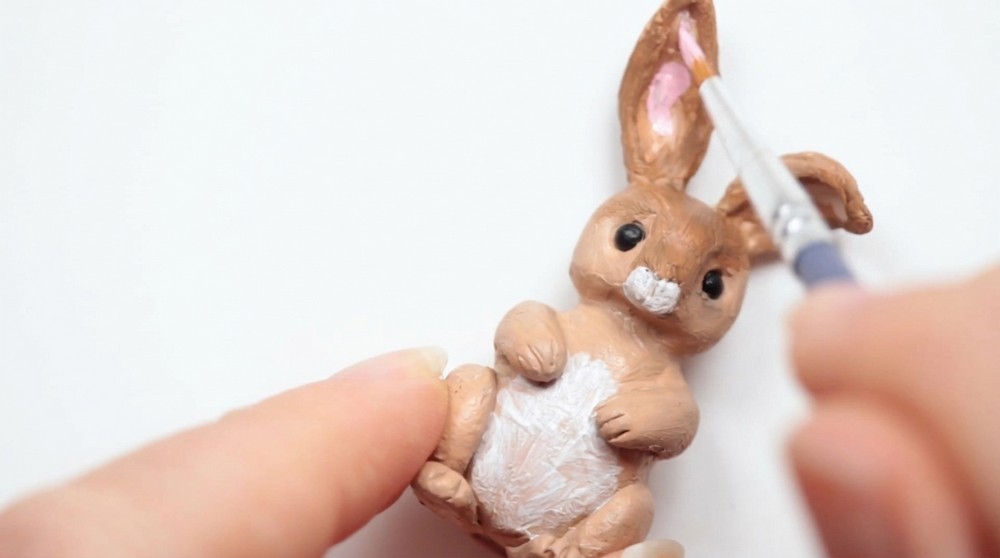
- Apply a base uniform color if you used neutral clay and plan to paint (transcript mixed beige from brown + white).
- Add a darker brown patch on the head/top nose/ears for variation (use slightly darker mix).
- Paint a white belly: create a soft edge and add subtle hair strokes so it’s not a perfect circle.
- Paint inner ears pink (mix white + tiny red) and add blush on cheeks if desired.
- Paint nose details, mouth lines, and refine eye color (brown under black, then highlights).
- Finish eyes with small white highlights if painted.
Final Finishing
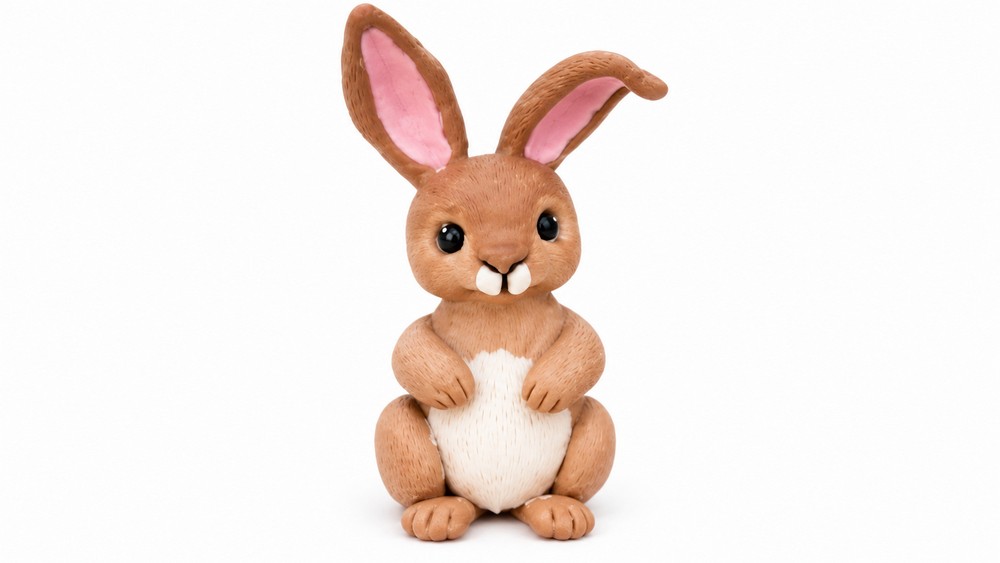
- Seal with varnish or nail polish: matte or gloss per preference (transcript used velvet nail polish).
- Allow varnish to fully cure before display or handling.
Tips for Success
- Smooth seams thoroughly; this tutorial emphasizes smoothing at every stage — patience here prevents visible joins.
- Work slowly when making ears and tail — these are fragile and need firm but gentle blending.
- Reinforce thin bases (ear bases, thigh backs) slightly to reduce breakage after baking.
- If you plan to paint, choose a base clay color that won’t show through.
Customization Options
- Change pose by altering leg placement or ear tilt.
- Use different color combos, spotted patterns, or add small accessories (scarf, bow).
- Scale down for charms or scale up for a larger figurine.
Project Summary
This transcript-accurate tutorial builds a seated clay rabbit by forming head and body from one piece, sculpting fine facial details, attaching limbs, crafting fragile ears and a textured tail, then baking and painting for lifelike nuance. The key to success is smoothing seams often, reinforcing delicate joins, and taking time on the tiny details. Follow each stage carefully and you'll have a charming polymer rabbit ready for display or gifting.