
Bring color and charm to life with this free crochet pattern to make adorable donuts perfect for gifts, decorations, or adding a playful touch anywhere.
Have you ever looked at a donut and thought, “This is too cute to eat”? That’s exactly how this idea was born, an adorable little donut that sticks around longer than a trip to your favorite bakery. Soft, squishy, and oh so sweet, this Free Crochet Amigurumi Donut Pattern is all about playful textures and sugary charm. Whether you dress it up with colorful sprinkles or keep it simple with a glossy frosting layer, you’ll have a treat that’s always ready to delight.
Free crochet amigurumi donut pattern To Relax
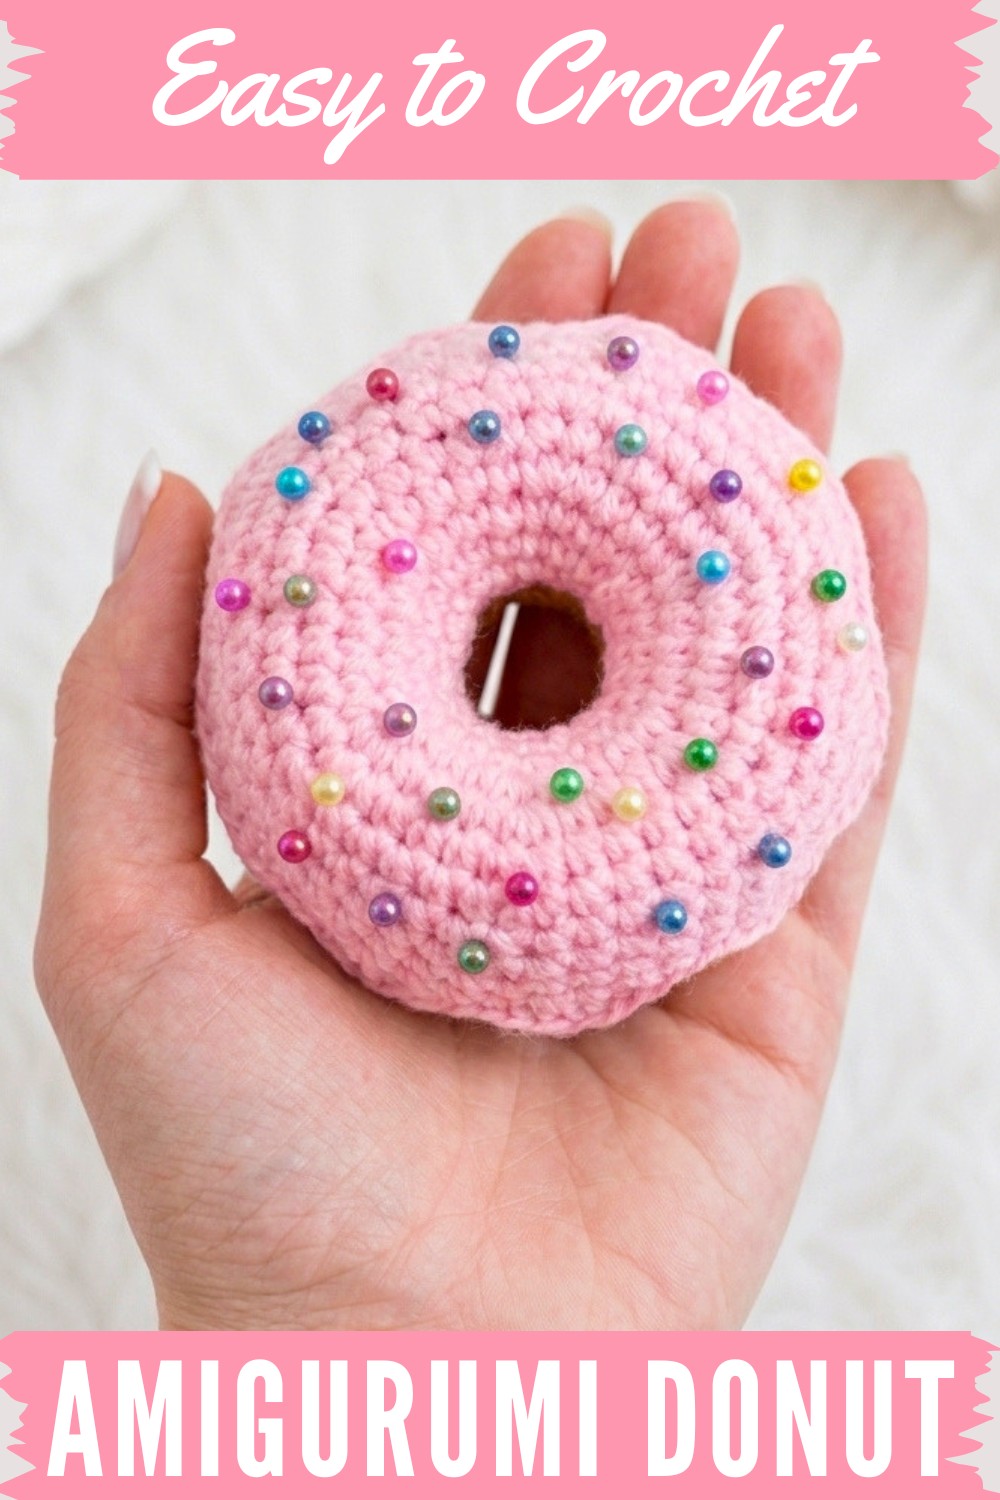
The donut shape is satisfyingly round, complete with a fluffy stuffed base and a frosting layer that you can crochet in your favorite colors. It’s whimsical, cheerful, and perfect for gifting—or just keeping for yourself as a quirky desk buddy or cheerful pin cushion. The best part? These donuts don’t discriminate, Whether you’re going for classic chocolate glaze, bright rainbow sprinkles, or even holiday themed designs, this project is made to reflect your personality and mood.
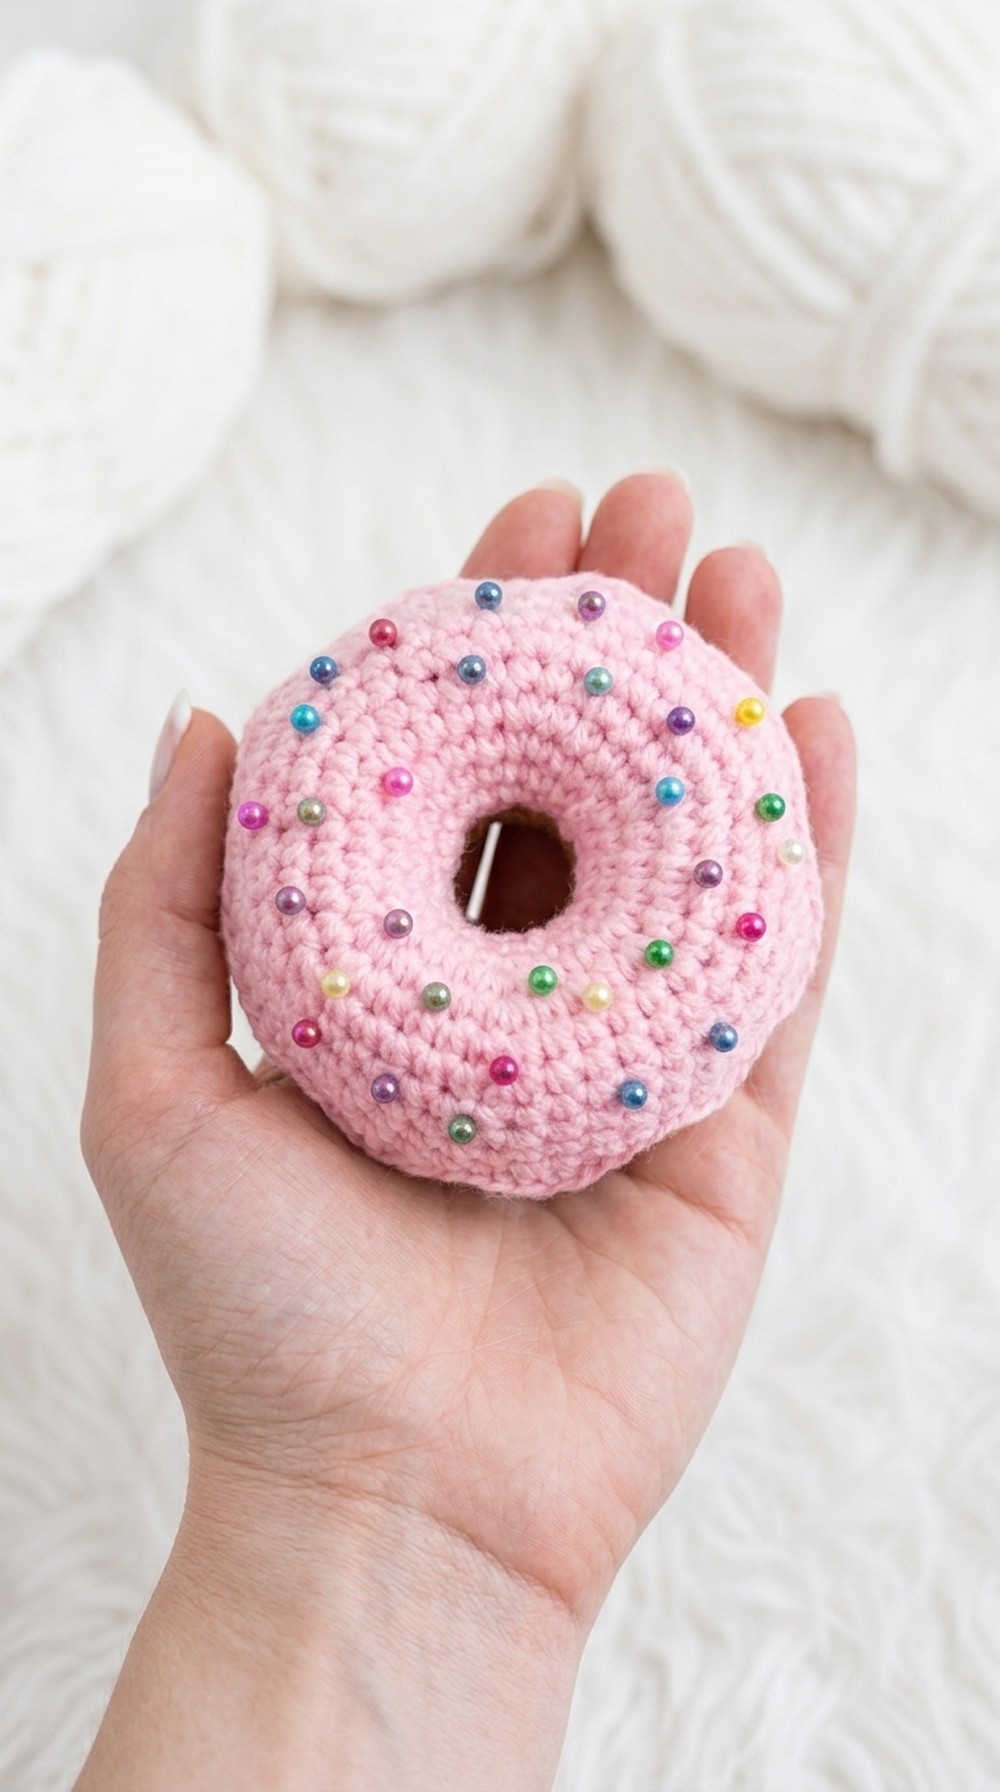
Amigurumi Donut Pincushion Pattern
This Amigurumi Donut Pincushion pattern is inspired by a step-by-step video tutorial, faithfully translated into written form for easy following. The finished donut consists of two identical crochet circles, joined together and embellished with a scalloped frosting border and colorful chain sprinkles. This pincushion is both playful and functional, ideal for keeping your pins organized while adding a whimsical touch to your workspace. Every step is detailed, including all foundation rounds and decorative techniques, ensuring a successful project for crocheters of varied skill levels.
Quick Overview Of Pattern
- Make two identical donut rings – One for the base and one for the decorated top.
- Apply a scalloped icing border to the top piece using a decorative sequence of stitches.
- Scatter sprinkle chains across the icing to mimic classic donut toppings.
- Align, stuff, and join both pieces using glue or sewing for a durable finish.
- Enjoy a soft, sturdy pincushion that is customizable and ideal for gifting.
Notes
- All rounds are worked in joined circles, not rows, to form a donut shape.
- The increases follow an established pattern, ensuring the flat discs remain symmetrical and easy to assemble.
- The decorative edge uses a combination of stitches in each stitch to create pronounced, ruffled icing.
- Sprinkles are added with small chain stitches, but you may use other decorations such as beads or embroidery for additional flair.
- The assembly uses glue for a clean, quick finish, but whipstitching can be substituted if preferred.
- Firm stuffing is crucial for the pincushion to keep its shape and properly hold pins.
Skill Level
Advanced Beginner to Intermediate
This project requires familiarity with working in the round, increasing, decorative stitching, and simple assembly. Suitable for crafters comfortable with basic amigurumi techniques.
Materials
- Worsted-weight yarn:
- Main color for donut base ("dough")
- Contrasting yarn for icing/frosting
- Small scraps in assorted colors for sprinkles
- Crochet Hook: 3.5mm or size for tight stitch
- Yarn Needle: For weaving in ends and adding sprinkles
- Fiberfill Stuffing: Enough for a plump donut
- Hot Glue Gun or Cold Silicone Glue: For joining pieces
- Sharp Scissors
Measurements / Sizing
- Diameter: Approximately 4 inches (10 cm)
- Thickness: About 1.25 inches (3 cm), with a central hole of roughly 1–1.25 inches (2.5–3 cm)
- Finished schematic: Two flat rings joined around the outer circumference, with scalloped icing and decorative sprinkles on the top piece
Gauge & Stitch Pattern
Gauge is not critical for this project, but tight, sturdy stitches are essential for holding filling and pins. The pattern is worked almost entirely in single crochet, with regular increases. Decorative edges are achieved using combinations of half-double crochet, double crochet, and single crochet.
Stitch Abbreviations
- SC: Single Crochet
- INC: Increase (2 SC in one stitch)
- HDC: Half-Double Crochet
- DC: Double Crochet
- SL ST: Slip Stitch
- CH: Chain
Special Stitches
- Increase (INC): Work 2 SC in one stitch to expand the round.
- Scallop (Icing) Sequence: In one stitch, work 1 HDC, 3 DC, 1 HDC, 1 SC — this forms one pronounced scallop.
- Sprinkle Chain: CH 3 or CH 5, then SL ST to surface to create a sprinkle.
The Crochet Pattern
Base Foundation
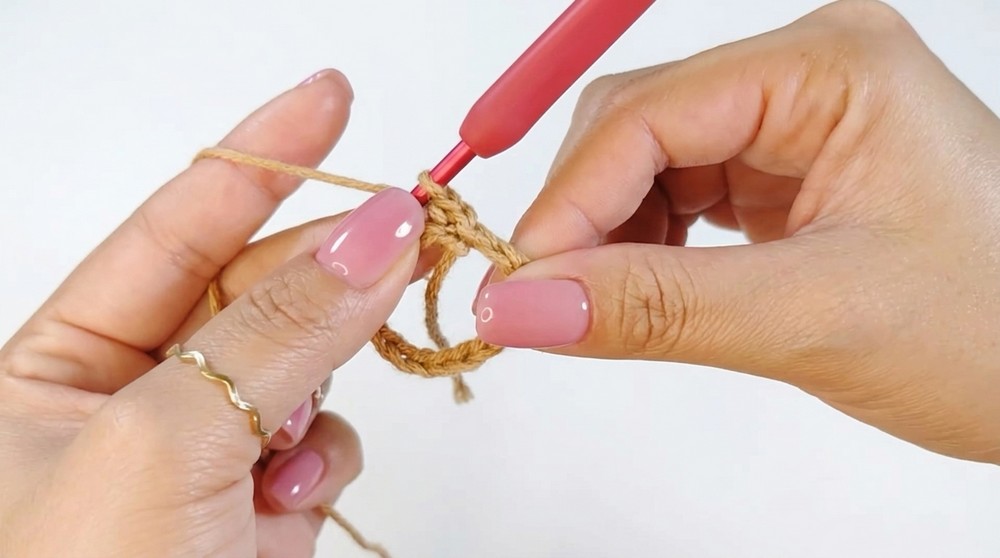
- Foundation: CH 18 and join with a SL ST to form a ring.
- Round 1: SC in each chain around – 18 SC.
- Round 2: 2 SC, 1 INC – repeat around (24 SC).
- Round 3: SC in each stitch (24 SC).
- Round 4: 3 SC, 1 INC – repeat around (30 SC).
- Round 5: SC in each stitch (30 SC).
- Round 6: 4 SC, 1 INC – repeat around (36 SC).
- Round 7: SC in each stitch (36 SC).
- Round 8: 5 SC, 1 INC – repeat around (42 SC).
- Round 9: 6 SC, 1 INC – repeat around (48 SC).
- Round 10: SC in each stitch (48 SC).
- Round 11: SC in each stitch; finish with a SL ST (48 SC).
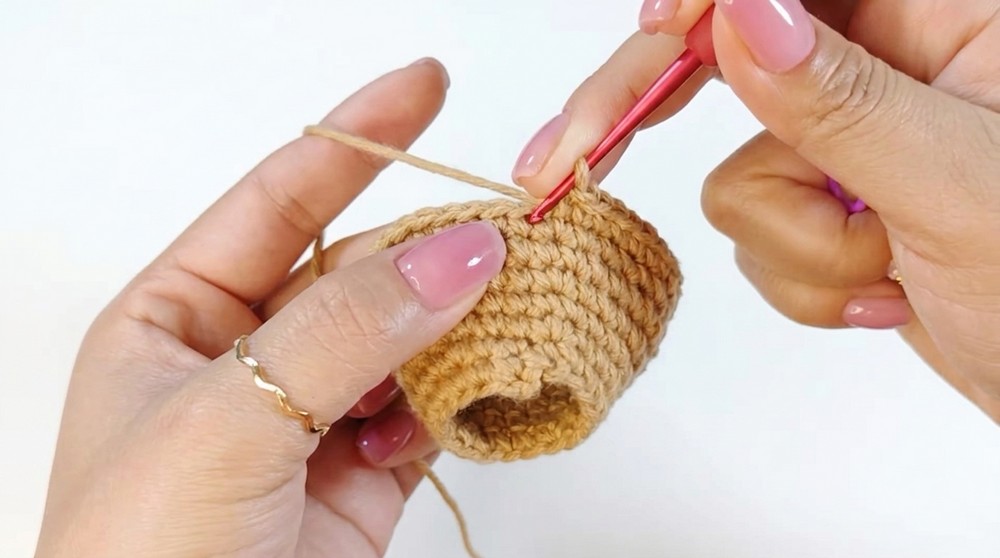
Set aside the base piece.
Top Piece
- Rounds 1–10: Repeat the exact same sequence as for the Base Foundation.
- Foundation: CH 18 and join with a SL ST to form a ring.
- Round 1: SC in each chain around – 18 SC.
- Round 2: 2 SC, 1 INC – repeat around (24 SC).
- Round 3: SC in each stitch (24 SC).
- Round 4: 3 SC, 1 INC – repeat around (30 SC).
- Round 5: SC in each stitch (30 SC).
- Round 6: 4 SC, 1 INC – repeat around (36 SC).
- Round 7: SC in each stitch (36 SC).
- Round 8: 5 SC, 1 INC – repeat around (42 SC).
- Round 9: 6 SC, 1 INC – repeat around (48 SC).
- Round 10: SC in each stitch (48 SC).
- Round 11: SC in each stitch; finish with a SL ST (48 SC).
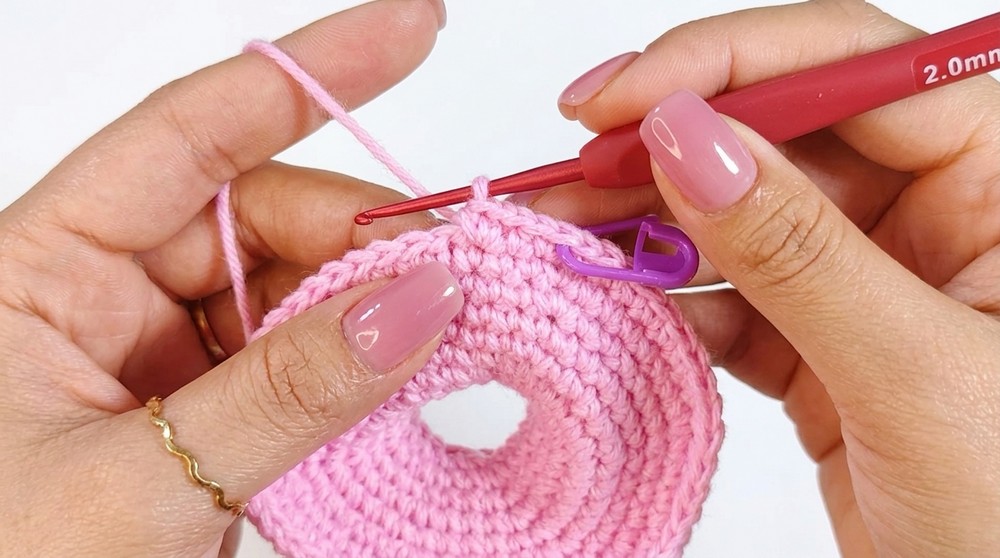
- You will now have two identical rings.
Decorative Border – Scallop Icing & Sprinkles
- Round 11 (Scalloped Icing):
- Join icing color at any stitch of Top Piece round.
- In each stitch around:
- Work 1 HDC, 3 DC, 1 HDC, 1 SC in the same stitch (forming a scallop).
- Continue in each stitch for a ruffled, pronounced border.
- After several scallops, pause and add sprinkles:
- With a contrasting color, CH 3 (for short sprinkle) or CH 5 (for longer sprinkle), then SL ST to donut surface to anchor.
- Distribute sprinkles randomly across the icing round.
- Complete round and finish with a SL ST. Fasten off and weave in ends.
Sprinkles (Decorative Chains)
- As you reach each desired spot or after every few scallops, attach a yarn scrap, CH 3 or CH 5, and SL ST back into the same area to secure.
- Make approximately 8–12 sprinkles, varying direction and color for visual appeal.
- Weave in all ends.
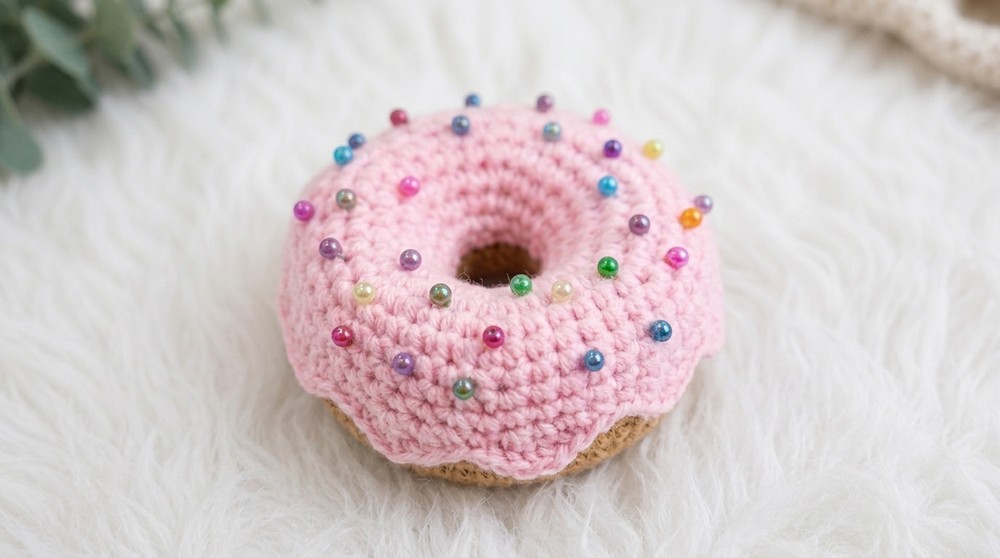
Assembly & Finished Size
- Align the base and top pieces with the wrong sides facing each other so the icing and sprinkles are outward.
- Apply glue along the outer circumference – begin at one point and continue evenly, pressing edges together for a clean, sturdy join. If sewing, whipstitch through both edges, catching every stitch.
- At the halfway point, pause and insert stuffing. Distribute fiberfill evenly across the donut, ensuring it is moderately plump but not distorting the shape.
- Finish gluing or sewing around, closing the seam completely.
- Shape the donut gently as the glue sets for a smooth, rounded detail.
- Finished size: Approximately 4" (10 cm) diameter, 1.25" (3 cm) thick; central hole 1–1.25" (2.5–3 cm).
Conclusion and Ending Words
Your Amigurumi Donut Pincushion is now complete and ready to use. The pattern produces a delightful, whimsical pincushion that is customizable in colors and toppings. Its sturdy construction and firm stuffing make it ideal for practical use, while the decorative scalloped icing and sprinkle chains add a charming handmade touch. You can personalize your donut by varying frosting or adding more sprinkles—feel free to experiment! This pincushion also makes a wonderful gift for fellow crafters or a cheerful addition to your own sewing area.



