
Refresh your crochet basket with this Free Crochet Strawberry Chick Pattern for a cute little friend full of smiles and charm.
Looking for something playful and downright adorable to crochet? This Free Crochet a Charming Strawberry Chick Pattern brings together a loveable little chick with a fun strawberry twist. Its sweet and cheerful vibe makes it the kind of project that’s hard to resist—and even harder to put down once you start stitching. The chick is small and round with soft textures that give it a cozy, handmade feel. The real star of the show is its strawberry inspired hat, which features leafy embellishments and playful details like tiny stitched "seeds."
Free Crochet Strawberry Chick Pattern for Cute Creations
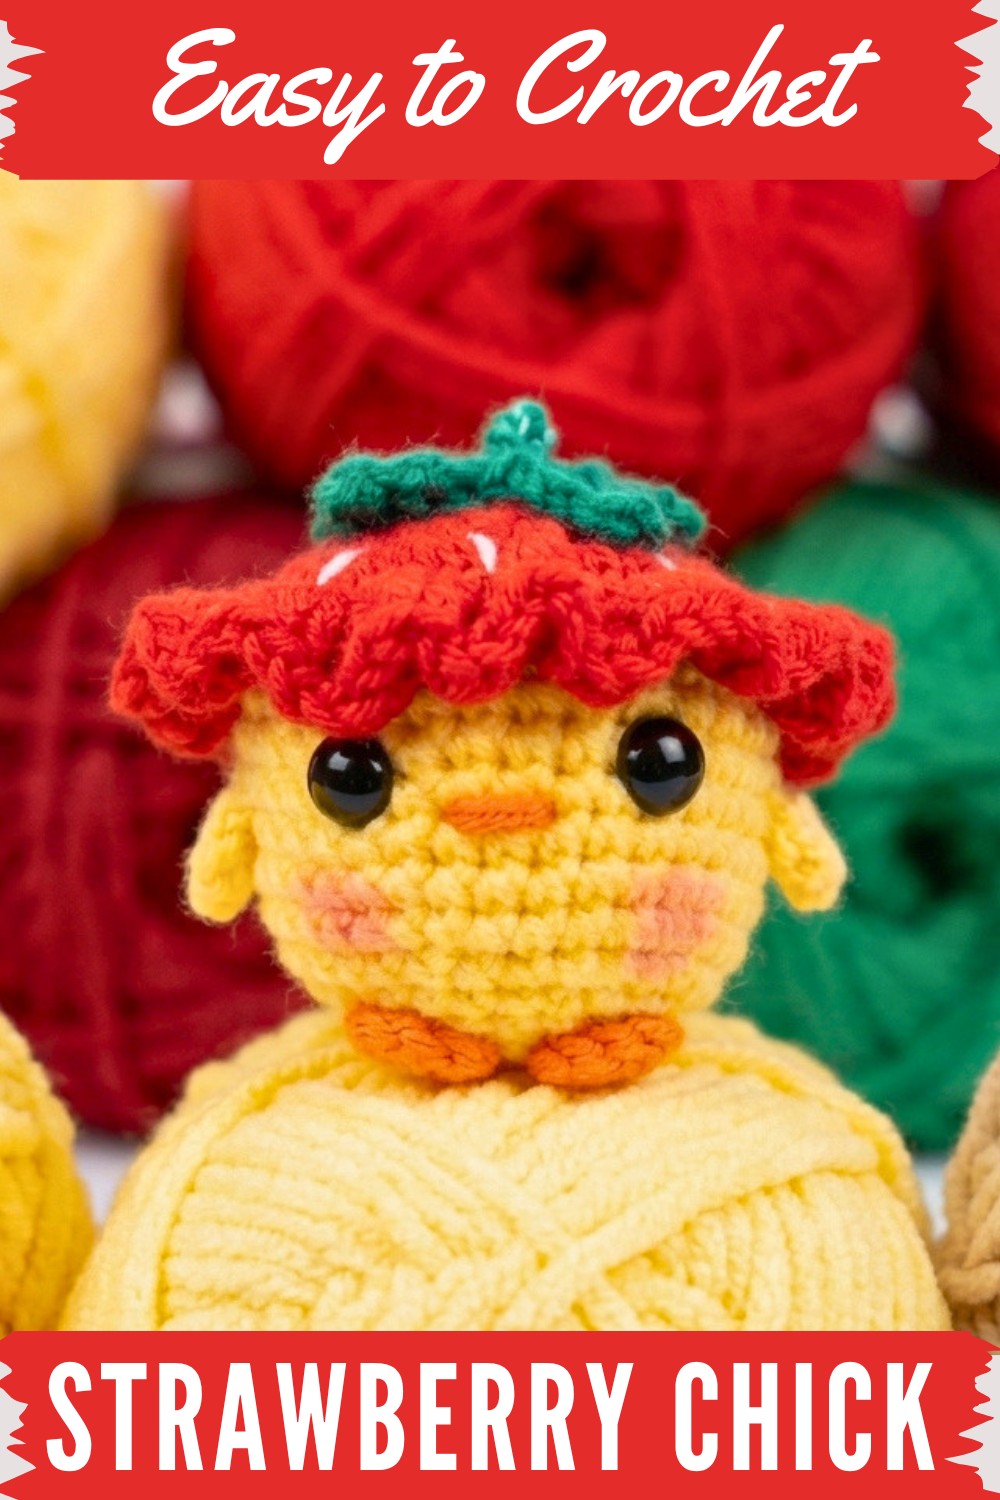
It’s perfect for anyone who appreciates cute and quirky items. You can keep the traditional strawberry colors of red and green or switch them up for something imaginative—maybe a “blueberry” or “raspberry” version. You’ll primarily work in single crochet stitches to shape the chick’s body, while the hat offers a simple introduction to shaping techniques. It’s quick to make and a great way to use up small amounts of yarn from your stash. To enhance its charm, safety eyes bring the chick to life, while careful stuffing adds just the right amount of squish.
What sparked the idea? It’s the mix of springtime vibes and playful creativity that makes this chick stand out. Choosing lightweight yarns with good stitch definition will make each little detail pop, and the soft textures ensure the end result feels delightful in your hand.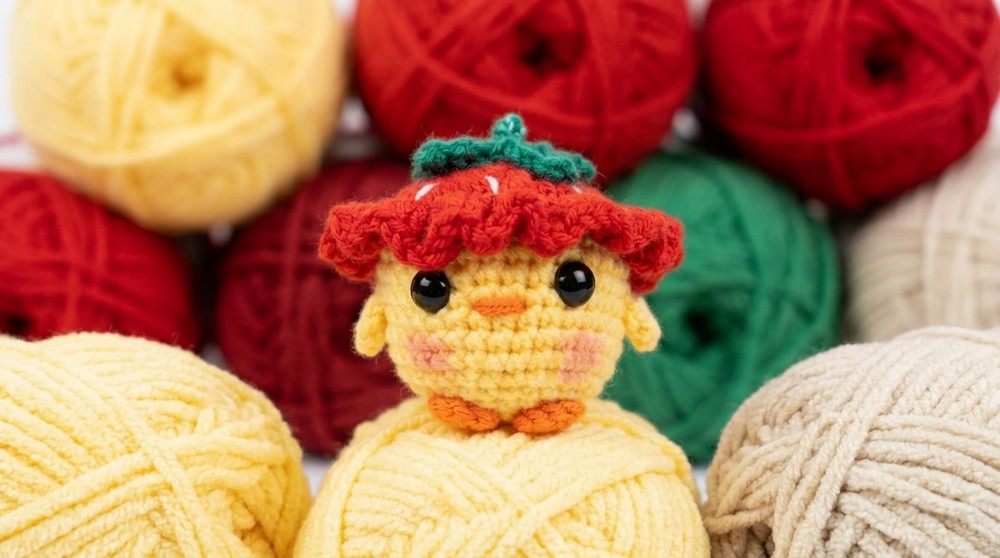
This strawberry chick is a fantastic choice for baby showers, seasonal decorations, or small tokens of appreciation. You can even turn them into household accents, like bag charms or desk companions. Let your imagination run wild and have fun with different variations—you’ll love seeing how this charming little character comes to life with every stitch.
Crochet Chick Keychain Pattern
This pattern guides you step by step to create a delightful crochet chick keychain, directly following a proven video tutorial. Featuring a bright yellow body, tufted hat, perky wings, and tiny feet, it's perfect for gifting or accessorizing your bags and keys. This easy amigurumi project covers shaping, color-changing, and decorative detailing.
Quick Overview of Pattern
- Head and Body: Worked seamlessly in rounds, starting from a magic ring and increasing to create a sphere, then decreasing to close.
- Details: Add cute safety eyes, crochet wings and feet, and attach them securely.
- Hat and Brim: Crochet the hat brim and leafy tuft using front loops left from a color change, embellishing your chick’s head.
- Keychain Attachment: Top off your chick with a sturdy keyring loop.
Notes
- Stuff the body firmly but not to overstretch stitches.
- For a seamless finish, use invisible decreases on the shaping rounds.
- Eyes are inserted before closing for easier placement.
- The color change is emphasized with a round in back loop only, creating a neat, defined edge for the hat brim.
- Adjust yarn thickness and hook size for different-sized chicks.
- Use a stitch marker to track the start of each round and maintain accuracy.
Skill Level
Confident Beginner / Intermediate
Requires comfort with magic rings, working in the round, increases, decreases, color changing, and simple sewing.
Materials
- DK or worsted weight cotton/acrylic yarn in yellow, orange, white, and green (for body, feet, hat, and hat detail)
- 2.5mm–3.0mm crochet hook
- Polyester fiberfill stuffing
- 6mm safety eyes (or black yarn for embroidering eyes)
- Yarn needle & sewing needle
- Scissors
- Keychain finding/ring
- Stitch marker or contrasting yarn
Measurements / Sizing
- Finished chick measures approximately 4–5 cm (1.5–2 inches) tall, excluding keychain ring.
- For larger or smaller versions, change hook size or yarn weight accordingly.
Gauge (and Stitch Pattern)
- Gauge: Not critical. Work tightly to prevent stuffing from showing.
- Swatch: 6 sc × 6 rows = 2.5 cm/1" as reference.
- Stitch: Single crochet is used throughout. Hdc for hat brim; sl st for finishing.
Stitch Abbreviations
- ch = chain
- sc = single crochet
- hdc = half double crochet
- sl st = slip stitch
- inc = increase (2 sc in same st)
- dec = decrease (sc2tog)
- st(s) = stitch(es)
- BLO = back loop only
- FLO = front loop only
- MR = magic ring
Special Stitches
- Invisible Decrease (sc2tog): Insert hook in front loop of next 2 sts, yarn over, pull through 2 loops, yarn over, pull through remaining loops.
- Magic Ring (MR): Adjustable loop used to start crocheting in the round.
Step by Step Pattern
Body
- Round 1:
- Start with a magic circle and work 6 single crochets (sc) into the circle. Pull tight to close. (6 stitches)
2. Round 2:
- Work 2 sc in each stitch (increase in every stitch). (12 stitches)
3. Round 3:
- Alternate 1 sc, 1 increase (2 sc in the same stitch). Repeat 6 times. (18 stitches)
4. Round 4:
- Begin with 1 sc, then alternate 2 sc, 1 increase until the last stitch. The first and last single crochets of the round will form a pair when you complete it. (24 stitches)
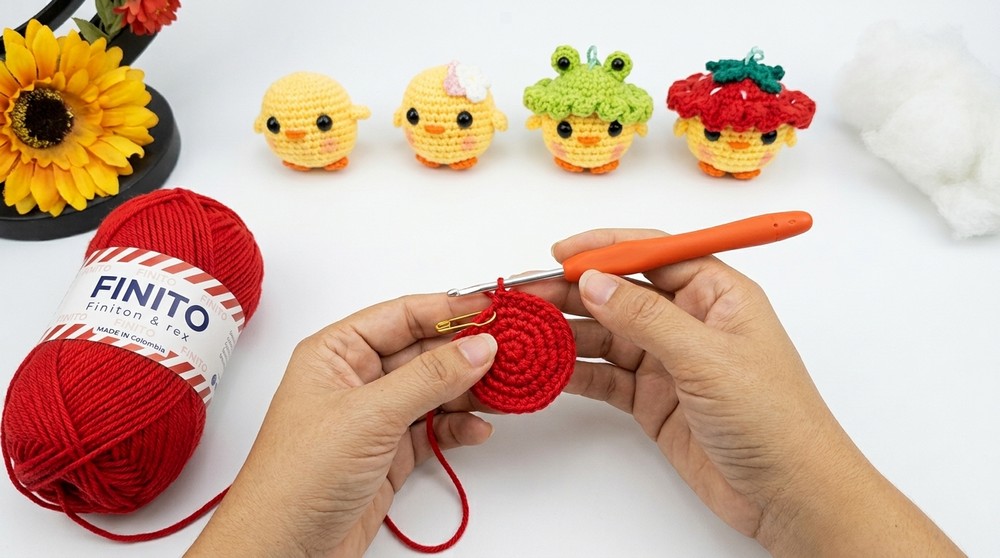
5. Round 5:
- Work 3 sc, 1 increase around the entire round. (30 stitches)
6. Round 6:
- Work 1 sc in each stitch (no increases). (30 stitches)
Tip: If adding a hat later, use back loops only (BLO) during this round.
7. Rounds 7–13:
- Continue working 30 sc per round (no increases). Total 6 rounds.
Safety Eyes Placement
- Flatten the chick and locate the center.
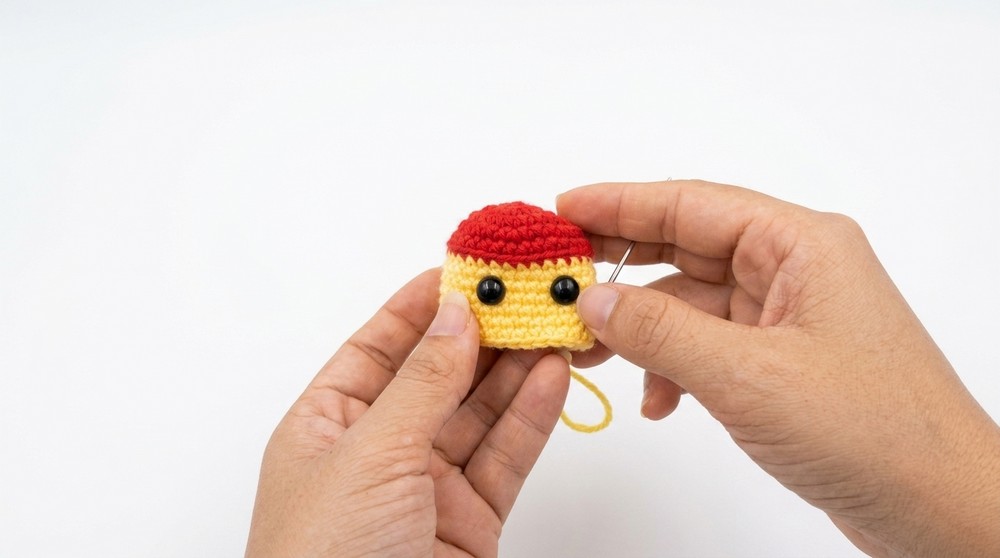
- Safety eyes are placed between Round 9 and 10.
- From the center point, count 3 stitches outward for each eye.
- Secure the backing of the eyes on the inside to ensure they stay in place.
Body Decreases
8. Round 14:
- Work 3 sc, 1 decrease (single crochet two together – sc2tog). Repeat the sequence. (24 stitches)
9. Round 15:
- Work 2 sc, 1 decrease around the circle. Start your round with 1 sc before the sequence. (18 stitches)
Stuffing the Body:
- Add fiberfill to the chick, ensuring even distribution. Push stuffing to corners for a smooth, round shape.
10. Round 16:
- Work 1 sc, 1 decrease around the circle. (12 stitches)
11. Round 17 (Final Round):
- Work 6 decreases (sc2tog for the entire round). Leave a long tail for closing. (6 stitches)
Using the tapestry needle, sew through the front loops of the final 6 stitches and pull tight to close the body.
Wings
Make 2 Wings:
- Create a magic circle.
- Work 8 sc into the circle but do not close it into a full sphere. Leave the circle open to sew onto the chick’s body.
- Position wings symmetrically on either side of the chick’s body (around Round 7). Sew securely.
Feet
Make 2 Feet:
- Start with a magic circle.
- Work 8 sc into the circle and close. Unlike wings, feet should form a complete circle.
- Position the feet evenly at the bottom of the chick (about Round 16). Sew securely.
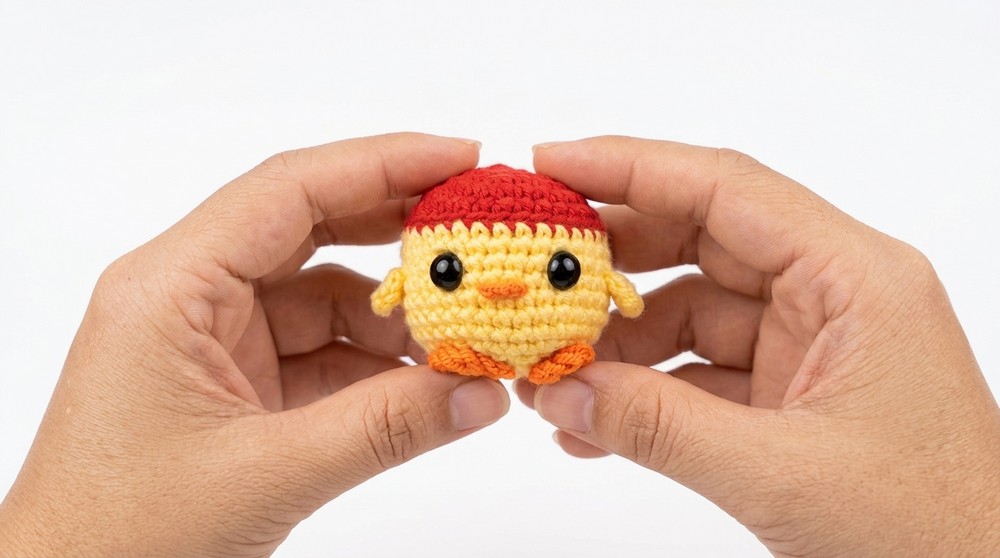
Beak
- Use orange yarn to embroider the beak between the eyes (slightly below them). Work a small triangle shape with short horizontal stitches and wrap the top edges for a defined look.
Hat (Optional)
If adding a hat (frog or strawberry styles), follow these steps:
Hat Base:
- Begin by reattaching yarn to Round 6 BLO stitches.
- Make 30 single crochets (sc) around the round (1 sc per stitch).
- Continue crafting decorative elements (e.g., triple crochet clusters for a frill or simple single crochets depending on style).
Optional Frog Hat Details:
- Use green yarn to create frog eye motifs with magic circles.
- Attach eyes above the chick’s safety eyes for the cute frog effect.
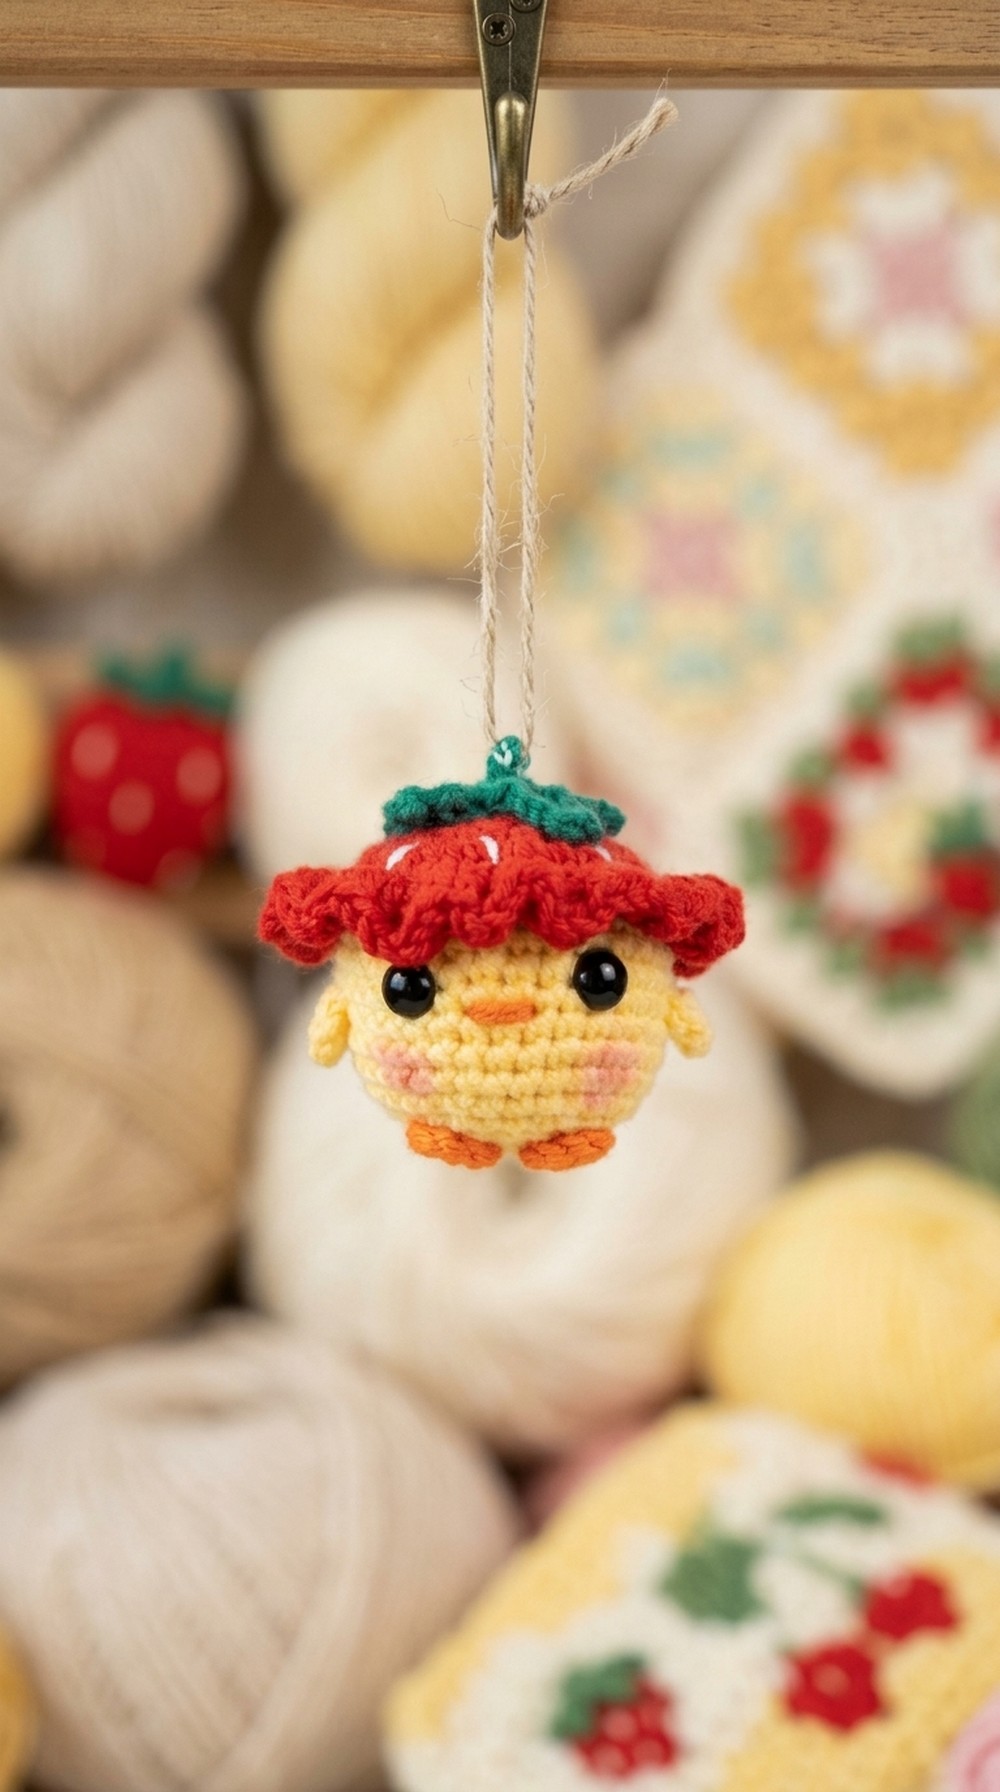
Optional Strawberry Hat Details:
- Incorporate small “seed” embroidery stitches in white or black on the red hat base.
- Use green yarn to create a leafy cap edge.
Assembly & Finished Size
- Stuff chick body firmly before closing.
- Sew wings slightly to the sides, just below the “shoulders.”
- Attach feet to the bottom base, spaced evenly.
- Sew hat leaves/tuft on top, centered.
- Attach keychain ring securely at the top or through the side of the tuft.
- Finished size: approximately 4–5 cm tall.
Conclusion and Ending Words
Congratulations on completing your crochet chick keychain! This cheerful amigurumi makes a perfect gift or adorable accessory. Add creative embellishments or color changes to give your chick special personality.



