
Learn how to make a cute crochet strawberry mini hat with this easy-to-follow pattern featuring detailed steps and adorable design ideas.
It all started with a small idea while experimenting with playful crochet accessories that feel fun yet practical, and that’s how this Free crochet Strawberry Mini Hat Pattern slowly came to life. I wanted something tiny, cheerful, and quick to make, something that could sit on a doll, work as a photo prop, or even become a cute little charm. As I worked through the stitches, it started to resemble a strawberry in the sweetest way, and that’s when the design really clicked.
Cute Crochet Strawberry Mini Hat Free Pattern
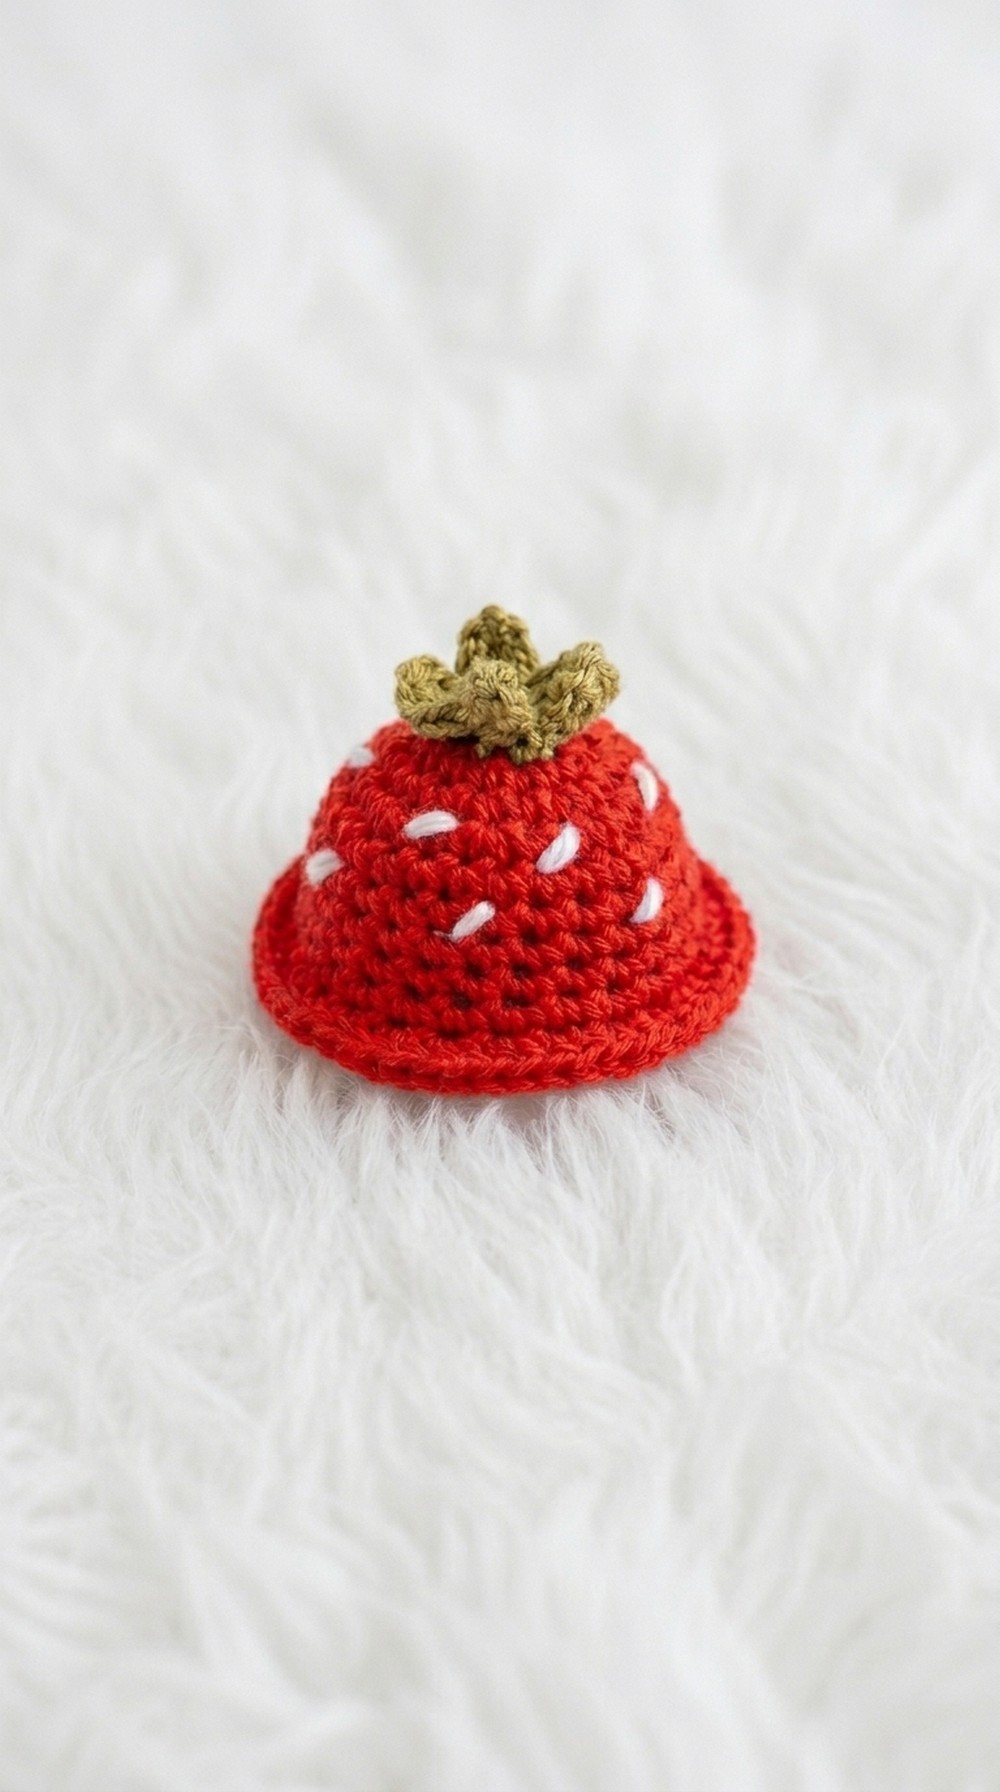
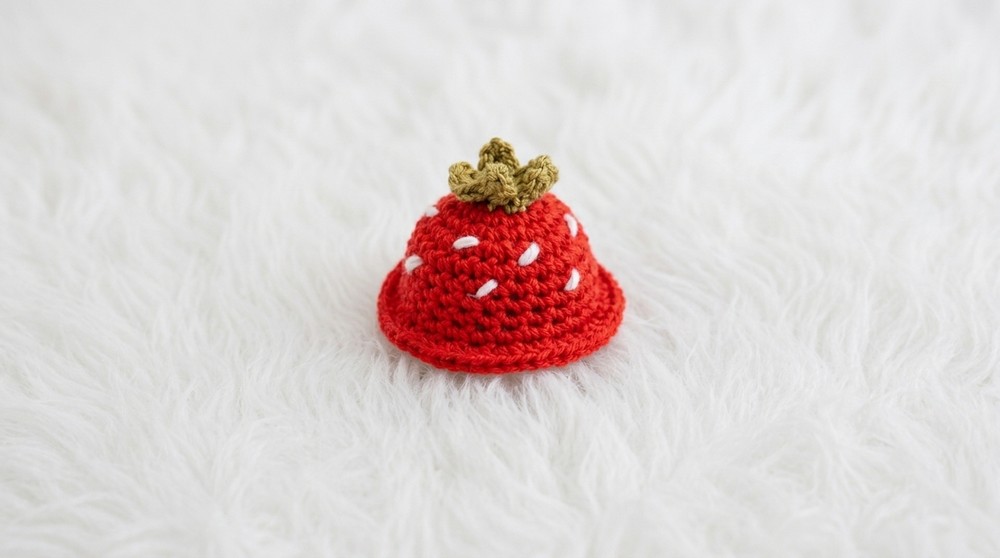
The finished mini hat has a soft, rounded strawberry shape with a bright red body, a fresh green leafy top, and tiny seed-like details scattered across the surface. It has a light, slightly textured feel that keeps its structure without being stiff. The design is simple, but that’s what makes it stand out, the clean shape and color contrast give it a fun, storybook-like charm. Depending on your yarn choice, you can make it look plush and soft or more defined and structured. It also works beautifully in different colors if you want to turn it into a whole set of mini fruit-inspired hats.
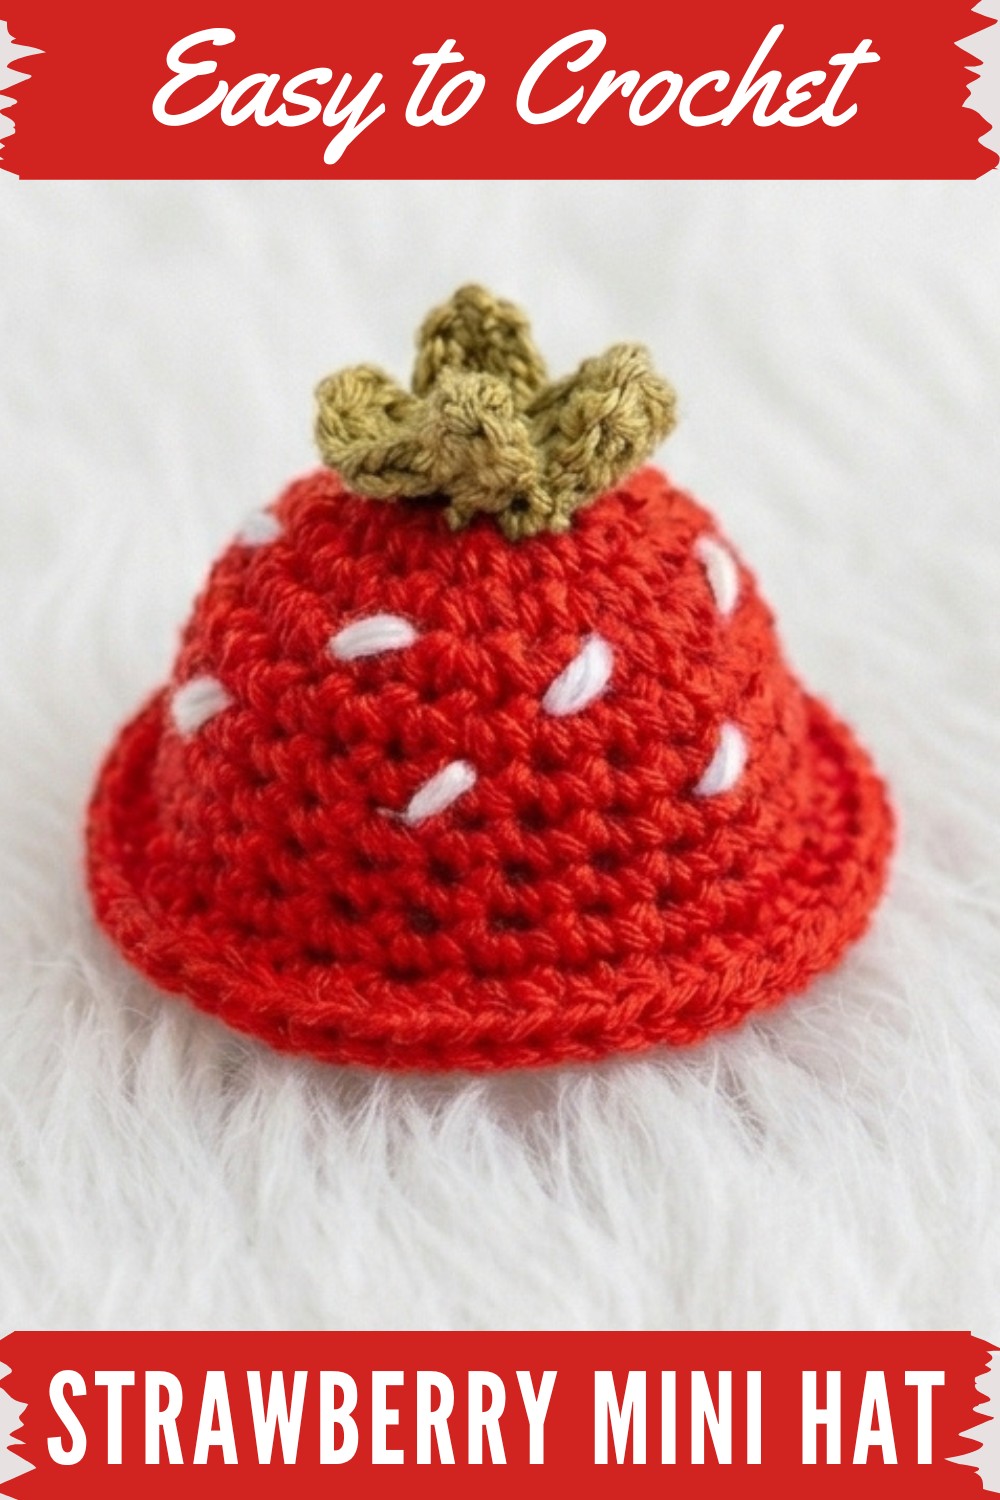
This is a beginner-friendly project, and it mainly relies on single crochet stitches, which help create a tight, even fabric. Working in continuous rounds keeps the shape smooth and balanced, while small shaping techniques bring the leafy crown to life. It’s the kind of project where patience with tension and stitch consistency really pays off, especially when adding the tiny finishing details.
In the end, this little strawberry hat becomes more than just a quick crochet make, it turns into a charming handmade piece with real personality. It makes a thoughtful gift for doll collectors, crochet lovers, or anyone who enjoys cute handmade décor. It also fits perfectly into crochet fair collections or seasonal displays. If you enjoy simple projects that tell a small creative story while still being easy to complete, this one is a lovely addition to your crochet journey.
Strawberry Hat Crochet Pattern for Small Plushies
This charming crochet pattern will help you create an adorable strawberry hat for small plushies, particularly SMY toys or similar mini dolls. You’ll learn how to construct a perfect little beanie, decorate it with green leaves, and add sweet white seed accents. The hat is crocheted in the round—working increases for a fitted dome and then simple rounds to form the body and rim. The leaves and seeds are embroidered for realistic strawberry details. This easy-to-follow guide walks you through each step, so even newer crocheters can whip up delightful hats for their collections.
Pattern Notes
- The hat is crocheted in continuous rounds using single crochet, with increases to form a flat circle, then simple rounds to build the sides.
- Use stitch markers to keep track of the first stitch in each round.
- The pattern and sizing can be adapted to any small plush or doll. Just add or remove increase rounds to match the head circumference.
- The “thread yarn” used is very fine, but any yarn will work—thicker yarns yield larger hats.
- For strawberry details, add leaves and seeds with scraps of green and white thread.
- If desired, add straps to tie the hat under the plush’s chin.
Skill Level
Beginner
(Stitches: magic ring, single crochet, slip stitch, chain, basic embroidery)
Materials
- Fine thread yarn (or any preferred yarn) in red for the hat
- Green yarn or thread for leaves
- White yarn or thread for seeds
- Crochet hook to match yarn (e.g., 2–3mm for fine thread, or larger for bulkier yarns)
- Stitch marker
- Scissors
- Yarn needle for weaving ends and seed embroidery
Measurements / Sizing
- Fits most small plushies or SMY toys with a head diameter of about 4–5 cm (1.5–2 inches). Size can be adjusted by adding/removing rounds.
- Hat diameter after increases: about 5 cm (2 inches)
- Finished hat height: about 3–4 cm (1.2–1.5 inches)
Gauge
Gauge is not critical. To check: After the last increase round, your circle should slightly cover your plushie's head.
Stitch Abbreviations
| Abbreviation | Meaning |
|---|---|
| MR | Magic Ring |
| sc | Single Crochet |
| sl st | Slip Stitch |
| ch | Chain |
| st | Stitch |
Special Stitches
- Magic Ring (MR): Loop yarn; crochet into ring, then pull tight.
- Single Crochet Increase (inc): 2 single crochets in same st.
The Crochet Pattern
1. Hat Base
Round 1
Make a magic ring. Work 4 sc into ring. Insert stitch marker in first sc. Pull ring tight. [4 sts]
Round 2
Slip stitch into the marked stitch. Move marker to new stitch.
Work 1 sc in each st around. [4 sts]
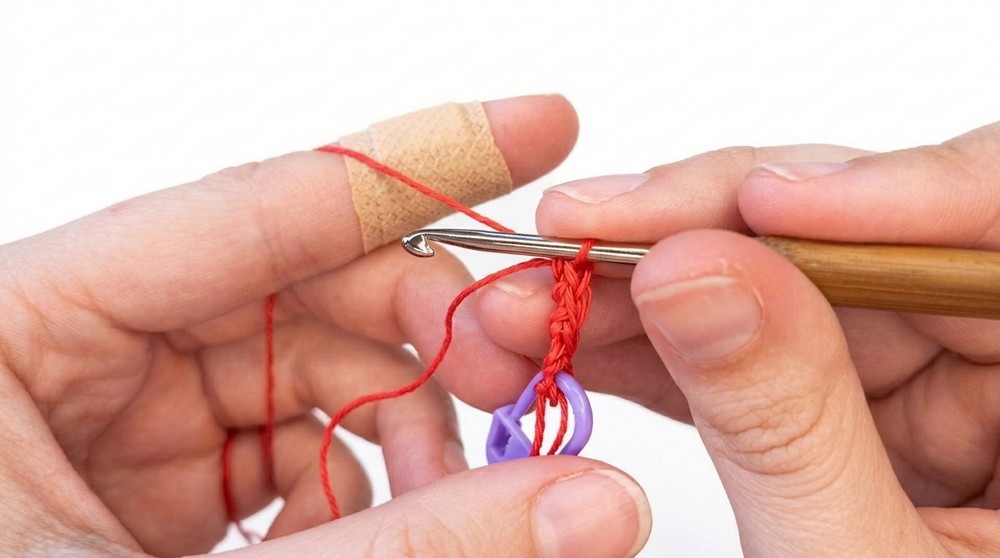
Round 3
Increase round.
Work 1 sc in first st, 2 sc (inc) in next st; repeat around. [6 sts]
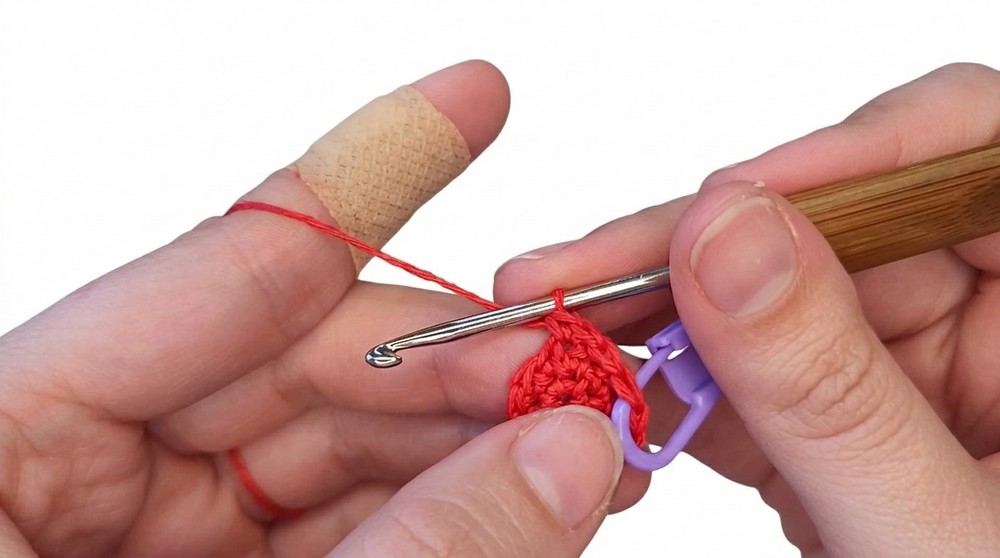
Round 4
Work 1 sc in next st, 2 sc in following st, repeat pattern:
- 1 sc, 2 sc, 1 sc, 2 sc… [expand to 8 sts]
Round 5
Work 1 sc in next 2 sts, 2 sc in third st; repeat.
Continue around:
- 1 sc, 1 sc, 2 sc (repeat) [Expand to 10–12 sts]
Round 6
Work 1 sc in next 3 sts, 2 sc in fourth st; repeat around. [14–16 sts]
Continue Rounds of Increase
Repeat increase pattern: For each new round, add one more single crochet between increases (e.g., 1 sc in 4 sts, 2 sc in fifth st, etc.), until circle covers the top of the plushie’s head.
(For fine yarn, you may need 4–5 increase rounds.)
2. Hat Body
Straight Rounds
Once your desired diameter is reached, work 1 sc in each st around, placing the marker and moving it each round.
Continue until hat reaches the desired length (about 6–8 rounds, or until it covers plushie's head).
You can stop here for a simple beanie look.
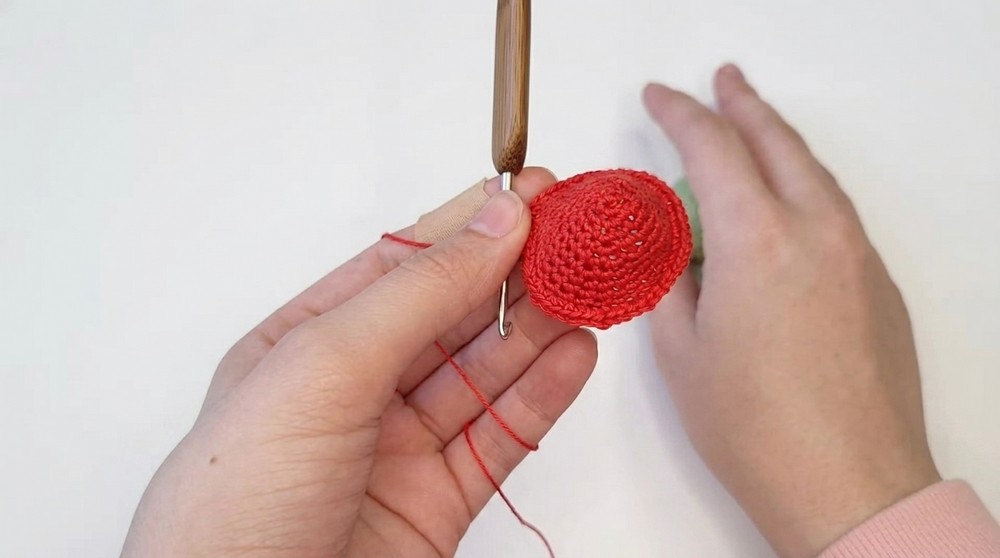
3. Rim
Optional for a flared look (Strawberry shape):
Work 2 sc in each st around (increase round once more) to create a slight flare at the rim.
Fasten off, weave in ends.
4. Strawberry Leaves
For Each Leaf (Make 3):
- With green yarn, ch 3.
- Turn, sc in each of the 3 chains to make a small leaf.
- Finish off; leave tail for sewing.
Assembly:
- Sew/tie leaves to the top center of the hat, arranging them so they look like strawberry leaves.
5. Strawberry Seeds
- Using white yarn/thread and needle, embroider small vertical “seed” stitches randomly spaced around the hat.
Assembly & Finished Size
- Weave all ends to the inside, tie off with a knot in center.
- Attach leaves securely on top.
- Add optional ties/straps if desired.
- Finished hat fits snugly on the plushie head, with leaves and seeds decorating the surface.
Quick Overview for Beginners
- Make a magic ring; work 4 sc, mark first stitch.
- Slip stitch; continue sc rounds, evenly increasing (inc) for 4–6 rounds, until diameter covers plushie’s head.
- Work straight sc rounds for hat sides.
- For rim: Work 2 sc in each st around and fasten off.
- Make 3 leaves: ch 3, sc back across, sew to the hat top.
- Using white thread, embroider seeds evenly around.
- Weave in ends; finished!
Additional Tips
- If your hat is too small, add another increase round before working straight rounds.
- For a bulkier fit, use thicker yarn and a bigger hook; adjust stitch counts as needed.
- Attach leaves and seeds securely for durability: knot ends on the inside.
- Get creative! Make other fruit hats by changing colors and accents.



