
Brighten up your holiday decorations with a free crochet Christmas star pattern that’s bursting with festive charm and adds a playful sparkle to your home.
One cold winter night, I was looking through my yarn, hoping to find a fun project to bring some holiday cheer. That’s when I found a lovely idea—the free crochet Christmas star pattern. It felt like the perfect way to add a warm, homemade touch to my Christmas decorations.
Free Crochet Christmas Star Pattern for Festive Gifts
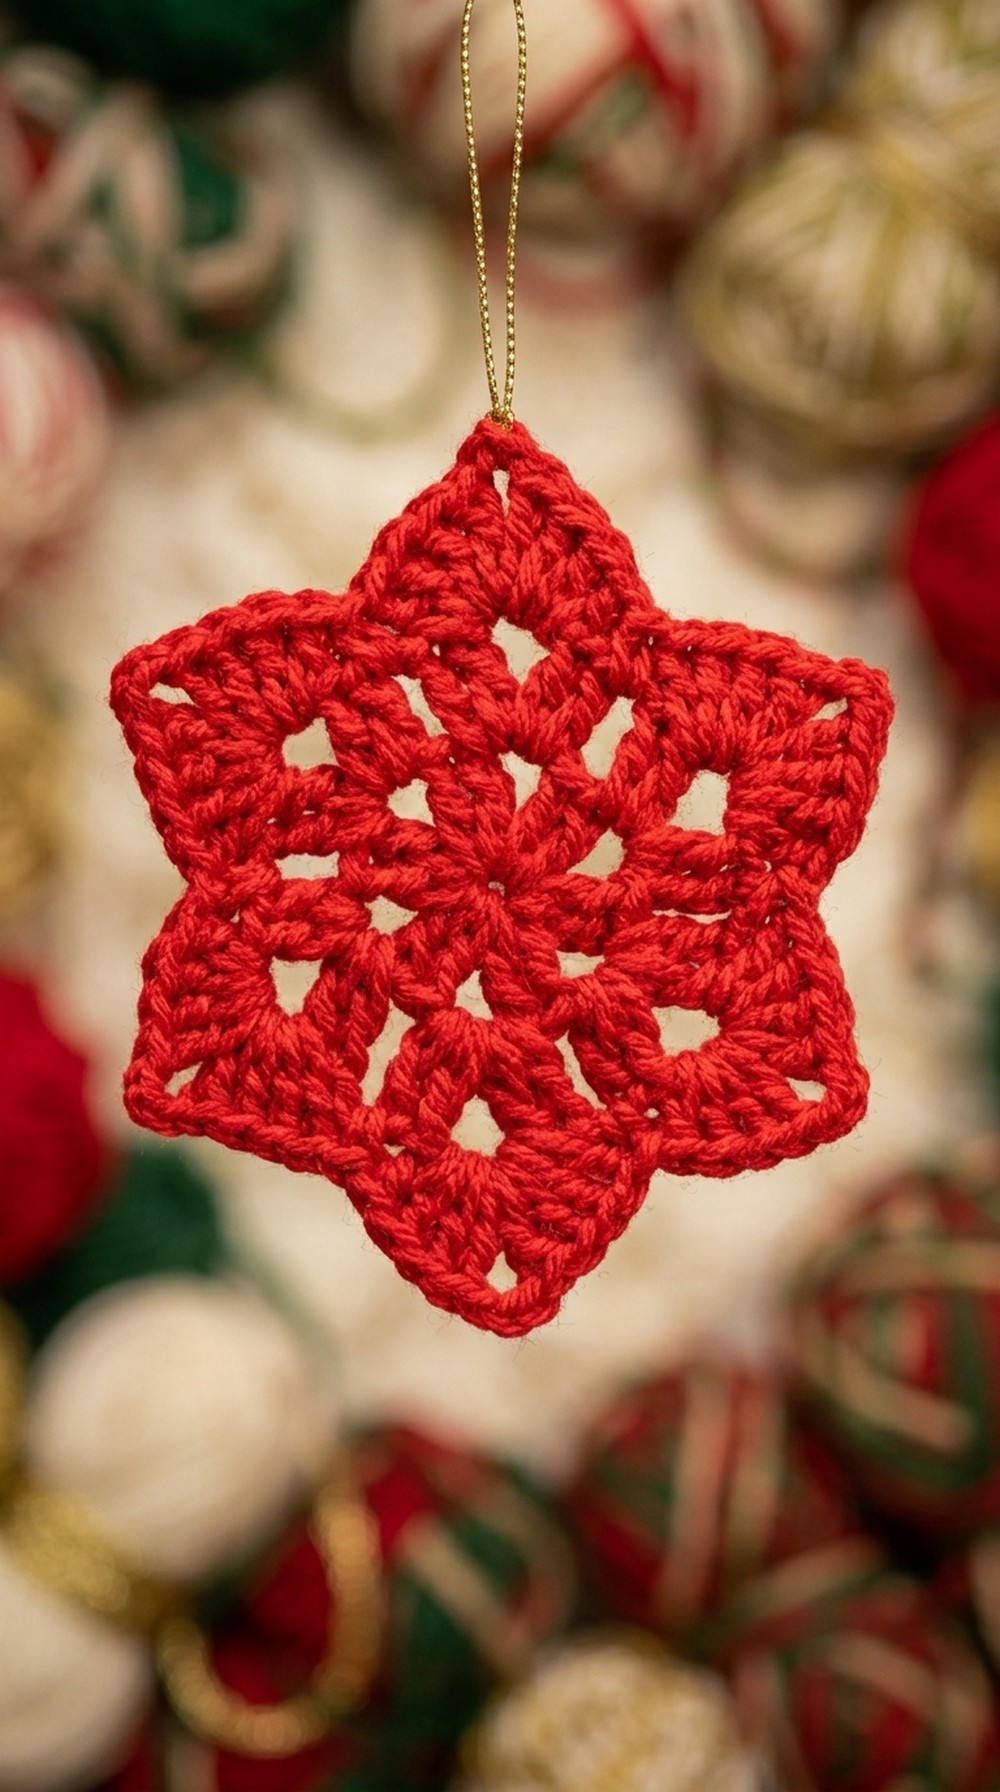
This star has five points and a simple, pretty design with soft stitches that give it a nice texture. The star is flat but shows the pattern well, making it look special. You can make small stars to hang on your tree or bigger ones to decorate a wall or window. It’s easy to change the size and colors so the stars can match your own holiday style.
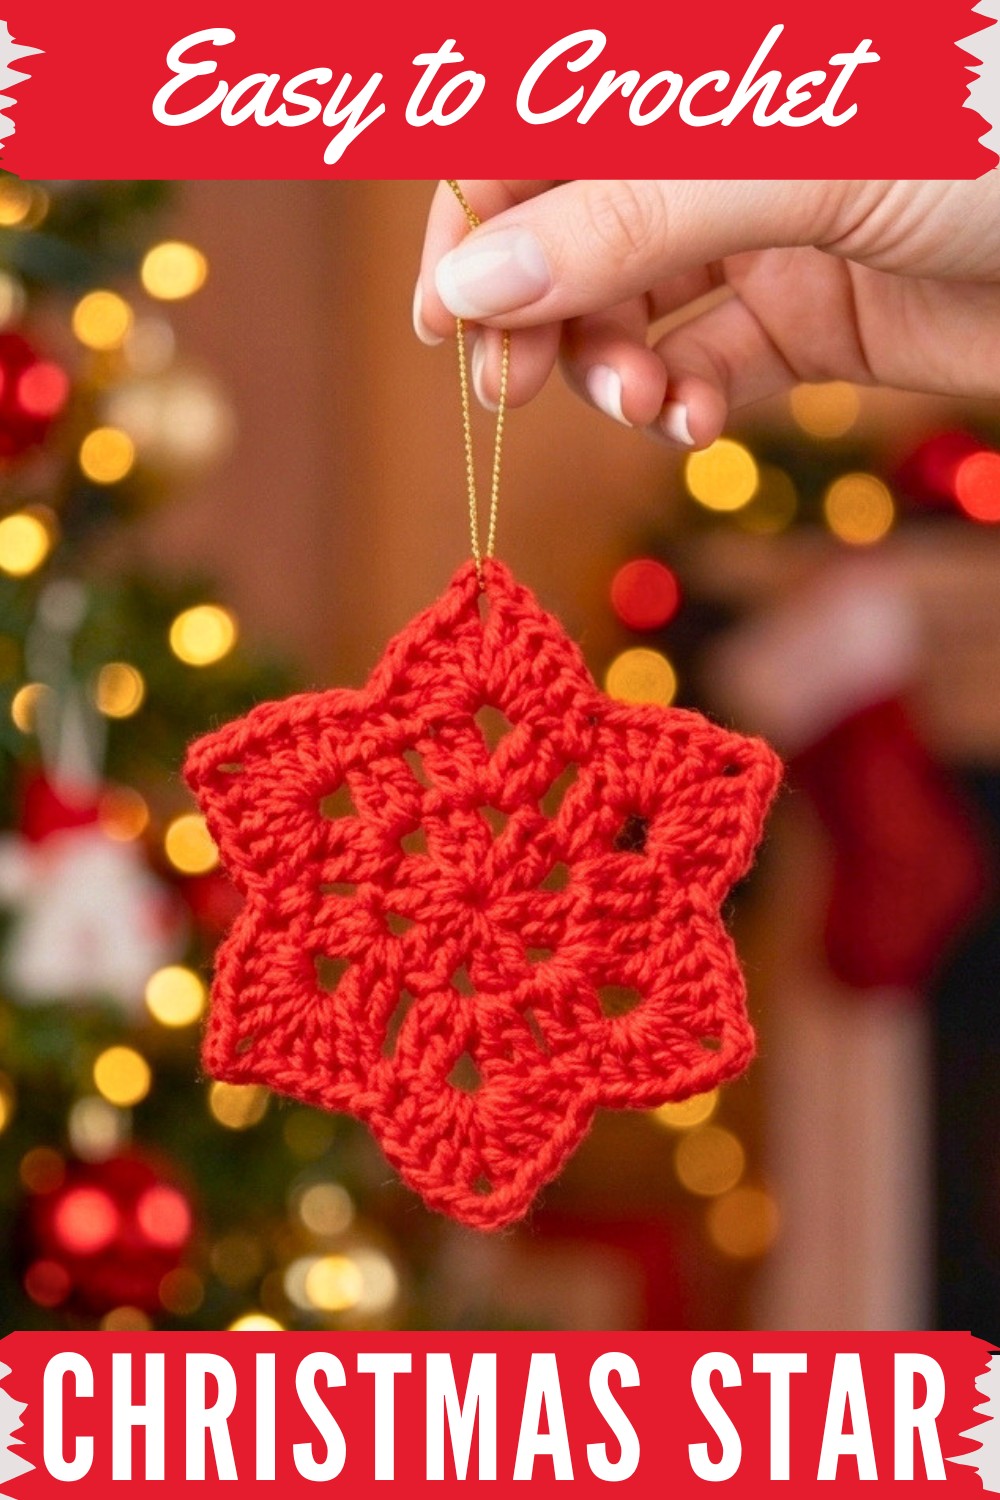
To make this star, you crochet in rounds using basic stitches like single crochet and double crochet. One helpful tip is to keep your yarn tension steady so the star stays flat and the points stay sharp. The design is inspired by the Christmas star, a symbol of hope and light. Using yarn that shines a little or has tiny sparkles helps the star look bright and pretty.
These crochet stars are great as gifts or decorations around your home. You can even add beads, bows, or buttons to make each star unique. The free crochet Christmas star pattern is a simple, fun project that brings the joy of the holidays right into your hands.

Crochet Christmas Star Pattern
This pattern guides you through crocheting a beautiful Christmas star using 3–4 mm thick yarn and a 3.5 mm crochet hook for optimal results. The star is crocheted in three detailed rounds, shaping into a classic five-pointed star perfect for holiday décor. The pattern also explains how to increase the size of your star for larger projects such as placemats, maintaining the distinctive star points while adding stitches for growth.
Pattern Highlights
- Foundation with Magic Ring: Creates a tight, neat center for the star.
- Rows Built with Double Crochets and Chain Spaces: Generate the star's body and points with clusters and openwork.
- Star Points (Third Row): Defined by clusters of double crochets separated by chain spaces for elegance and dimension.
- Scalable Design: Methods given for enlarging your star while maintaining form.
Notes
- Recommended yarn thickness: 3–4 mm for definition and structure.
- Crochet hook: 3.5 mm provides balance between stitch clarity and ease of work.
- Maintain an even tension to keep star points symmetrical.
- Use a yarn that blocks well if you want crisp edges.
- Slip stitches are used to join rounds and for moving between spaces neatly.
Skill Level
Beginner to Intermediate – Familiarity with magic ring, double crochet, single crochet, chaining, and slip stitches is necessary.
Materials
- Medium-thickness yarn (3–4 mm recommended).
- Crochet hook 3.5 mm.
- Scissors.
- Yarn needle for weaving ends.
Measurements / Sizing
- Finished star diameter is approximately 12 cm (4.7 inches) with the base pattern.
- Size can be increased by adding more double crochets per tip row for larger projects.
Gauge and Stitch Pattern
- Gauge is not strict but maintaining consistent tension ensures star symmetry.
- Stitch pattern includes double crochet clusters separated by chains, and single crochet stitches for spacing.
Stitch Abbreviations
| Abbreviation | Term | Instruction |
|---|---|---|
| ch | Chain | Yarn over, pull through loop |
| sc | Single Crochet | Insert hook, yarn over, pull through loop |
| dc | Double Crochet | Yarn over, insert hook, yarn over, pull through 2 loops, yarn over, pull through 2 loops |
| sl st | Slip Stitch | Insert hook, yarn over, pull through both loops |
Special Stitches
- Magic Ring: A starting loop that can be tightened to close the center hole.
- Double Crochet Clusters: Groups of double crochets worked into the same space to form the star’s body and points.
Step-by-Step Pattern
1. Preparation and First Row
- Begin with a magic ring to form a tight circle center for your star.
- Chain 3 to begin the row; this counts as the first double crochet.
- Work 1 double crochet (dc) into the ring.
- Chain 3 to create space for star arms.
- Repeat the following pattern until you have 5 sets around the ring:
- Work 2 double crochets into the ring, then chain 3.
- Once all 5 sets with chain-3 spaces are complete, tighten the magic ring to close the center snugly.
- Join the round with a slip stitch (sl st) to the top of the initial chain 3.
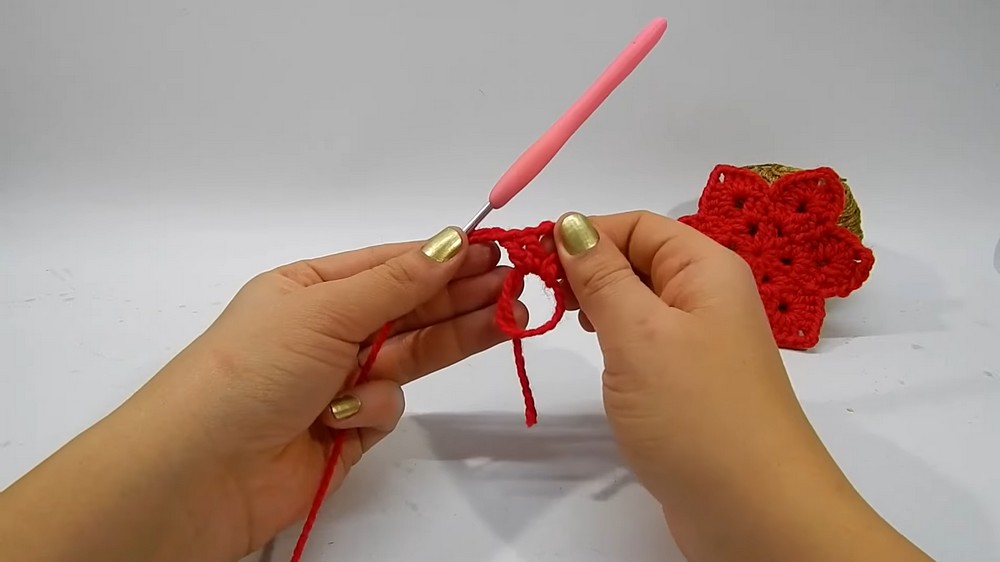
This creates a ring base with 5 spaced “arms,” forming the start of the star points.
2. Second Row
- Slip stitch to the first chain-3 space created in the previous row to begin working in the open spaces.
- Chain 3 (counts as first double crochet of the cluster), then work 1 double crochet (dc) into the same chain-3 space.
- Chain 3 again.
- Work 2 double crochets (dc) into the same chain-3 space.
- Chain 1 for spacing and to move to the next chain-3 space.
- Repeat this pattern for each of the remaining 5 chain-3 spaces around:
- 2 double crochets, chain 3, 2 double crochets in each chain-3 space.
- Chain 1 between clusters to keep spaces open.
- Join the round with a slip stitch to the top of the first chain 3 of the row.
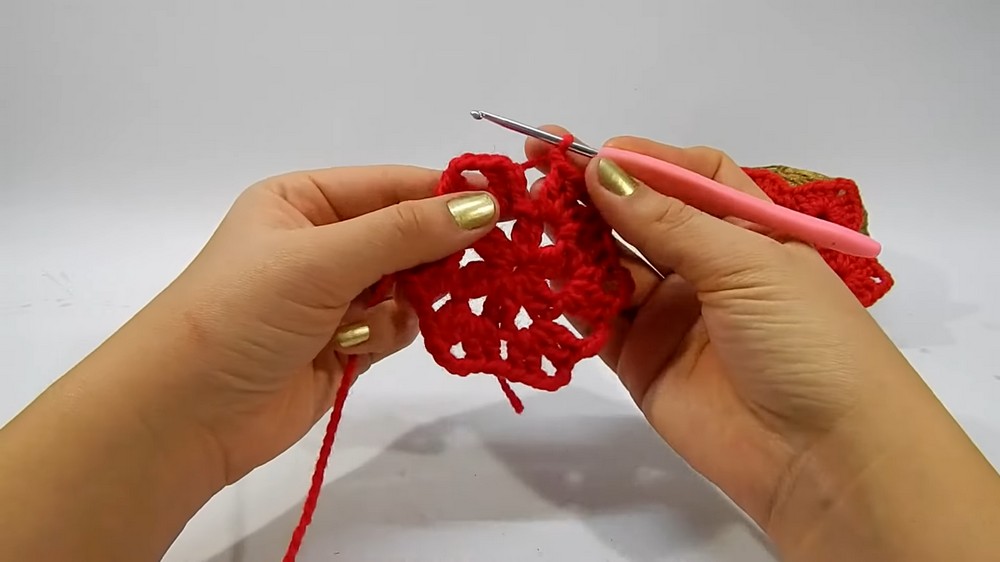
At this stage, the star begins to develop more defined arms with a central openwork area.
3. Third Row (Star Tips)
- Begin with chain 1 to prepare for working single crochet and cluster stitches.
- In each chain-3 space from the previous row, build a “point” by working:
- 4 double crochets (dc),
- Chain 3,
- 4 double crochets (dc) into the same space.
- Between these star points, work 1 single crochet (sc) into each single chain space separating the points from the prior round.
- After completing all 5 points, finish the row with a slip stitch to join.
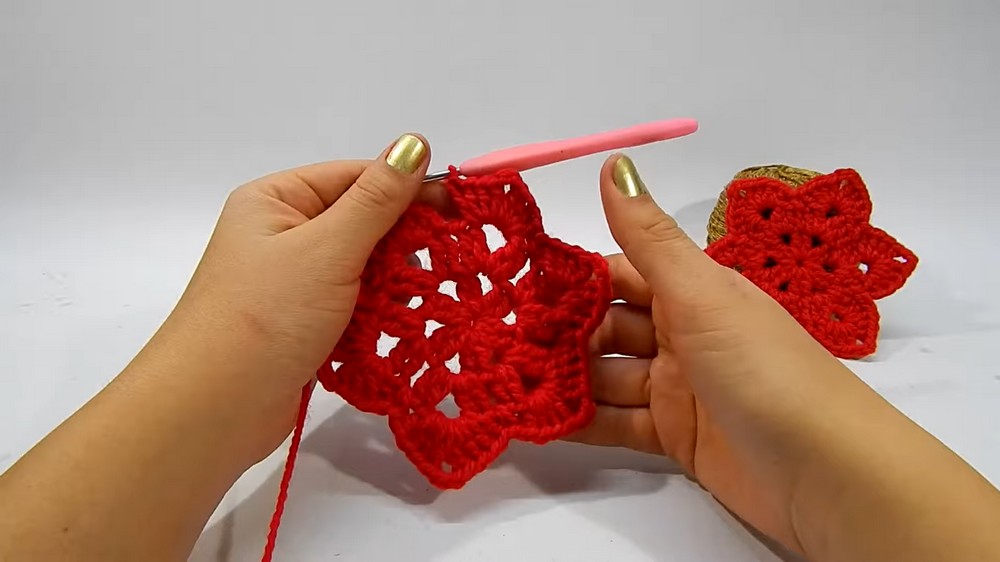
- Fasten off the yarn and weave in all ends securely.
This completes the classic five-pointed Christmas star with well-defined tips and neat spacing.
How to Make Larger Stars
For larger projects like placemats or wall décor, maintain the same star structure but enlarge the tips and body:
- Continue working single crochet (sc) between the star points to keep spacing consistent.
- Increase the number of double crochets at each tip in successive rows:
- For example, work 6 double crochets – 3 chain – 6 double crochets to increase the tip width.
- For further enlargement, work 8 double crochets – 3 chain – 8 double crochets in the next rows.
- This gradual increase creates larger, wider star arms while preserving the beautiful star shape.
Assembly & Finished Size
- Once completed, block your star lightly if needed by pinning it into shape and misting with water to achieve crisp edges.
- The base star measures approximately 12 cm (4.7 inches) across.
- Adjust the size as desired by increasing the stitches at the tips, suitable for different decorative uses such as ornaments, coasters, or placemats.
Conclusion
This crochet Christmas star pattern provides a simple yet elegant way to create festive décor with just a few rounds of double crochets and chains. The magic ring start and layered detailing produce clean symmetrical points perfect for holiday accents. With guidance on scaling the star, this pattern suits small ornaments as well as large project applications.



