Make your own adorable Crochet Bow Bag Pattern that’s as cute as it is practical and turn your accessories into a fun and stylish statement piece.
Looking for something cute and functional? A crochet bow bag pattern adds the perfect touch of charm and elegance to your accessory collection. These bags are beautifully designed with soft textures and adorable bow accents, making them stand out wherever you go.
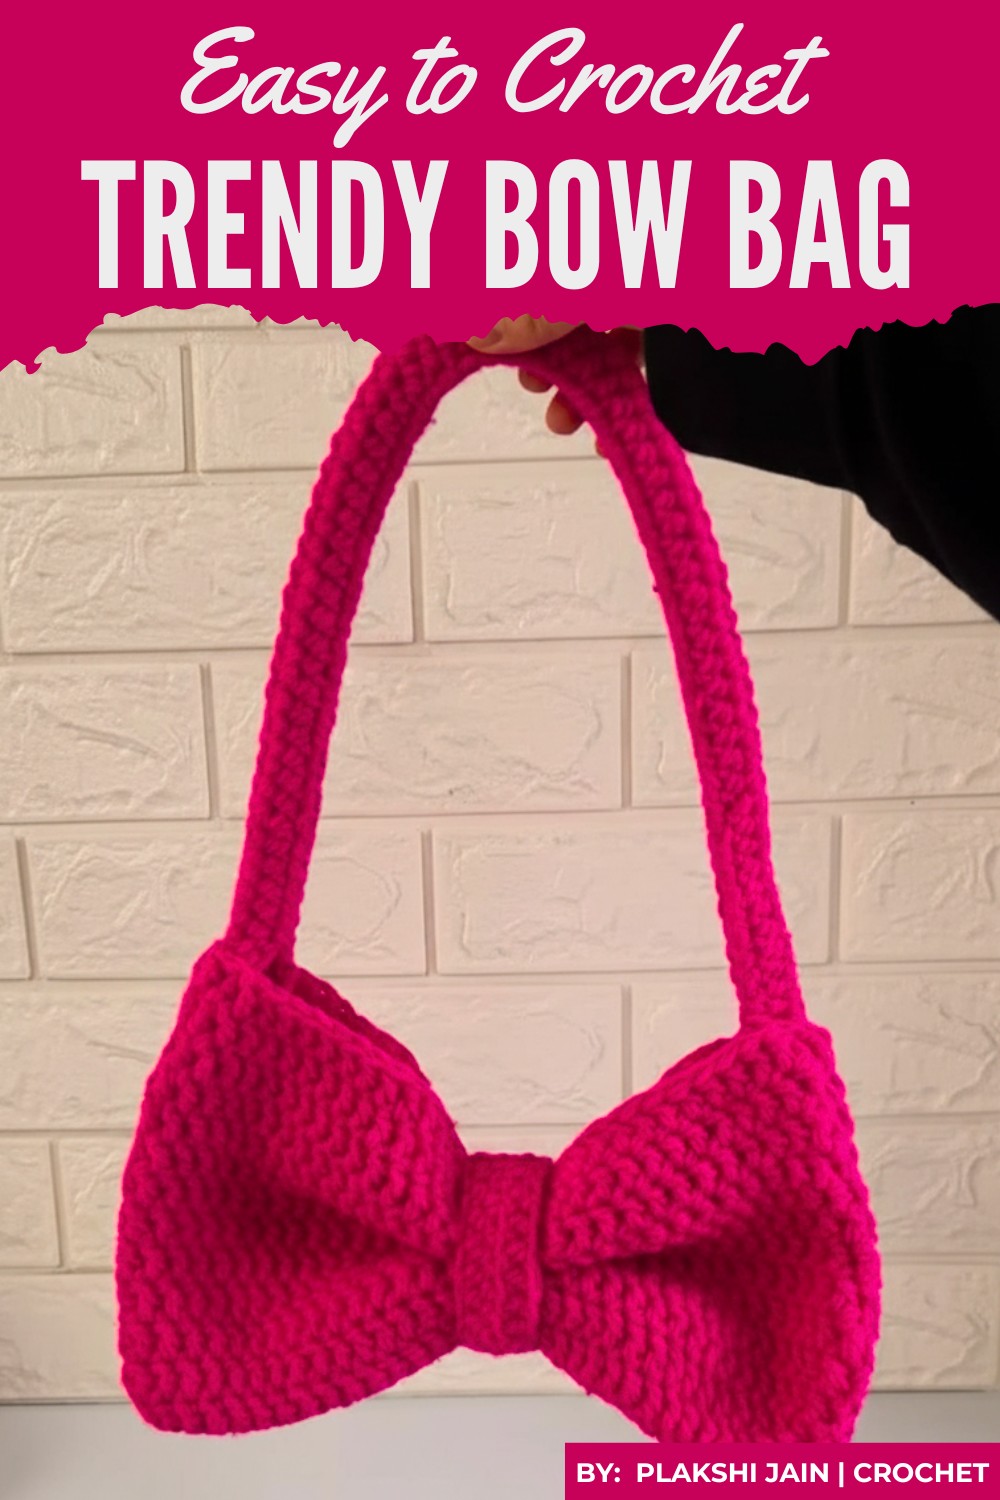
FREE Crochet a Bow Bag You’ll Treasure Forever
Whether you need a stylish bag for casual outings or a thoughtful handmade gift, it’s the ultimate combination of beauty and practicality.
Crochet bow bags come in various colors and sizes, allowing you to personalize them to match your style. Lightweight, trendy, and easy to carry, these bags are perfect for anyone who loves unique and creative designs.
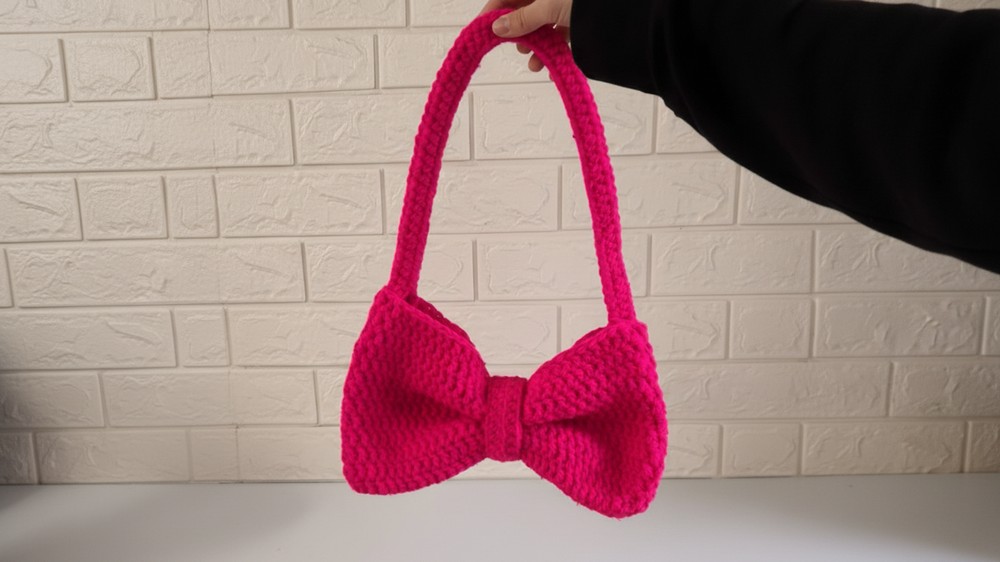
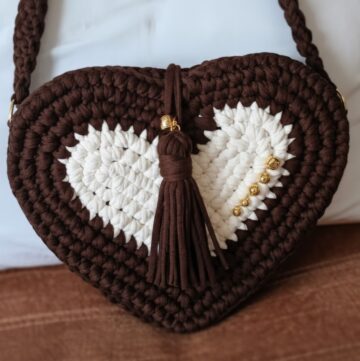
This bow-shaped crochet bag features a chic shoulder strap and a stylish center gathering detail, complete with magnetic closure for functionality. Elegant and trendy, this design is suitable for intermediate crocheters and can be customized for various sizes and colors.
Materials
Main Supplies
- Yarn:
- 3 strands of acrylic three-ply yarn held together for a sturdy structure. Any lightweight yarn can be substituted for similar results. Choose your desired color.
- Crochet Hook: 4 mm hook.
- Magnetic Buttons: 2 pieces for securing the bag.
- Scissors: For cutting yarn.
- Sewing Needle: Large-eye tapestry or embroidery needle, to sew straps and details.
Optional Supplies
- Glue Gun: To secure the magnetic buttons in place.
- Measuring Tape: To ensure accurate dimensions for custom sizes.
Skill Level
Intermediate: Familiarity with magic ring, chains (ch), single crochet (sc), half double crochet (hdc), double crochet (dc), and basic sewing is required.
Key Abbreviations
(All instructions use US crochet terminology.)
- ch – Chain
- sc – Single Crochet
- hdc – Half Double Crochet
- dc – Double Crochet
- sts – Stitches
- sl st – Slip Stitch
Special Notes
- Customization: Adjust the number of foundation chains for the bag’s width or modify the number of rounds for a different height.
- Three-Ply Yarn: Combine three strands of lightweight yarn if you don’t have bulky-weight yarn. This adds durability and structure to the bag.
- Magnetic Closure: Ensure buttons are securely sewn or glued, as they are vital for functionality.
Crochet Pattern
Part 1: Bag Body
Step 1: Foundation Chain
- Begin by holding 3 strands of acrylic yarn together.
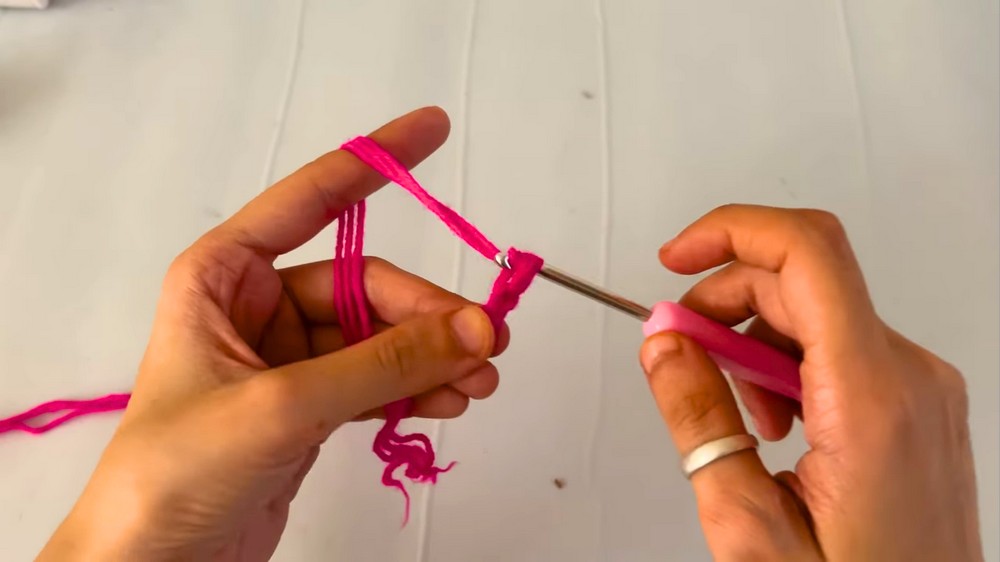
- Make a slip knot and use the 4 mm crochet hook to chain 33 (ch 33).
- This creates the width of the bag. Adjust the chain count for wider or narrower bags.
Step 2: First Round
- Skip the first 3 chains, and double crochet (dc) into the 4th chain from the hook.
- Continue making 1 dc into each chain until the end of the row.
- At the last chain, work 5 additional dc into the same chain to gradually turn to the other side of the foundation chain.
- Work 1 dc into each chain along the opposite side of the initial chain (working into the bottom loops).
- In the final chain of this side, work 3 more dc, and join the round with a slip stitch (sl st) into the first dc.
- You should now have an oval shape.
Step 3: Additional Rounds
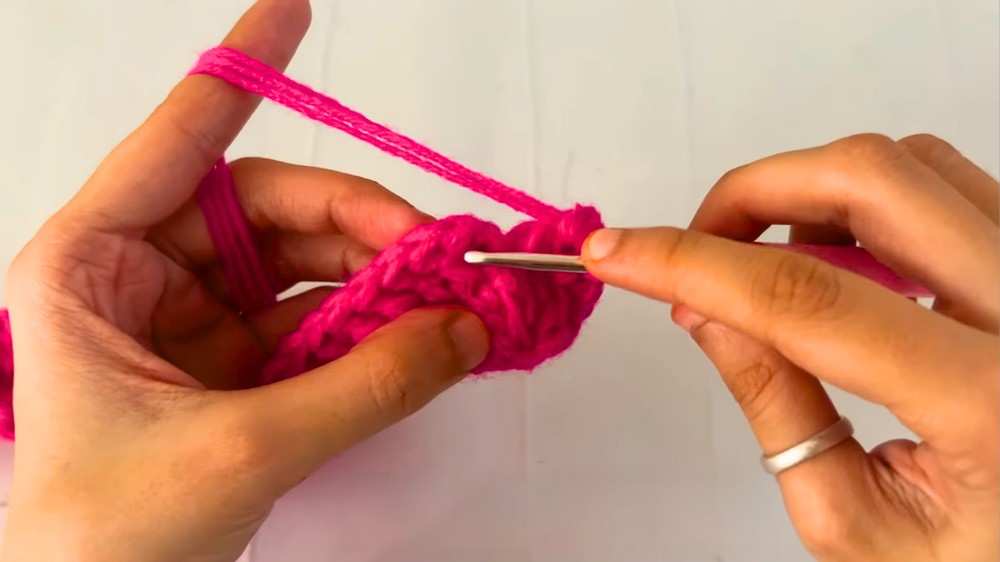
- Chain 2 (ch 2) to start the next round.
- Work 1 dc in each stitch around the bag’s body.
- Repeat this process for 13 rounds (including the foundation round). This will form the height of the bag:
- Add rounds for a taller bag or reduce rounds for a shorter pouch.
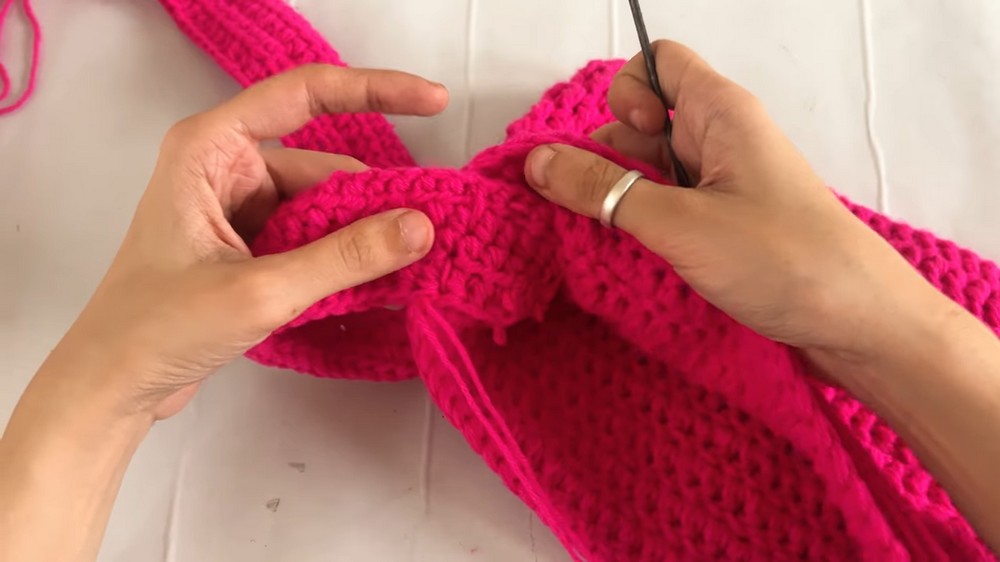
Step 4: Fasten Off
- After completing the 13 rounds, fasten off, leaving a long tail for weaving in the ends.
- Use your crochet or embroidery needle to weave in all loose ends neatly.
Part 2: Bag Strap
Step 1: Strap Creation
- Hold 2 strands of yarn together, and leave a long tail to use later for sewing.
- Make a slip knot and chain 79 (ch 79) (or adjust based on your desired strap length).
Step 2: Strap Rows
- Skip the first two chains, and work 1 hdc in the 3rd chain from the hook.
- Work 1 hdc into each chain across.
- Chain 1, turn, and work 1 hdc into every stitch from the previous row.
- Repeat for a total of 4 rows.
Step 3: Attaching the Strap
- Leave a long tail (for sewing) after finishing the strap.
- Position the strap ends at the sides of the bag, ensuring symmetry.
- Fold the end of the strap and sew it securely onto the bag using the tail and a tapestry needle.
- Repeat for both sides and weave in any loose ends.
Part 3: Bow Center Section
Step 1: Center Band Creation
- Begin with 2 strands of yarn and make a slip knot on your hook, leaving a long tail for sewing.
- Chain 36 (ch 36) or adjust the number of chains to create the desired width for your bow center.
- Skip the first chain, and work 1 sc into each chain across.
- At the end of the row, ch 1, turn, and continue working 1 sc into each stitch for a total of 4-5 rows.
- You can add rows or reduce rows to adjust the thickness of the bow center.
Step 2: Attach the Bow Center
- Using the long yarn tail and sewing needle, secure the band to the middle of the bag, cinching the center together to achieve a bow-like effect.
- Ensure the center of the bag gathers smoothly and sew the band tightly in place.
Part 4: Magnetic Buttons
Step 1: Create Button Covers
- Make a magic ring and work 6 single crochets (sc) into the ring.
- Close the magic ring by pulling the tail tight.
- For chunkier yarns, the 6 sc is sufficient. For thinner yarns, work a second round of 6 increases (2 sc in each stitch, for 12 sc total).
- Slip stitch to the first stitch and fasten off.
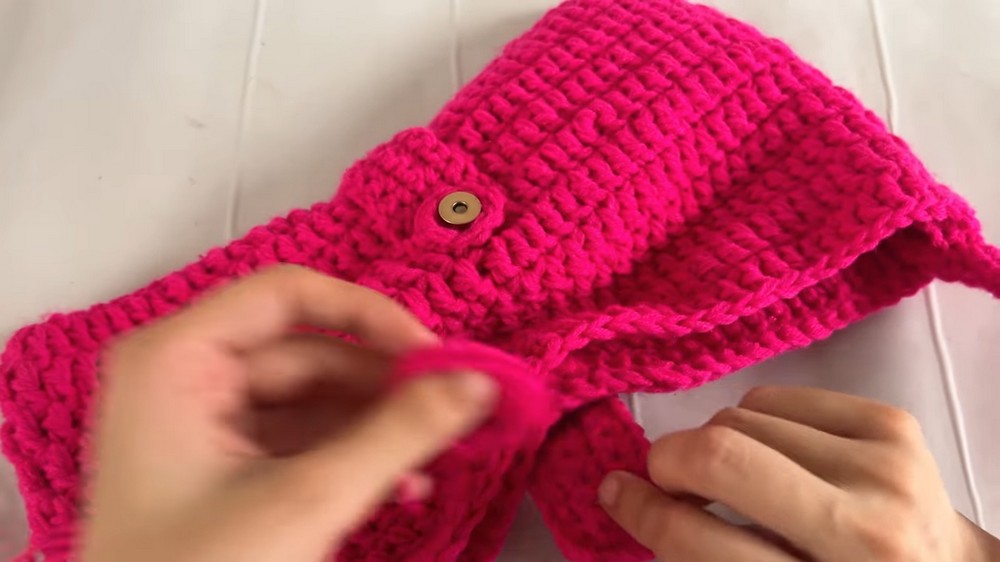
Step 2: Attach Magnetic Buttons
- Place one magnetic button inside the crochet circle. Secure it by sewing or using a glue gun.
- Position the button on the inside of the bag flap and securely sew or glue it in place.
- Repeat the process for the second magnetic button, positioning it symmetrically on the opposing flap of the bag.
Tips for Success
- Consistent Tension: Keep your tension tight for a well-structured bag.
- Secure Buttons: Always secure magnetic closures either with robust sewing or adhesive for added durability.
- Symmetry: Ensure all components are aligned symmetrically, especially the strap placement and bow center.
Customization Ideas
- Alternate Yarn: Use cotton yarn for a summer look or velvet yarn for a luxurious winter accessory.
- Color Combinations: Experiment with different colors for the bag body, bow center, and strap. For example, use pastel shades for a soft and feminine aesthetic or bold, contrasting colors for a modern look.
- Size Variations:
- For a larger bag, increase the foundation chain (e.g., ch 50 or more) and extend the height by adding extra rounds.
- For a clutch-sized bag, reduce the foundation chain to ch 20-25 and make fewer rounds.
Conclusion
This bow bag design creatively combines a simple crochet structure with stunning details, resulting in a functional, elegant, and stylish accessory. Perfect for casual outings or as a gift, it is also highly customizable to your own preferences. Add personal touches such as unique color schemes, decorative accents, or additional embellishments for a one-of-a-kind creation.
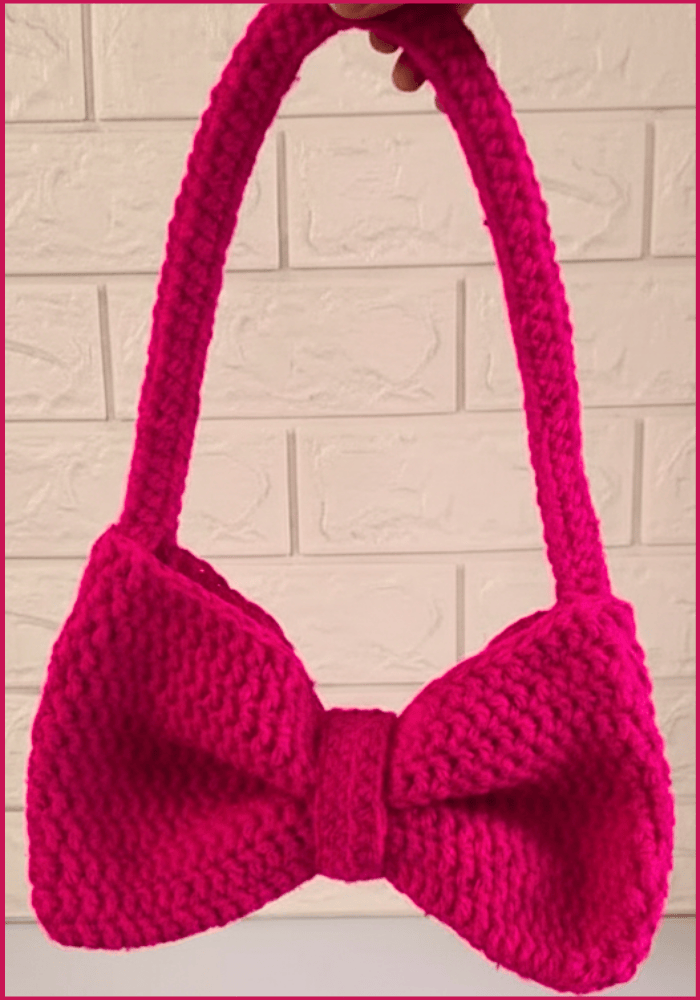
Ready Look
- A sleek bow-shaped bag with neatly ribbed edges and a gathered center panel.
- A practical, sturdy strap with uniform texture.
- A secure and stylish magnetic button closure.
Pattern Variations
1. Larger Tote Bag Variation
- Use a larger hook (6 mm) and increase the chain length to about 50-60 for the foundation.
- Add more rows (15-20 rounds) for increased height.
2. Clutch Bag Variation
- Chain 20-25 for a smaller base, and work about 8-10 rounds for height.
- Omit the strap for a compact handheld clutch.
3. Striped or Color-Blocked Bag
- Alternate colors every 3 rounds or assign different colors to the body, bow, and strap for bold, eye-catching results.