Create a charming crochet strawberry amigurumi with this pattern, ideal for making adorable handmade decorations and gifts.
Making fun and adorable little toys is such a joyful way to spend your time! I recently learned how enjoyable it is to crochet cute fruit-shaped amigurumi, and the Free Crochet Strawberry Amigurumi Pattern quickly became a favorite. This small, soft strawberry works great as a toy or decoration. By changing colors and a few details, you can easily create other fruits too, like cherries, apples, or watermelon slices—a simple way to build a whole fruity collection!
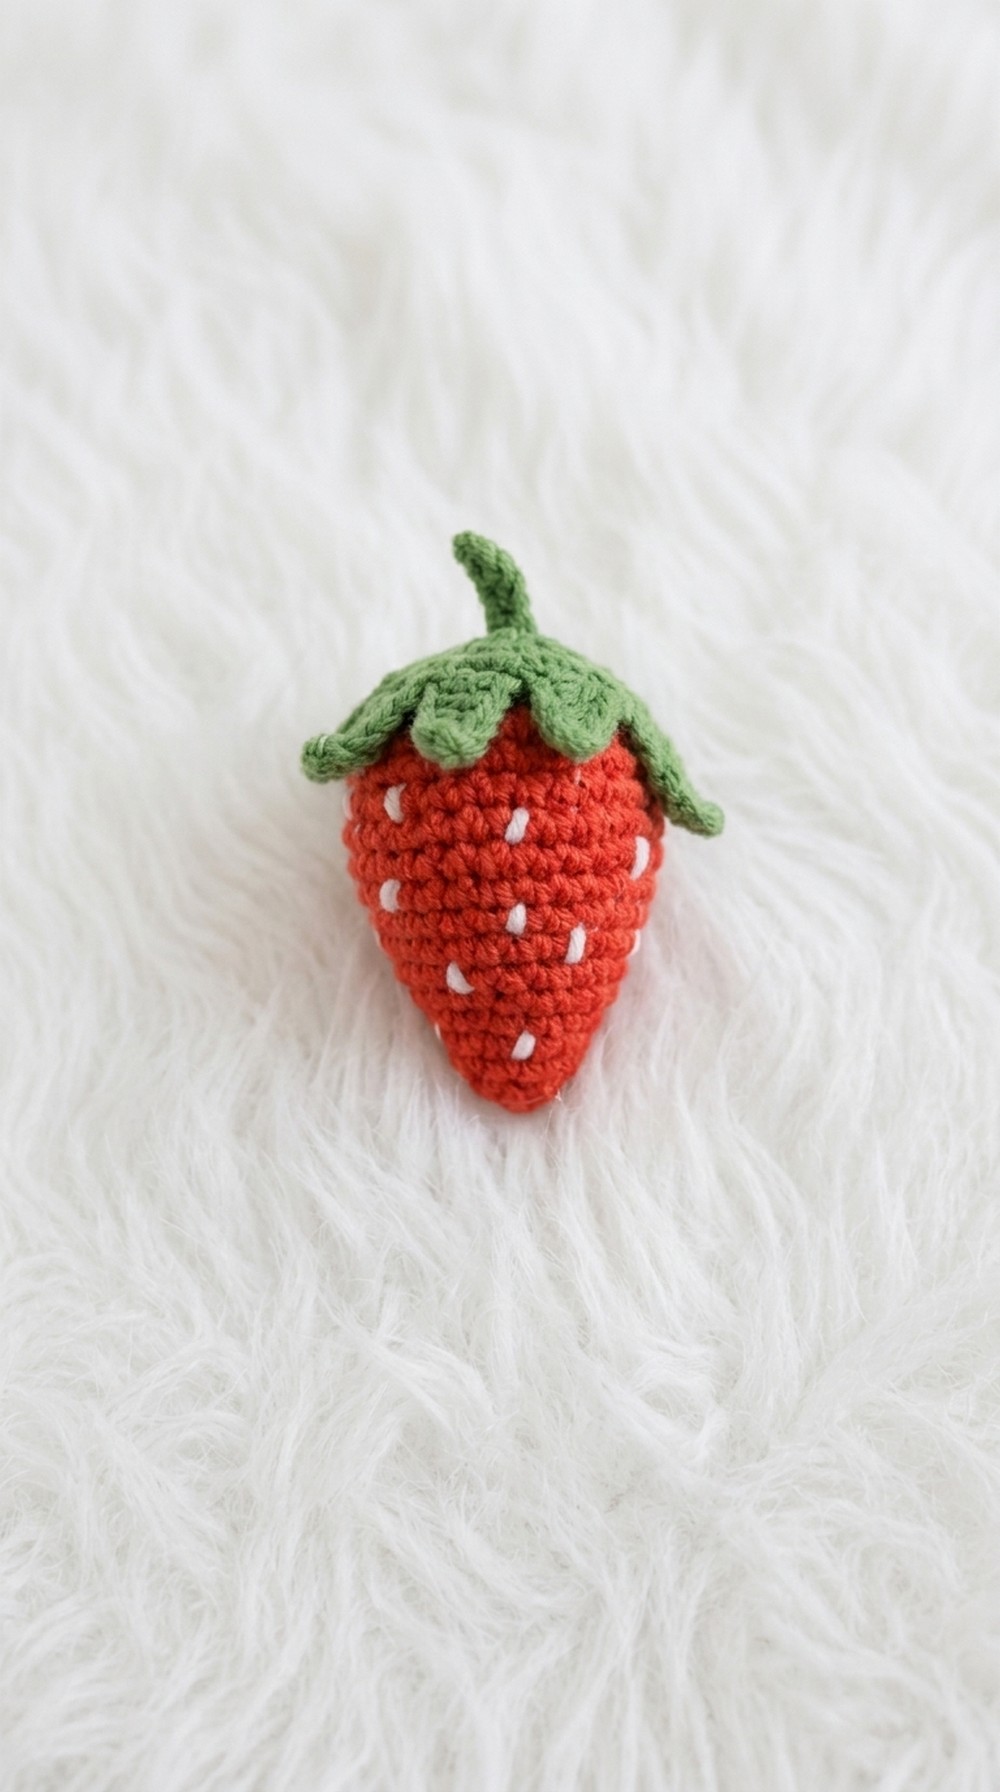
Free Crochet Strawberry Amigurumi Pattern
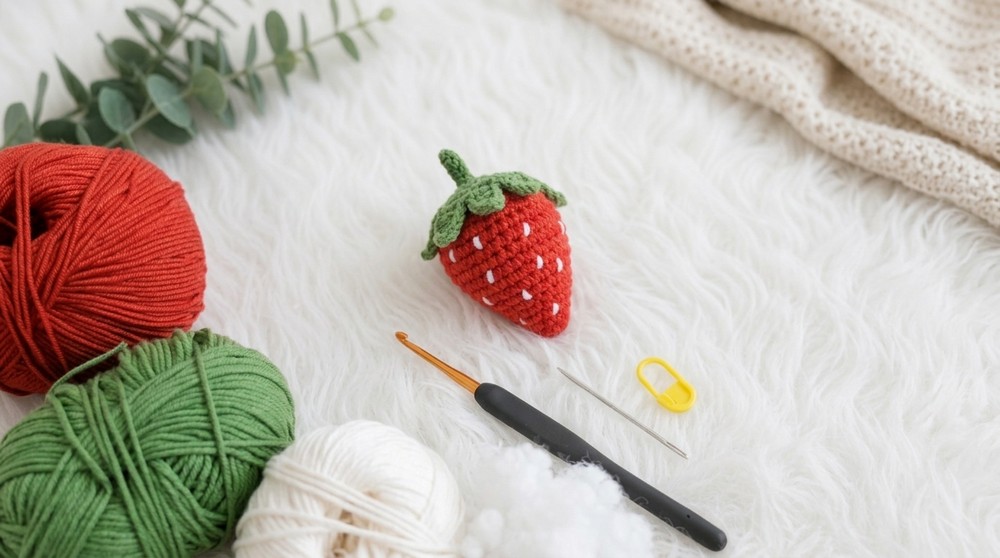
This strawberry amigurumi is charming and full of character. Its round, plump shape feels soft and squeezable, thanks to tight, neat crochet stitches. The bright red body, dotted with tiny yellow “seeds,” looks just like a real strawberry, while the leafy green top adds a fresh and lively touch. Its small size makes it perfect as a keychain charm, desk buddy, or a cute gift for friends who love handmade things.

This pattern is great for beginners who know basic crochet. It mainly uses single crochet stitches, which create a firm fabric that holds the strawberry’s shape well. You’ll also work simple increases and decreases to give it that nice round form, making it a good project to practice and improve your amigurumi skills.
Whether you want to make a sweet gift, a fun collectible, or a cheerful decoration, this strawberry amigurumi pattern fits the bill. Those who enjoy quick, creative projects that bring smiles will find it a perfect match. Give it a try—you’ll enjoy creating your own little piece of handmade happiness.
Crochet Strawberry Amigurumi Pattern
This adorable strawberry amigurumi pattern allows you to create a charming and realistic miniature strawberry, perfect for decorating, gifting, or adding to your collection of handmade crafts. The pattern begins with a magic ring and works in continuous rounds, gradually increasing to form the plump strawberry body, before narrowing to finish the tip. The strawberry is completed with hand-embroidered seeds, a leafy crown, and an optional stem for extra realism. Designed to be customizable in size and color, you can easily modify the project to suit your preferences. Whether made into keychains, garlands, or toys, this strawberry is sure to brighten any day. The instructions are detailed for all steps, including stuffing, closing, and making leaves, so even beginners can follow along confidently.
Pattern Notes
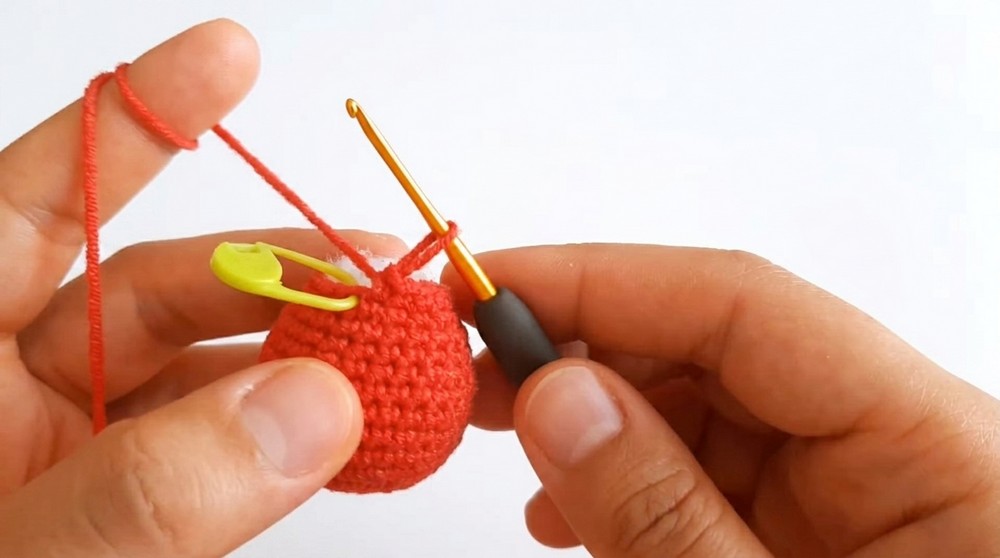
- The strawberry is crocheted in continuous rounds without joining at the end of each round (use a stitch marker to keep track).
- You will increase stitches to shape the strawberry, then decrease to form the tip.
- Embroidery floss or yarn is used to add “seeds.”
- The leaves are made separately and stitched to the top.
- Stuff the strawberry as you go for best shape.
- All measurements are approximate; adjust yarn and hook size as desired.
- The optional stem and seeds add extra detail.
Skill Level
Beginner
This pattern only uses single crochet, basic increases and decreases, slip stitch, chain, and simple embroidery.
Materials
- Yarn in red (for the strawberry), green (for leaves), cream/yellow (for seeds)
- Crochet hook: 2 mm – 3.5 mm (depending on yarn weight)
- Fiberfill/poly stuffing
- Scissors
- Yarn needle
- Stitch marker
- Optional: thinner yarn for stem, embroidery floss for extra seed detail
Measurements / Sizing
- Finished strawberry: approx. 6–7 cm tall and 4–5 cm wide (using sport-weight yarn and 2.5 mm hook)
- For larger fruit, use thicker yarn and larger hook.
Gauge
Gauge is not critical. Just ensure the fabric is tight enough to hold fiberfill stuffing.
Stitch Abbreviations
- MR = magic ring
- ch = chain
- sc = single crochet
- st = stitch(es)
- inc = increase (2 sc in same st)
- dec = decrease (sc 2 together)
- sl st = slip stitch
Special Stitches
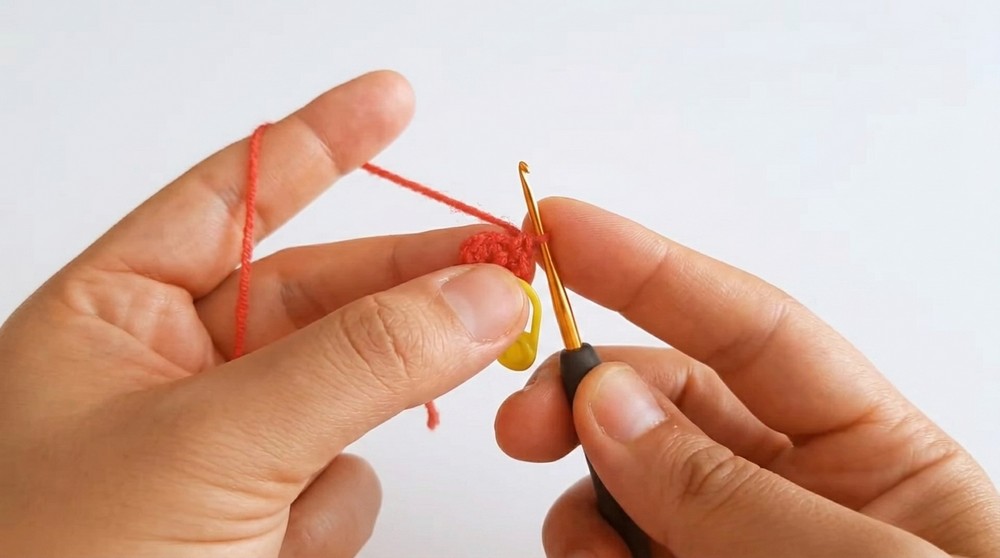
Magic Ring (MR):
Wrap yarn around finger, insert hook under loop, pull up a loop, ch 1, work stitches into ring.
Invisible Decrease:
Insert hook into front loops only of next two sts, yarn over and pull through both loops, yarn over and pull through two loops.
The Crochet Pattern
Strawberry Body
Round 1:
With red yarn, MR. Work 6 sc into the ring. Pull tail tight to close.
(6 sts)
Round 2:
Inc in each st around (2 sc in each st).
(12 sts)
Round 3:
Sc in next st, inc in next st — repeat around.
(18 sts)
Round 4:
Sc in next 2 sts, inc in next st — repeat around.
(24 sts)
Round 5:
Sc in next 3 sts, inc in next st — repeat around.
(30 sts)
Rounds 6–9:
Sc in each st around.
(30 sts each round — work for 4 rounds)
Round 10:
Sc in next 3 sts, dec over next 2 sts — repeat around.
(24 sts)
Rounds 11–12:
Sc in each st around.
(24 sts per round, 2 rounds)
Round 13:
Sc in next st, dec over next 2 sts — repeat around.
(18 sts)
Round 14:
Sc in each st around.
(18 sts)
Round 15:
Sc in next st, dec over next 2 sts — repeat around.
(12 sts)
Rounds 16–17:
Sc in each st around.
(12 sts per round, 2 rounds)
Round 18 (Closing):
Dec over next 2 sts — repeat around.
(6 sts)
Stuff firmly with fiberfill.
Fasten off, leaving a long tail, and use the yarn needle to weave tail through remaining stitches and draw closed.
Embroidering Seeds
- With cream or yellow yarn/thread, thread your needle and randomly embroider small stitches (“seeds”) on the strawberry surface, scattering as desired.
- Knot carefully and weave ends inside.
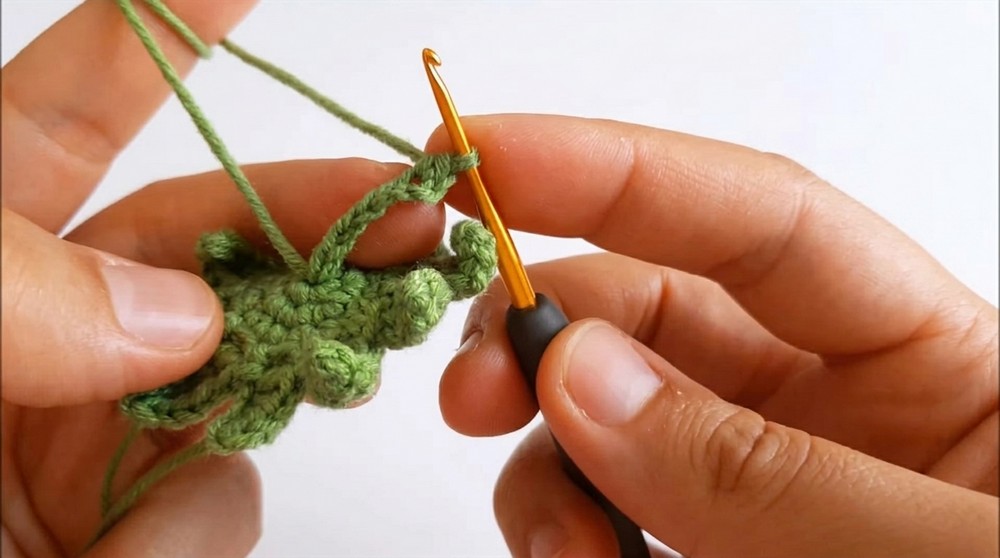
Strawberry Leaf
Round 1:
With green yarn, MR. Work 6 sc into ring.
(6 sts)
Round 2:
Inc in each st around.
(12 sts)
Round 3 (Leaf formation):
Ch 5, sc in next st — repeat for each st around for a total of 12 leaf “points.”
Round 4:
Working back across each ch-5 loop:
Sl st in first ch, sc, hdc, sc, sl st (creates each leaf point), then sl st into next sc on ring.
Repeat for each leaf.
Fasten off, leaving a tail.
Assembly
- Sew leaf crown to top of strawberry.
- Attach optional stem: With green yarn, ch 10, then sl st back along chain and sew to the top center.
- Finish any remaining embroidery (optional).
- Trim and hide all ends inside the strawberry.
Assembly & Finished Size (Bullets)
- Finish strawberry and stuff firmly before closing last round.
- Embroider seeds with needle and cream/yellow yarn.
- Make leaf crown with green yarn and sew to top.
- Optional: Add stem by chaining and sewing to top.
- Final size: about 6–7 cm tall after stuffing and assembly.
Quick Overview for Beginners
- Make a magic ring and work 6 sc.
- Increase to 30 sc with rounds of simple increases.
- Crochet 4 rounds even, then decrease step by step to close, stuffing as you go.
- Fasten off and secure tip.
- Embroider seeds on body with contrasting yarn.
- Crochet leaf with green yarn — make ch loops and shape into points.
- Sew leaf to top and add optional stem.
- Hide all ends.
Tips
- Use stitch marker to track rounds.
- Stuff firmly for best shape.
- Experiment with color and size for variation.
- Make several strawberries for a garland or décor!