
Hook Crochet CAP KEYCHAIN Pattern to craft an adorable accessory that adds handmade charm to keys bags and gifts with easy beginner friendly steps.
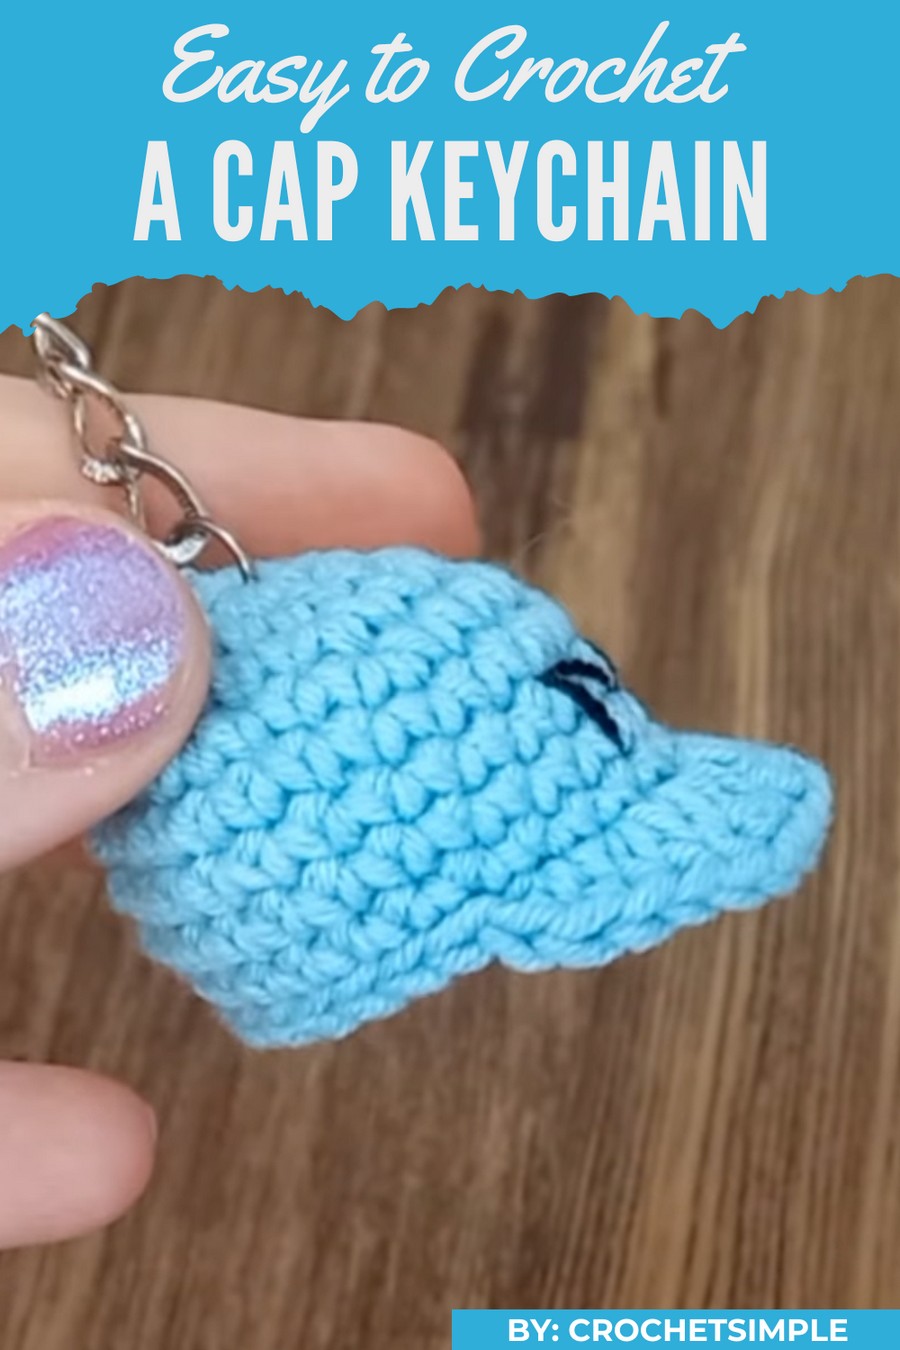
This tiny crochet creation is playful, colorful, and full of charm that makes you smile at first sight. The Crochet CAP KEYCHAIN pattern shows a mini cap with soft yarn, neat stitches, and a bright, cheerful look that feels almost alive.
Mini Croche CAP KEYCHAIN Pattern That’s So Cute
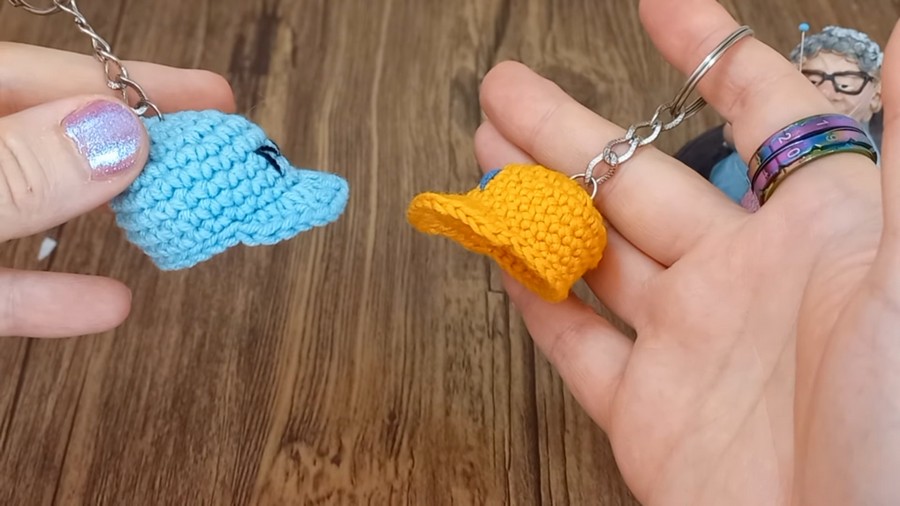
You can hang it on keys, backpacks, or bags, carry it everywhere, or give it as a cute little gift that surprises anyone. Its most special feature is its realistic little hat shape with a strong key ring, making it not just fun but also practical, unique, and perfect for showing personality while keeping your things stylish and happy.
Materials List
Yarn:
- Scrap yarn in medium-weight (size 4) or thinner, depending on your preference:
- Primary color for the hat.
- Accent color for decorations or embroidery (optional).
Hook:
- 3mm crochet hook (ideal for small, tight stitches).
Additional Supplies:
- Tapestry needle: To weave in ends and for embroidery or finishing touches.
- Scissors: For trimming yarn.
- Keychain ring: To turn your mini hat into a keychain.
- Needle-nose pliers: To secure the keychain attachment.
Skill Level
Beginner to Intermediate.
This pattern involves working in rounds, including increases and different stitch types, making it friendly for beginners while still enjoyable for experienced crocheters.
Key Abbreviations (US Terminology)
| Abbreviation | Meaning |
|---|---|
| ch | Chain |
| sc | Single Crochet |
| hdc | Half Double Crochet |
| dc | Double Crochet |
| sl st | Slip Stitch |
| st(s) | Stitch(es) |
| inc | Increase (two stitches in one stitch) |
Pattern Notes
- Working in Rounds: This pattern uses joined rounds with slip stitches to complete each round.
- Increasing Rounds: Each increase adds stitches evenly to form the dome-like hat structure.
- Decorations: You can embellish your mini hat with embroidery, gemstones, or a small bow to make it special.
Step-by-Step Instructions
Part 1: Crown of the Mini Hat
Round 1:
- Start with a magic ring.
- Work 6 sc into the ring. (6 sts)
- Pull the magic ring tightly to close, and join with a slip stitch to the first stitch.
Round 2:
- Ch 1 (does not count as a stitch).
- Work 2 sc in each st around. (12 sts)
- Join with a sl st to the first sc.
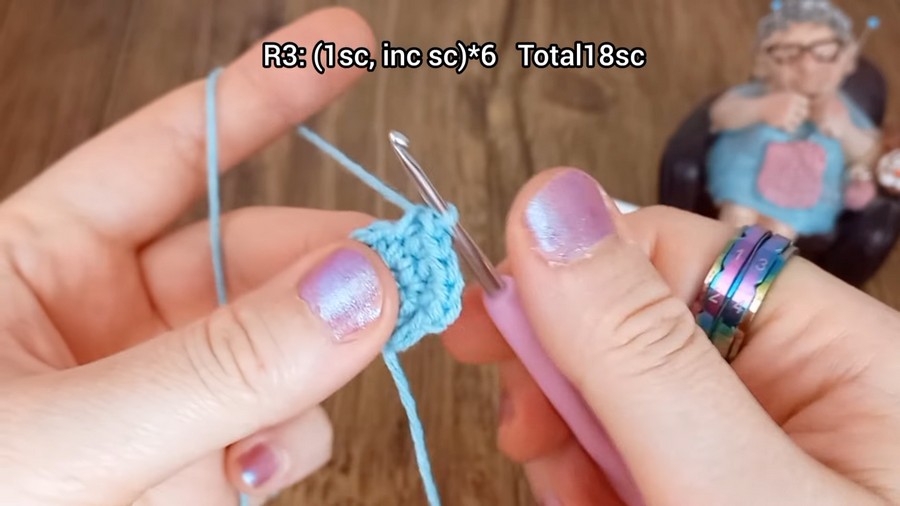
Round 3:
- Ch 1.
- In this round, alternate between 1 sc and 1 increase (2 sc in the same stitch):
- Work 1 sc in the first st, 2 sc in the next st. Repeat until the end of the round. (18 sts)
- Join with a sl st.
Round 4:
- Ch 1.
- In this round, alternate between 2 sc and 1 increase:
- Work 1 sc in the next 2 sts, 2 sc in the next. Repeat until the end of the round. (24 sts)
- Join with a sl st.
Note: At this stage, the hat’s crown should lay flat like a small disk.
Part 2: Side of the Hat
Rounds 5–8:
- Ch 1.
- Work 1 sc in each st around for 4 rounds. (24 sts per round)
- At the end of each round, join with a sl st.
Part 3: Brim of the Hat
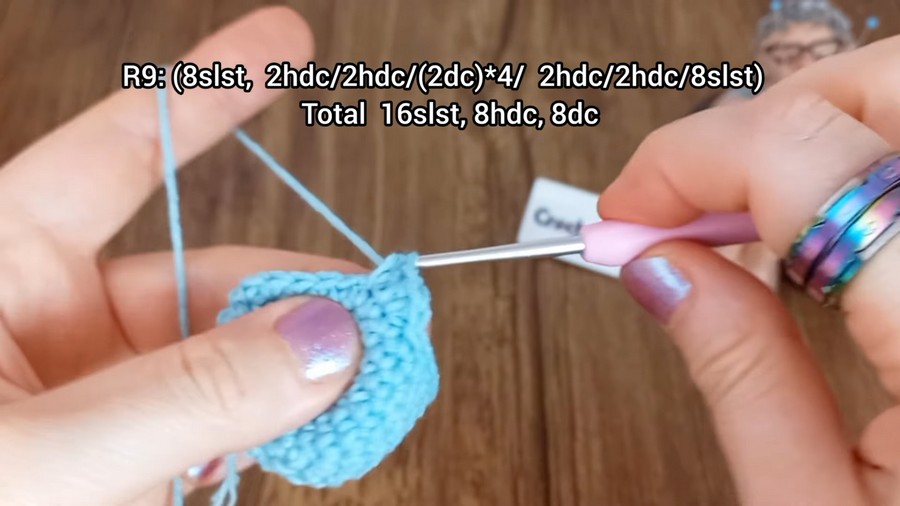
Round 9:
- Ch 1.
- Work 1 sl st into the next 8 sts, creating a more defined edge.
- Work 2 hdc into the next st. Repeat once more in the next st. (Total: 4 hdc)
- Work 2 dc into each of the next 4 sts. (8 dc total)
- Work 2 hdc into the next 2 sts. (4 hdc total)
- Work 1 sl st into the last 8 sts.
Finishing Edge:
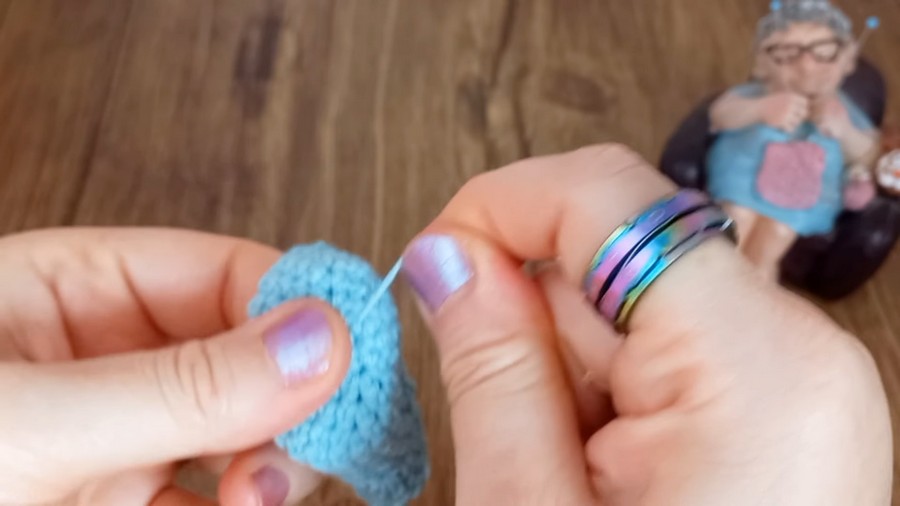
- Fasten off and weave in ends using a tapestry needle.
Assembly and Final Touches
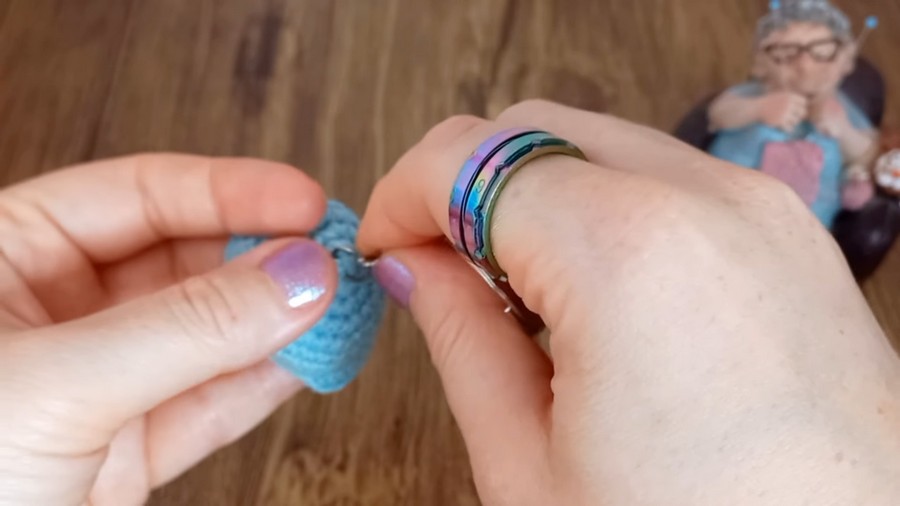
- Attach the Keychain Ring:
- Insert the keychain ring into the center of the crown or along the single crochet edge.
- Hook the ring securely using pliers to tighten it.
- Decorate:
- Add small beads, gems, or stickers to customize the hat.
- Use embroidery thread to embroider initials, a flower, or simple designs for extra charm.
- You could also crochet a small bow and sew it onto the hat for a chic touch!
- Weave in Loose Ends:
- Weave any remaining yarn tails securely into the wrong side of the hat for a clean finish.
Tips for Success
- Tight Magic Ring: Make sure your magic ring is snug and secure to avoid a visible hole at the top of the hat.
- Consistent Tension: Keep your tension consistent for a neat and uniform project.
- Experiment with Colors: Use colorful yarn scraps or multicolored yarns for a vibrant, whimsical effect.
- Pliability: Working tightly ensures the hat keeps its shape, especially if it’s being used as a keychain.
Customization Ideas
- Size Variations:
- For a smaller hat, stop at Round 2 or 3 and work the side of the hat with fewer stitches.
- For a larger hat, add extra rounds of increases following the same pattern as the crown.
- Color Variations:
- Try switching colors for the brim, crown, or even alternating rows to create stripes or color blocks.
- Use pastel yarns for baby-themed mini hats or neon yarns for a fun, playful style.
- Themed Hats:
- Add themed touches, such as pom-poms, flowers, or even crocheted appliqués (e.g., hearts, stars).
- Create seasonal versions like Christmas (red and white) or Halloween (orange and black).
Final Thoughts
Your Crochet CAP KEYCHAIN is now complete! This tiny, adorable hat makes the perfect personalized gift, accessory, or decorative piece for bags, keys, or occasionally a Barbie doll! With limitless possibilities for colors and decorations, you can crochet an entire collection for every occasion.



