
Bring warmth and cuteness to your wardrobe with an adorable crochet teddy bear hat that’s perfect for cozy days and makes a thoughtful handmade gift for loved ones.
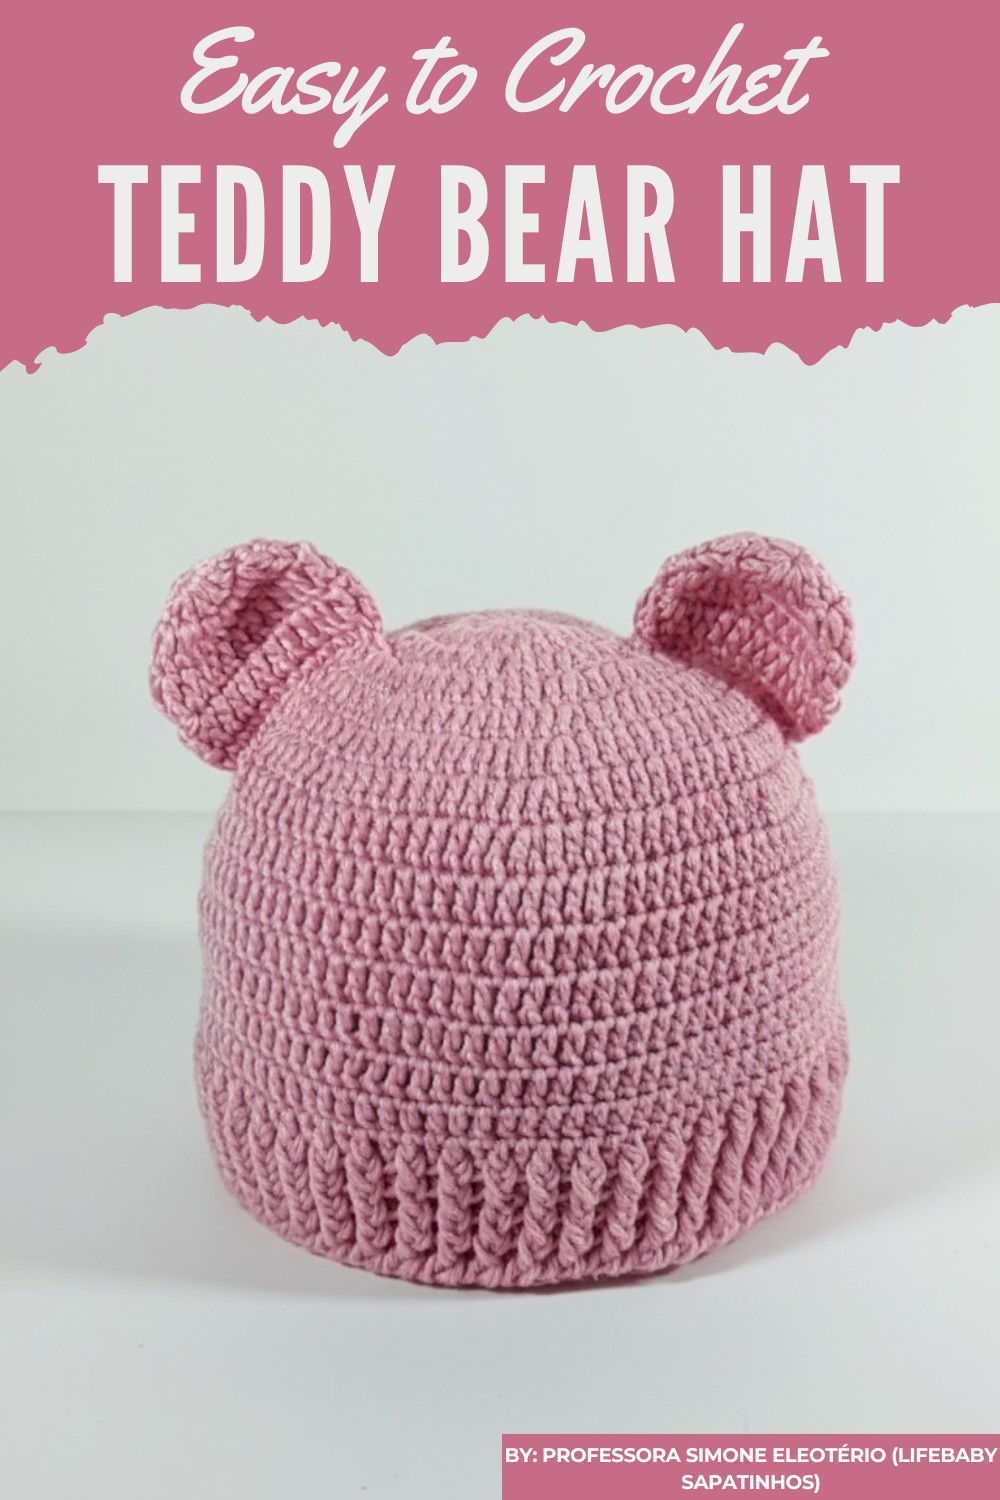
There’s something heartwarming about making cozy, handmade accessories that bring smiles to everyone. Crochet teddy bear hat patterns are absolutely delightful, offering a fun and adorable way to create cute hats for kids or even adults.
Crochet Teddy Bear Hat Pattern for Any Season
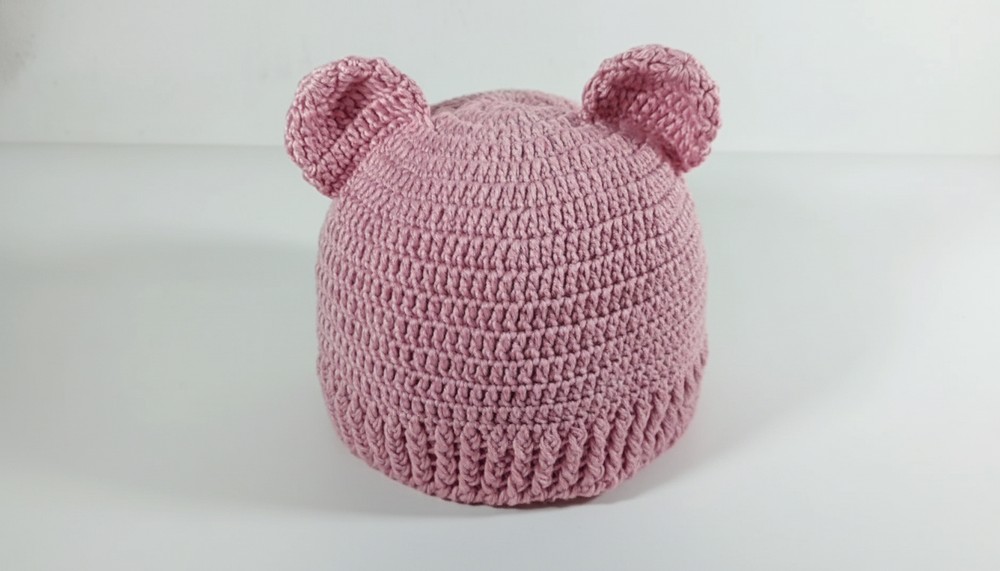
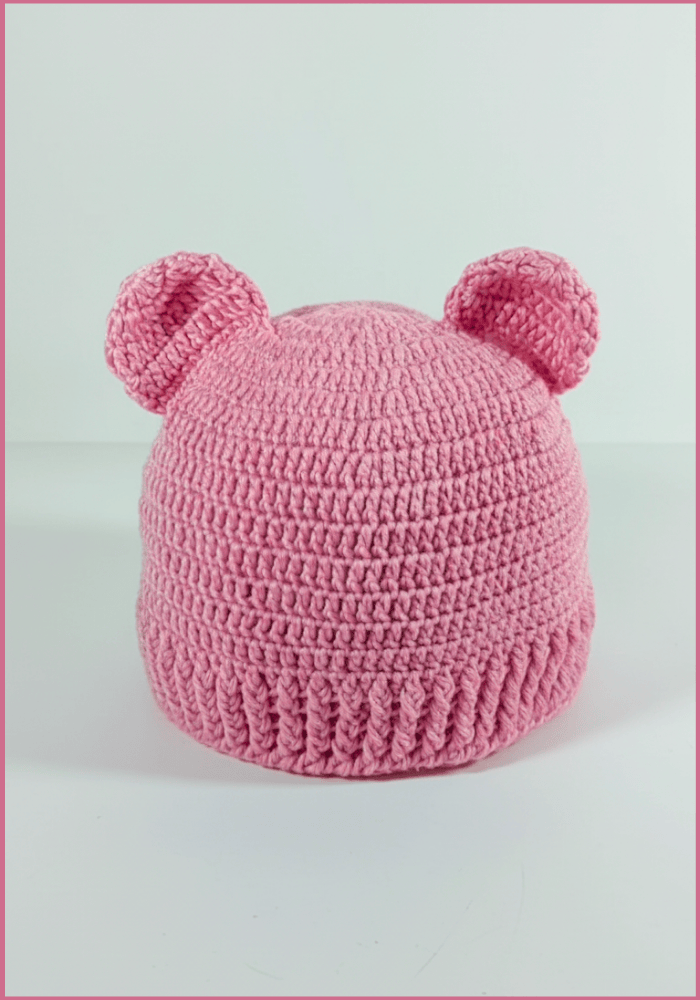
The beauty of these hats lies in their fluffy ears and charming design that resemble a real teddy bear, making them perfect for playful outings, festive occasions, and photo shoots. They’re cozy, warm, and full of personality, adding an extra layer of cuteness while keeping your little one snug.
Materials and Supplies
- Primary Yarn:
- Type: Soft baby yarn like R Yarn from Círculo, Hobby Baby, or Candy Baby.
- Example Color: Antique rose or any desired shade.
- Hook Size: 3 mm crochet hook.
- Additional Supplies:
- Tapestry needle for assembly.
- Stitch markers to mark ear placement.
- Liquid silicone glue or fabric glue for securing small details.
- Scissors.
Pattern Overview
This pattern involves creating a basic beanie shape, adding contrasting borders, and finishing off with two small bear ears for an adorable touch.
Key Abbreviations (US Terminology)
- Ch: Chain
- Sl st: Slip Stitch
- SC: Single Crochet
- DC: Double Crochet
- FPhdc: Front Post Half Double Crochet
- BPhdc: Back Post Half Double Crochet
- Rep: Repeat
Hat Pattern Instructions
Step 1: Magic Ring and Initial Rounds
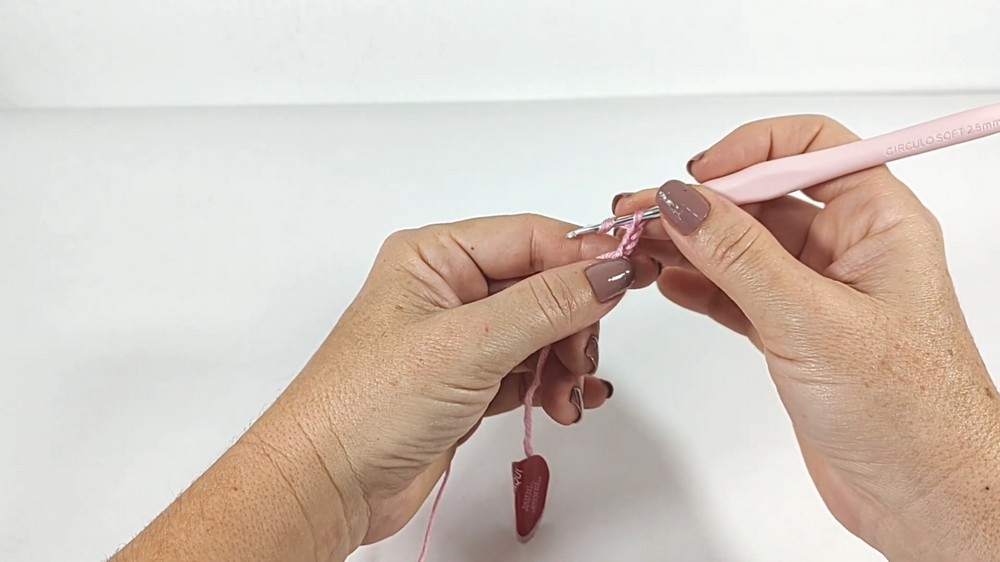
- Create a Magic Ring:
- Wrap yarn around two fingers to form a loop.
- Insert the hook into the loop, yarn over, pull up a loop, and make a slip stitch to secure.
- Foundation Chain:
- Ch 3 (acts as the first DC), then work 15 DC into the ring for a total of 16 DC, including the initial chain.
- Close the Ring:
- Tighten the ring by pulling the yarn tail gently.
- Sl st into the top of the ch-3 to close the round.
- Round 2 (Increase):
- Ch 3, DC in the same stitch.
- Work 2 DC in each stitch around. Sl st to join (32 DC).
- Round 3:
- Ch 3 (counts as first DC), DC in the same stitch, 1 DC in next stitch.
- 2 DC in next stitch, 1 DC in next stitch, repeat around. Sl st to join (48 DC).
- Round 4:
- Ch 3, 2 DC in first stitch, 1 DC in each of next 2 stitches.
- Repeat 2 DC, 1 DC, 1 DC around. Sl st to join (64 DC).
- Continue Increasing (Round 5 to Round 8):
- Simultaneously increase the distance between increases:
- Round 5: 2 DC, 1 DC in next 3
- Round 6: 2 DC, 1 DC in next 4
- Round 7: 2 DC, 1 DC in next 5
- Round 8: 2 DC, 1 DC in next 6
- End with 84 DC; ensure round transitions are seamless.
- Simultaneously increase the distance between increases:
Step 2: Build the Hat Body
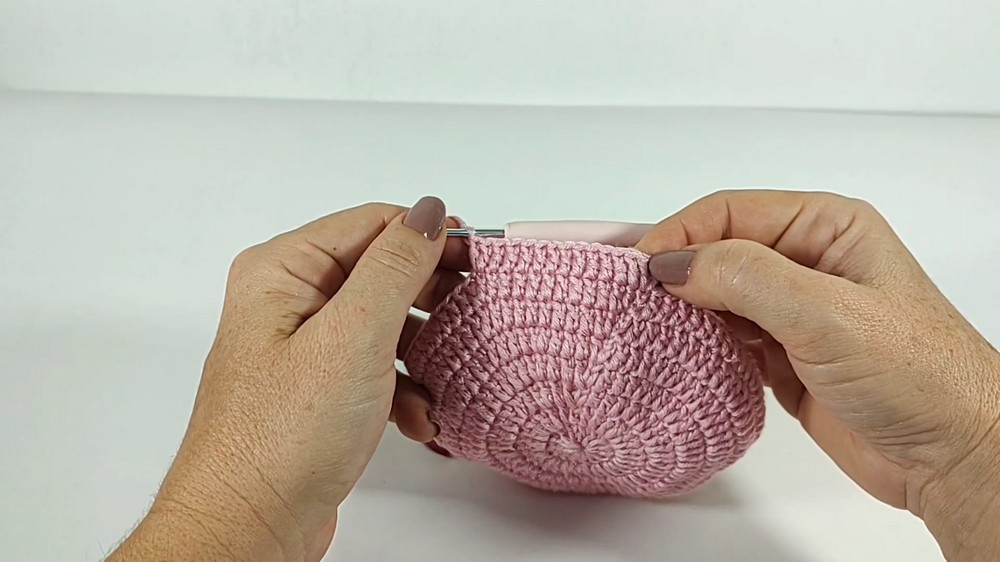
- Straight Rows (Round 9 to Round 15):
- Work 1 DC in each stitch across, no increases.
- Keep a consistent tension for a snug fit.
- Upon finishing Round 15, sl st to join, fasten off, and weave in ends.
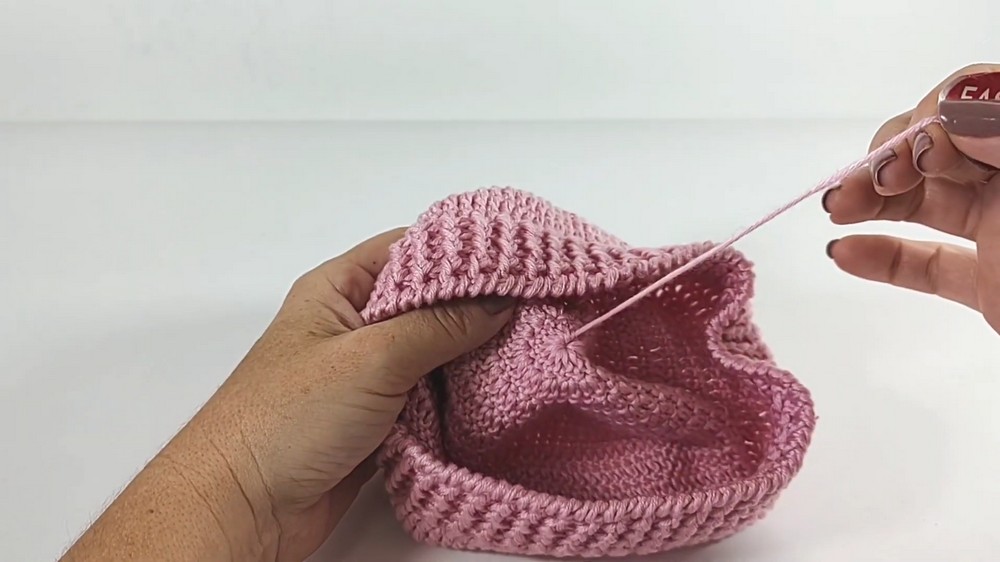
Step 3: Finish with Ribbed Border
- Ribbed Edge:
- Use an alternating FPdc (front post double crochet) and BPdc (back post double crochet) pattern.
- Work 4 rows following the border for a snug brim:
- Alternate FPdc and BPdc stitches to create texture and elasticity.
Step 4: Bear Ears
- Magic Ring for Ears:
- Create a magic ring, secure, and chain 3. Treat this as the first DC.
- Place 11 more DC in the ring (12 DC total). Close with a sl st.
- Increase Rounds (Ear Base):
- Round 1: Ch 3, 2 DC in first stitch, DC in next 2 [repeat].
- Round 2: 2 DC in first stitch, DC in next 3, [repeat to end] (24 stitches).
- Ear Shaping:
- Ch 1, work 1 SC for 2 rows maintaining 24 stitches. Fasten off.
- Ear Assembly:
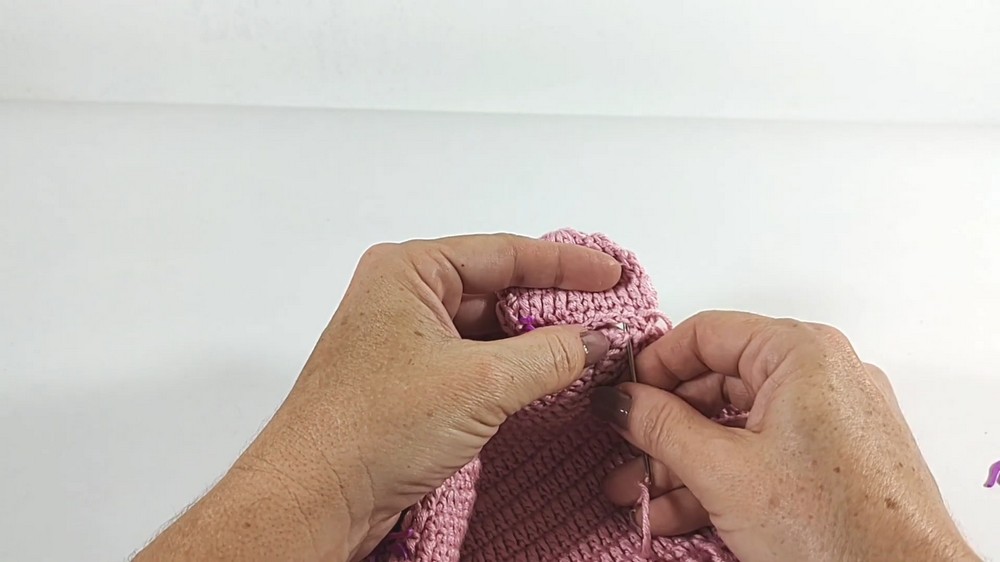
- Fold the ear in half and SC along the edge to create a seam, leaving a tail for sewing.
- Secure the ears using stitch markers; place on Round 7 on each side of the hat.
- Use a tapestry needle to sew them in place with a curved shape ensuring they stand upright.
Custom Tips for Success
- Color Choice: Use contrasting colors for ears or the ribbed border to highlight features.
- Customization: Adjust the increase frequency for varied head sizes; add a bow or applique for personalization.
- Assembling Ears: Ensure even tension in sewing for seamless integration with the hat.
Pattern Variation (Color & Size)
- Colors and Textures: Experiment with variegated yarn for a unique pattern.
- Size Adjustment:
- Newborn: Reduce by two rounds of increases.
- 1-2 Years: Add a row of increases, following existing patterns.
Conclusion and Final Remarks
This adorable bear ear hat, characterized by its snug fit and playful embellishments, is a delightful addition to a baby’s wardrobe. It offers warmth and charm, making it a perfect gift or personal project. The detailed steps and ample customization possibilities ensure it suits anyone's style or need.



