
Spruce up holiday spaces through Free Crochet Christmas Tree Pattern, featuring cozy details perfect for tables, shelves, mantels, and rooms.
The holiday season feels warmer when one small handmade tree becomes part of the Christmas decorations. A crochet Christmas tree can brighten a shelf, table, or quiet corner while adding a cozy touch that feels personal. The Free Crochet Christmas Tree Pattern is a fun choice for anyone who enjoys making a simple seasonal piece with a handmade feel.
The finished tree has a neat pointed shape that gives it the look of a classic Christmas tree. Its soft texture makes it feel warm and cozy, while the simple form keeps the design clean and pretty. Green gives it a natural Christmas look, but white can create a snowy style, while red, gold, or cream can add a different festive touch. A tiny star, bow, button, or other small decoration can make the tree even more special.
This little tree is easy to place around the home. It can sit on a bedside table, desk, mantel, kitchen shelf, or coffee table. It can also become part of a Christmas centerpiece during a family dinner or holiday gathering. Its small size means it can add seasonal charm without taking up much room.
Cute Christmas Tree Free Crochet Pattern for Home Decor
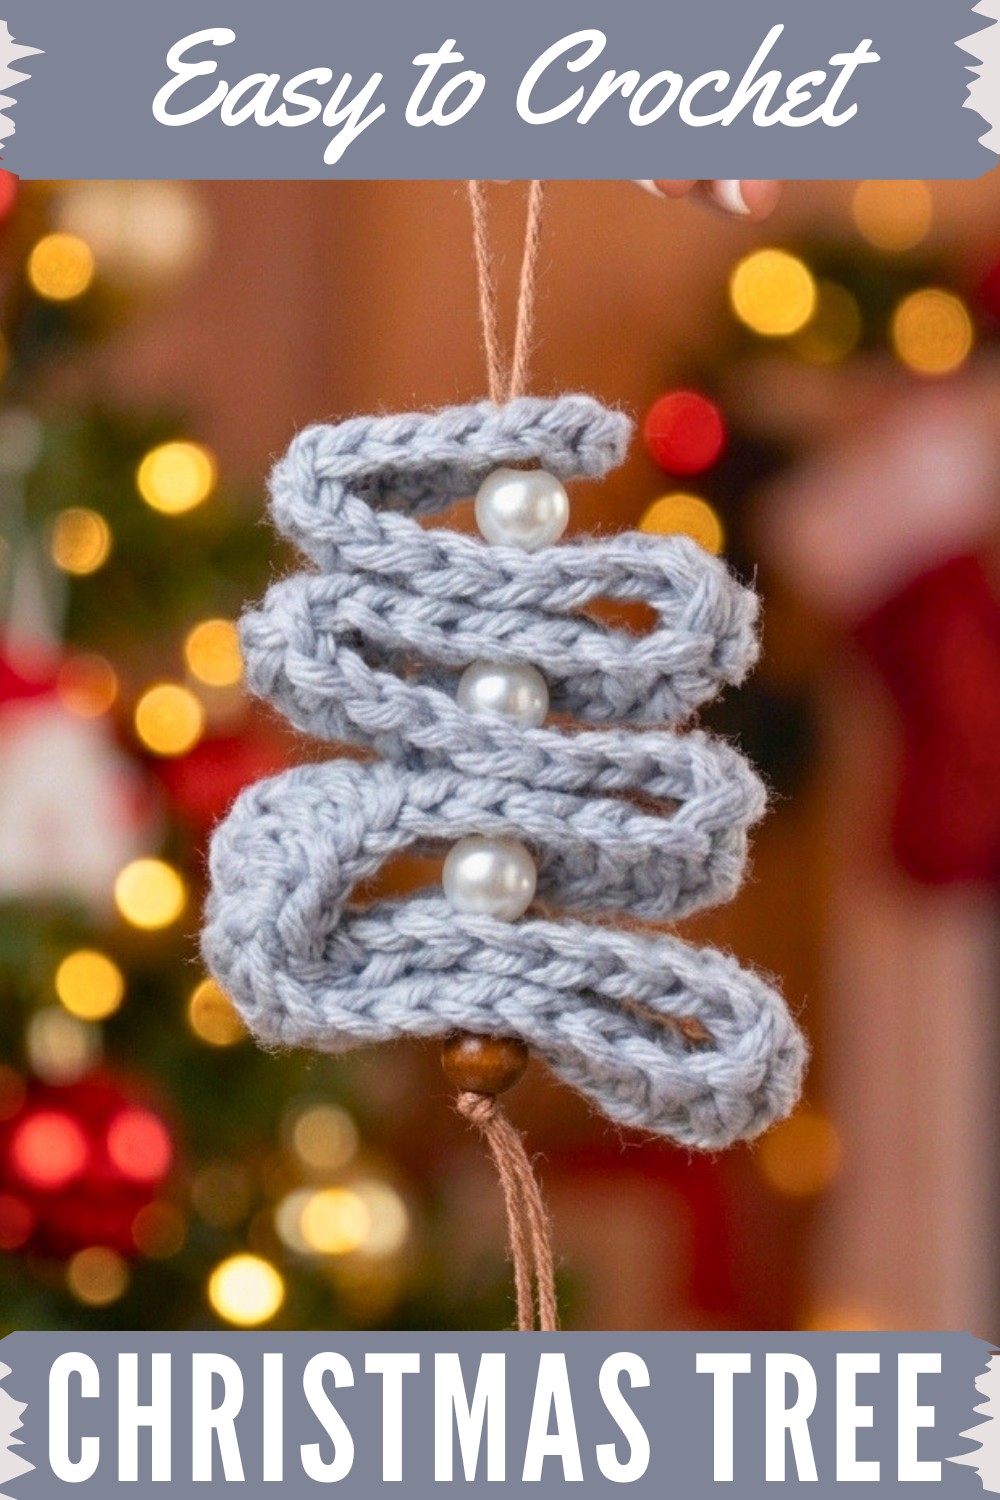
Another lovely part is the freedom to give the tree your own style. Beginners may enjoy the simple shape as a small holiday project, while experienced crocheters can have fun changing the colors or adding small details. You can keep the look simple and elegant or give it a bright and playful Christmas feel.

A handmade Christmas tree also makes a sweet gift for a friend, family member, teacher, neighbor, or anyone who loves festive décor. It can be packed away after Christmas and brought out again each year, becoming a small part of holiday memories. If you enjoy cozy seasonal project that are simple, useful, and full of Christmas charm, the Free Crochet Christmas Tree Pattern is a lovely project to add to your holiday crochet list.
Easy Crochet Christmas Tree Ornament Pattern for Beginners
This crochet Christmas tree ornament is a charming and elegant handmade decoration created with two main processes: crocheting the base structure and assembling it with beads to form a layered, textured tree silhouette. Utilizing a thicker cotton yarn for the tree body and a thinner yarn for beading, this project combines simple stitches and creative layering techniques to produce a striking holiday ornament. It is an excellent project for those looking to add a thoughtful, handcrafted touch to their festive décor or gifting.
Quick Overview of Pattern
- Base Creation: Crocheting a flat, rectangular piece using half double crochets (HDC) worked in a foundation chain and rows.
- Tree Shaping: Folding and arranging the piece into a zig-zag, tiered tree shape with gradual decreases in stitch counts per layer.
- Beading and Finishing: Securing layers using thin yarn and beads, forming a decorative hanging loop, and stitching to maintain form.
Notes
- Use consistent tension throughout the body rows to maintain uniform stitch size and neat edges.
- Properly secure beads during assembly to enhance sturdiness and achieve a polished finish.
- The thinner yarn for beading should contrast or complement the main yarn for visual interest.
- Careful folding and stitching techniques during assembly are key to maintaining the tree’s sculptural form.
Skill Level
Beginner to Intermediate
Familiarity with basic crochet stitches, working in rows, and simple needlework for assembly is recommended.
Materials
- 100% cotton yarn: Two types—
- A slightly thicker yarn for the main tree piece.
- A thin yarn (e.g., embroidery floss or fine cotton thread) for threading beads and finishing.
- Crochet hook size 3.5 mm for the entire project.
- Small beads suitable for threading onto thin yarn.
- Yarn needle suitable for beading and assembly.
- Scissors.
Measurements / Sizing
- Finished tree ornament measures roughly 12 cm (4.7 inches) tall, depending on fiber tension and finishing.
- Width at the base layer is approximately 6 cm (2.4 inches).
- Size can be adjusted by modifying the foundation chain length and number of rows.
Gauge and Stitch Pattern
- Stitch: Half double crochet (HDC) across rows creates a sturdy yet flexible fabric
- Gauge is not critical but maintaining even tension will provide a consistent look for neat layering.
- Foundation chain: 61 chains.
- Rows: 1 row of half double crochet worked back across the chain edge with stitch decreases applied during assembly.
Stitches Abbreviations
| Abbreviation | Term | Description |
|---|---|---|
| ch | Chain | Yarn over, pull loop through |
| hdc | Half Double Crochet | Yarn over, insert hook, yarn over, pull through all 3 loops on hook |
| sl st | Slip Stitch | Insert hook, yarn over, pull through both loops |
Step-by-Step Pattern
Step 1: Materials and Setup
- Use cotton yarn, with a 3.5 mm crochet hook throughout the project.
- Prepare thin yarn and beads for the assembly step later.
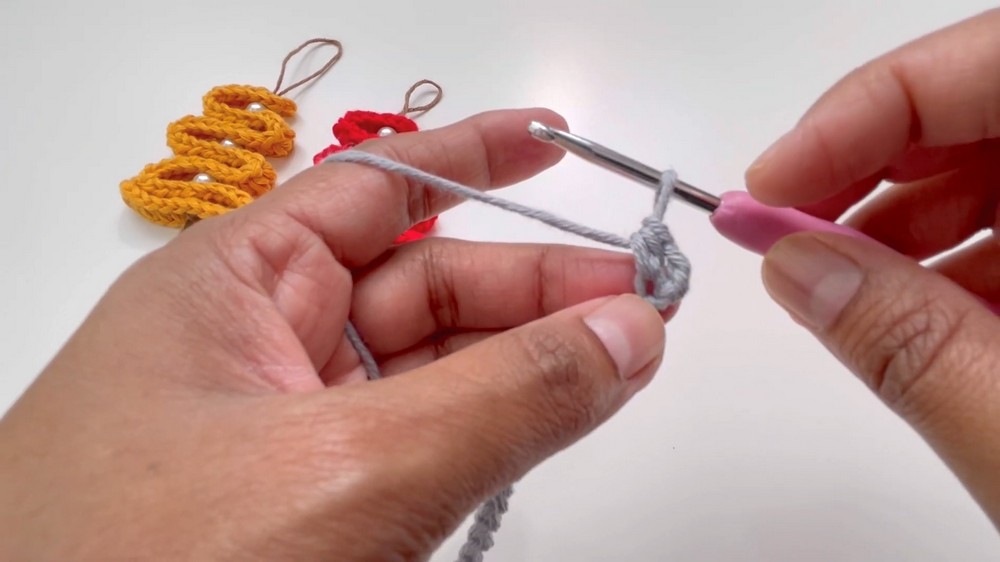
Step 2: Creating the Base Chain
- Make a slip knot on your hook to start.
- Chain 61 stitches. This is the foundation for the tree base.
Step 3: Half Double Crochet Row
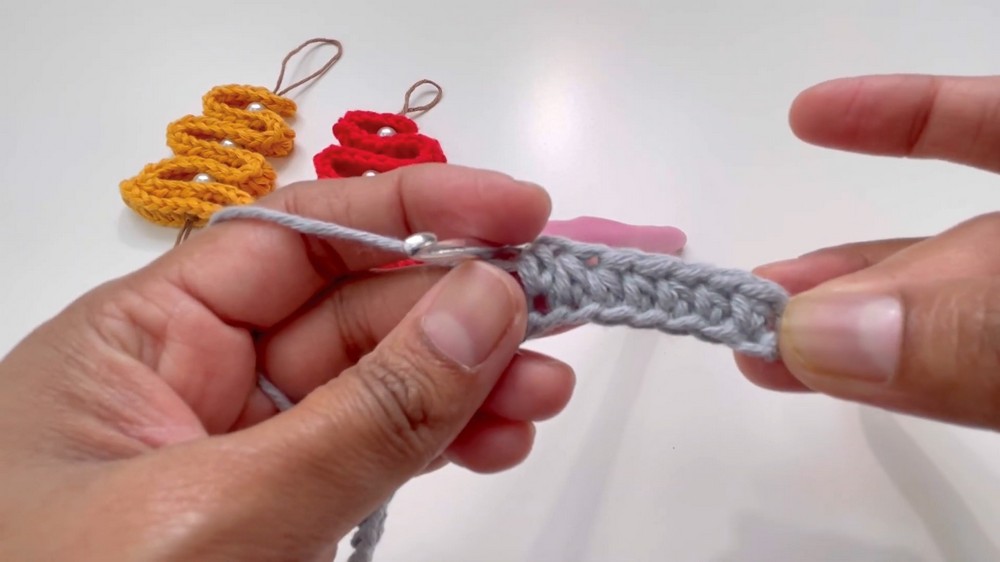
- Turn your work to begin working back across the chain.
- Skip the first 2 chains—these count as your first half double crochet (hdc).
- Starting from the 3rd chain from the hook, work 1 half double crochet (hdc) in each stitch across the row.
- You should have a total of 60 half double crochets by the end of this row.
- Chain 1 and cut the yarn, securing your last stitch.
Step 4: Assembling the Tree
- Lay your rectangle flat in front of you.
- Fold the rectangle into a zig-zag or layered shape that looks like a Christmas tree silhouette.
- Start with approximately 10 to 11 stitches wide for the bottom layer.
- Make layered folds above the bottom, making each higher layer narrower to create a tapered look.
- Each fold forms a "branch" layer of the tree.
Step 5: Beading and Final Finishing
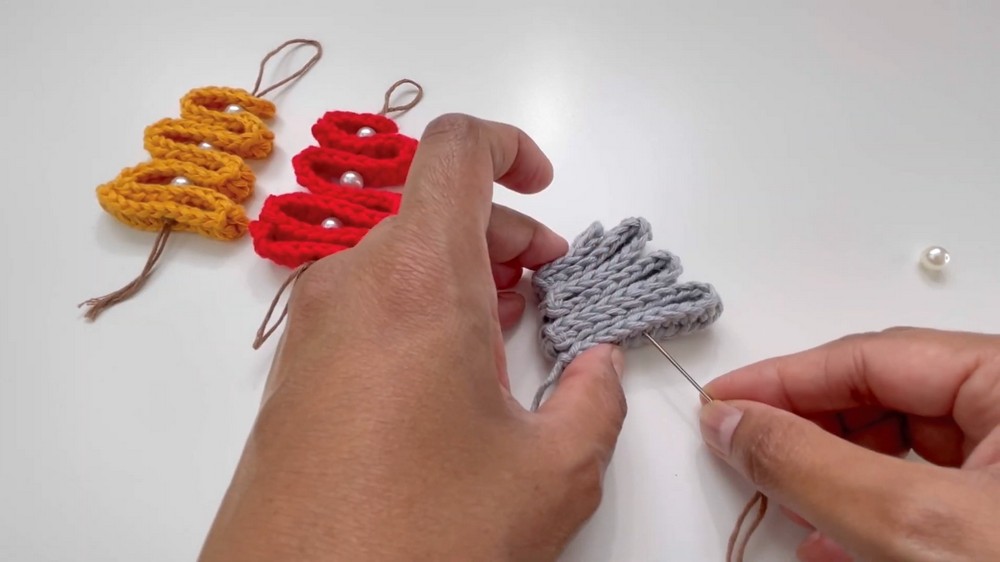
- Thread your thin yarn onto a yarn needle.
- Starting from the bottom of the tree, stitch carefully through the folds, holding layers together.
- While stitching, add beads on the thin yarn, positioning them between layers for decoration.
- Continue stitching upwards, securing the tree layers firmly.
- Loop the thin yarn at the top of the tree to create a hanging loop.
- Cut yarn leaving a long tail for tying.
- Tie secure knots at the bottom to lock the layers in place.
- Trim any excess yarn to desired length, neaten edges.
- Use the needle to sew through layers additionally if needed to keep tree shape stable.
- Hide all yarn ends by tucking them inside folds or under beads for a clean look.
Final Assembly & Size
- The finished tree stands about 12 cm (4.7 in) tall.
- Base width of the tree is about 6 cm (2.4 in).
- The hanging loop allows easy placement on your Christmas tree or as a holiday decoration.

Conclusion
This crochet Christmas tree ornament delivers a delightful combination of simple stitches, creative folding, and beadwork assembly to create a unique and festive décor piece. The process of working a single-layered base and transforming it by layering and adding beads is both satisfying and accessible to crocheters with basic skills. Whether decorating your home or gifting to friends and family, this ornament brings warmth and charm to the holiday season.



