
Bring holiday cheer to your home with this Free Crochet Christmas Wreath Pattern, a fun and easy way to create a beautiful handmade decoration everyone will love.
Creating handmade Christmas decorations adds a special touch of warmth and love to the holiday season, and nothing symbolizes that holiday cheer quite like a crochet wreath. This adorable mini wreath brings festive charm to any corner of the house. It’s simple yet beautiful, using beginner friendly stitches like single crochet and slip stitches to create the design. The wreath is versatile, it can be hung on a Christmas tree, attached to a present as a topper, turned into garlands, or displayed on a door as a small decorative centerpiece. Every loop and stitch adds to its charm, and with the addition of bows and beads, it becomes even more enchanting and unique.
Crochet the Perfect Christmas Wreath with Easy Free Pattern
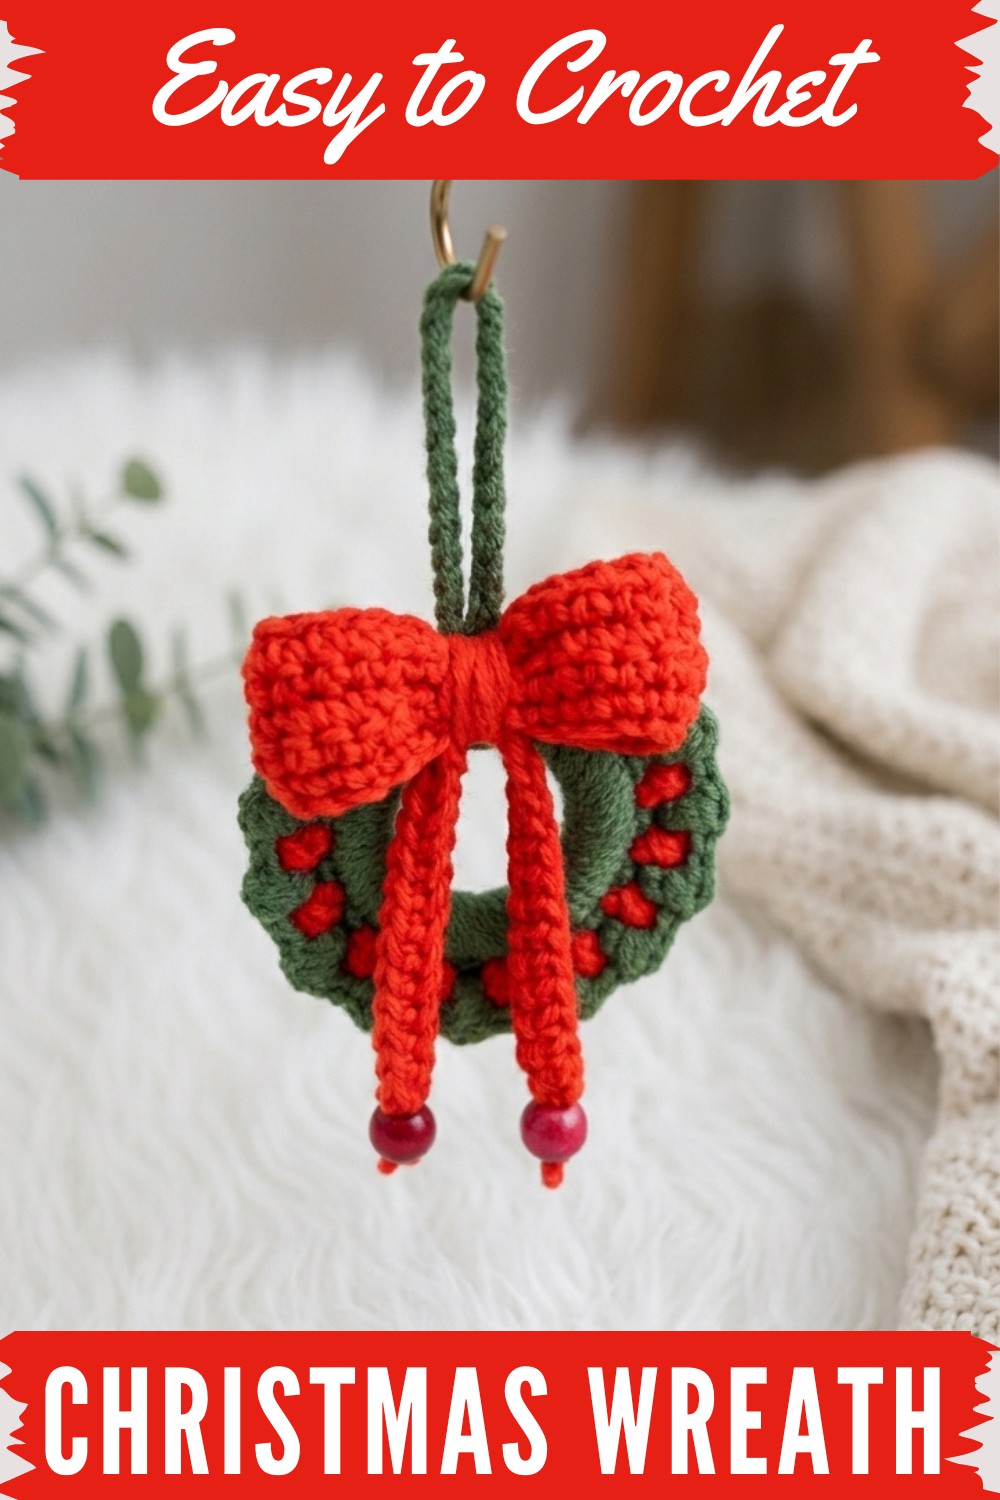
This pattern teaches the basics of working in a round while crocheting on a base such as a ring or hoop. It also covers how to add little decorative elements, helping to enhance crochet skills and creativity. The same stitches and techniques can be used to make other items like tiny wreath ornaments for holiday cards, festive coasters, or even keychains. Changing the colors or sizes can completely transform the design, providing endless possibilities for holiday themed crochets.
This mini Christmas wreath pattern is a delightful way to spread holiday cheer, practice crochet basics, and add a handmade touch to celebrations. It’s fun, versatile, and perfect for any festive project.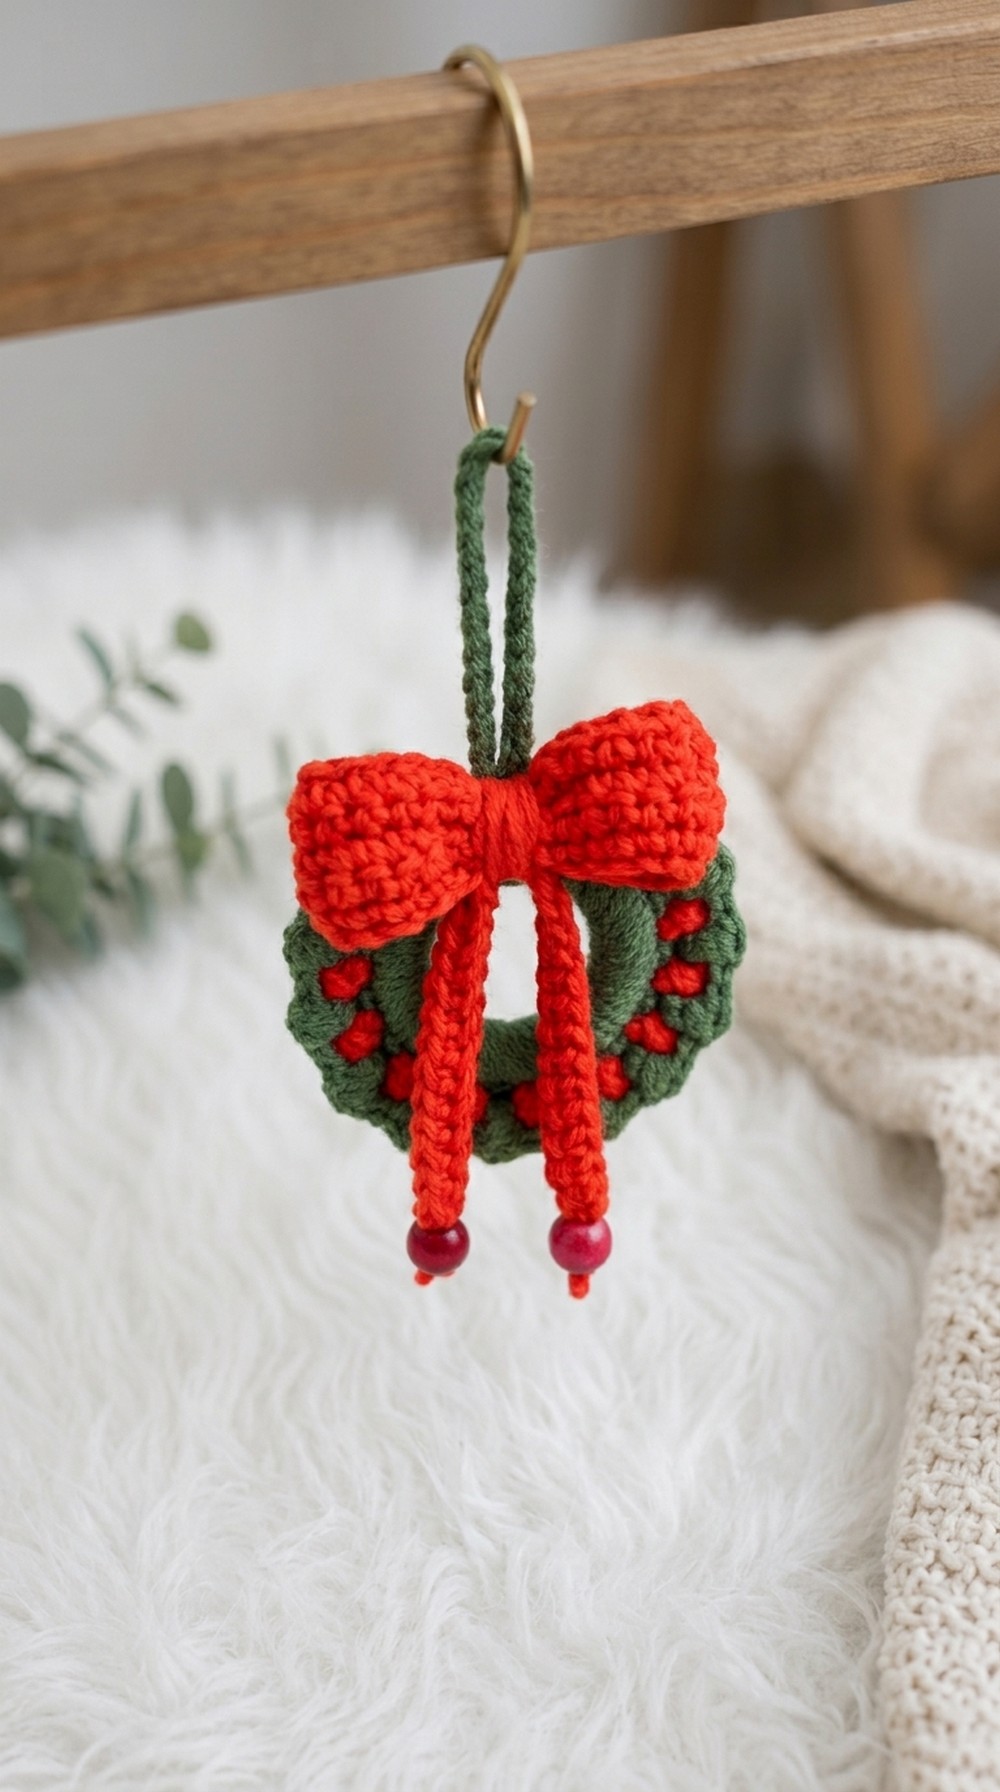
Crochet Christmas Wreath Pattern
Introduction
This crochet pattern guides you through creating a delightful Christmas ornament using single crochets and decorative stitches. Whether you're a beginner or advanced crocheters, this project will bring a festive touch to your holiday decor. Let’s begin.
Quick Overview of the Pattern
- Project: Christmas Ornament with decorative stitches and bow
- Skill Level: Beginner to Intermediate
- Finished Size: Ornament is approximately 2 inches in diameter (excluding bow and hanging chain)
- Estimated Time: 1–1.5 hours
Notes
- Always count your stitches to ensure consistent results.
- Use loose tension, especially when working on the decorative wrapped stitches.
- You can adjust the hanging chain length and bow size to suit your needs.
Materials
- 2 colors of yarn (choose festive colors like red, green, white, etc.)
- A 2-inch diameter plastic or metal ring for the foundation
- Size F (3.75 mm) crochet hook
- Yarn needle
- 2 decorative beads for embellishment (optional)
- Scissors
Stitch Abbreviations
- ch: Chain
- sc: Single crochet
- sl st: Slip stitch
- yo: Yarn over
- st(s): Stitch(es)
Special Stitch: Decorative Wrapped Stitch
- Yarn over (yo) 3 times.
- Insert the hook into the stitch.
- Wrap the yarn under the hook loosely 3 times.
- Pull the yarn through the wraps and complete the stitch.
- Chain 1 (ch 1) to secure.
The Crochet Pattern
Step 1: Ornament Base
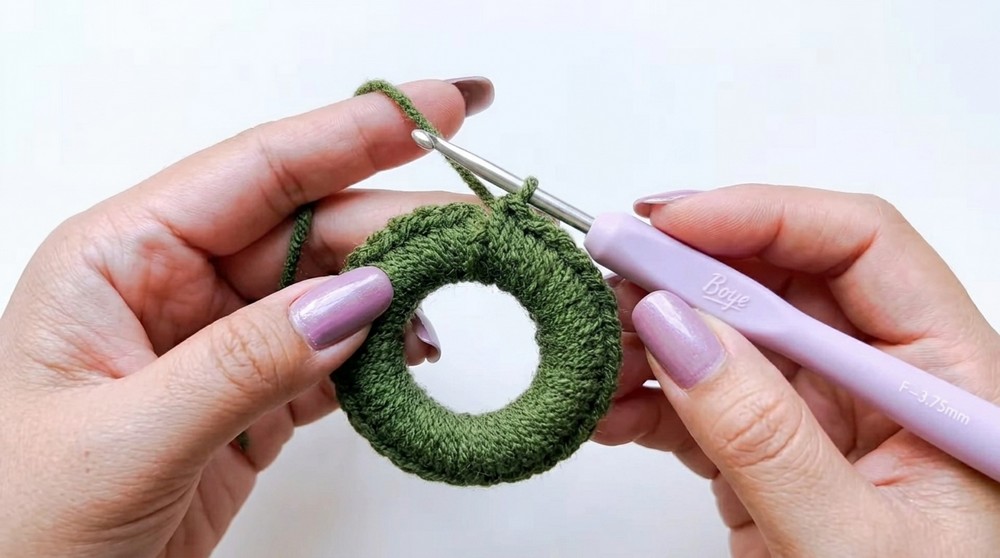
- Attach Color 1 to the Ring
- Make a slip knot.
- Attach the yarn to your crochet hook and insert the hook into the ring.
- Work Foundation Single Crochets
- Work 30 single crochet (sc) stitches evenly around the ring.
You can count aloud as you progress to keep track of the number of stitches.
- Example:
- “Now we have 1…”
- “2...”
- “3...”
- Continue until you reach 30.
- Work 30 single crochet (sc) stitches evenly around the ring.
- Finish the Round:
- Once all 30 single crochets are complete, slip stitch into the first single crochet to join the round.
- Cut the yarn and secure it at the back with a yarn needle.
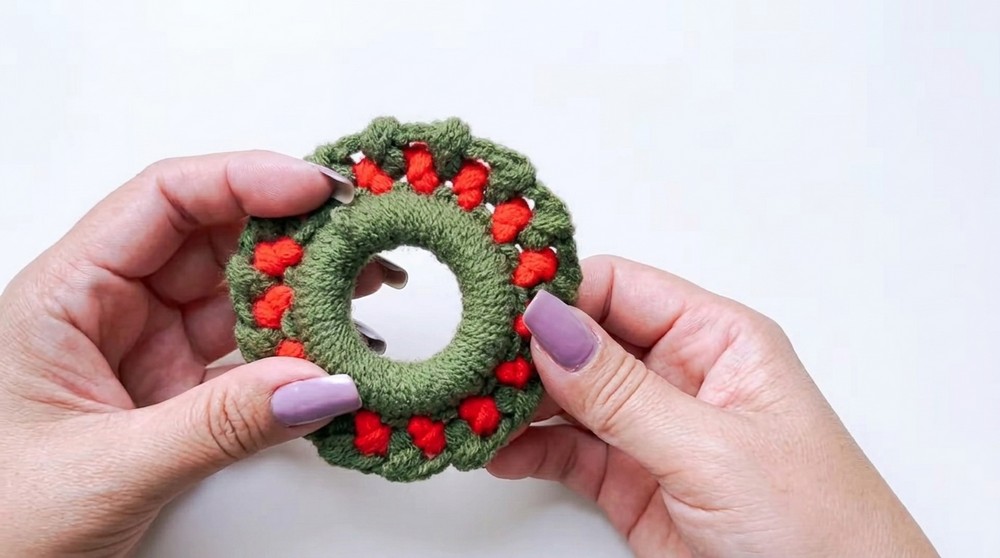
Step 2: First Decorative Round (Using Color 2)
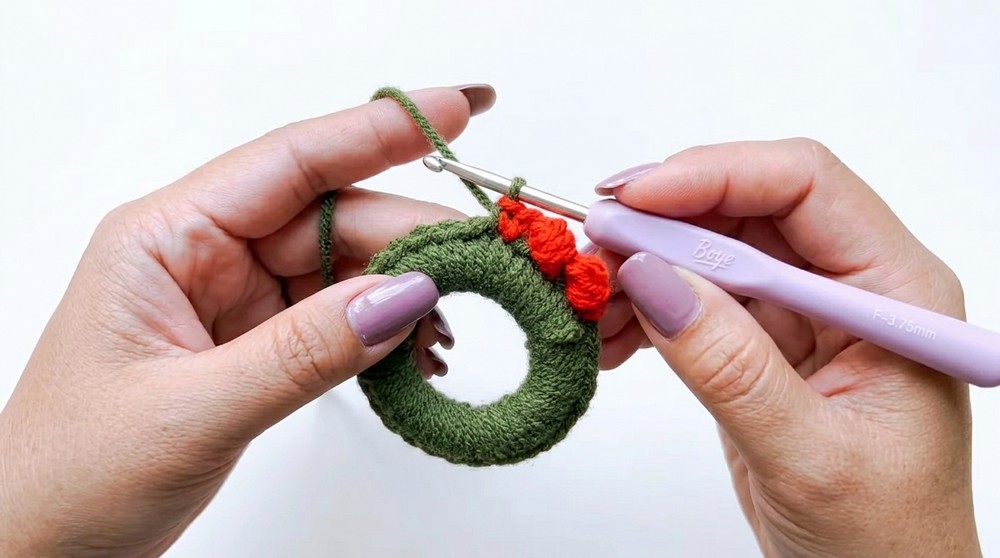
- Attach Color 2
- Make a slip knot with the second color of yarn.
- Insert the hook into any single crochet from the previous round.
- Work Decorative Wrapped Stitches
- Chain 1 (ch 1) to secure the yarn.
- Stitch Pattern:
- Yarn over (yo) 3 times.
- Wrap the yarn under the hook loosely 3 times.
- Example counts:
- “1…”
- “2…”
- “And 3.”
- Example counts:
- Chain 1 (ch 1) to complete the stitch.
- Skip the next stitch from the base and repeat the decorative wrapped stitch in the following stitch.
- Repeat Around the Ring
- Alternate skipping one stitch and making a decorative wrapped stitch in the next stitch.
- Continue until you’ve worked around the entire base.
- At the end of the round, slip stitch into the first decorative stitch.
- Fasten Off
- Cut the yarn and secure it at the back using the yarn needle.
Step 3: Hanging Chain
- Attach Color 1
- Make a slip knot with the first color and attach it to any open space in the last row.
- Work the Chain
- Chain as many stitches as you like. Suggested length:
- 25–30 chains for a shorter hanging loop.
- For example: “Now it’s up to you how long you want the hanging chain.”
- Chain as many stitches as you like. Suggested length:
- Secure the Hanging Chain
- After completing the chain, slip stitch back into the same starting space.
- Cut the yarn and weave in the ends.
Step 4: Second Decorative Round
- Reattach Color 1 to Any Space
- Make a slip knot and insert it into an open space from the last decorative row.
- Chain 1 (ch 1) to secure.
- Repeat Decorative Wrapped Stitch
- Follow the same stitch pattern from Step 2:
- Yarn over (yo) 3 times.
- Insert the hook and wrap yarn around the hook 3 times.
- Chain 1 (ch 1) to secure the stitch.
- Skip one stitch and repeat in the next space.
- Follow the same stitch pattern from Step 2:
- Work Around the Ornament
- Continue the decorative stitch pattern until you complete the round.
- Slip stitch into the first stitch to close the round.
- Secure the Yarn
- Cut off the excess yarn and weave in the ends neatly.
Step 5: Bow
- Create the Bow Base
- With Color 2, chain 25 stitches.
- Row 1: Single crochet (sc) in the second chain from the hook. Work 24 single crochets to the end of the row.
- Rows 2–5: Work 1 single crochet (sc) in each stitch across for 4 more rows.
- Fasten off and weave in ends.
- Shape the Bow
- Fold the rectangle in the middle to create a bow effect.
- Using the same yarn, wrap the center tightly several times to pinch the middle into shape. Knot the yarn at the back to secure.
- Attach the Bow
- Sew the bow to the top of the ornament using the same yarn and a yarn needle.
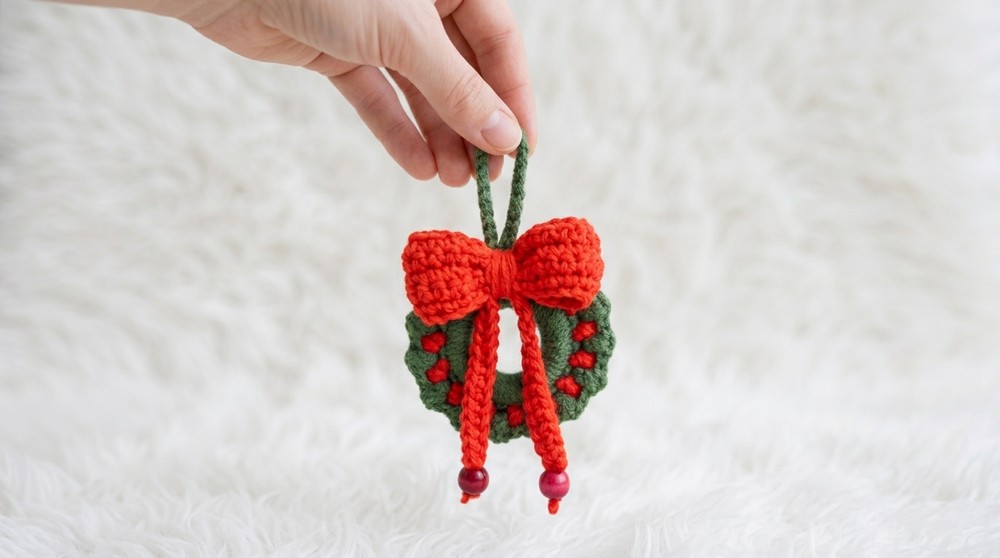
Optional: Tail and Beads
- Create a chain using Color 2 (e.g., 25–30 chains).
- Slide beads onto the chain for embellishment, if desired.
- Attach the tail to the bottom of the ornament or bow.
Assembly and Finished Size
- Attach the ornament to your Christmas tree or desired display location using the hanging chain.
- Final dimensions:
- Ornament diameter: ~2 inches.
- Hanging chain and bow size: customizable.
Conclusion
Congratulations, You’ve now created a festive and stylish crochet Christmas ornament. Personalize it with your favorite colors, and make more to share as gifts or build your collection of handmade decorations.



