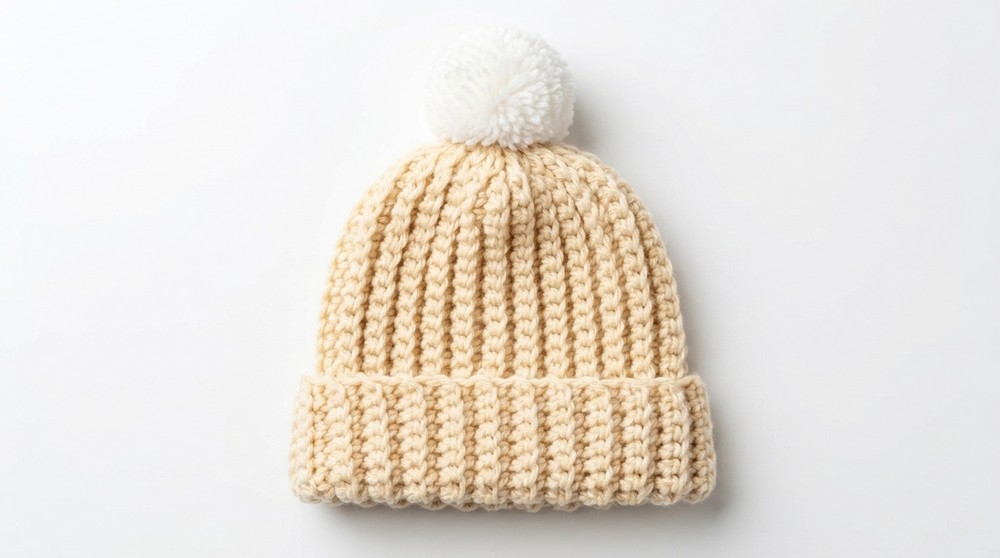
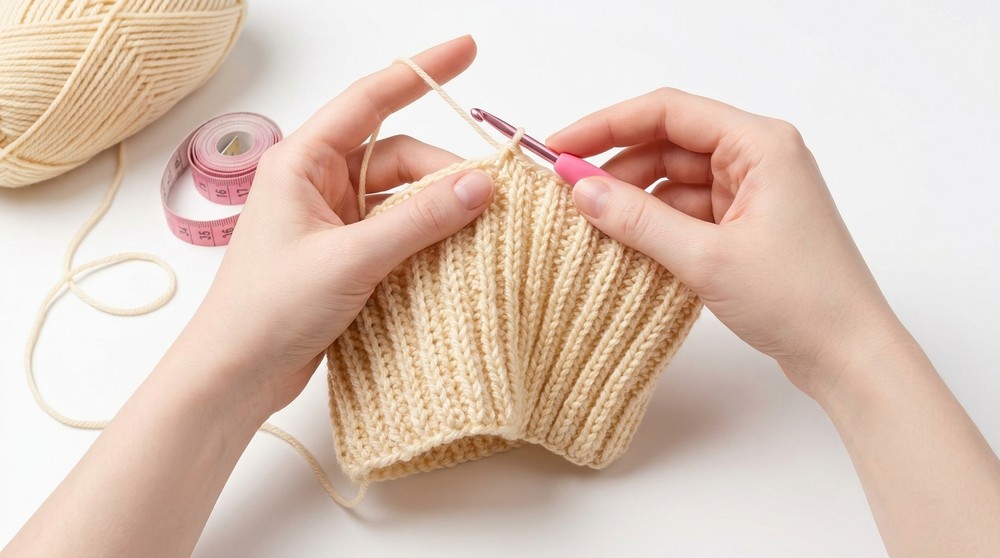
Wrap tiny heads in cuteness with this free crochet baby hat pattern, made with soft yarn to keep babies cozy and melt hearts with every stitch.
A sweet little crochet hat for a baby sits soft and light like a cloud. It keeps a tiny head warm and cozy in every season while still looking cute and fresh in photos and daily life. This free crochet baby hat pattern uses gentle cotton or soft yarn that feels kind on delicate skin. It is simple enough for a beginner to follow, with clear stitches and an easy shape that grows nicely as the baby grows.
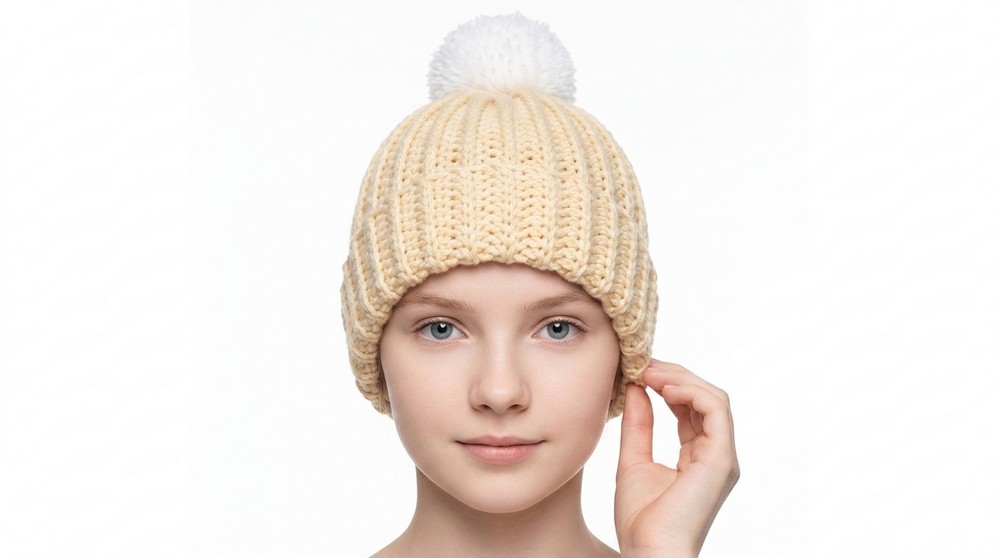
Free Crochet Baby Hat Pattern for Little Heads
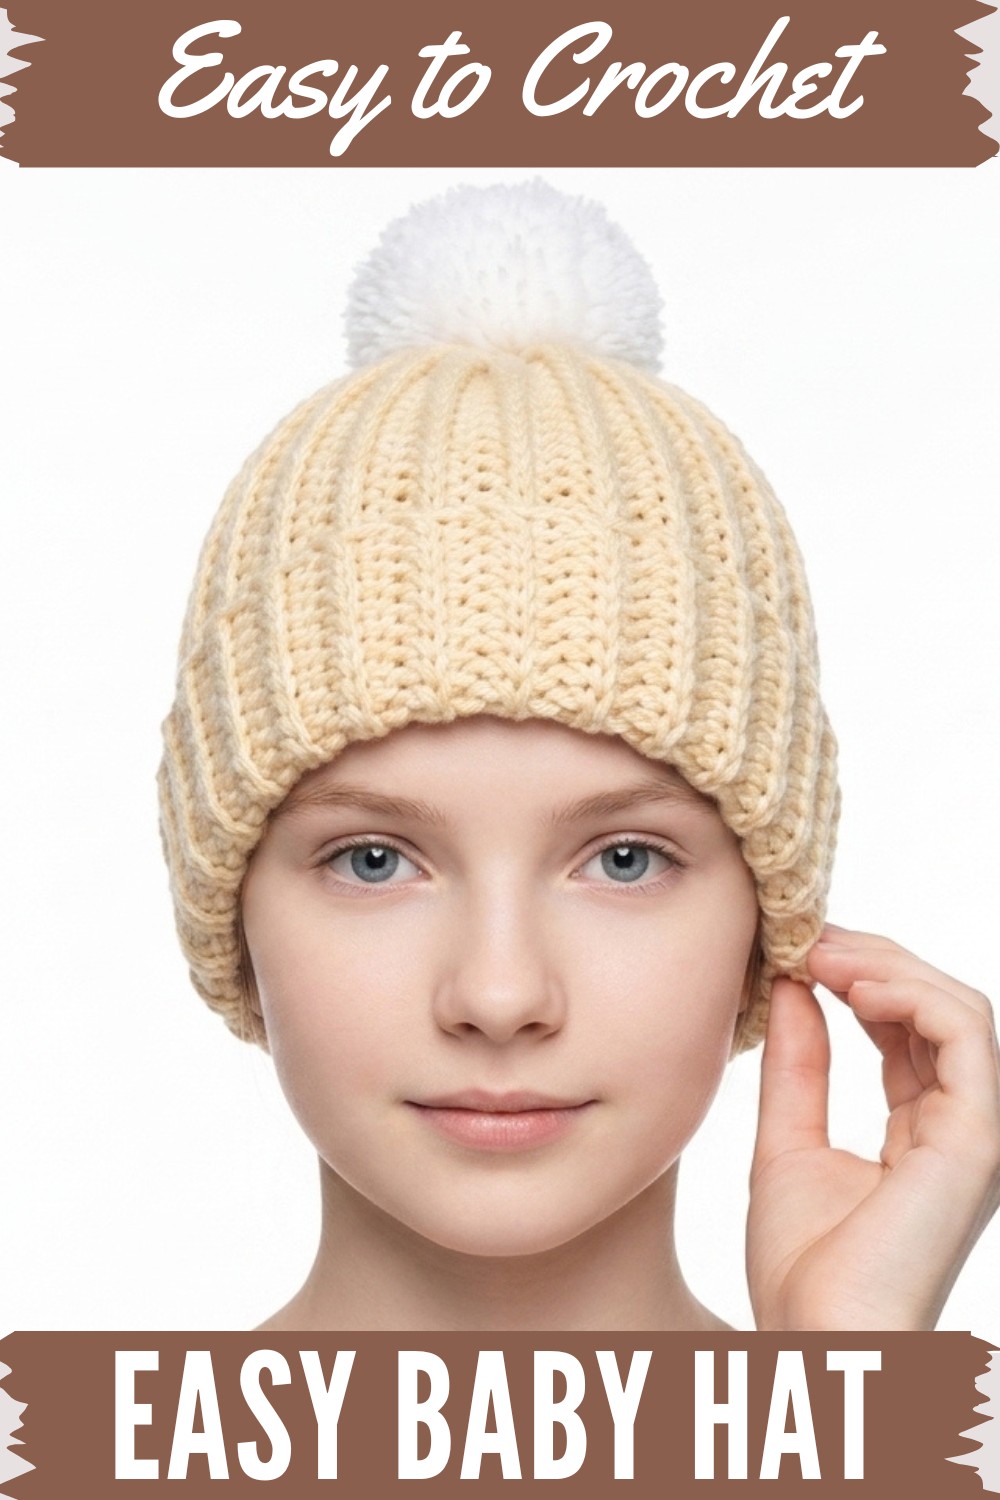
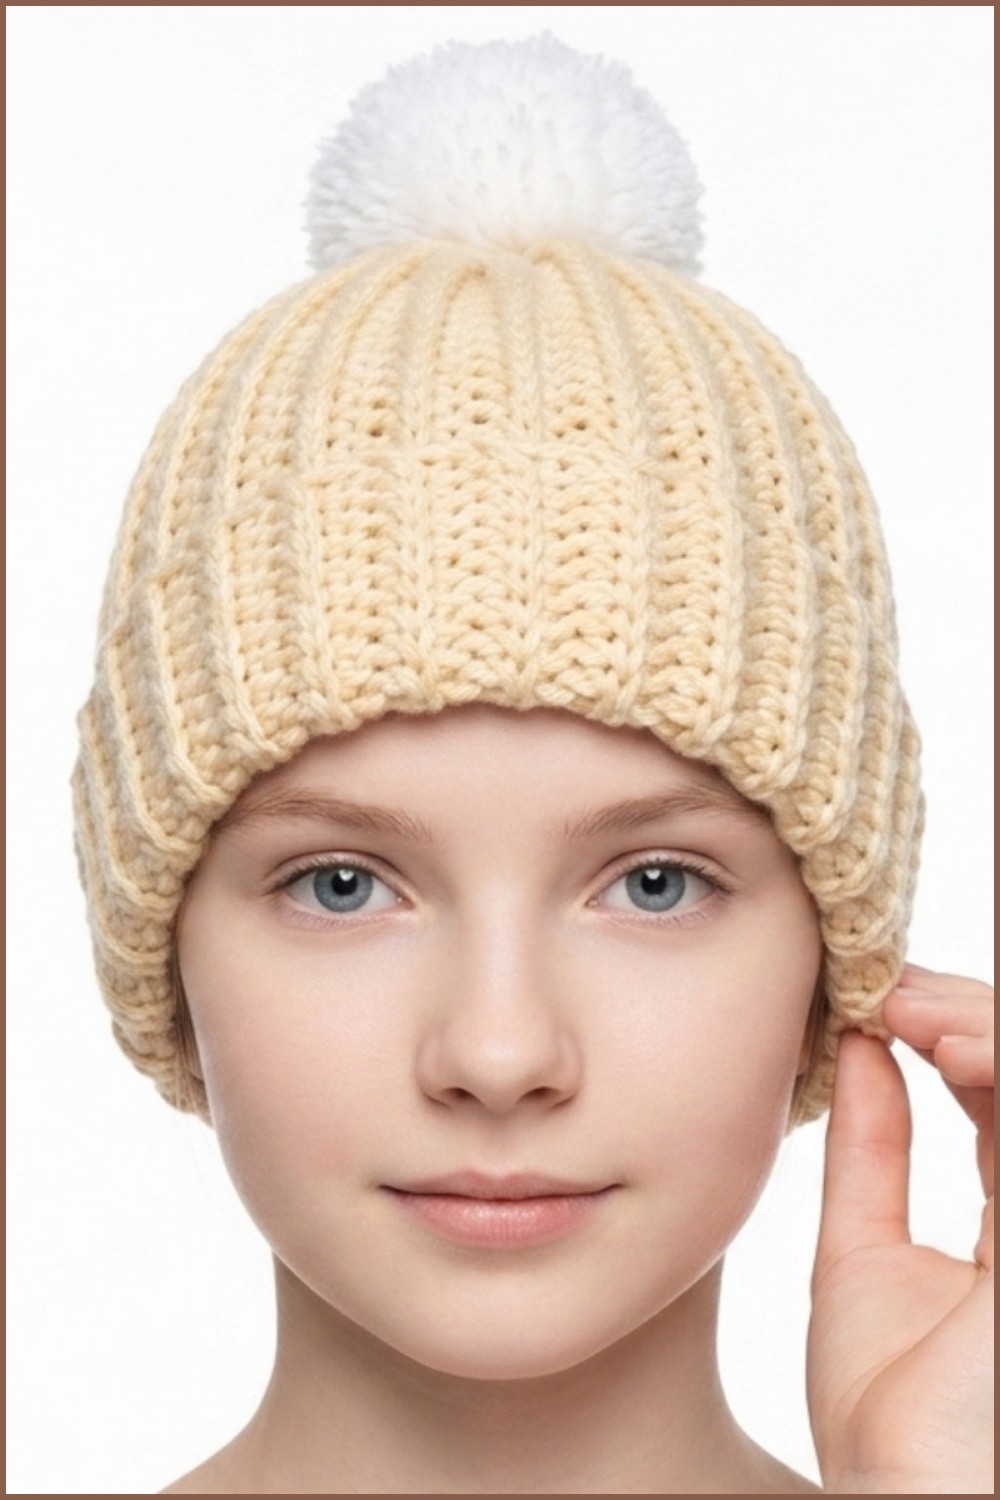
The design features a round top, smooth sides, and a neat edge, giving it a clean and pretty look that can match any outfit. It can be made in simple colors, soft stripes, or adorned with a small bow or pom on top, making it perfect as a gift, for a baby shower, or a first photo session. This free pattern not only saves money, but it also offers something thoughtfully made with care.
The hat is washable, durable, and light to carry, making it a practical and personal treasure. Whether for everyday use or to preserve memories, one small baby hat can bring warmth, beauty, and heartwarming charm.
Baby Hat Crochet Pattern
Materials Needed
- Yarn:
- Soft, medium-weight (DK or sport-weight) yarn suitable for babies.
- For a 0–3 month hat, approximately 50–80 grams of yarn is required.
- Example yarn: Lana Soft Wool or any comparable brand for soft and cozy finishes.
- Tools:
- Hook size: 4.0 mm (G) crochet hook (adjust hook size depending on yarn and tension).
- Tapestry Needle: For sewing seams and weaving in ends.
- Scissors
- Measuring Tape: To measure circumferences and hat height.
- Optional: Pom-Pom Maker
Skill Level
- Intermediate: This pattern requires familiarity with single crochet, working into the back loop, and sewing seams.
Key Abbreviations
- ch: Chain
- sc: Single Crochet
- sl st: Slip Stitch
- yo: Yarn Over
Special Notes
- Size Adjustments:
- Add or reduce chains based on desired hat width. For every 2 chains, increase the finished circumference by 1 cm.
- Adjust the number of rows based on height increments of 0.5–1 cm per size.
- A basic size guide is provided in Step 6 for scaling effectively.
- Stitch Texture:
- Throughout the body of the hat, you’ll use single crochets worked into the back loop only, creating a ribbed texture.
- Gauge for Reference:
- 14 sc rows = 10 cm.
- 10 sc stitches = 8 cm.
Step-by-Step Instructions
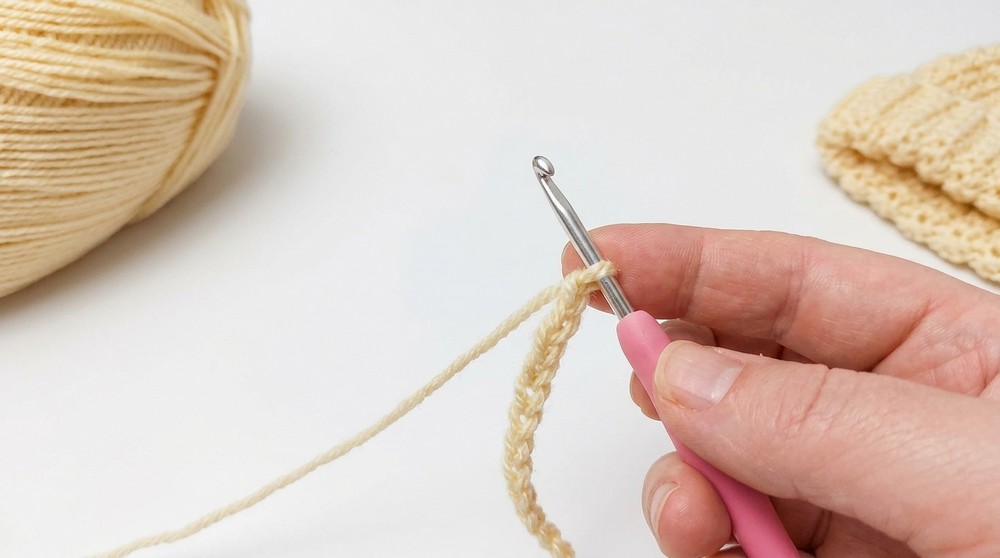
Step 1: Foundation Chain
- Chain a Band for the Desired Circumference:
- For a 0–3 month size, ch 35 (approx. 22 cm in width). This measurement represents the height of the hat before folding the brim.
- For larger sizes, chain to the width needed; refer to the sizing guide in Step 6.
- Note: If you are using thinner or thicker yarn, adjust the chain length accordingly to achieve your desired measurement.
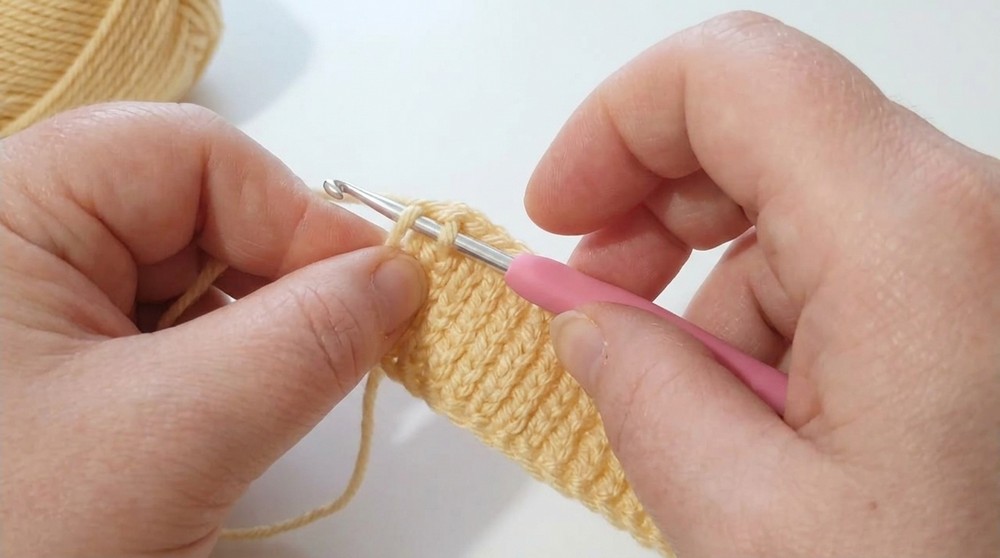
Step 2: Work the Ribbed Body
- Row 1:
- Begin in the second chain from the hook and work sc across the entire row.
- At the last stitch, turn your work without adding a turning chain.
- Row 2:
- Work the first stitch as a normal sc (to keep the edges tidy).
- For all subsequent stitches, work sc into the back loop only (this creates the ribbed effect).
- Continue working in this manner until the last stitch of the row, which should be a normal sc.
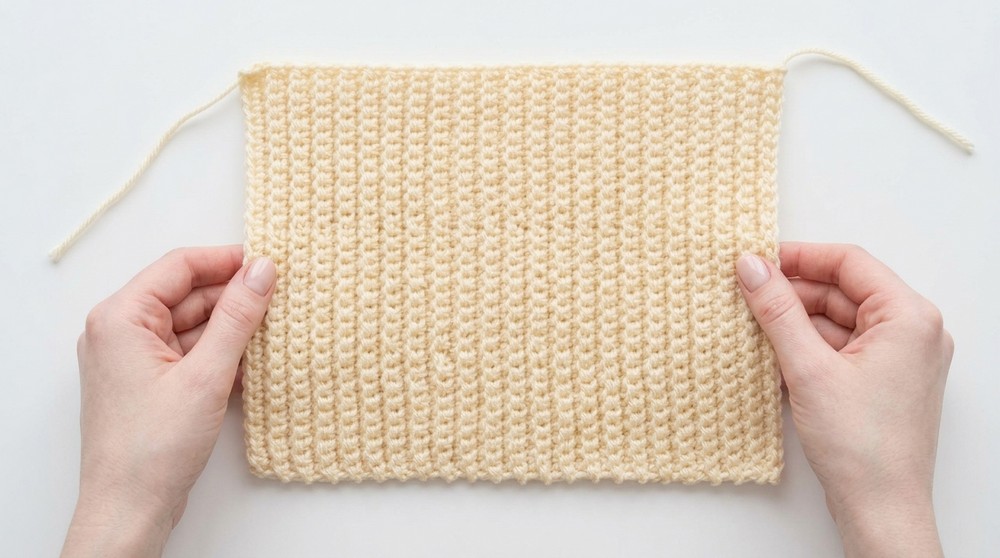
- Repeat Row 2:
- Continue working rows in this way until the ribbed rectangle reaches the desired length for the hat’s circumference.
- For a 0–3 month size, this is typically around 50 rows (approx. 29 cm). Adjust rows for larger sizes (see Step 6 for rows based on age).
Step 3: Seam the Ribbed Body
- Fold the Ribbed Piece:
- Fold the rectangle in half, aligning the two short edges.
- Sew the Seam:
- With a tapestry needle and a long yarn tail, whipstitch or mattress stitch the seam together.
- For a crochet seam: Insert the hook through both loops of the first edge and the back loop only of the opposite edge, and secure with sl st across the seam.
- Result: A neat seam mimicking the ribbed texture with no visible bulk. Turn the piece inside out so the seam is on the inside.
Step 4: Close the Top of the Hat
- Gather the Top:
- Thread a long yarn tail onto the tapestry needle.
- Pass the needle through the edge of each ribbed row at the top of the piece (the edge opposite the seam), gathering the fabric.
- Cinch Securely:
- Pull the yarn tightly to close the opening completely. Make a few passes across the opening to strengthen the closure.
- Secure the End:
- Create a few small knots to secure the top, and weave in any leftover tail.
Step 5: Add a Decorative Pom-Pom (Optional)
- Create the Pom-Pom:
- Use a pom-pom maker or wrap yarn around your hand several times. Tie the center of the wrapped yarn tightly and cut the loops.
- Trim the edges evenly to shape the pom-pom.
- Attach:
- Sew the pom-pom securely onto the top center of the hat.
- Secure:
- Knot the pom-pom thread on the inside of the hat and weave in any loose ends.
Step 6: Customizing Sizes
| Age | Circumference (cm) | Rows | Height (cm) | Chains |
|---|---|---|---|---|
| 0–3 months | 36 | 50 | 22 | 35 |
| 3–6 months | 38 | 52 | 24 | 37 |
| 6–12 months | 40 | 54 | 26 | 39 |
| 1–2 years | 42 | 56 | 28 | 41 |
| 3–5 years | 44 | 58 | 30 | 43 |
| Adult S/M | 52 | 64 | 34 | 49 |
| Adult L/XL | 56 | 68 | 36 | 53 |
Finishing
- Ensure all loose tails are neatly woven into the fabric.
- Wash and block the hat gently if needed to even out stitches and soften the yarn.
- For an extra professional look, you can add a row of sc around the base of the hat's brim to tidy the edge.
Final Words
Congratulations! You’ve completed a timeless ribbed crochet hat. This versatile design works beautifully as a baby gift or personal accessory. Its simple structure and adjustable dimensions make it ideal for any size or occasion. Feel free to experiment with colors, yarn weights, or embellishments like buttons for added variety.
Pattern Corrections
- If the circumference doesn’t match the intended size, verify the stitch count and adjust the rows or chains.
- Tension variances may cause sizing differences; adjust hook size as needed.
Tips for Success
- Yarn Choice: Select soft, lightweight yarn for babies. For adults, experiment with chunkier textures for warmth.
- Consistency: Use stitch markers where needed to maintain even edges.
- Personalization: Experiment with color strips or alternate textures throughout the hat for added design interest.