
Turn your everyday essentials into something fun with a cute crochet chicken keychain that charms everyone and makes for a cheerful little companion everywhere.
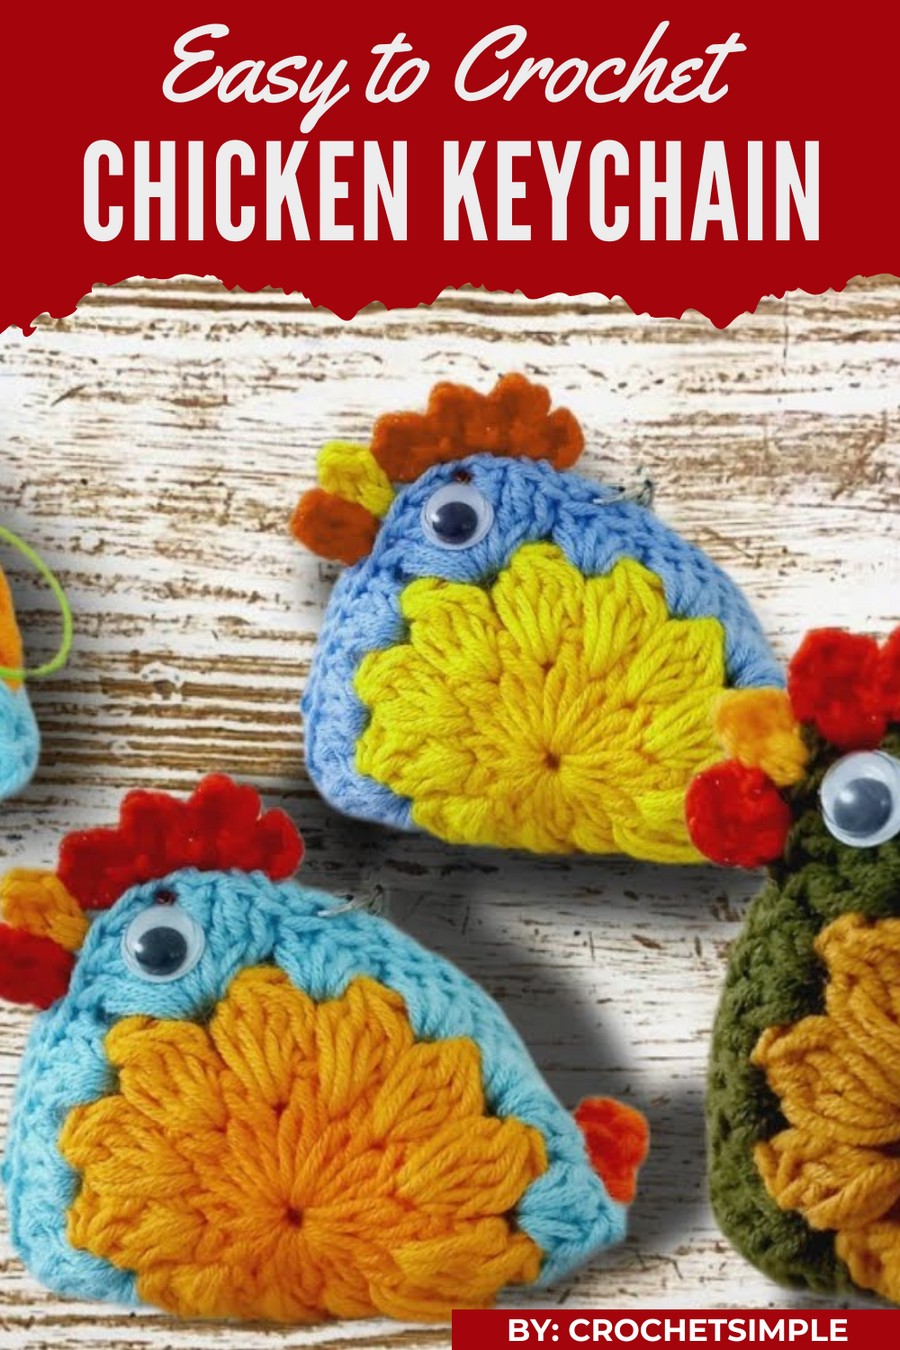
Ever wanted a tiny, squishy chicken to brighten your day? Meet the adorable crochet chicken keychain—small, colorful, and oh-so-charming! With its sweet little beak and fluffy vibes, it’s the perfect buddy for your keys, backpack, or even your favorite tote.
Quick Crochet Chicken Keychain Pattern You’ll Obsess Over
Easy to make and fun to show off, this little chicken adds a spark of personality wherever it goes. Plus, it’s a great way to make someone smile when given as a gift! Whether you're flaunting it or sharing it, this quirky little creation guarantees endless fun and cuteness.
Materials Needed
- Yarns
- Scraps of yarn in various colors:
- Main Body: Any two colors for squares (e.g., yellow, white, or pastel shades).
- Comb: Red yarn.
- Beak: Yellow yarn.
- Waddle: Red yarn.
- Tail Feathers: Color matching the chicken's body or contrasting.
- Scraps of yarn in various colors:
- Hook:
- Suggested size: 2.5 mm - 4 mm (depending on yarn thickness).
- Additional Supplies:
- Fiberfill (polyester fiber) for stuffing.
- Plastic or doll eyes. Alternatively, you can crochet or embroider the eyes.
- Scissors.
- Tapestry needle for sewing and hiding tails of yarn.
- Fast-drying glue (for securing eyes).
- Keychain ring or rope.
Pattern Instructions
Step 1: Square Motif for Chicken Body
Round 1 - Creating the Base Ring
- Make a Slip Knot: Place yarn on hook, form a loop, and tighten.
- Chain 5: Create 5 stitches, then join into a ring with a slip stitch.
- Insert hook into the first chain, yarn over, and pull through both loops.
- Forming the Stitches: Chain 2 (does not count as a stitch).
- Work 12 “double crochet 2 together (DC2T)” stitches into the ring.
- After each stitch, chain 1.
- Example: Yarn over, insert hook into the ring, yarn over, pull through, yarn over, pull through two loops, yarn over, pull through remaining loops. Chain 1.
- Slip Stitch to Join: Insert the hook into the first chain, yarn over, pull through. Cut the yarn and fasten off.
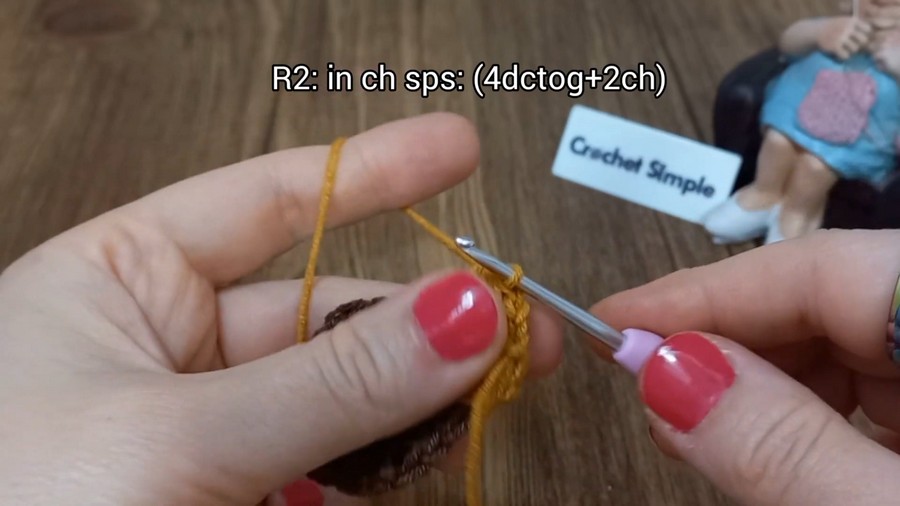
Round 2 - Shaping the Square Motif
- Attach a new color yarn to any chain space created in Round 1.
- Make a slip knot and join with a slip stitch.
- Stitches in Each Space: Work 4 DC2T stitches in each chain space around.
- After completing each set of stitches, chain 2.
- Continue the pattern to finish the round.
- Joining and Fastening Off: Slip stitch into the first stitch of the round, fasten off, and trim excess yarn.
Round 3 - Form Square Shape
- Attach a third color yarn into any chain space.
- Corner Spaces: Create corners using the pattern:
- 1 double crochet (DC), 2 triple crochet (TRC), chain 2, and another 2 TRC + 1 DC all into the same space.
- Side Spaces:
- Work 3 DCs into each of the chain spaces between corners.
- Alternate corner and side spaces until the square motif is complete.
- Finish the Square: Slip stitch into the starting stitch, fasten off, and hide the yarn ends with the tapestry needle.
Step 2: Assembling the Chicken Body
- Make Two Motifs: Follow the above pattern to crochet a second square.
- Joining the Squares: Place the two squares together, ensuring all corners line up.
- Use the tapestry needle to sew along the edges, leaving one side open for stuffing. Alternatively, use slip stitches with a hook to join the squares.
- Stuff the Chicken:
- Fill the chicken’s “belly” with fiberfill until it reaches the desired softness and plumpness.
- Sew the open edge together once stuffed.
Step 3: Adding Features (Comb, Beak, Waddle, Tail Feathers)
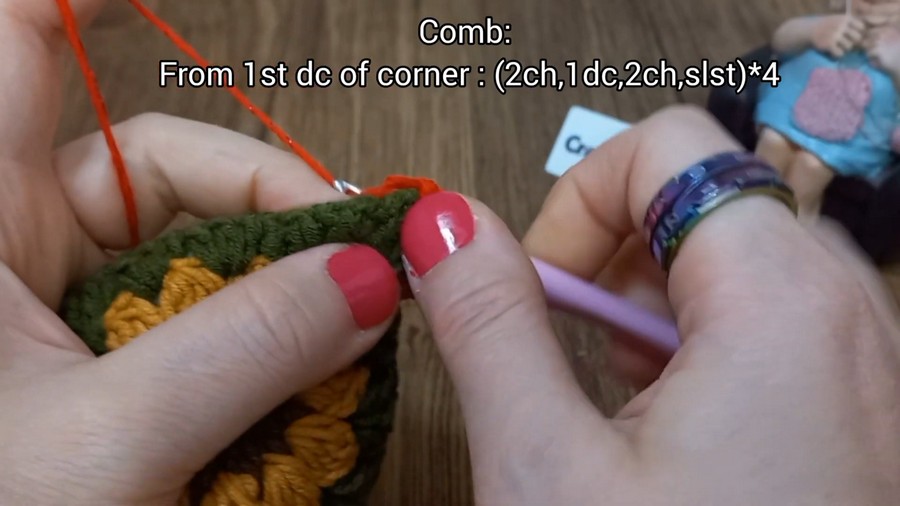
Comb:
- Attach red yarn to the corner stitch of the chicken’s head.
- Work 1 DC, chain 2, and slip stitch into the same stitch.
- Repeat the above pattern for 5–6 stitches to form the comb.
Beak:
- Attach yellow yarn next to the comb.
- Work 1 DC, chain 2, and slip stitch into the same stitch.
- Fasten off and trim the yarn.
Waddle:
- Attach red yarn below the beak.
- Work 1 DC, chain 2, and slip stitch into the same stitch.
- Fasten off securely.
Tail Feathers:
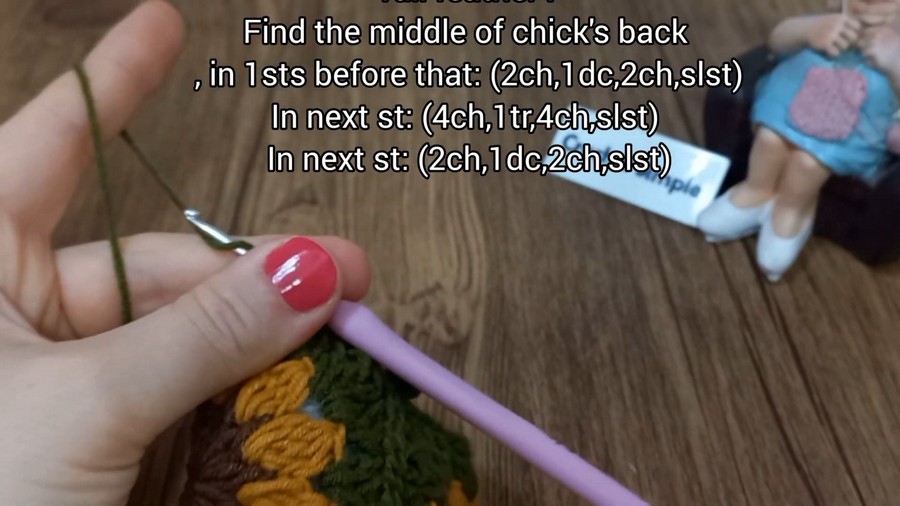
- Attach yarn to the middle stitch of the chicken’s back.
- Create a pattern of DC, TRC, or chain-and-slip stitches to form decorative feather shapes.
Step 4: Adding Eyes and Keychain
- Attach Plastic/Doll Eyes: Secure with glue or sew onto the chicken’s face near the beak.
- Add Keychain Ring: Use a hook or needle to attach the keyring to the top of the chicken's head.
Tips
- Use Scrap Yarn: This project is perfect for leftovers. Mix and match colors for a playful design.
- Check Tension: Ensure your stitches are consistent to maintain the shape of the chicken.
- Safety Reminder: If gifting to children, embroider the eyes instead of using small plastic pieces.
Modification Ideas
- Colors:
- Experiment with bright or pastel shades for a whimsical vibe.
- Match colors to specific holidays, such as red and green for Christmas or pink and purple for Easter.
- Size Adjustments:
- Add more rounds to the square motif for a larger chicken.
- Create mini chickens by halving the motif size and using finer yarn.
- Additional Decorations:
- Attach small flowers to the chicken’s sides or add embroidery details for extra flair.
- Use metallic or glitter yarn for a festive touch.
Conclusion
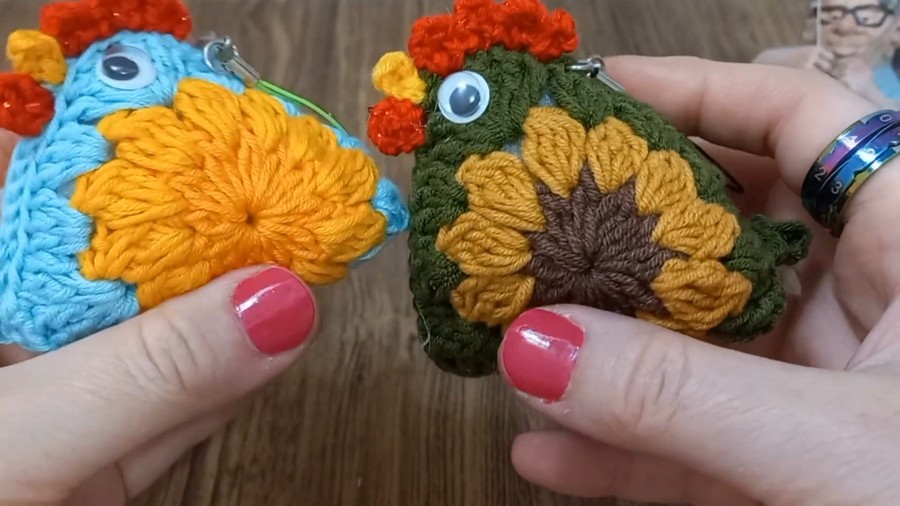
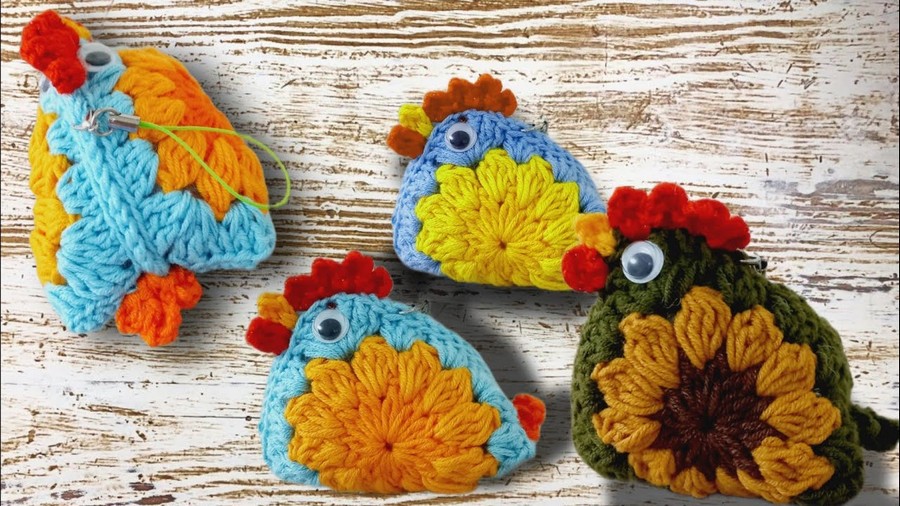
The finished chicken keychain is a lovable square-shaped design with bright features like its cheery comb, tiny beak, and fluffy tail feathers. Stuffed with fiberfill, it’s lightweight and ideal for tossing onto your keys or gifting to friends as a delightful handmade present. Customizable in color and size, this quick project is perfect for leftover yarn enthusiasts!
Important Remarks:
- This pattern is beginner-friendly and quick to complete.
- Share your creations by tagging me on social media or emailing your work—I’d love to see them!



