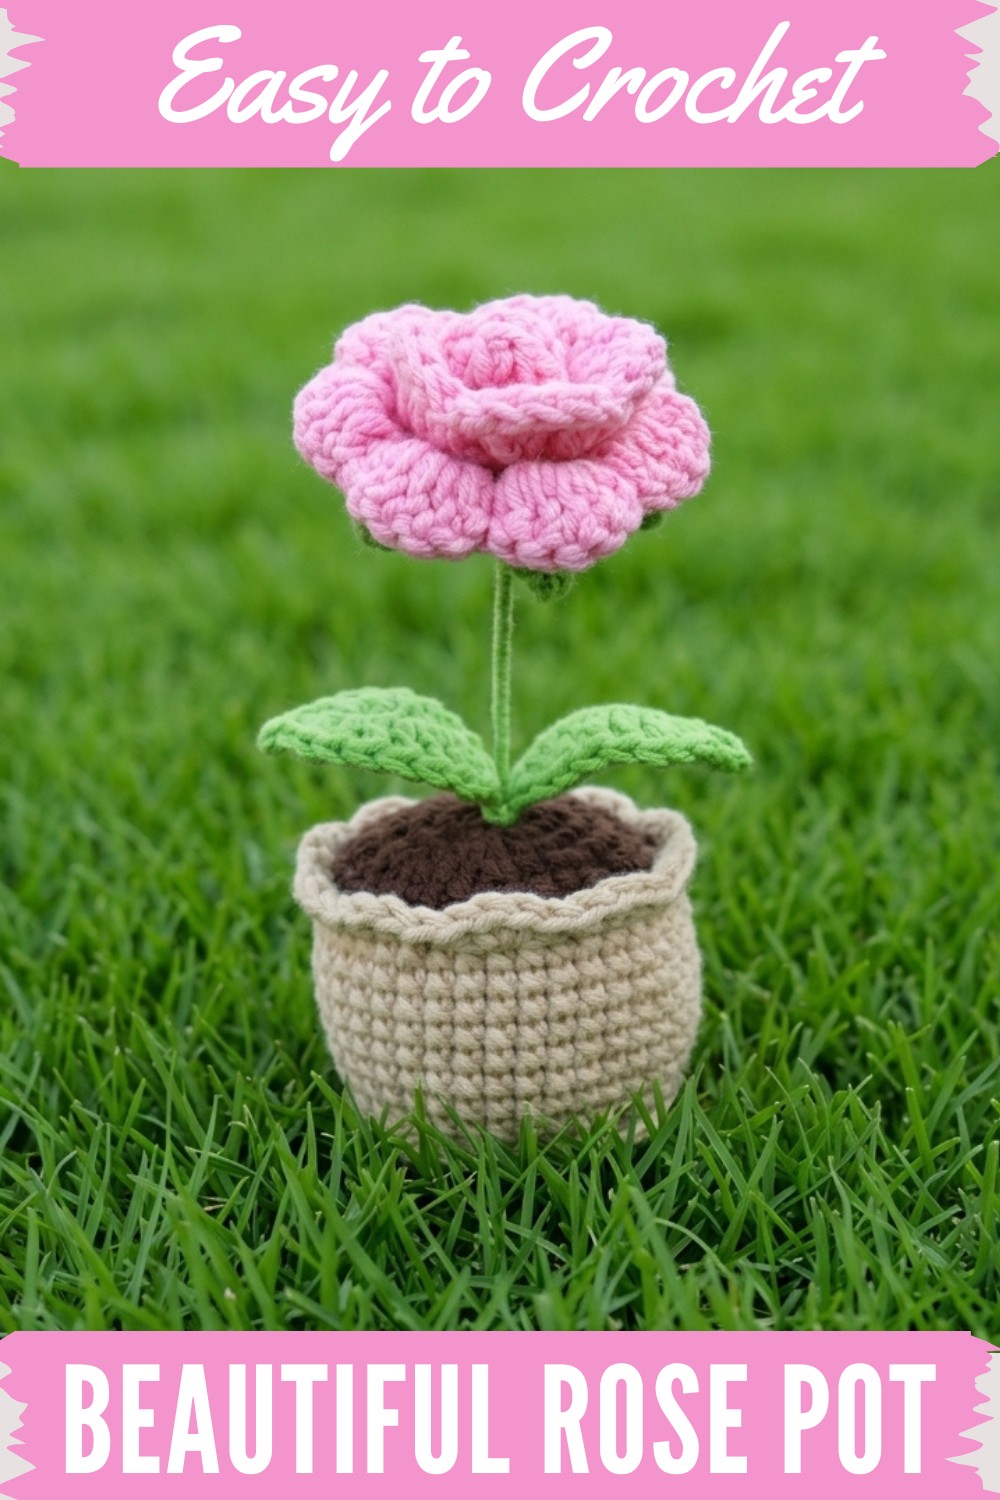
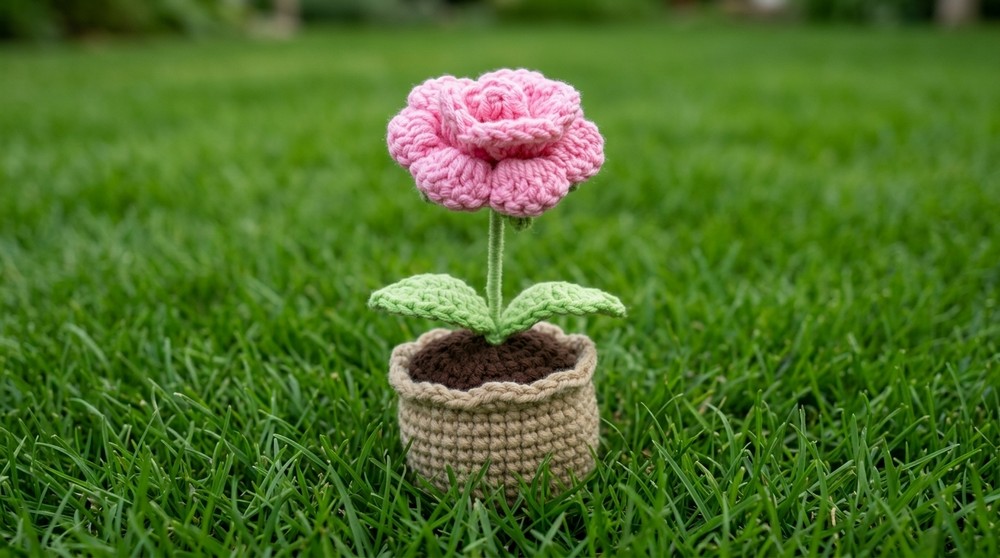
Brighten up any space with this stunning Free Crochet Rose Pot Pattern, featuring simple steps to create lifelike roses that add color and charm to your decor.
The charm of a crochet rose lies in its ability to bring delicate beauty to your space without fading or needing care. A Free Crochet Rose Pot Pattern is an exciting way to crochet a decorative piece that mimics the elegance of freshly bloomed roses. With soft petals and lifelike leaves, paired with a handmade pot base, it creates a unique yet timeless decoration that anyone can appreciate. Its vibrant colors and intricate details make it a perfect addition to brighten up desks, shelves, or cozy corners at home.
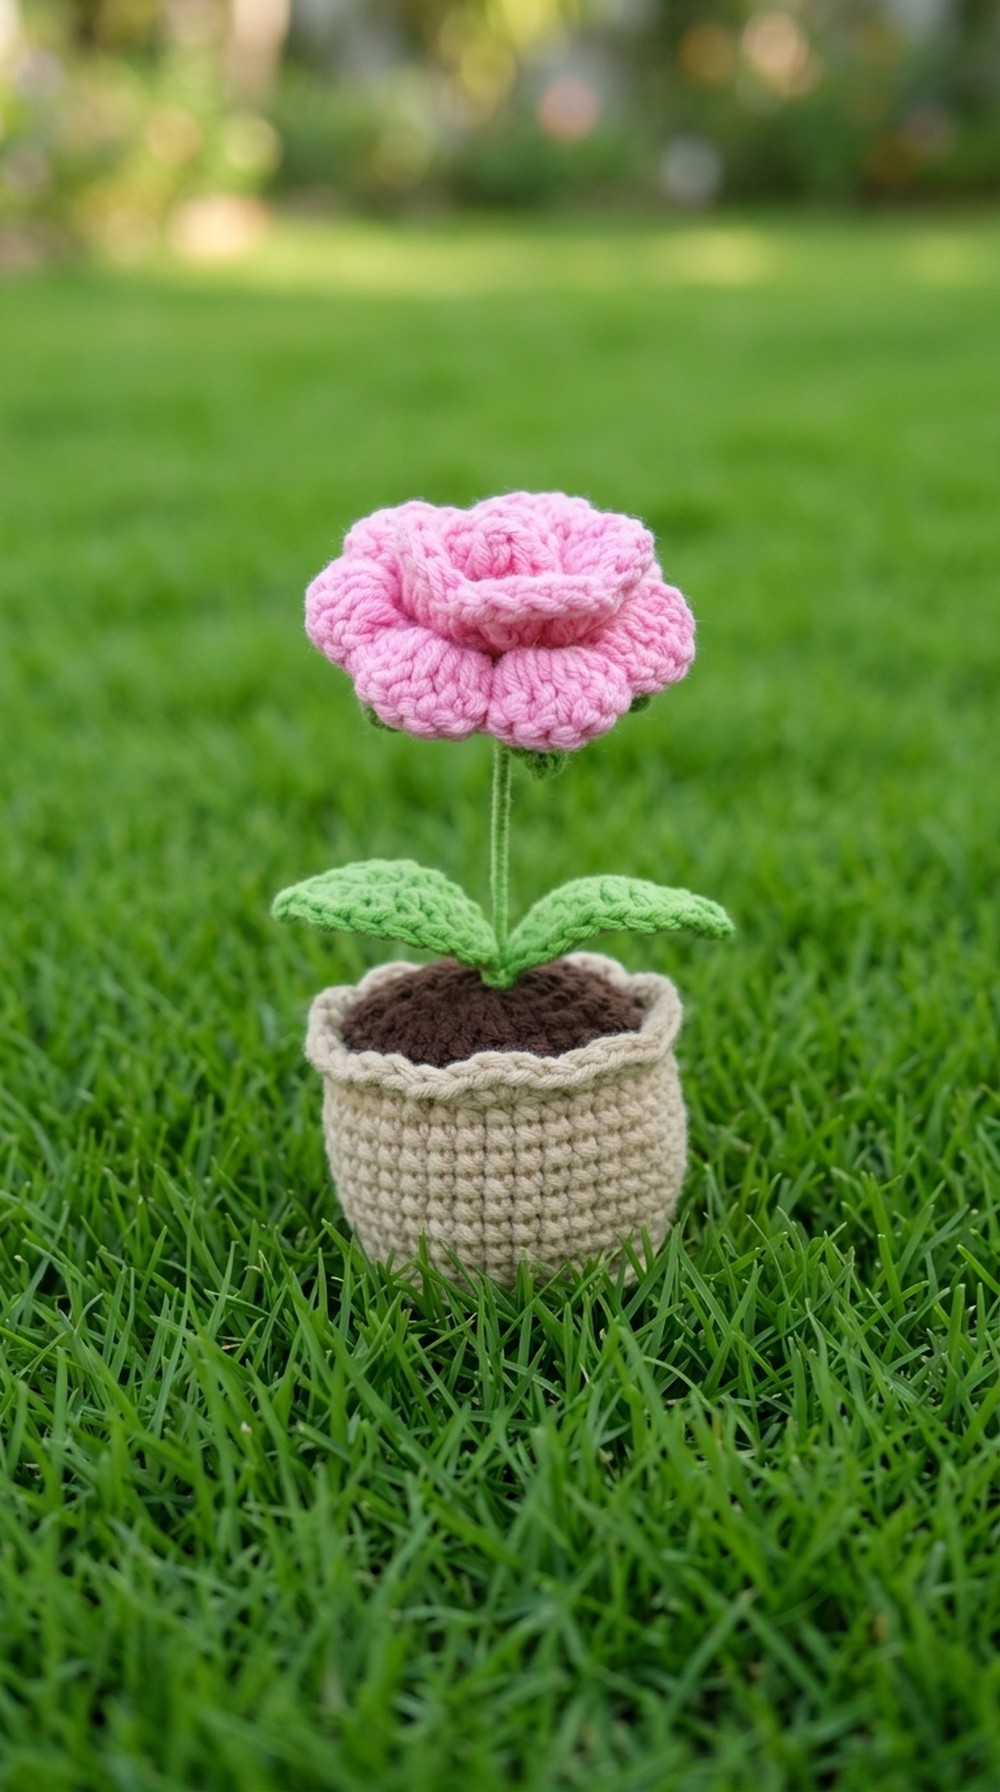
Elegant Crochet Rose Pot Pattern for Home Décor
One of its key features is its lasting beauty. Unlike real flowers, these crocheted roses keep their shape and vibrant appearance forever. They are lightweight and easy to display almost anywhere, adding warmth to your surroundings. The pattern offers a simple and enjoyable way to customize designs and colors, letting you match it to any interior style or occasion.
This delightful rose pot combines creativity and functionality, making it more than just décor—it’s a lasting symbol of artistic expression. Whether used as a gift or placed on display, it effortlessly becomes the center of attention, adding elegance and charm wherever it’s placed.
Crochet Rose Pot Pattern
This pattern guides you step-by-step through the creation of a charming crochet rose pot, complete with petals, sepals, leaves (wired for shape), soil, and a pot. Suitable for adventurous beginners and intermediate crocheters, this project features simple stitches and creative assembly techniques.
Materials
- Yarn:
- Susan's Family 5 or similar light worsted weight yarn (in rose, green, and brown colors)
- Crochet Hook:
- 2.5 mm
- Wire:
- 0.5 mm wire (approx. 16 cm for leaves)
- 1 mm wire (approx. 12 cm for rose stem)
- Stuffing:
- Cotton stuffing or fiberfill
- Small gravel stones (optional, for sturdiness)
- Glue:
- Hot glue gun or strong craft glue
- Scissors
- Yarn needle (darning needle)
- Stitch marker
Special Techniques
- Magic Ring: For circles (pot, soil, sepal).
- Working into Back/Front Loops: For shape/texture.
- V-Stitch: (dc, ch 2, dc) in same chain.
- Crocheting Around Wire: For structural leaves.
Pattern Instructions
1. Rose Petals
Step 1: Foundation
- Make a slip knot.
- Ch 26.
Step 2: V-Stitch Row
- Start in 4th ch from hook:
- Dc in 4th ch.
- Ch 2, dc again in same ch (1 V-stitch made).
- Skip 1 ch, dc in next ch, ch 2, dc in same ch (V-stitch).
- Repeat: Skip 1 ch, V-stitch in next ch across.
- Complete 12 V-stitches total.
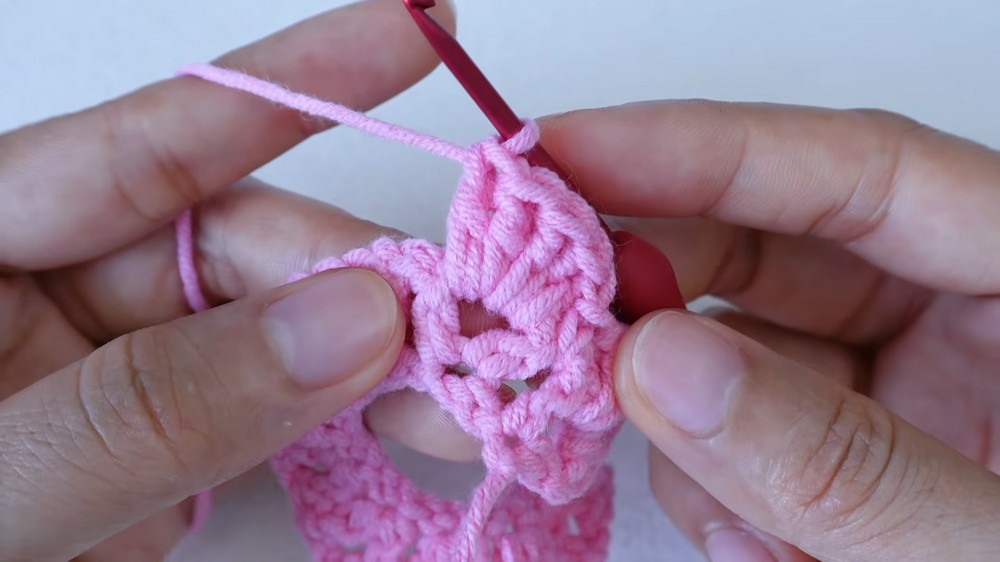
Step 3: Petal Row
- Ch 1, turn.
- Into each ch-2 space: Work 5 dc.
- After each petal, work 1 sc in gap between Vs.
- On final V-stitch: 5 dc, then sl st into last ch-space.
- Ch 1, cut yarn.
2. Sepal
Step 1: Magic Ring
- magic ring, ch 2.
Step 2: First Round
- Work 10 dc into ring.
- Mark first stitch with stitch marker.
- Tighten ring.
- Sl st into first dc.
Step 3: Sepal Points (Repeat x5)
- Ch 5.
- Sl st in 2nd ch from hook.
- Sc in next ch.
- Dc in last two chs.
- Skip next 2 sts, sl st into following st.
- Repeat steps to make 5 sepals.
- After last point, sl st in final st, ch 1, cut yarn (leave long tail).
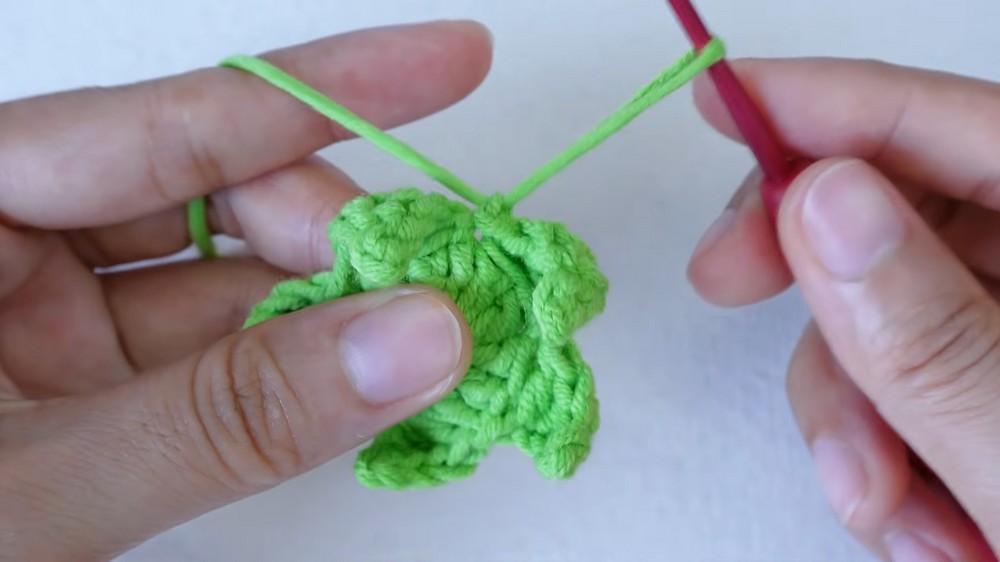
3. Leaves (Make 2)
Step 1: Foundation
- Slip knot.
- Ch 10.
- Prepare 16 cm wire, fold slightly.
Step 2: First Side (Crochet Around Wire)
- Skip 1st ch, work into back bumps:
- Sc in 2nd ch (with wire under hook).
- Hdc in next ch (with wire).
- Next 5 ch: Dc in each (with wire).
- Hdc in next ch (with wire).
- Sc in last ch.
Step 3: Leaf Point
- Ch 2.
- Skip 1 ch, sl st in next ch.
- Sc again in same ch.
Step 4: Second Side
- Turn, work into base of chains:
- Skip very tip ch; begin with next ch:
- Hdc in first stitch alongside wire and carry yarn tail.
- Next 5 sts: Dc in each (with wire and tail).
- Hdc in next st.
- Sc in final st.
Step 5: Finish
- Sl st to first stitch, ch 1, cut yarn.
- Wrap remaining yarn tightly around wire stem; knot and trim excess.
4. Pot
Step 1: Magic Ring
- magic ring.
Step 2: Round 1
- 8 sc into ring, pull tight, sl st into 1st sc.
Step 3: Round 2
- Ch 1.
- Make 8 increase rounds (2 sc in each st), mark first st.
- (16 sc total).
- Ignore end "extra" st.
Step 4: Round 3
- Ch 1.
- [1 sc, 1 increase] x8 around.
- (24 sc).
Step 5: Round 4
- Ch 1.
- [2 sc, 1 increase] x8 around.
- (32 sc).
Step 6: Round 5
- Ch 1.
- [3 sc, 1 increase] x8 around.
- (40 sc).
Step 7: Round 6
- Back Loop Only:
Sc in BLO of each st (40 sc).
Sl st to first st.
Step 8: Rounds 7–14
- Ch 1.
- Sc in both loops in each st (40 sc); sl st at end of each round.
Step 9: Final Round (R15) - Pot Rim
- Ch 1.
- Front Loop Only:
[4 sc into front loop, skip 3 sts, 4 sc in next front loop], repeat around. - Final: skip last 3 sts, sl st in 1st sc.
- Ch 1, cut yarn, hide tail inside pot.
Step 10: Pot Base Finishing
- Using leftover loops from R6, join new yarn.
- Ch 1, sl st in each loop around, join, ch 1, cut yarn, pull tails inside to secure.
5. Soil
Repeat Pot Rounds 1–5:
- magic ring, 8 sc, then increase as in pot pattern.
- Leave center hole slightly open for flower stem.
- At end of R5: sl st, ch 1, cut yarn (leave 40 cm tail).
6. Assembly
Step 1: Stuff Pot
- Fill with stuffing and gravel stones (optional).
Step 2: Join Soil to Pot
- Place soil circle on pot opening, sew together with yarn tail and darning needle, using whipstitch.
- Secure, tie off, hide ends.
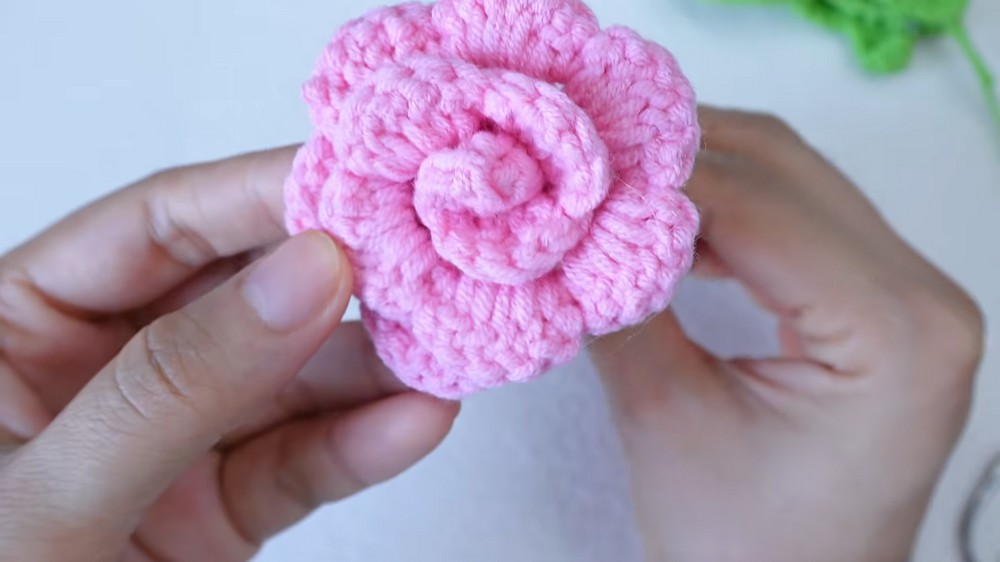
Step 3: Make Rose Stem
- Cut 1 mm wire (12 cm), apply glue to top.
- Begin wrapping rose petal strip to form flower shape, gluing as needed for stability.
- Insert stem through central hole in sepal; secure with glue.
- Wrap sepal tail around stem for 5 cm.
Step 4: Attach Leaves
- Glue leaves at desirable position on stem.
- Wrap ends of leaf yarn around stem, securing with glue; trim excess.
Step 5: Insert Stem Through Soil Hole
- Push stem through soil into pot.
- Secure final end, cover any exposed wire with yarn, glue and trim excess yarn.
Finishing
- All yarn tails should be hidden inside pot or wrapped around wires neatly.
- Shape rose and leaves gently; add additional flowers or leaves for effect if desired.
- Arrange and display your finished rose pot.
Final Words & Tips
- Tips:
- Use wire for leaves and stem to allow posing and durability.
- Adjust rose color or pot size for customization.
- For neater transitions, always use stitch markers for round starts.
- When working petals or leaves, ensure stitches are neither too tight nor too loose for crisp shape.
- Care:
- Crochet rose pots are decorative; handle gently to retain shape.
- If using glue, allow all parts to fully dry before display.
Congratulations!
You have completed a delightful crochet rose pot, perfect for gifting, decor, or a creative project to brighten any space.
Enjoy your beautiful, handmade creation!