
Bring timeless beauty to your projects with a charming crochet rose pattern that’s easy to follow and perfect for decorating gifts accessories and home décor.
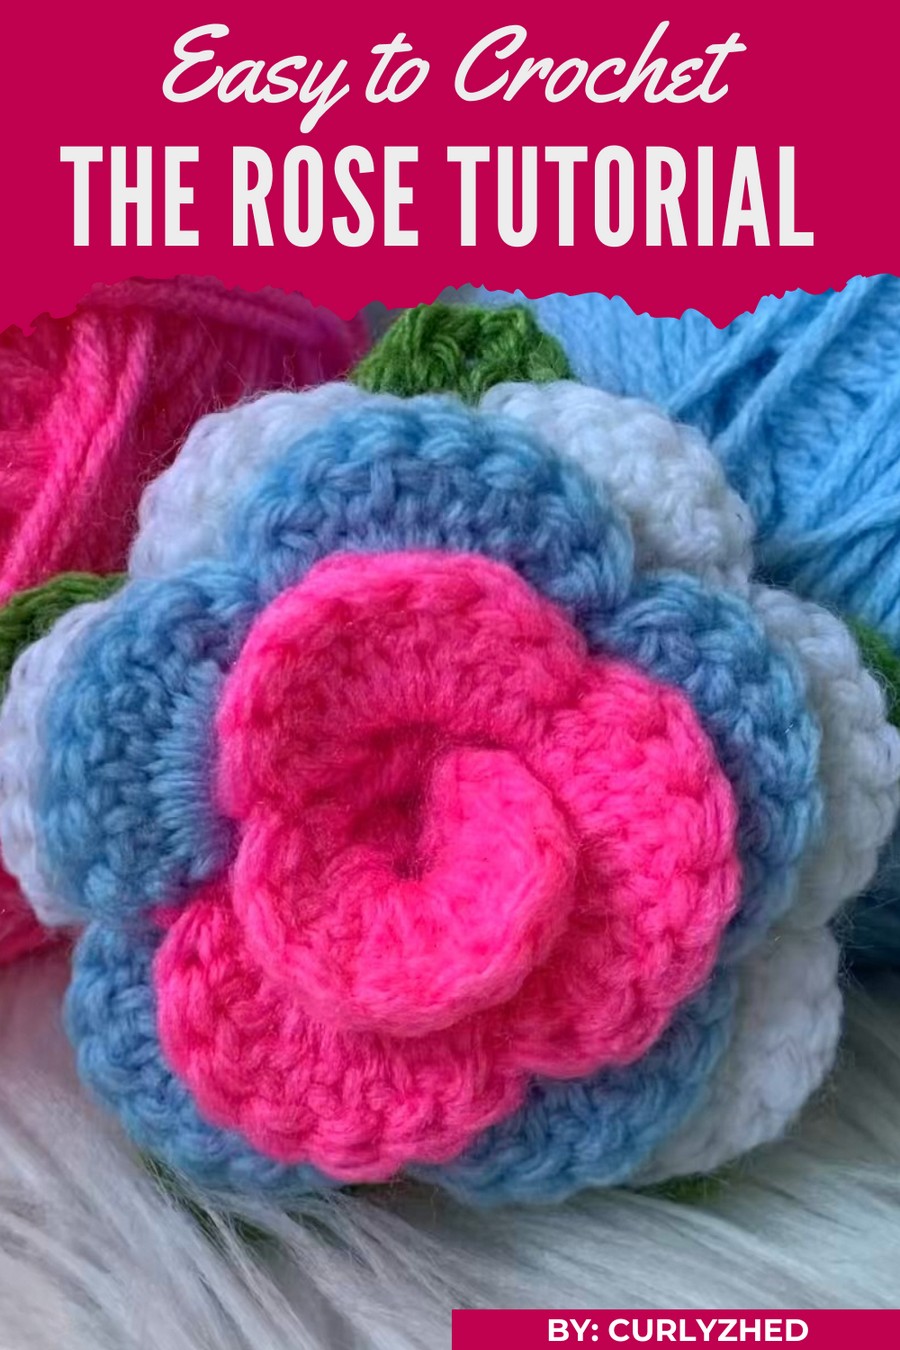
Roses are timeless symbols of beauty, and crochet roses take that charm to a whole new level perfect for decorating gifts, enhancing home décor, or adding a touch of elegance to clothing and accessories. These delicate flowers can be made in any color to match your style.
Beginner-Friendly Crochet Rose That Looks Amazing
Their soft and realistic petals bring life to any space and you can use them to create bouquets garlands or even a simple centerpiece. The best part is they never fade each rose is handcrafted with love making them a thoughtful keepsake or decoration that lasts spreading joy wherever they are placed.
Materials Needed
- Yarn:
- Acrylic yarn or any medium-weight yarn in these colors:
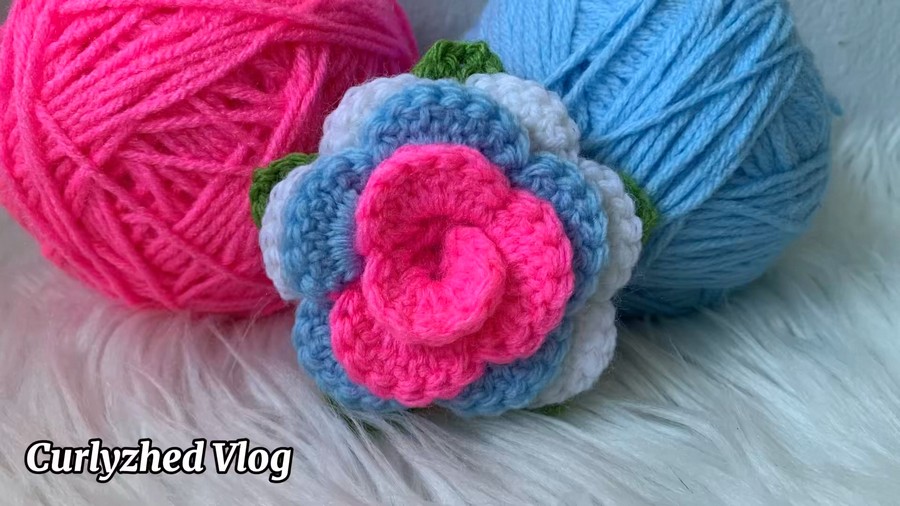
- Petals: At least two or three colors (main petals can be pink, red, blue, or white).
- Leaves: Green yarn.
- Note: Scrap yarn can also be used for a multicolored effect.
- Acrylic yarn or any medium-weight yarn in these colors:
- Crochet Hook:
- 5mm hook (adjust size depending on yarn for desired results).
- Scissors:
- For cutting yarn and trimming excess ends.
- Tapestry Needle:
- For weaving ends and sewing the rose together securely.
Pattern Instructions
Step 1: Making the Foundation Chain
- Start with a Slip Knot:
- Make a slip knot on your hook to begin the project.
- Create the Foundation Chain:
- Chain 51 stitches. This will form the length of the pattern.
- Note: This length determines the size of the rose. You can adjust the chain number for a smaller or larger rose.
- Your foundation chain is now complete and ready for the first row.
Step 2: Row 1 - Single Crochets
- Begin Row 1:
- Skip the first chain from the hook.
- Insert your hook into the second chain, yarn over, and pull through to make your first single crochet (SC).
- Continue Across the Row:
- Work 1 SC into each chain across the entire row.
- You should have 50 single crochet stitches at the end of Row 1.
- Turn Your Work:
- Chain 1 and turn to begin the next row.
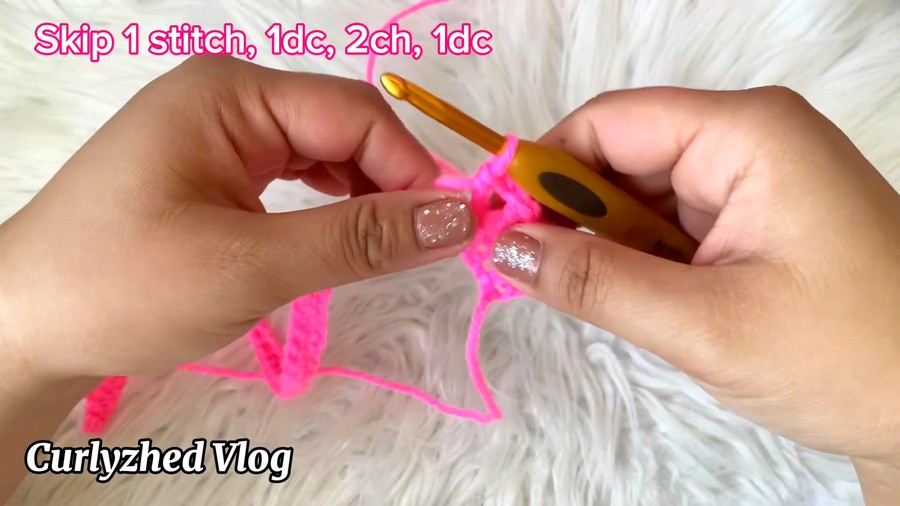
Step 3: Row 2 - Building Rose Petal Spaces
- Skip the First Stitch:
- Skip the very first SC on this row.
- Work a V-Stitch Pattern:
- In the next stitch, work:
- 1 Double Crochet (DC), Chain 2, and 1 DC in the same stitch. This forms one V-stitch.
- Skip 1 stitch, and repeat the process across the row.
- Example: Skip one stitch. In the next one, work: DC, Chain 2, DC.
- In the next stitch, work:
- Complete the Row:
- Continue to the end, skipping the second last stitch.
- In the final stitch, work 1 Single Crochet (SC) to finish the row.
- Turn Your Work:
- Chain 2 to prepare for the next row.
Step 4: Row 3 - Forming the Petals
- Start the First Petal:
- In each chain space formed by the V-stitches from the previous row, work the following:
- 7 DCs into the chain space, creating a full petal shape.
- In each chain space formed by the V-stitches from the previous row, work the following:
- Anchor the Petals:
- After completing 7 DCs in a chain space, work 1 SC into the next chain space to secure the petal.
- Repeat the Pattern:
- Continue the pattern of working 7 DCs into a chain space, 1 SC, until all petals in the row are formed.
Step 5: Changing Colors for Petals (Optional)
If you want to use multiple colors for your petals:
- Before completing the last SC of the petal, attach a new yarn color by pulling it through the loop.
- Work 7 petals in the new color. You can repeat this process using other colors as desired. Ensure color transitions are seamless.
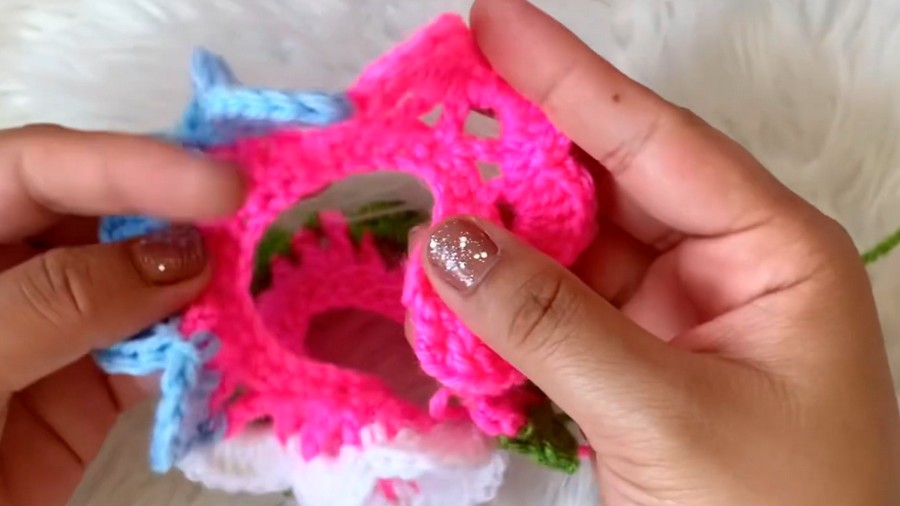
Example: Create petals in pink, blue, and white for a multicolor effect.
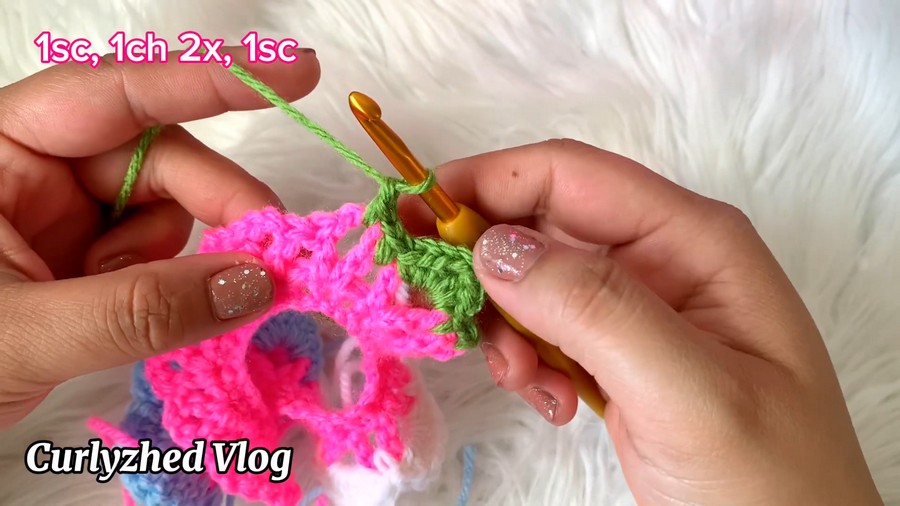
Step 6: Adding Leaves
- Attach Green Yarn for Leaves:
- At the end of the petal row, attach green yarn. Chain 1.
- Single Crochet Base:
- Work 1 SC into every chain space from the previous row to form the base for the leaves.
- Creating the Leaf Shape:
- When you reach a petal's base, work the following stitches into a chain space:
- 1 SC, 1 Half Double Crochet (HDC), 1 Double Crochet (DC), Chain 2, 1 DC, 1 HDC, 1 SC.
- This forms a pointed leaf shape.
- When you reach a petal's base, work the following stitches into a chain space:
- Repeat Across the Row:
- Continue to alternate base stitches and leaf patterns across the row until all leaves are formed.
- Finish the Leaf Row:
- Work 1 SC into the final stitch, chain 1, and fasten off.
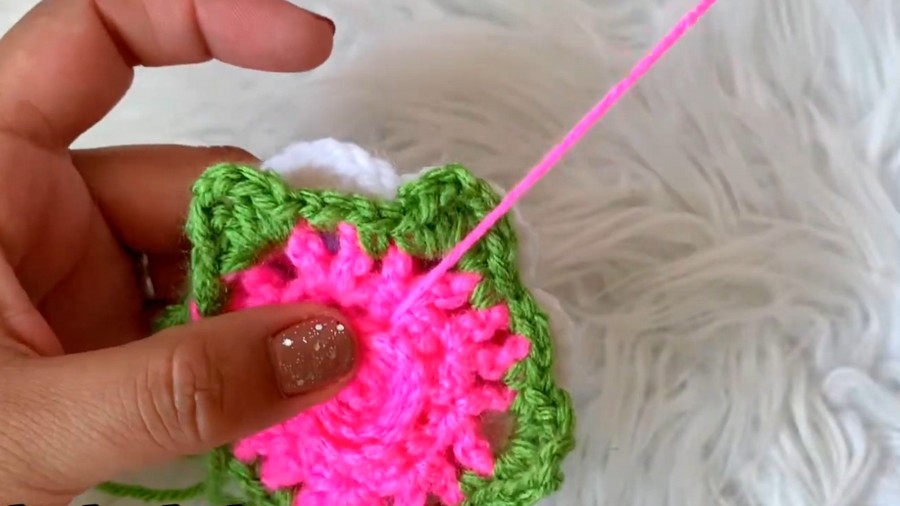
Step 7: Assembling the Rose
- Turn the Petal Strip to the Wrong Side:
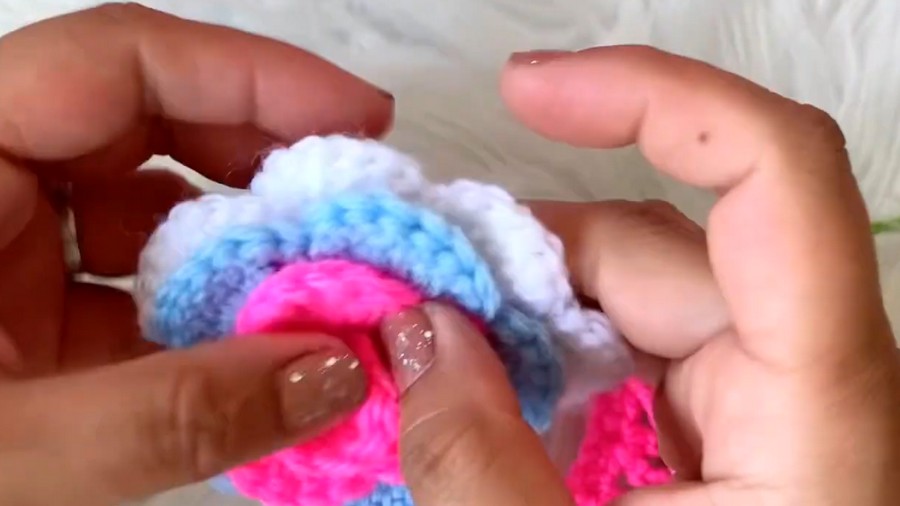
- Roll the petal strip into a spiral, forming a rose shape. Start with one end and continue until the shape is complete.
- Sew the Layers Together:
- Use a tapestry needle with matching yarn. Start from the bottom of the rose and carefully sew all layers together, ensuring the rose is secure.
- Take your time to avoid missing sections.
- Weave in Loose Ends:
- Once sewn, weave in all extra yarn ends at the base of the rose.
Tips for Success
- Tension Control: Keep tension consistent throughout to achieve a uniform rose shape and smooth leaves.
- Color Planning: Pre-select color combinations for a gradient effect or use vibrant, contrasting shades for a bold look.
- Practice Roll Shape: Practice rolling the petal strip to get the desired look before sewing.
Customization Ideas
- Size Variation:
- For a larger rose, increase the foundation chain (e.g., chain 61 or 71) and adjust petal rows accordingly.
- For a smaller rose, decrease the foundation chain (e.g., chain 41).
- Additional Embellishments:
- Add beads or pearls to the center of the rose for added charm.
- Create additional leaves for a fuller foliage look.
- Multicolor Combinations:
- Use ombre, gradient, or pastel tones for petals.
- Mix dark green and light green for leaves.
Final Look
The completed 3D crochet rose is a beautiful, lifelike flower with intricate scalloped petals, vibrant leaves, and a secure spiral structure. Use it as a decorative element for hats, scarves, bags, or even as a brooch. With endless color and size possibilities, you can customize your roses to fit any project or occasion.
These gorgeous blooms are an elegant way to use leftover yarn while adding a creative touch to your accessories or home decor.



