Solve uneven stitches and sizing issues with this Free Crochet Ruffle Hat Pattern as you follow clear steps that keep rows neat and ruffles soft and even every time.
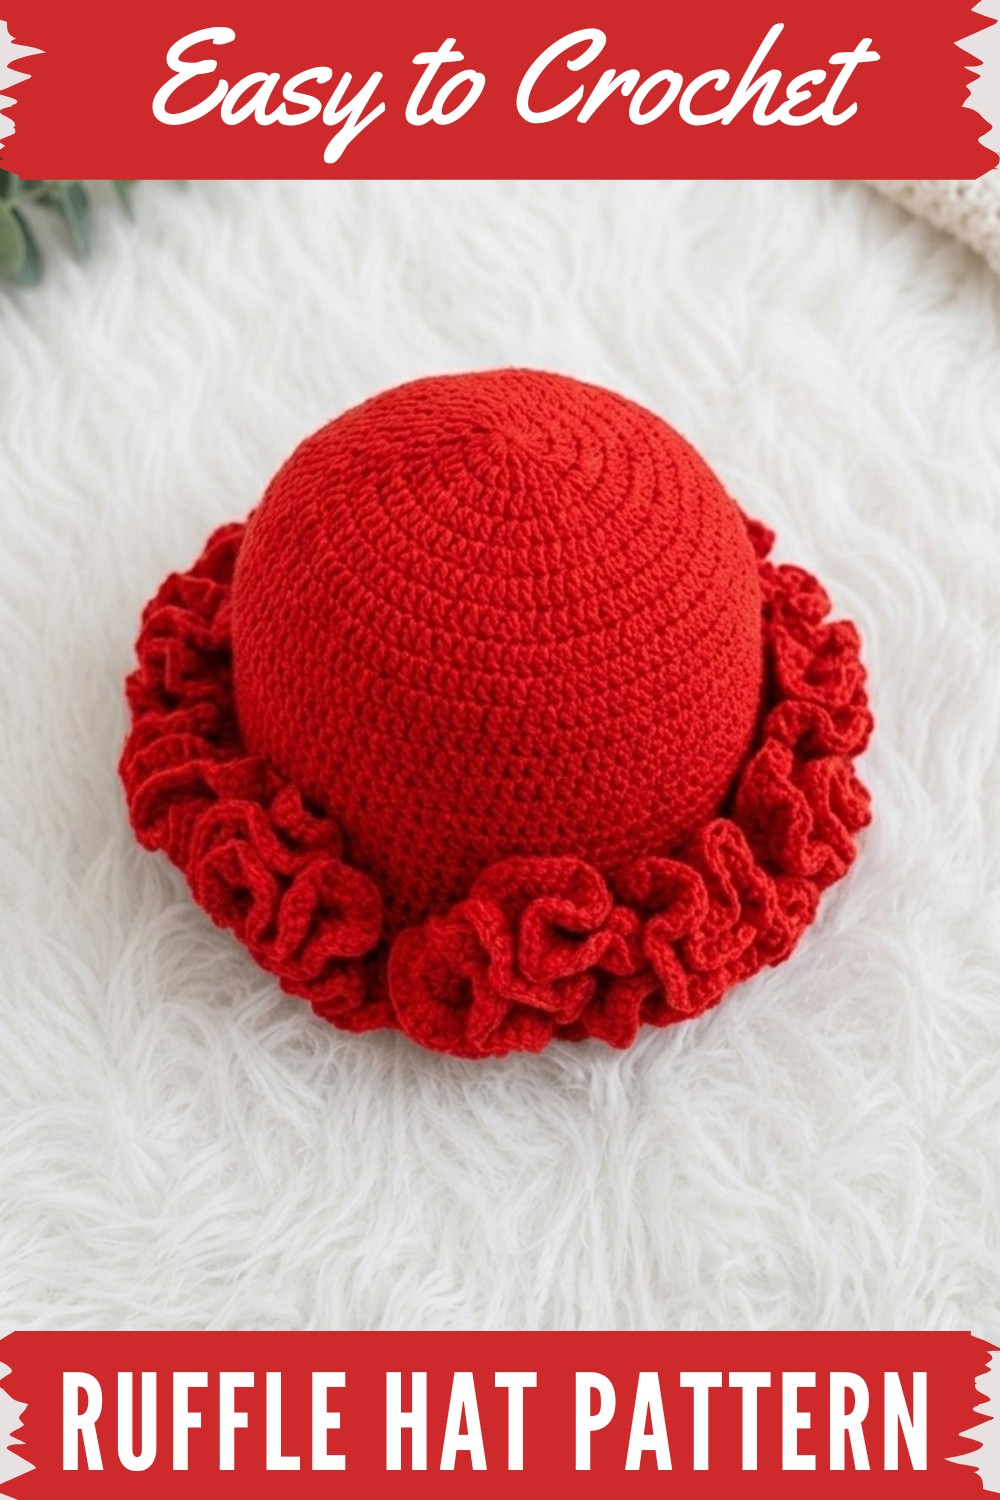
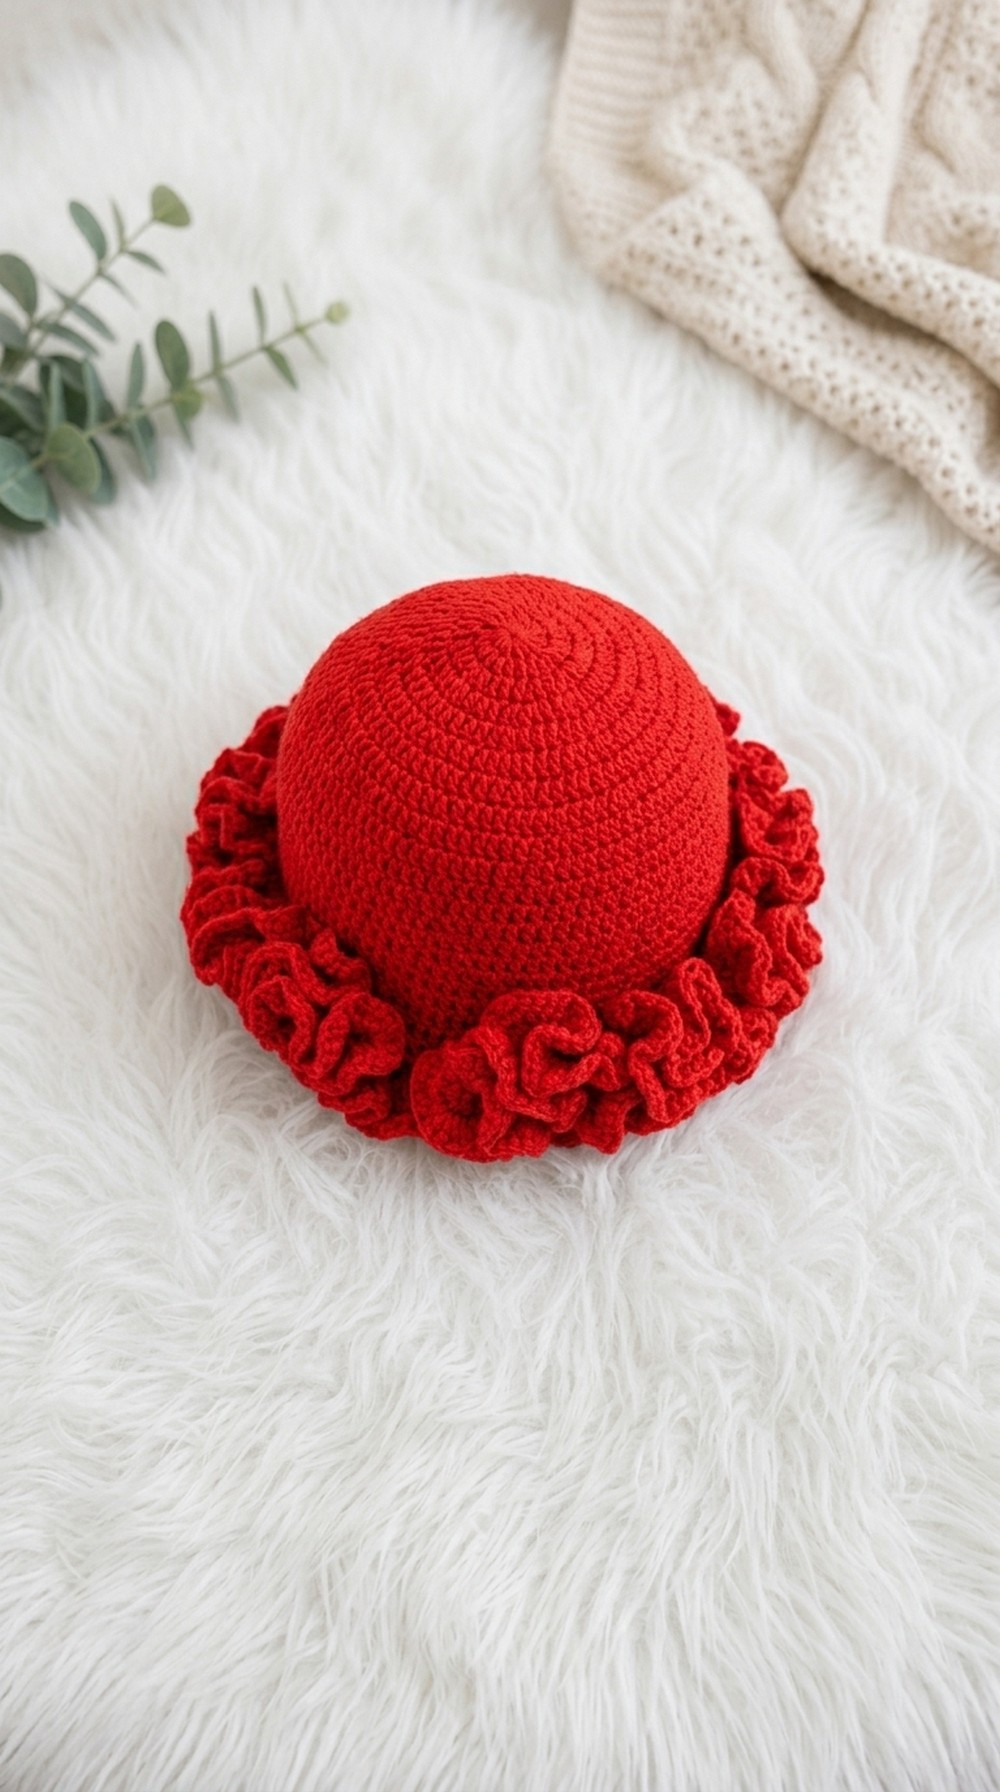
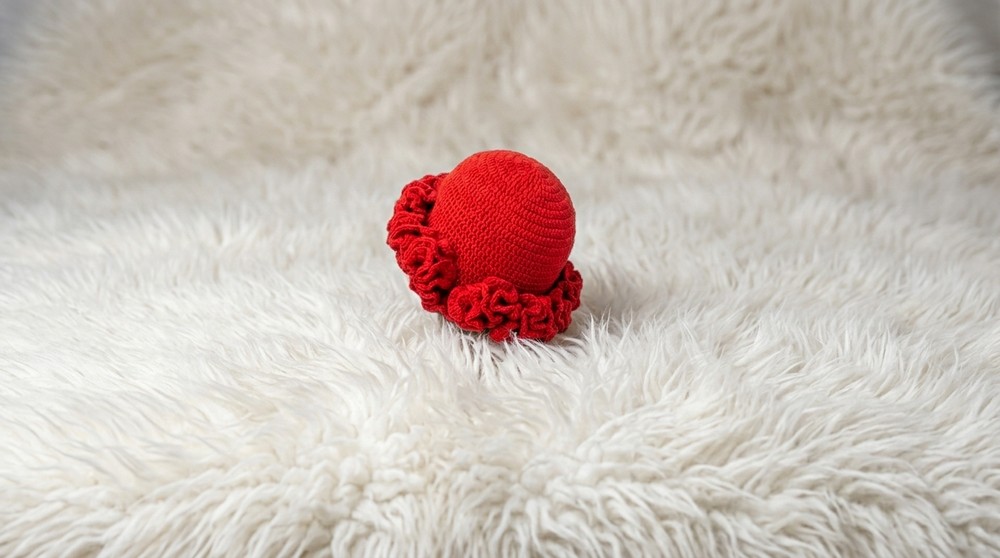
With its delightful wavy edge and soft, textured stitches, this crochet ruffle hat pattern creates a playful yet elegant accessory. The main part of the hat is worked in simple double crochet, giving a smooth and cozy fit that feels comfortable on chilly days. What truly makes this hat stand out is the ruffled brim by crocheting three stitches into each stitch around the edge, you get a full, flouncy ruffle that instantly catches the eye and adds a touch of whimsy.
Free Crochet Ruffle Hat Pattern for Sunny Days
Such a hat is both pretty and practical. It helps keep your head warm while turning a regular winter outfit into something much more stylish. You can wear it to special gatherings, on walks outdoors, or simply use it as a statement piece for daily wear. The shape fits both children and adults, and you can easily adjust the size or choose any color you like, making it perfect for matching your wardrobe or creating thoughtful handmade gifts.
This pattern is suitable for anyone with basic crochet skills—even beginners who want to practice double crochet and learn how to increase for the ruffles will find it approachable. Experienced crocheters will enjoy how quick and satisfying the project is, finishing with a hat that feels as fun to make as it is to wear. The beautiful ruffle design, combined with the soft texture and flattering shape, makes this hat a favorite for those who appreciate crafts that are as stylish as they are useful.
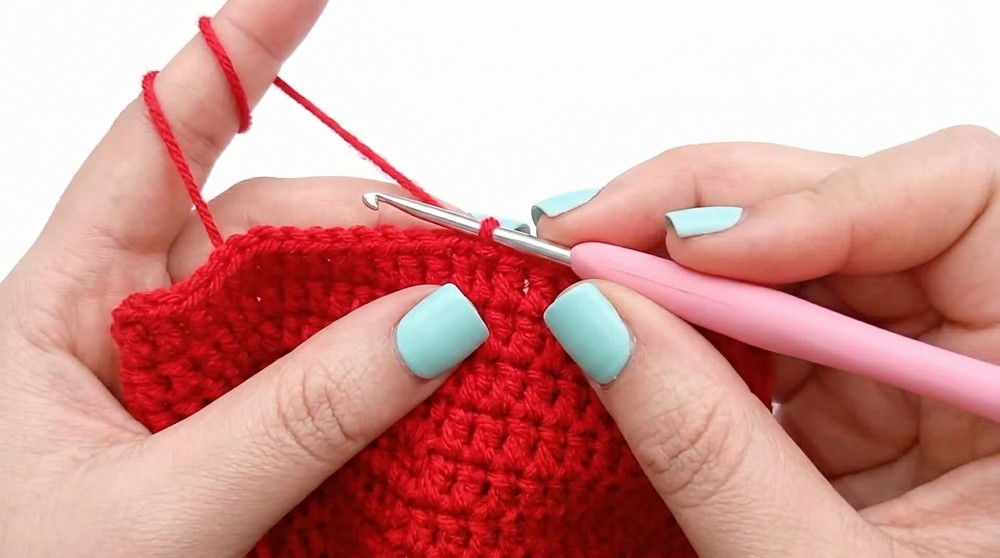
Ruffle Hat Crochet Pattern (Step-By-Step)
Elevate your style with a playful ruffle hat! This beginner-friendly and trendy hat features a basic double crochet crown and an eye-catching three-tier ruffle brim. Designed for comfort with 4-ply yarn, this pattern breaks down every step for clarity—perfect for new and confident crocheters alike.
Getting Ready
- Familiarize yourself with making a magic ring and joining rounds.
- Practice increasing with double crochet to ensure a flat, even crown.
- Prepare a flexible tape measure to check hat and brim size.
- Use a stitch marker to track the start of rounds, especially for beginners.
- Read the pattern once through before starting for best results.
Project Insights
- The hat is worked in joined rounds from the crown down.
- All increases are made evenly spaced in each round for a flat crown.
- After the body, ruffles are made with exaggerated increases on the brim.
- Stitch marker is vital—move it up each round to avoid accidental increases.
- Hat sizing is adjusted by adding/removing increase rounds or body height rows.
- For best ruffling, don’t pull stitches too tight on the brim.
Design Process Overview
- Started with a classic magic circle, then increased in double crochet for a round crown.
- Continued with double crochet for the body (no increases).
- Switched to a “3 double crochet in each stitch” method to form ruffles.
- Repeated ruffle rounds for three tiers to amplify fullness.
- Finished by weaving in ends for a neat, professional look.
Skill Level
Confident Beginner / Lower Intermediate
You should know chains, double crochet, magic ring, increasing, and working in rounds.
Finished Size
- Adult Medium (adjustable by increasing/decreasing rounds)
- Crown diameter after increases: ~17 cm (6.5 in)
- Body height (before ruffles): ~11 cm (4.5 in)
- Total height (with ruffles) ~20 cm (8 in)
- Brim width (after ruffling): ~7 cm (2.75 in)
Materials
- 4-ply (Worsted/Aran) yarn, approx. 120-150g
- 3.0 mm crochet hook
- Scissors
- Stitch marker
- Flexible tape measure
- Yarn needle (for weaving in ends)
Measurements / Sizing (Schematic)
- Crown: 17 cm (6.5 in) across
- Hat height (crown to start of ruffle): 11 cm (4.5 in)
- Brim ruffle: Each tier adds about 2-3 cm (0.8-1.2 in)
Gauge (and Stitch Pattern)
- Gauge: 12 dc x 7 rows = 10 cm (4 in) before ruffles (not critical)
- Stitch: US Double Crochet (dc) throughout
Stitch Abbreviations
| Abbreviation | Meaning |
|---|---|
| mr | magic ring (circle) |
| ch | chain |
| dc | double crochet |
| sl st | slip stitch |
| st(s) | stitch(es) |
| rep | repeat |
| y/o | yarn over |
Special Stitches
- Magic Ring (mr): Make a “0” with your yarn, work sts into the ring; pull end to close tightly.
- Double Crochet Increase (dc inc): 2 dc in the same st.
- 3-dc Brim Ruffle: In each st, work 3 dc (this will create the ruffle effect).
The Pattern!
Crown and Hat Body
1. Magic Ring & Foundation:
- Make a magic ring [[mr]].
- Ch 2 (does not count as a stitch).
- 12 dc in the ring. (12 sts)
- Pull the ring tight. Sl st in the first dc to join.
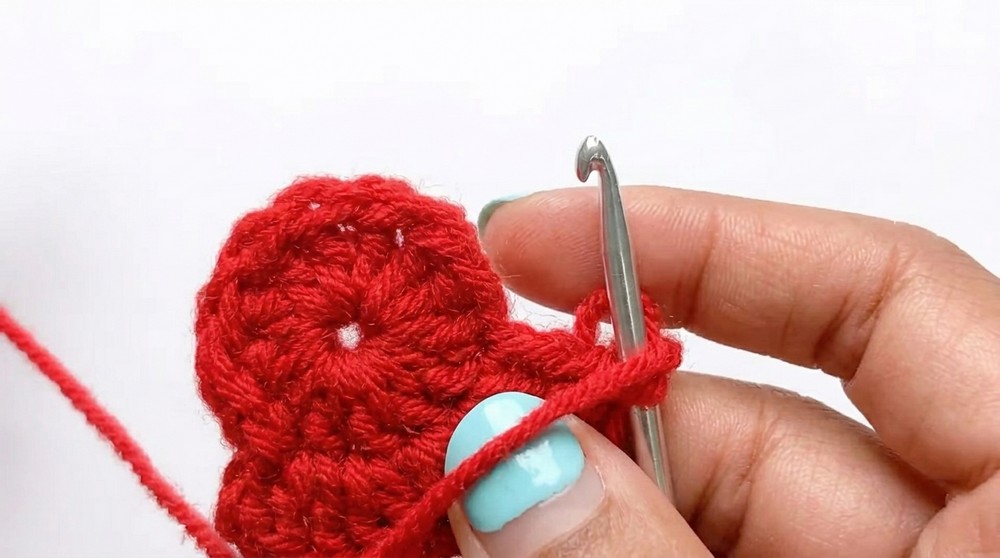
This forms a neat, compact crown—classic for many hats.
2. Increase Rounds:
- Round 2: Ch 2, 2 dc in each st around (24 dc). Sl st in first dc to join.
- Round 3: Ch 2, (2 dc in first st, 1 dc in next) rep around (36 dc). Sl st to join.
- Round 4: Ch 2, (2 dc in first st, 1 dc in next 2 sts) rep around (48 dc). Sl st to join.
- Round 5: Ch 2, (2 dc in first st, 1 dc in next 3 sts) rep around (60 dc). Sl st to join.
- Round 6: Ch 2, (2 dc in first st, 1 dc in next 4 sts) rep around (72 dc). Sl st to join.
- Round 7: Ch 2, (2 dc in first st, 1 dc in next 5 sts) rep around (84 dc). Sl st to join.
- Round 8: Ch 2, (2 dc in first st, 1 dc in next 6 sts) rep around (96 dc). Sl st to join.
By the end, your circle should lie flat and measure about 17 cm (6.5 in). Keep stitch markers at the start of every round; move up as you go.
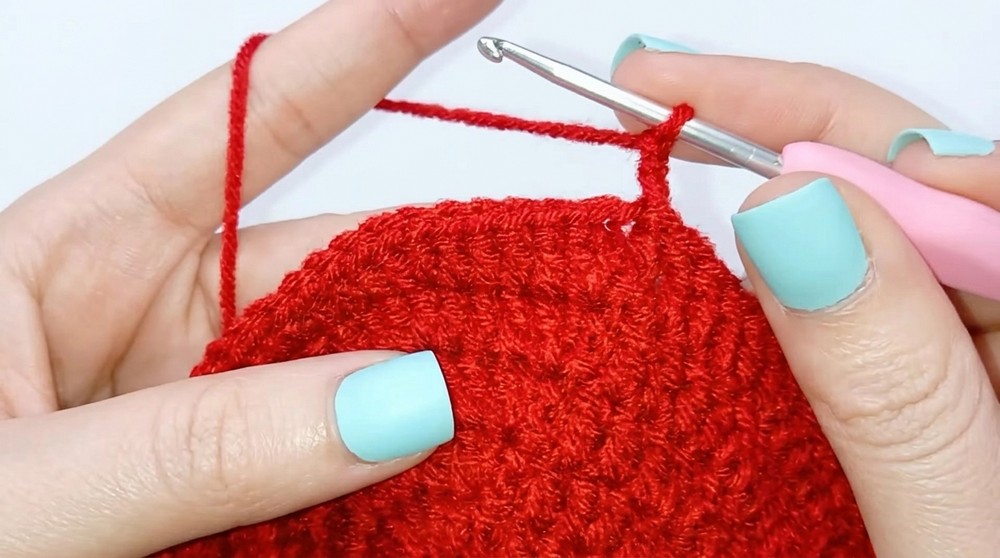
3. Hat Body (No Increases):
- Rounds 9-20: Ch 2, dc in each st around (96 dc per round), sl st to join.
- Repeat for 12 rounds (or until desired length).
- The band/side of the hat measures about 11 cm (4.5 in) at this stage.
For those not reading patterns: Work around in simple double crochet, one per stitch, with no increases, until your tube is about 4.5 inches long.
Ruffle Brim
4. Ruffle – Round 1:
- Ch 2, in every st around, work 3 dc in same st.
- Sl st in first dc to join.
- (You will now have 288 dc. The work should start ruffling and flaring out.)
5. Ruffle – Round 2:
- Ch 2, 3 dc in each st around. Sl st to join.
6. Ruffle – Round 3:
- Ch 2, 3 dc in each st around. Sl st to join.
You should have a bold, wavy, layered effect by now. Gently stretch and shape as you work to prevent skipping stitches at the round joins.
If you don’t read patterns:
- At the edge, put 3 stitches in each stitch over 3 rounds for a huge ruffle finish!
Finishing
- Weave in all yarn tails inside the hat with yarn needle.
- Lightly steam block or shape to open up the ruffles and make the fabric drape beautifully.
- Use your hands to fluff and arrange the ruffle brim.
Assembly & Finishing (in bullets)
- Secure last tail, weave in all ends neatly on the inside of the hat.
- Hand-wash or steam block brim for best ruffle.
- Check for even ruffle depth around brim as you adjust.
- If needed, tug ruffle gently for maximum fullness before wearing.
Solution of Problem
Problem: The hat crown ripples or puckers (not flat).
Solution:
- If the crown ripples, your increases are too fast—try adding fewer in each round.
- If it puckers/cups, increases are too slow—add an extra increase round before the body.
- The brim ruffle is dense—if too full for your taste, try "2 dc in each st" for last ruffle row.
Creative Possibilities with These Techniques
- Ruffle bucket hats in different sizes
- Floppy sun hats (add more length before ruffles)
- Cute baby ruffle beanies (use smaller hook, lighter yarn)
- Brimmed “summer” hats with open stitch patterns
- Adapt the ruffle edge for sleeve, skirt, or bag trimmings
Non-Pattern Explanation
Start with a circle of double crochets, make it bigger by increasing until flat, work straight for the hat sides, then put 3 double crochets in every stitch for three rows to make big ruffles—finish neatly and you’re done.