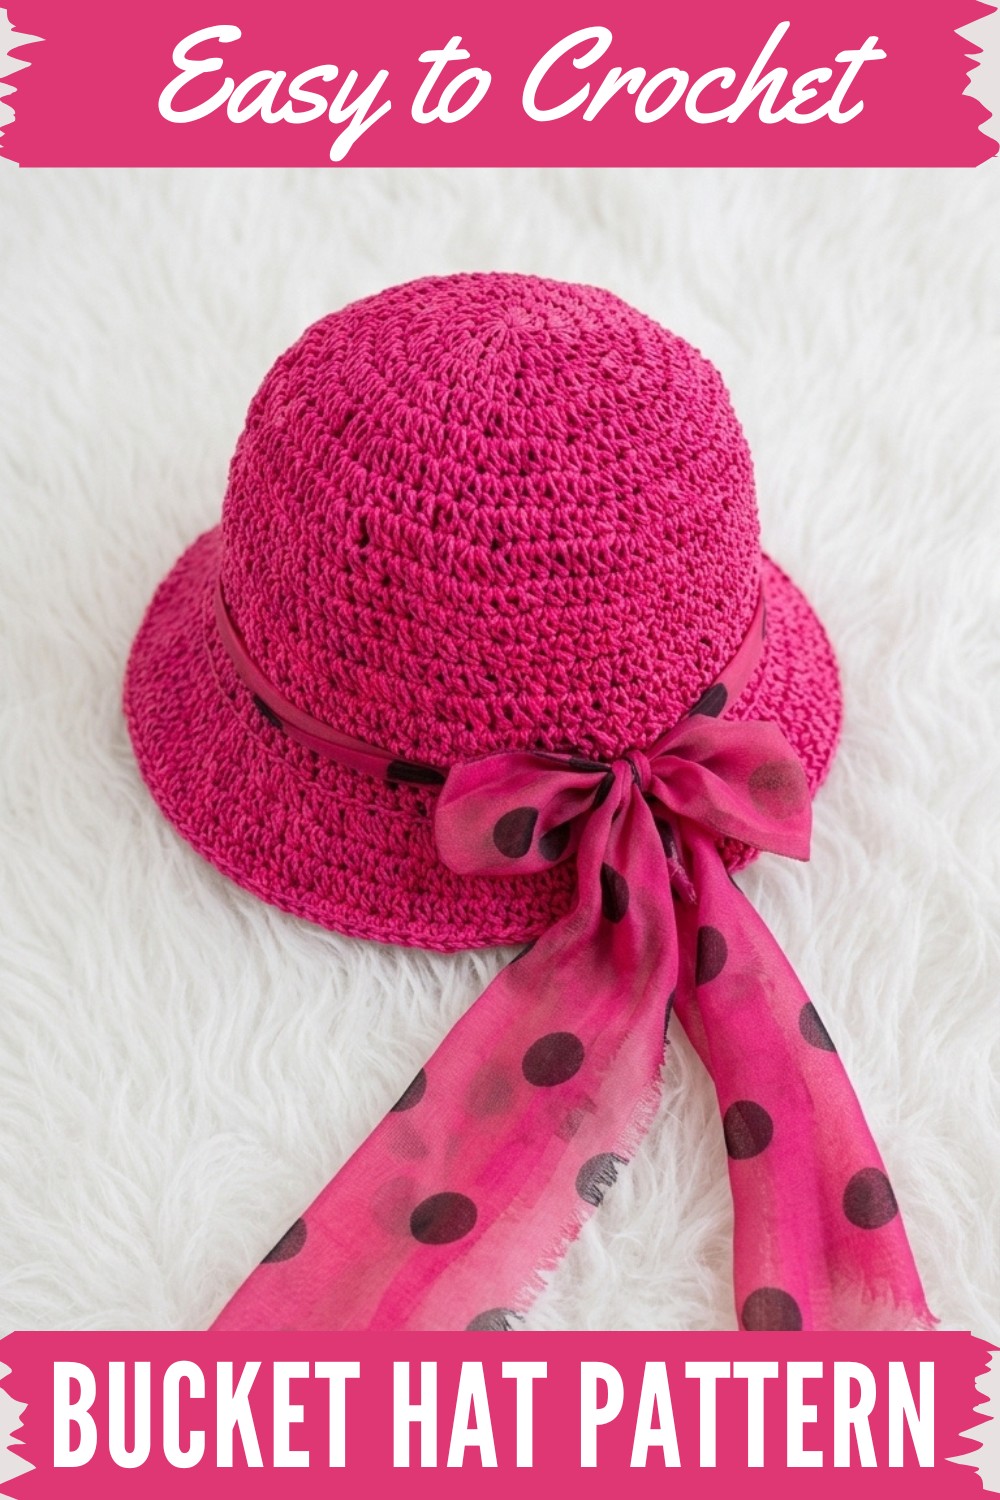
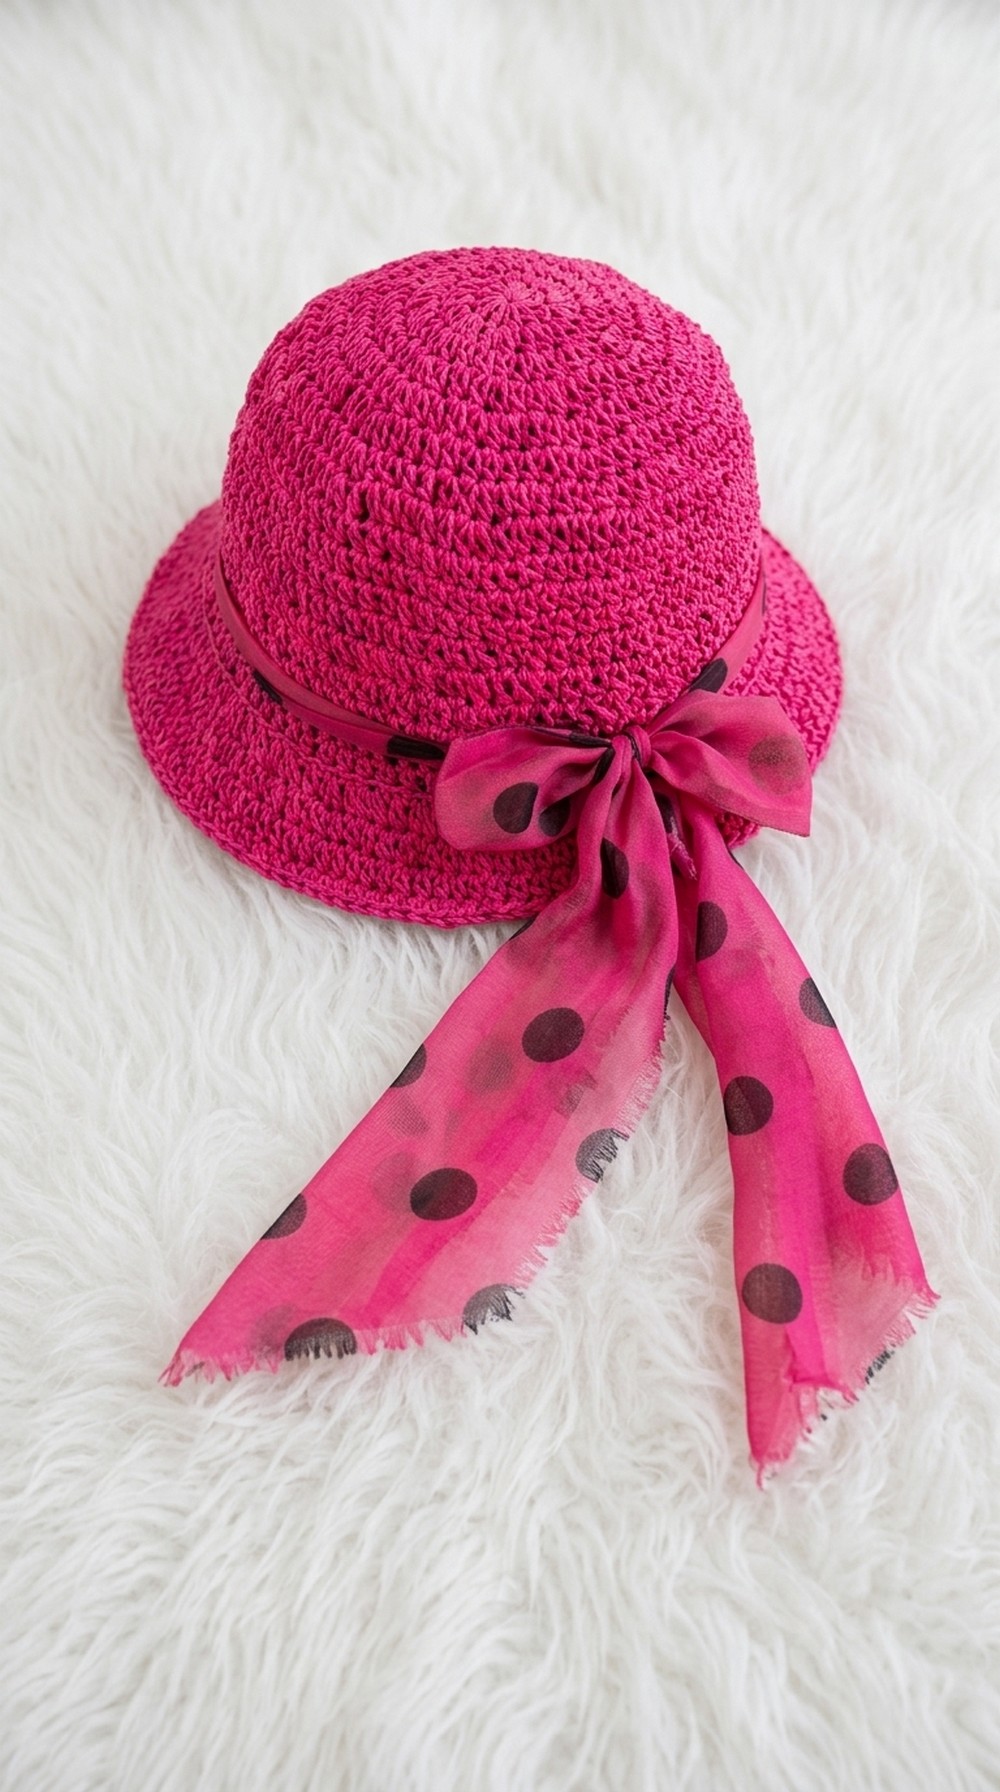
Grab your yarn and hooks to stitch up a cute and trendy crochet bucket hat with this easy pattern that’s perfect for adding flair to your everyday style.
A lightweight and versatile accessory, this hat has gained popularity for its simple charm and practicality. A free crochet bucket hat pattern allows you to design a stylish piece that not only protects you from the sun but also enhances your outfit with its unique, handmade touch. Its relaxed rounded shape and wide brim give it a casual yet chic appearance that suits almost anyone.
Beginner-Friendly Crochet Bucket Hat Pattern for Sunny Days
What makes a crochet bucket hat so appealing is its adaptability. You can customize it with bright colors, stripes, or even fun embellishments like flowers to match your personal style. Perfect for sunny days, it’s great for outdoor activities such as beach trips, picnics, or leisurely walks, and its soft yarn ensures a comfortable fit. Lightweight and easy to carry, you can fold it up and store it in your bag without worry.
This project is beginner-friendly, with a pattern that’s easy to follow and doesn’t take too much time to complete. Whether it becomes an everyday go-to accessory, a seasonal favorite, or even a special handmade gift, the crochet bucket hat is a lovely combination of style, practicality, and creativity that anyone can appreciate.
Classic Crochet Bucket Hat Pattern
Materials
- Yarn: Any smooth, structured yarn.
- Recommended: Cotton for summer, raffia/yarn for a classic look.
- Sample uses: Raffia (paper-like) yarn.
- Hook: Size 4.0 mm crochet hook (or size needed for gauge).
- Notions: Scissors, yarn needle, stitch marker.
Gauge
- 10 cm x 10 cm (4” x 4”) = 14 half double crochet stitches x 10 rows
- Bucket hats are forgiving, but achieving a fabric with mild drape and good structure is ideal.
- Sample Crown Diameter: 17–19 cm before working sides (see Sizing).
Special Techniques/Notes
- Half Double Crochet (hdc): Main stitch for the pattern.
- Working in the round; seamless construction (no joining at the end of each round).
- Continuous rounds: Always use a stitch marker to mark the first st of each round!
- Increasing evenly in rounds: Increases are spaced and described in detail per round.
- Working into back loops: Brim is started with BLO hdc for a crisp edge.
- Finishing with Invisible Join: Yarn needle is used to close the last round neatly for a seamless brim.
Finished Size
- Sample Adult Hat: Crown diameter approx. 17.8–19 cm before sides; height (crown + side) to desired fit (see below).
- Fits average adult head circumference 54–58 cm (adjust per your measurement).
Step-by-Step Pattern
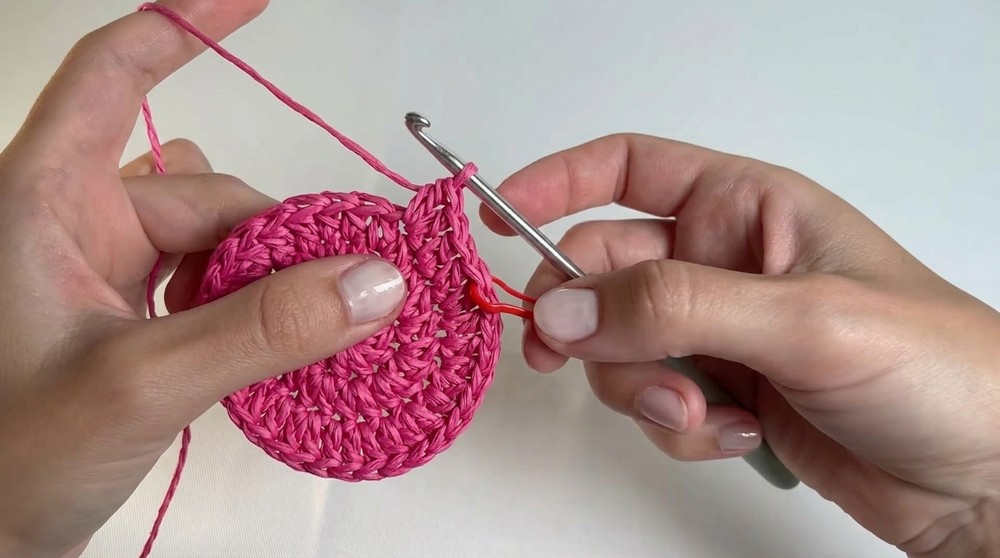
1. Crown
Make the Center
- Slip Knot: Make a slip knot and place on hook.
- Foundation Ring:
- Ch 5. Join to 1st ch to form a ring with a slip stitch.
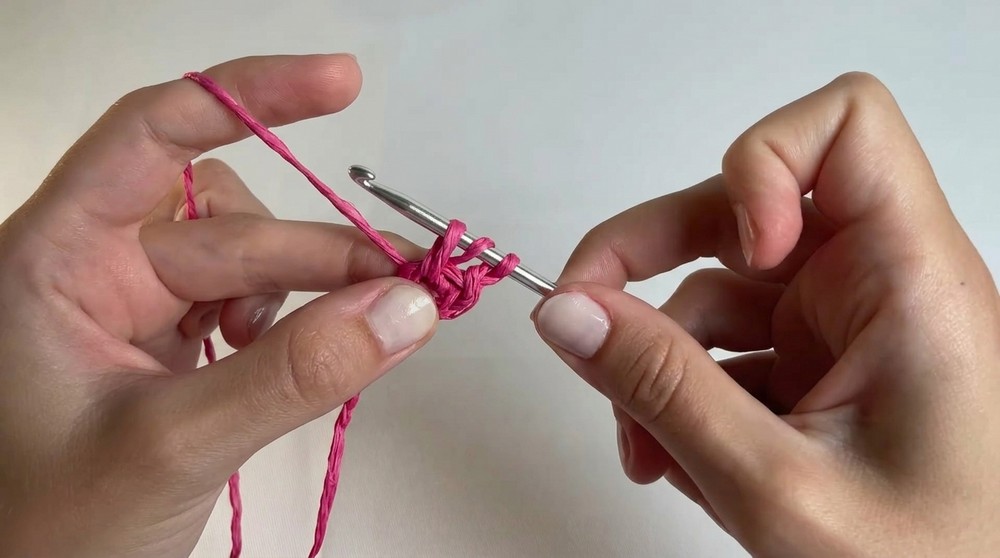
Round 1 (Crown Center)
- Ch 1. Work 10 hdc into the center of the ring.
- Place stitch marker in the first hdc. Do not join; continue in a spiral. (10 sts)
Round 2
- Increase Round
- Work 2 hdc in each st around (mark the first st). (20 sts)
Round 3
- Inc Pattern: [1 hdc, 2 hdc in next st] repeat around. (30 sts)
Round 4
- Inc Pattern: [1 hdc in next 2 sts, 2 hdc in next st] repeat. (40 sts)
Round 5
- Inc Pattern: [1 hdc in next 3 sts, 2 hdc in next st] repeat. (50 sts)
Round 6
- Inc Pattern: [1 hdc in next 4 sts, 2 hdc in next st] repeat. (60 sts)
Round 7
- Inc Pattern: [1 hdc in next 5 sts, 2 hdc in next st] repeat. (70 sts)
Round 8
- Inc Pattern: [1 hdc in next 6 sts, 2 hdc in next st] repeat. (80 sts)
(Optional) Adjust For Your Size
- Check crown diameter:
(Head circumference in cm) ÷ 3.14 ≈ crown diameter in cm (stop or continue increasing as needed).
2. Hat Sides
Rounds 9–17 (or to desired side height)
- No increasing; work evenly.
- hdc in every st around (80 sts per round)
- Continue in spiral, moving stitch marker to the first st of each new round.
- Suggested side height: 8–10 cm, or until it reaches just above the eyebrows.
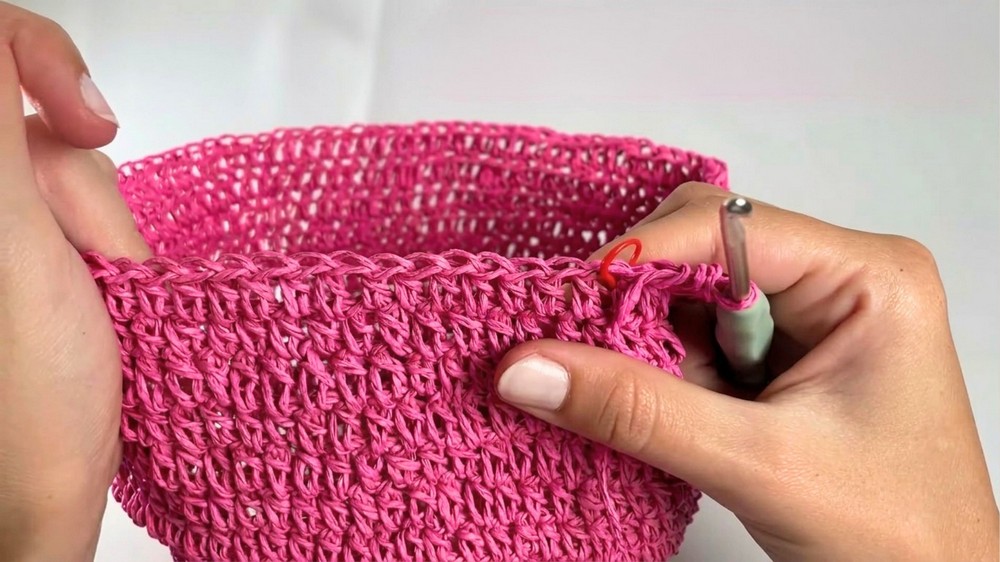
3. Brim
Round 1 (Brim Ridge)
- Work this round in back loops only (BLO) for a crisp edge.
- Inc Pattern: [1 hdc in next st, 2 hdc in next st] repeat all the way around.
- (120 sts)
Rounds 2–4 (Brim Body)
- Work in both loops, no increases.
- Hdc in each st around (120 sts per round)
- Continue until brim is desired width (sample is 4 rounds of brim).
(Adjust the number of rounds for wider/narrower brim, as you like)
4. Finishing
- Fasten Off: Cut yarn, leaving a long tail.
- Invisible Join:
- Thread tail onto a yarn needle.
- Skip the stitch marker st, insert needle into next stitch under both loops from front to back, pull through.
- Insert needle down into the center of the last stitch made, out through the wrong side. Gently tighten to mimic the “V” of a true stitch.
- Weave in ends: On the inside, weave the tail back and forth several directions for security. Trim excess.
- Weave in the center starting tail: Pull tightly to close the crown hole before weaving in.
Tips, Customization & Maintenance
- Sizing:
- Increase crown rounds for larger sizes, stop earlier for smaller sizes.
- Measure as you go: Adjust number of side/straight rounds and brim rounds to fit your face and head.
- Try on as you go:
- Try hat on after each section (crown, side, brim) for perfect fit!
- Color/Pattern Customization:
- Make color blocks, stripes, or alternate colors for crown, side, and brim.
- Yarn:
- For summer, lightweight cotton or raffia offers structure and wearability.
- Wool/acrylic make soft, warm hats for cooler weather.
- Blocking:
- Block gently with steam or by stuffing with towels to shape the crown and brim, esp. for natural fibers.
Conclusion & Final Remarks
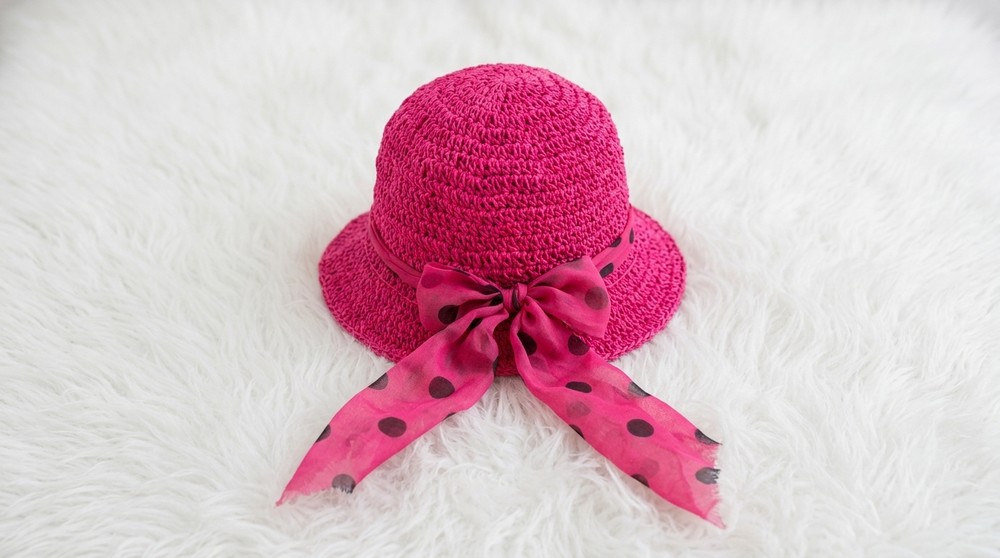
You have completed a classic, endlessly customizable bucket hat using basic stitches and techniques. The result features a crown with even, invisible increases, a seamless side wall, and a crisp, sturdy brim with professional edge.
Your hat should fit snugly, sit just above the eyebrows, and shade your face, perfect for sunny days! Adjust color, width, or style to make it your own.