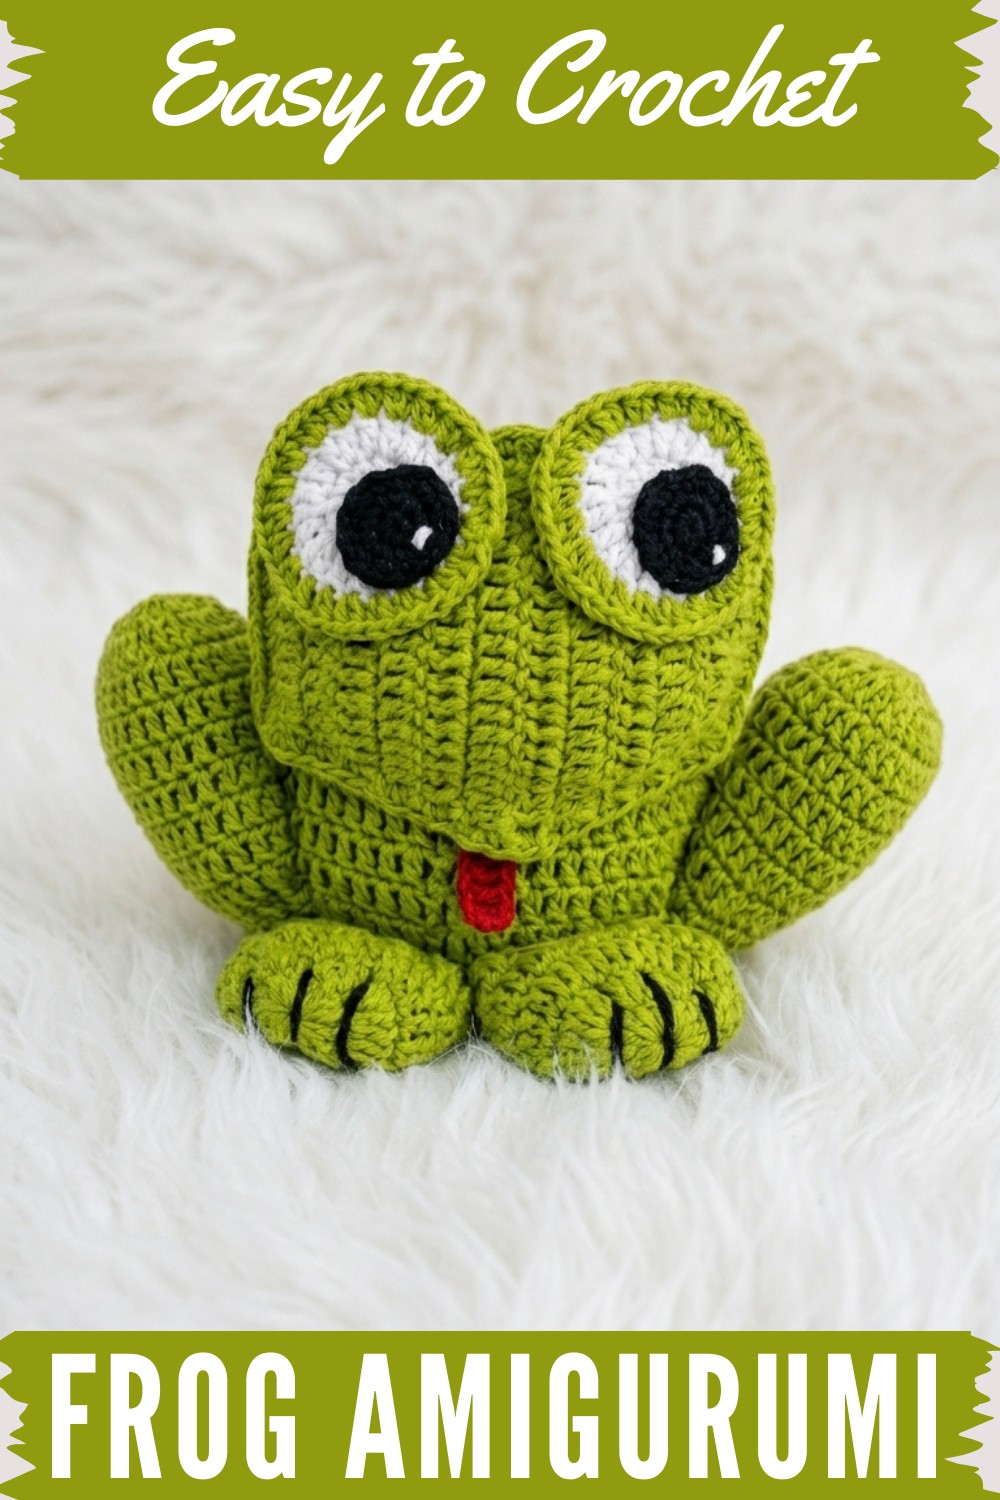
Make your own adorable frog amigurumi with this free crochet pattern, perfect for beginners and experts to add a fun, creative touch to your handmade collection.
When I first tried making a small crochet animal, I found it both relaxing and rewarding. One project I particularly enjoyed was a charming little frog amigurumi that can easily be adapted into other cute animals like turtles or even bears with just small changes to the shape or colors. The free crochet frog amigurumi pattern makes it simple to create a fun and cuddly item that’s perfect for beginners and seasoned crocheters alike.
Step-by-Step Crochet Frog Amigurumi Pattern for Craft Lovers
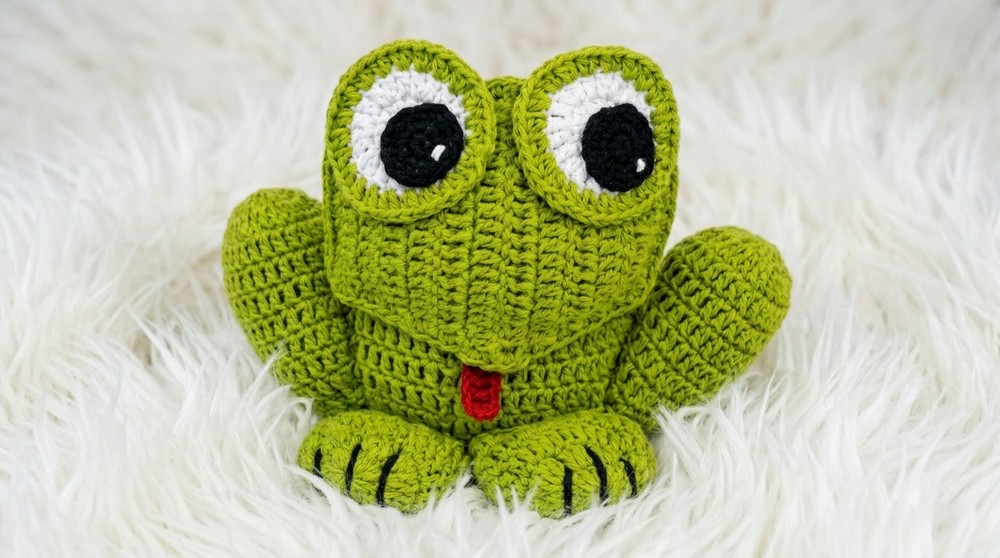
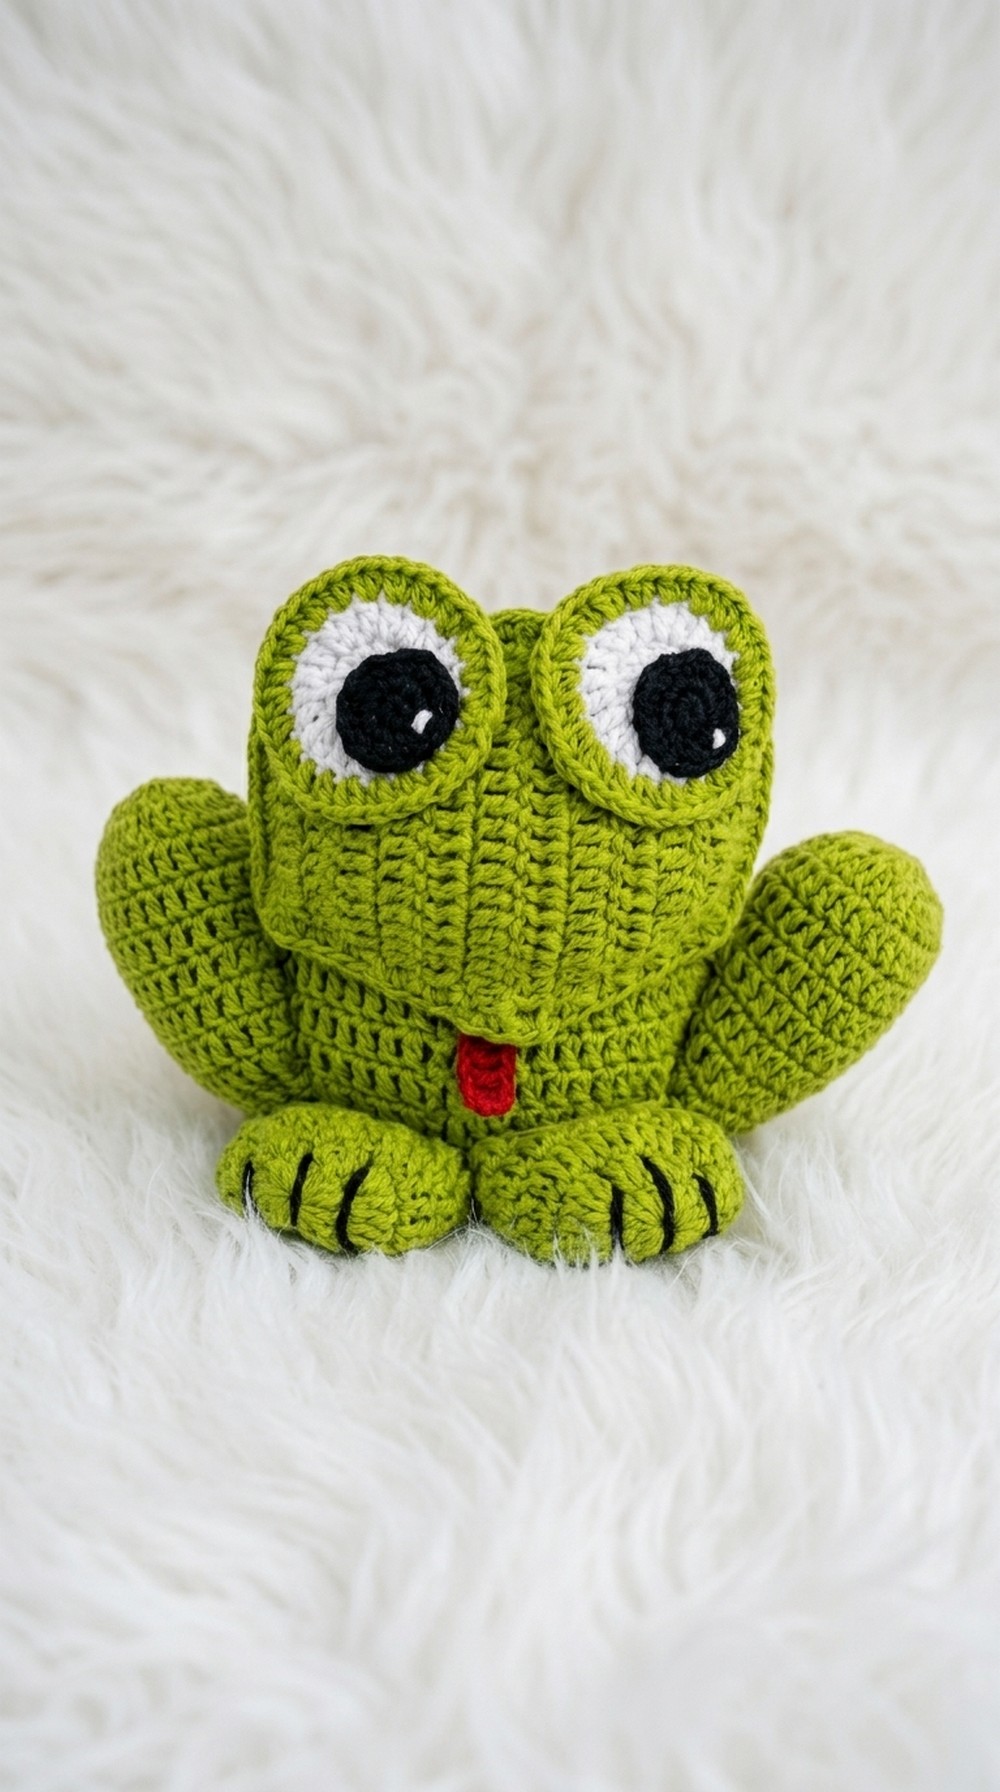
This little frog has a bright and cheerful look that instantly brings a smile. Its round body and plump limbs give it an adorable shape, while the smooth texture of the stitches makes it soft but firm enough to hold its form. The big eyes and tiny smiling mouth are standout features that add character and personality. Its style is playful and friendly, fitting for a toy, decoration, or even a quirky keychain. Because it's small and light, it’s easy to carry or place anywhere you want to add a touch of handmade charm.
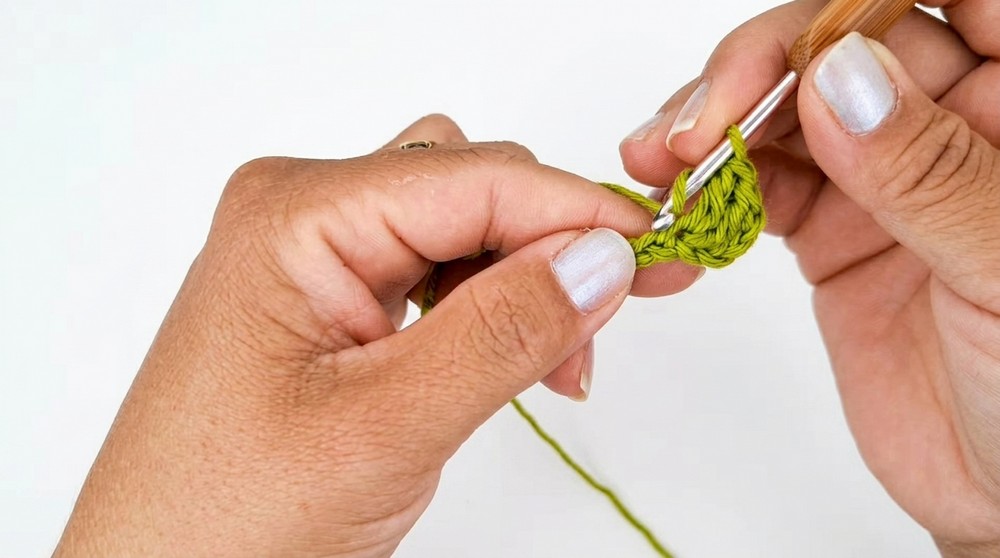
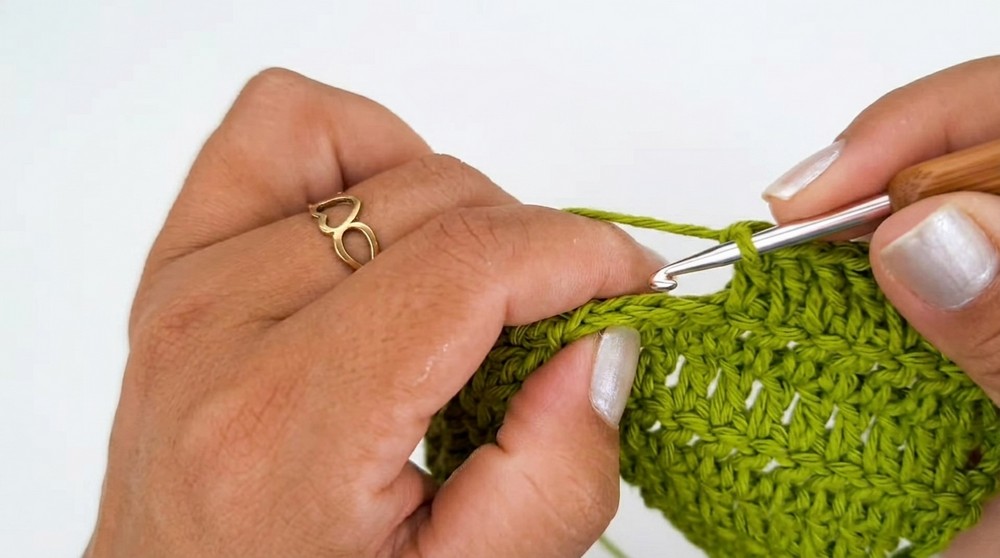
The pattern is great for those with beginner to intermediate crochet skills. The main stitch used is single crochet worked in continuous rounds, which helps keep the shape neat and allows steady progress. Learning to increase and decrease stitches is a big part of shaping this amigurumi, but the steps are easy to follow and perfect for practicing these techniques.
This frog makes a wonderful handmade gift for kids, friends, or anyone who loves unique little collectibles. It’s also great as a sweet decoration for shelves, desks, or nursery rooms, and can even be attached to bags or keys to brighten up everyday items. If you’re looking for a cheerful and manageable project to improve your crochet skills and create something adorable, this free crochet frog amigurumi pattern could be just the right fit.
Crochet Frog Doorstop Pattern
Make this adorable and practical crochet frog doorstop using sturdy #6 twine (or similar cotton string). Each piece—head, body, feet, eyes, and tongue—is crocheted separately, then sewn or glued into place for a cheerful, giant frog that will keep any door open in style! The project includes stuffing and sand for helpful weight, plus fun embroidered details.
Materials
- Size 6 cotton string or equivalent (Bright olive and small amounts of red, white, black)
- 6 mm crochet hook or appropriate size for your yarn
- Polyfill or similar stuffing
- 2 kg sand (to fill a bag for weight)
- Scissors
- Yarn needle (for sewing/embroidery)
- Craft glue (optional, for securing features)
- Stitch marker
Pattern Notes
- All pieces are worked flat, then assembled.
- Double crochet (“dc”) is US terminology (same as “tr” in UK).
- Smoothly transition by chaining 3 at the start of rows unless noted.
- The head, toes, body, eyes, and tongue are made separately, then glued or sewn together.
- For extra stability, fill a cloth or plastic bag with sand before closing the body.
- Embroidery and visible stitching add definition for fingers and face.
- Adjust yarn thickness or hook size for a larger/smaller frog as desired.
Skill Level
Confident Beginner/Intermediate
You should know:
- Magic ring
- Chain (ch), double crochet (dc), slip stitch (sl st), and half double crochet (hdc)
- Simple increases and decreases
- Joining pieces, basic sewing/embroidery
Stitch Abbreviations
- ch: chain
- dc: double crochet
- hdc: half double crochet
- sl st: slip stitch
- inc: increase (2 dc in same st)
- dec: decrease (work 2 dc together)
- MR: magic ring
Measurements / Sizing
- Finished frog: ~27 cm wide and 19 cm tall
- Head: ~12 rows wide
- Body: large oval, diameter fitted for sand bag
Gauge (and Stitch Pattern)
- Gauge is not critical for function, but for reference:
10 dc x 6 rows = 10 x 5.5 cm (approx.) - Main stitch: double crochet (US terminology)
- Rows are worked flat on head, worked in the round for body
The Crochet Pattern
Frog Head (Make 2)
- Foundation:
Ch 10. Mark the last ch (10th), then ch 3 more (turning ch). - Row 1 (working back):
Dc in marked ch and each back along chain (total 12 dc). - Row 2:
Ch 3, turn, inc in first st (dc twice in base of ch), dc across, inc in final st (2 dc in last st). - Repeat increases:
Work 3 more rows with increases at both ends (always ch 3, turn, inc, dc to last, inc).
You will have completed 4 rows of increases in total. - Row 6:
Ch 3, turn, work 1 dc in each stitch across without increasing. - Row 7:
Repeat row 6 (stitch-for-stitch, no increase). - Begin decreases:
For the next 4 rows:- Do not ch 3 at start.
- Turn work, sl st into 2nd st to decrease one st, ch 3, dc across, leaving last st unworked (decreasing at both ends).
- At end of each row, stop before last st, turn, sl st into 2nd st, ch 3, and repeat.
- Final row:
Ch 3, turn, work a row of regular dc (no increase/decrease). Fasten off, weave in ends.

Make two identical pieces for front and back of head.
Frog Body (Oval Base)
- Make a magic ring.
- Ch 3 (counts as dc), work 15 dc into ring (16 dc total).
- Sl st in top of beginning ch 3 to join.
- Round 2: Ch 3, dc inc in each stitch around (2 dc in each) – 32 dc. Join.
- Round 3: Ch 3, dc, inc around (1 dc in st, 2 dc in next), repeat – 48 dc. Join.
- Round 4: Ch 3, dc in next 2, inc around (2 dc in sts, 2 dc in next) – 64 dc. Join.
- Continue for 10 rounds total:
Each round increases as “dc in more sts between increases” (e.g., next round: 3 dc, inc, etc.) - For last round: Ch 3, dc in next, two chs, skip one st, dc in next two, repeat (making spaces for drawstring).
Sl st to join. Cut yarn and fasten off.
Legs/Arms (Make 4 – 2 for legs, 2 for arms, though hands can be smaller)
- Magic ring, ch 3.
- Work 13 dc into ring (14 total with ch 3). Sl st to join.
- Round 2: Ch 3, 2 dc in each st (28 dc total).
- Rounds 3–7:
Ch 3, dc in each st around for 5 more rounds (leg length can be varied). - Row 8 – Decrease:
Ch 3, (dc2tog), dc repeat around (one decrease, one dc).
End with sl st, fasten off with long tail for sewing. - **Stuff end lightly, then use black yarn to embroider finger divisions (see Assembly).
Tongue
- Red yarn, ch 10.
- Row 1: Ch 3 more, dc in marked st and next 6 ch (7 dc).
- Row 2: Ch 1, hdc in each across. Cut yarn, fasten off.
- Weave in ends.
Eyes (Make 2)
White Part:
- Magic ring, ch 3, 15 dc into ring (16 total). Join.
- Round 2: Ch 3, inc (2 dc into each of next st), dc in next—repeat around. Join.
- Round 3: Ch 2, 2 hdc in each st (to make curved). Join, fasten off.
Black Part:
- Magic ring, ch 3, 13 dc into ring (14 total). Sl st to join.
- Use leftover tail to make a shine spot with white yarn if desired.
Special Stitches
- Dc2tog (Double Crochet Two Together): Yarn over, insert in st, pull up loop, yarn over, pull through two, yarn over, go to next st, pull up loop, yarn over, pull through 2, yarn over, pull through all three on hook.
- Magic Ring: Make a loop, pull up a loop, ch to begin, work required sts inside loop, pull tight.
Assembly & Finished Size
- Stuff both head pieces, sandwich tongue and crochet together around edge with sc, adding polyfill as you go.
- Insert sand (in a securely tied bag) into body for weight, then finish with stuffing and tighten top with drawstring.
- Sew or glue legs/arms evenly at bottom and sides of body, embroider black “toes” lines.
- Attach head securely atop body (glue or sew); position with the tongue in front.
- Glue or sew eyes in place; glue black pupil on top; add highlight if desired.
- Finished frog measures 27 cm wide, 19 cm high.