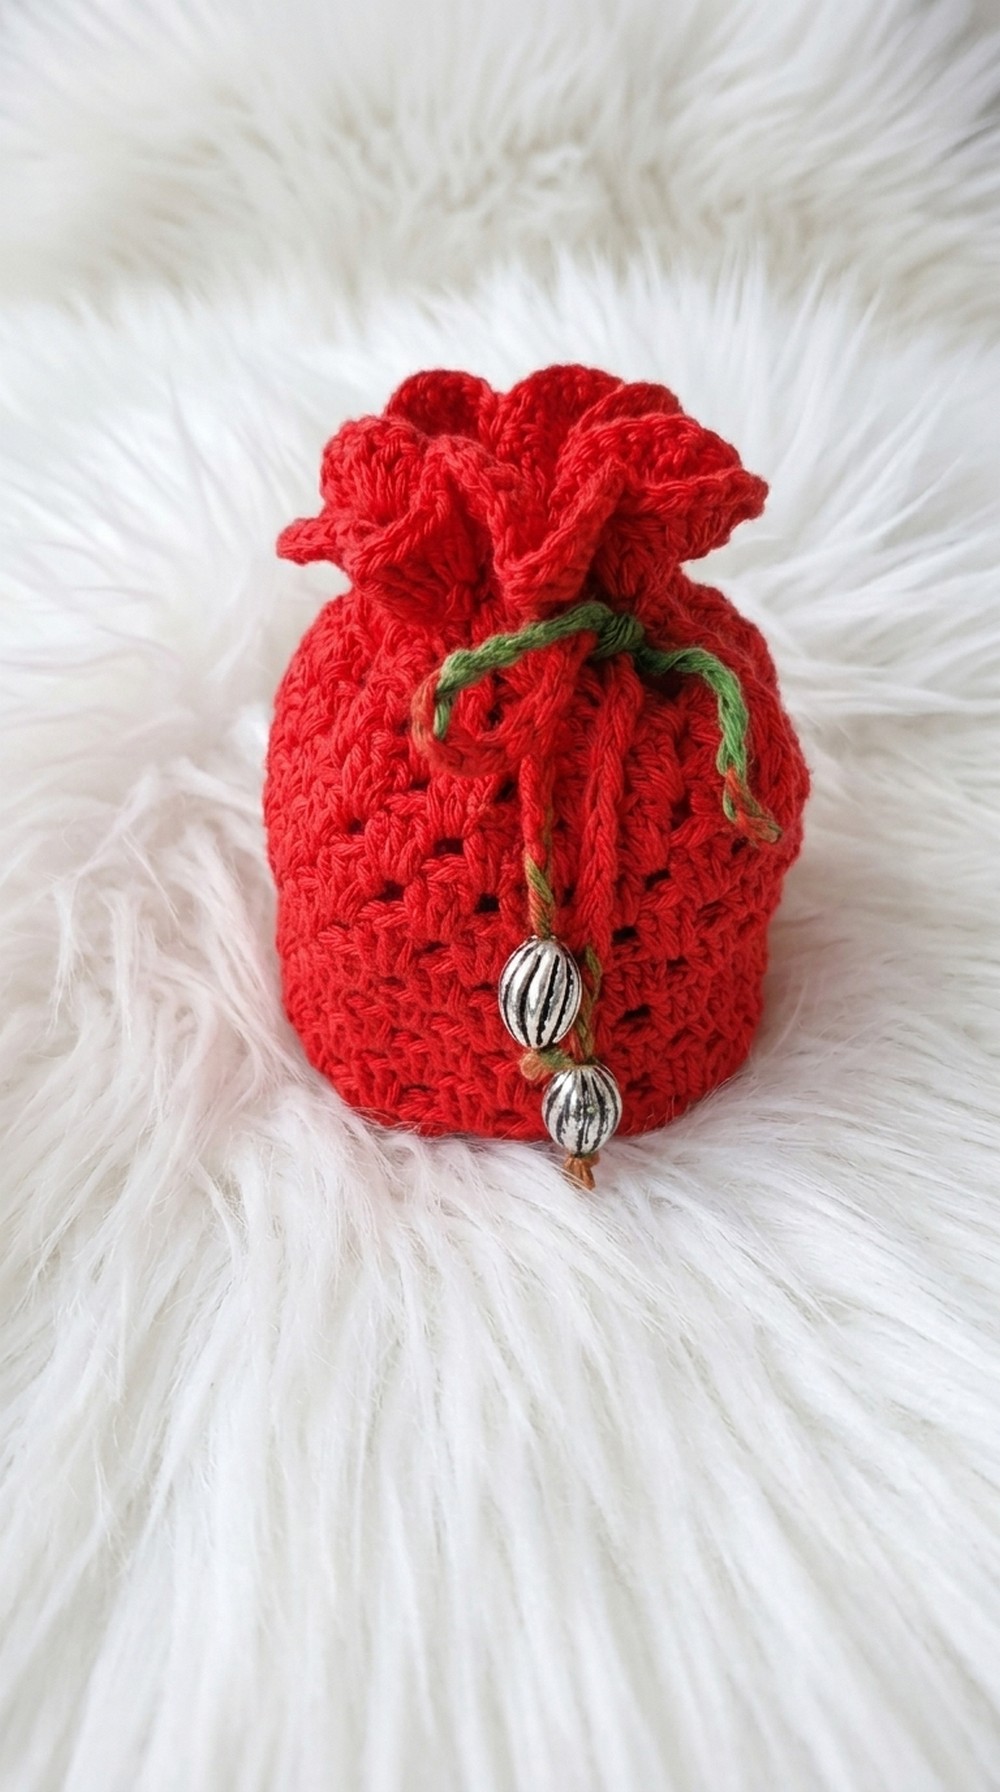
Enjoy every stitch with this Free Crochet Drawstring Pouch Pattern and make a cute reusable pouch that keeps your small essentials organized.
I’ve always enjoyed making small, useful accessories, and this particular drawstring pouch is one that I find so satisfying to crochet. It has a soft and cozy texture with a nice rounded shape that feels comfortable to hold. What makes it stand out is the drawstring closure, which not only adds a cute detail but also keeps your belongings secure and easy to access.
Free Crochet Drawstring Pouch Pattern
This pattern suits crocheters who know their basic stitches and want a quick, fun project that can be customized easily. You can adjust the size by choosing thicker yarn and a larger hook for a roomy pouch or lighter yarn with a smaller hook for a delicate, petite version. The construction mostly involves working in rounds, which helps the pouch keep its shape naturally. For best results, using cotton or cotton-blend yarn highlights the stitch texture and creates a durable yet soft fabric.

One of the great things about this pouch is how versatile it is. You can change the colors, add beads, or even incorporate simple embroidery to make it your own. It makes a thoughtful handmade gift for birthdays, holidays, or just as a little treat for yourself. Whether you use it to store jewelry, coins, or small personal items, this project combines creativity and practicality in a delightful way. Plus, it’s quick to make, so you’ll have a beautiful, useful pouch in no time.
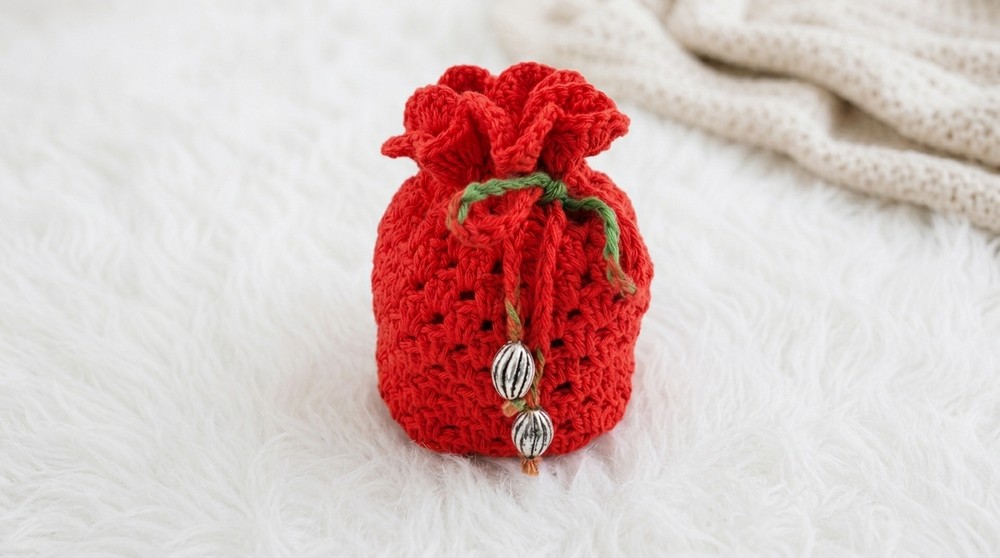
Perfect Crochet Drawstring Pouch Pattern
Inspired by the motif-based "Lady Begged, Gentleman Approved" knitting pattern, this crochet pouch is both charming and functional. It begins with a central motif in the round, expands to a square base, and is worked upwards to form a handy pouch. With decorative border work and a chain cord closure finished with beaded ends, this pouch is ideal for carrying coins, cosmetics, or small accessories. The size is customizable by varying the motif rows or yarn thickness, resulting in a beautiful accessory that’s easily personalized.
Gauge (and Stitch Pattern)
This project uses a granny square technique with double crochet for the motif base, working in the round, and transitioning to continuous rows for the pouch body.
- Typical Gauge: 7 dc × 3 rows ≈ 2.5cm × 2cm
- Consistency is more important than exact gauge for fit.
- Primary stitch: double crochet (dc), with chain stitches (ch) and slip stitches (sl st) for joining and transitions.
Special Stitches
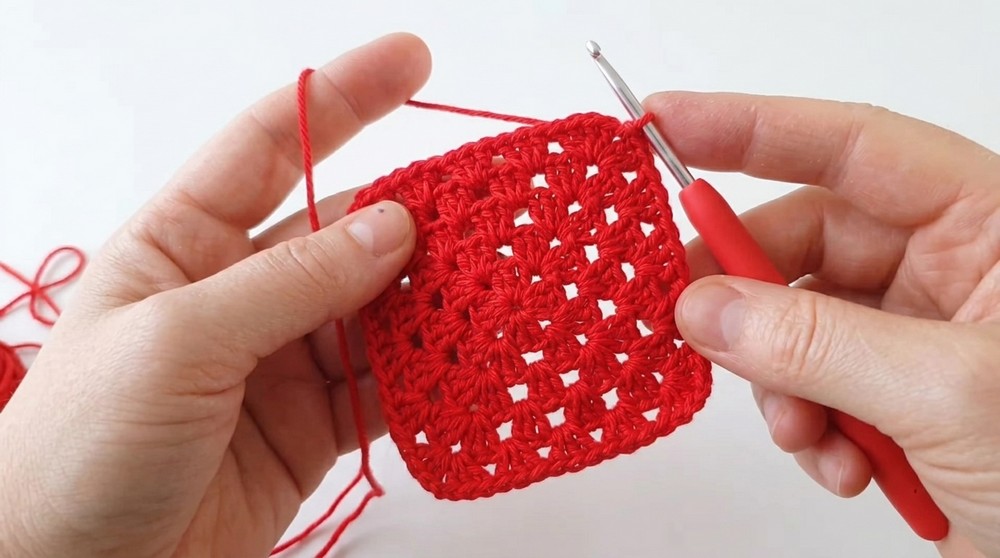
- Granny Motif Corner: (3 dc, ch 1, 3 dc) into the same space creates corners in your square motif for even expansion.
- Sliding (sl st) Move: used to travel to the next corner or space and keep motif symmetrical.
- Chain Cord: Fold the yarn and crochet a long chain for the closure cord—optionally double-stranded for a thicker effect.
Materials
- Mercerized cotton yarn in your preferred color or in leftover contrasting shades for decorative effect.
- 2.5mm crochet hook for motif and body.
- Size 5mm (optional) hook for thick chain cord.
- 2 decorative beads for cord ends.
- Yarn needle for finishing and weaving ends.
- Scissors.
- Optional: lining fabric and needle/thread for a sewn lining.
Stitch Abbreviations
- ch = chain
- sl st = slip stitch
- dc = double crochet
- sp = space (gap between clusters)
- rep = repeat
Pattern Notes
- The motif base forms a square; the pouch body is then built directly up from the motif’s edge.
- All chains at motif corners are crucial—they form the pouch’s signature shape.
- Chains are only made at corners, NOT between clusters on sides, once the motif is established.
- The pouch can be made smaller (by reducing motif rows) or larger (by increasing motif and body rows).
- When making the cord, fold or double the yarn for extra thickness.
- Adding a lining is possible for strength and a professional finish.
- Weaving loose ends and blocking or pressing (with gentle heat) gives a polished look.
Skill Level
Adventurous Beginner to Intermediate:
You should be familiar with working in the round, changing from square motifs to continuous rounds, and crocheting decorative borders and cords. Minimal seaming is required.
Measurements / Sizing
- Base motif: approx. 10 × 10 cm as made (after 5 rounds; adjust as desired).
- Finished pouch: Approximately 10 cm wide × 14 cm tall (unlined, after 15 body rounds).
- Cord length: ~30–35 cm (customize as needed).
The Crochet Pattern! (Step-by-Step)
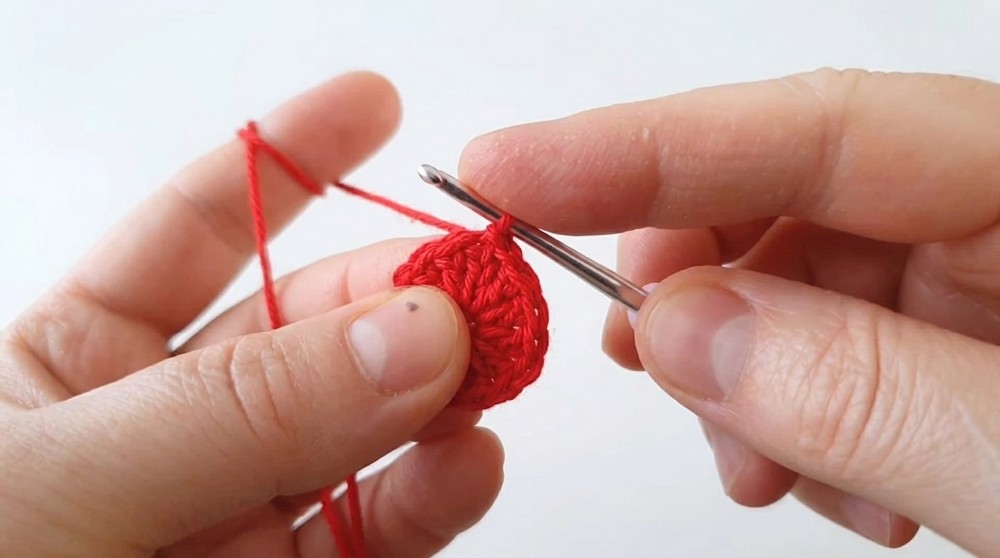
Motif Base
- Start with a Magic Ring or ch 4 and join with a sl st to form a ring.
- Rnd 1: Ch 3 (counts as dc), 2 dc into ring, ch 1, (3 dc into ring, ch 1) repeat 3 more times (total: 4 clusters, 4 ch-1 spaces). Join with sl st to top of starting ch-3.
- Rnd 2: Sl st to next ch-1 corner, ch 3, 2 dc in same space, ch 1, 3 dc in same space (corner made), (ch 1, 3 dc, ch 1, 3 dc) in next corner repeat 3 more times. End round by joining with sl st to top of starting ch-3.
- Rnd 3–5: Continue motif expansion—sl st to next ch-1 sp, at each corner: (3 dc, ch 1, 3 dc), across sides: if space, 3 dc group, but remember to only ch 1 at corners. Continue for a total of 5 rounds or as big as you wish for pouch width.
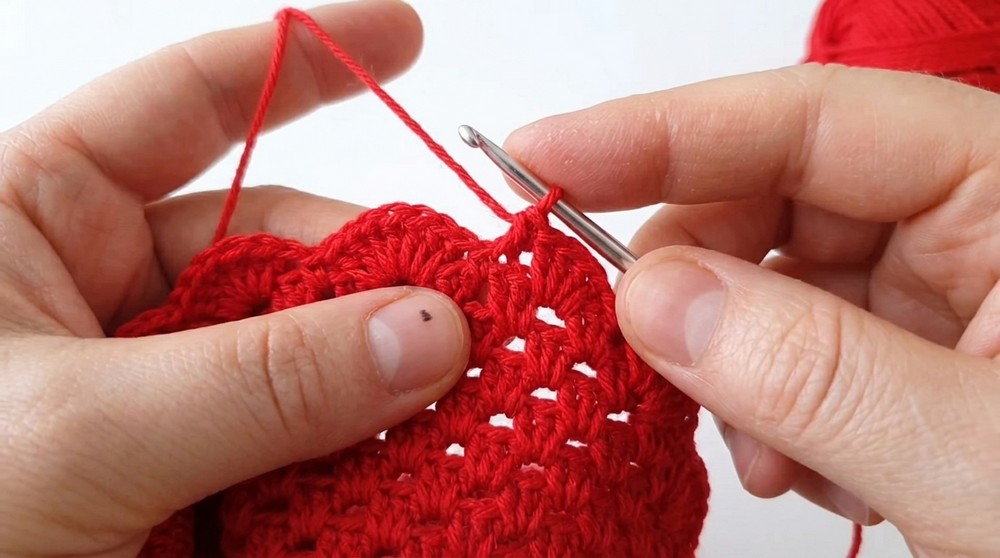
Pouch Body
- Without increasing: After last motif row, begin working 3 dc into each ch-space around motif WITHOUT making ch-1 at corners or along sides.
- Continue in joined rounds for desired pouch height (about 15 rounds for standard size). Slip stitch to join each round, ch 3 to begin each new round. No shaping or increasing; the pouch gently curves up.
Decorative Edge
- Edge Rounds: With right side facing, join yarn in any gap, ch 3, 7 dc in same gap (8 total), join to next gap—repeat around.
- Continue for entire top round, join with sl st, fasten off and weave in ends.
Cord (Drawstring)
- Using leftover yarn or double-fold for thickness: With 2.5mm hook (or larger for a thicker cord), ch until cord measures ~30–35 cm.
- Thread cord through decorative hole round (near top edge) with yarn needle, alternating in/out for an even drawstring effect.
- Add a bead to each cord end, knotting tightly below the bead 2–3 times to secure.
Pouch Finishing (Optional Lining)
- Press pouch lightly with a warm iron (if safe for your yarn) for neatness.
- Cut a piece of lining fabric (about 0.5 cm smaller all around than pouch).
- Hand-sew lining to inside top edge if desired.
Assembly & Finished Size
- Finalize shape by gentle blocking or pressing.
- Thread cord evenly and knot beads for safe closure.
- Insert lining if planned, hand-stitch securely, or leave unlined for classic crochet look.
- Tie cord neatly; tuck in all ends.
- Check bead knots for security.
- Base after 5 motif rounds: ~10 × 10 cm; with 15 pouch rounds: ~10×14 cm (customizable).
- Cord length ~30–35 cm, beads attached.
- Pouch ready for use—gift, travel, or storage!
Additional Decorative Options
- Try multicolor yarn for variegated look, single color for elegance, or split leftover yarn for subtle stripes.
- Make the pouch smaller by using only 3–4 motif rounds, or bigger by expanding rounds or using thicker yarn.
- Sew on a button or charm for extra flair.