Bring extra Easter cheer with this Free Crochet Easter Egg Bunny Pattern and make an adorable bunny that everyone will love to display or gift.
I’ve always enjoyed making quick, fun decorations for holidays, and recently I worked on a small crochet project that really put me in the festive spirit. This project is a cute little bunny shaped like an egg, perfect for celebrating springtime. With just a few simple changes, like adjusting colors or ears, you can also create different animals or Easter-themed shapes. The free crochet Easter egg bunny pattern is an easy way to make a charming addition to your holiday décor or gifts.
Adorable Crochet Easter Egg Bunny Pattern for Festive Décor
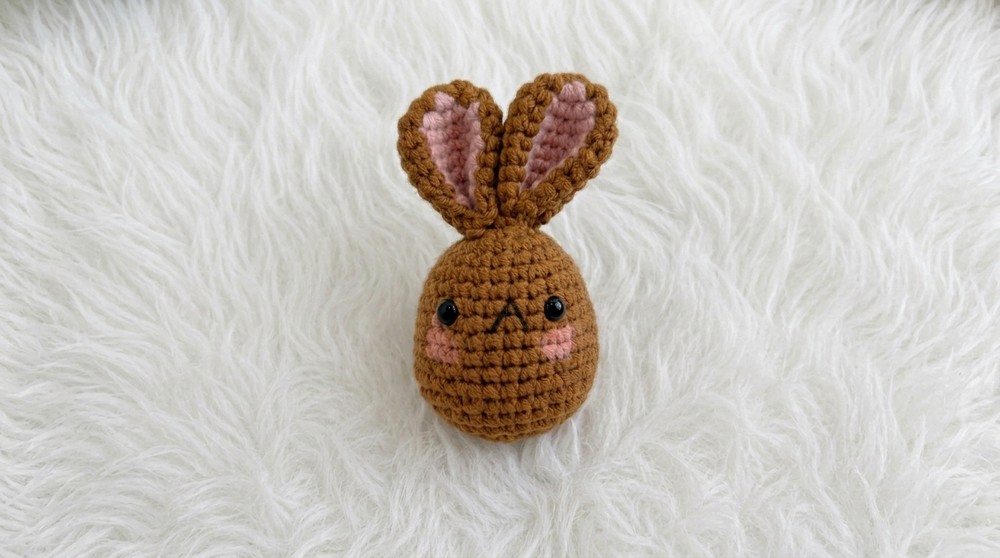
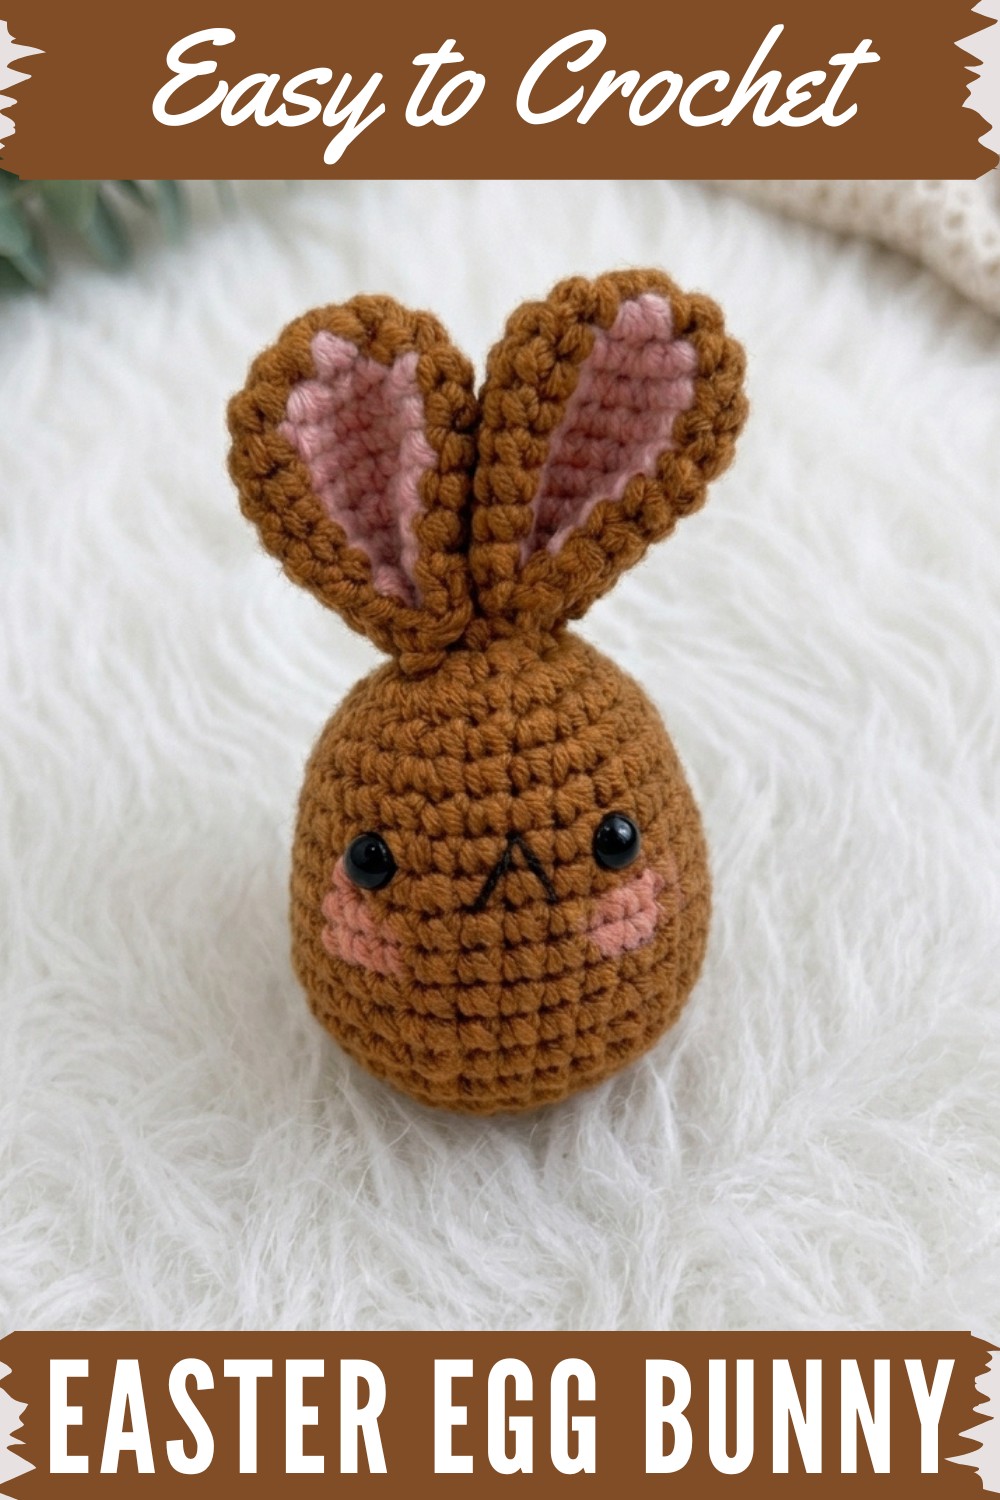
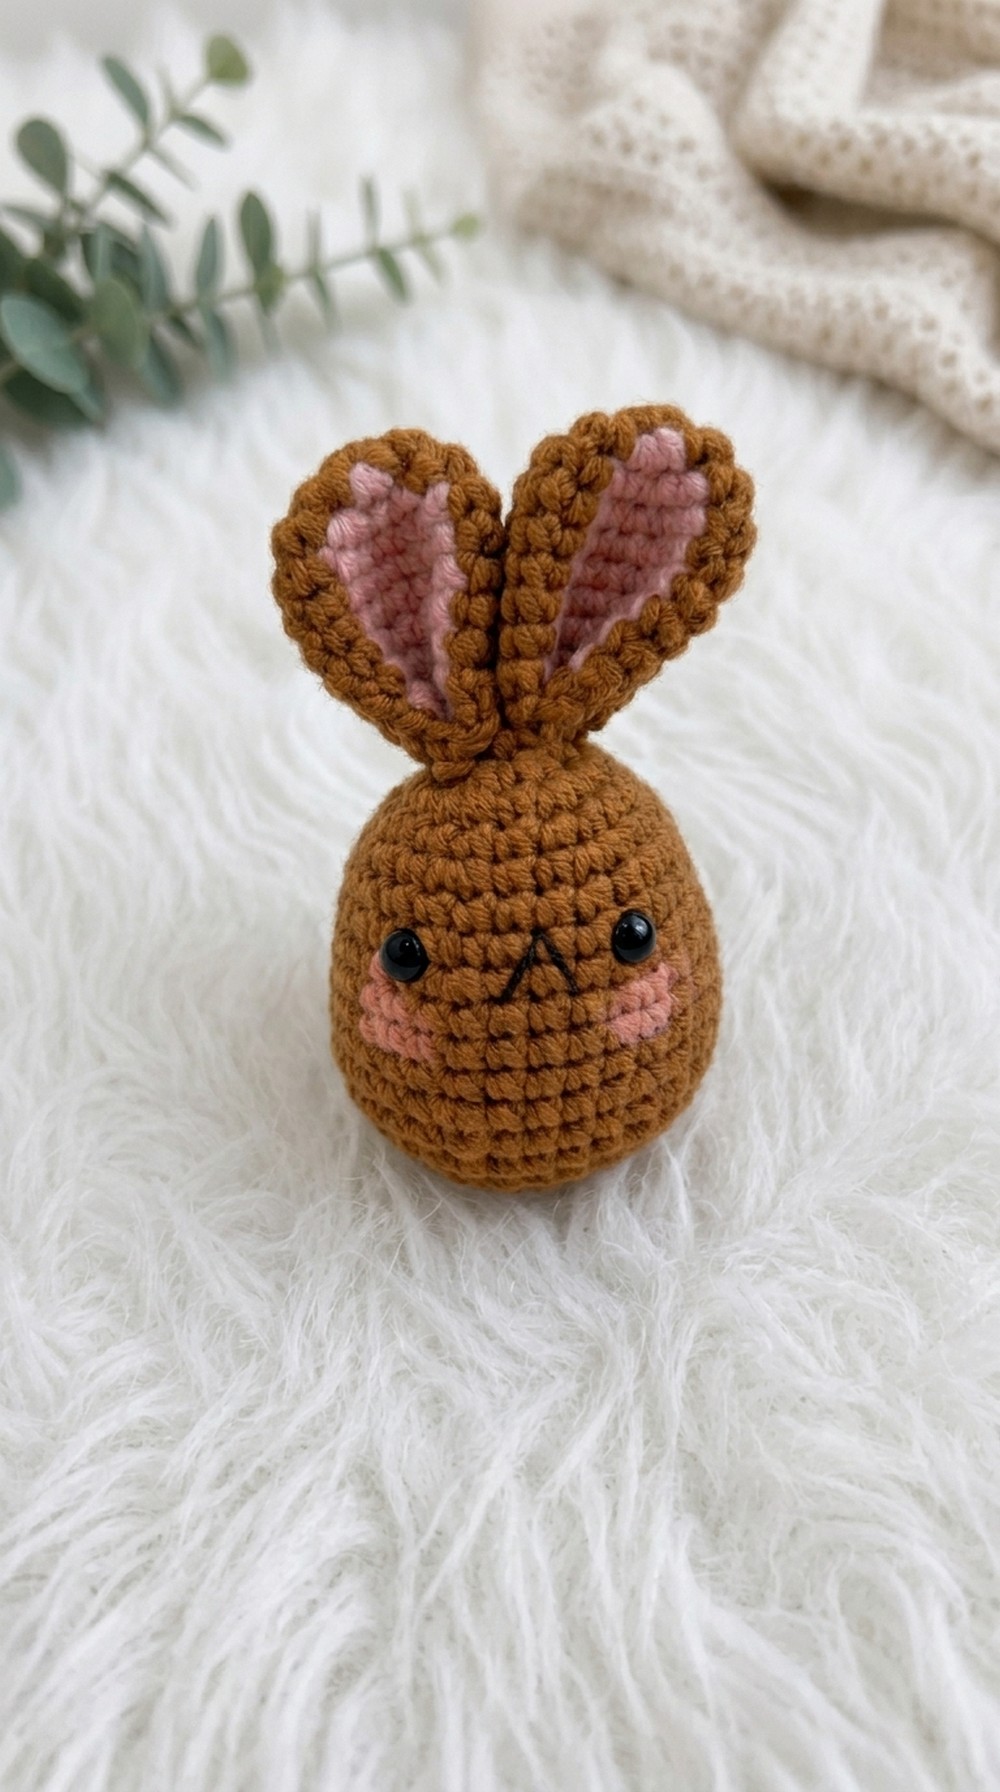
This little bunny looks soft and cuddly, with a smooth, rounded shape that resembles an Easter egg. Its texture is gentle and neat, thanks to tight stitches that hold everything firmly together. The standout features include the bunny ears popping up from the top and a tiny tail at the back, which add character and charm. Its style is sweet and playful, making it perfect for holding on a shelf, using as a decoration on your table, or even as a cute kid’s toy during the holiday season.
The pattern is perfect for beginner crocheters who know the basic stitches, especially single crochet worked in rounds. Most of the bunny is created using simple stitches, but you’ll get some practice with increases and decreases to shape the egg and make the ears stand out. It’s a wonderful way to build your confidence in making small amigurumi shapes.
This adorable bunny can easily be given as a handmade gift, used as a cheerful decoration, or even attached to Easter baskets to add a special, personal touch. If you enjoy quick projects that brighten up the holidays and want something simple but fun to crochet, this free crochet Easter egg bunny pattern is a lovely choice. I hope you find it as enjoyable to make as I did.
Adorable Crochet Easter Egg Bunny Pattern
Pattern Notes
- Work in continuous rounds unless otherwise stated, using a stitch marker to indicate the start of each round.
- Always crochet in the back loop only for this bunny, giving a cute ridged texture.
- Stuff firmly but not excessively; seamless joining is key for a neat finish.
- If uncertain about color placement for cheeks or features, refer to finished photos for guidance.
- For safety, use embroidered or securely attached felt eyes for young children.
- Take care when closing magic rings so there’s no visible hole.
- Eyes and mouth position make the bunny’s expression; play with spacing for personality.
Measurements / Sizing
- Finished Bunny height: approx. 12–15 cm (body + ears) when using Milk Cotton 5-ply yarn and 2.75mm hook.
- Body circumference: about 18 cm.
- Ears: approx. 5–6 cm.
- Adjust yarn or hook for larger/smaller bunny.
Skill Level
Beginners – The pattern uses only basic amigurumi stitches: magic ring, single crochet, increases, decreases, and slip stitch. Only elementary sewing required for joining body and ears, plus simple facial embroidery (if desired).
Materials
- Milk Cotton Yarn (5-ply), 125g
- Cotton stuffing (polyester fiberfill)
- Crochet hook: 2.75mm
- Scissors
- Darning (yarn) needle
- Stitch marker
- Safety eyes (or embroidery thread/felt for eyes)
- Cheek color (blush or pink yarn/thread)
- Optional: Embroidery thread for mouth
Gauge (and Stitch Pattern if applicable)
- Gauge is not critical for amigurumi—tight stitching is preferred to avoid stuffing showing through.
- If you want to check: 6 single crochet x 6 rows ≈ 2cm square (using back loop only, Milk Cotton Yarn, 2.75mm hook).
- All stitches done in back loop only unless otherwise mentioned.
Stitch Abbreviations
- MR = Magic Ring
- sc = Single Crochet
- inc = Increase (2 sc in same stitch)
- dec = Decrease (2 sc together)
- sl st = Slip Stitch
- ch = Chain
Special Stitches
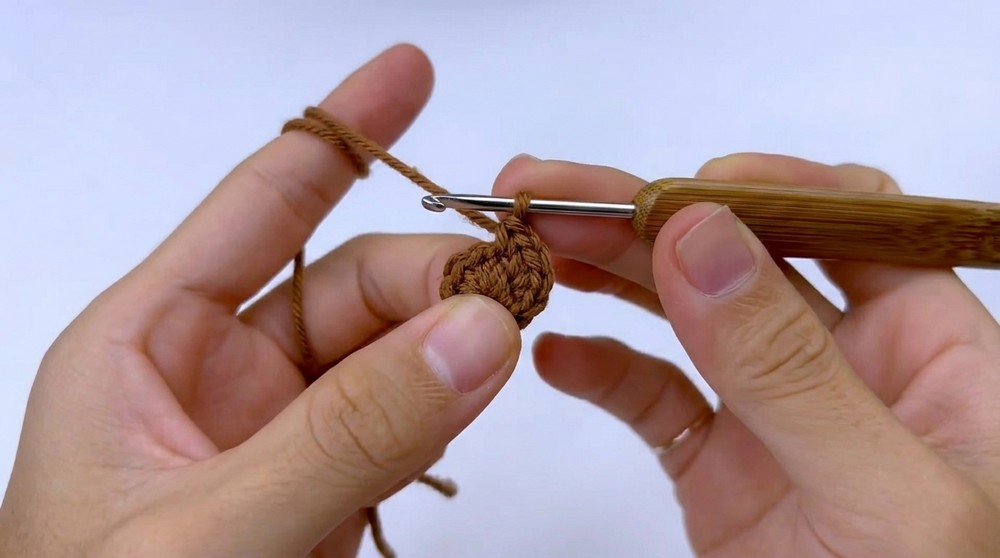
Magic Ring (MR):
Wrap yarn around fingers to form a loop, insert hook, pull up a loop, secure with a ch, then work required number of sc into ring. Pull tail tightly to close.
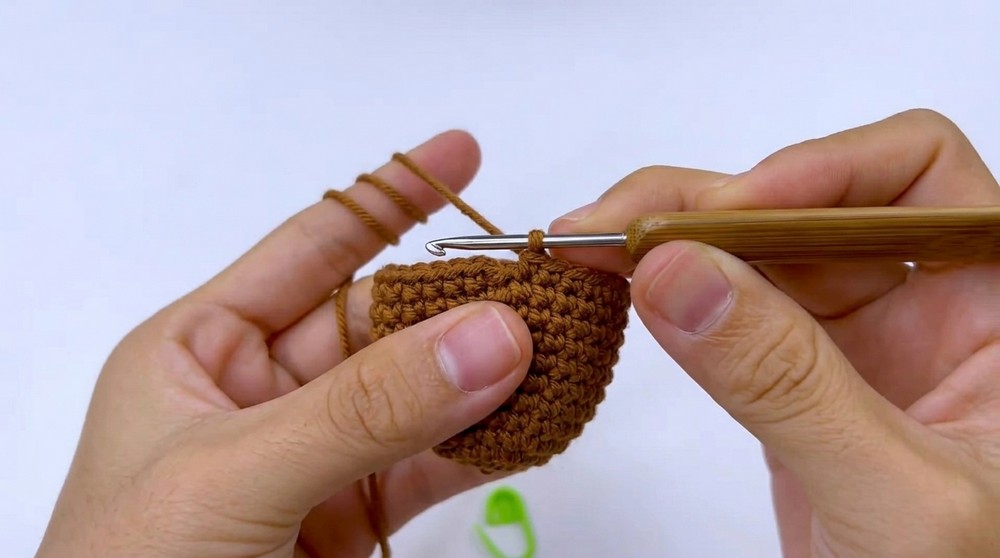
Back Loop Single Crochet (sc):
Insert hook into the back loop only of the stitch, yarn over and complete sc as usual.
Invisible Decrease (dec):
Insert hook into the back loop only of the next two stitches, yarn over, pull through two loops, yarn over, pull through two loops again.
This easy and adorable amigurumi bunny is crocheted in rounds with Milk Cotton yarn, making a perfect gift for loved ones or for yourself. Its minimal shaping and simple assembly, combined with cute embroidered features and blushing cheeks, make it an ideal project for beginners and experienced crocheters alike.
Let’s hop right in!
The Crochet Pattern! (Step by Step)
Body & Head (Worked as One)
- Round 1: MR, ch 1, make 6 sc, sl st on the back loop. (6 sts)
- Round 2: ch 1, (inc in each stitch around), sl st on the back loop. (12 sts)
- Round 3: ch 1, (1 sc, inc) repeat x6, sl st on the back loop. (18 sts)
- Place stitch marker on slip stitch for ease.
- Round 4: ch 1, sc in each stitch, sl st on back loop. (18 sts)
- Round 5: ch 1, (sc in next 2 sts, inc) repeat x6, sl st on back loop. (24 sts)
- Rounds 6–7: ch 1, sc in each stitch, sl st on back loop. (24 sts)
- Round 8: ch 1, (sc in next 3 sts, inc) repeat x6, sl st on the back loop. (30 sts)
- Rounds 9–11: ch 1, sc in each stitch, sl st on back loop. (30 sts)
- Round 12: ch 1, (sc in next 4 sts, inc) repeat x6, sl st on back loop. (36 sts)
Shaping Head
- Round 13: ch 1, (sc in next 4 sts, dec) repeat x6, sl st on back loop. (30 sts)
- Round 14: ch 1, sc in each stitch, sl st on back loop. (30 sts)
- Round 15: ch 1, (sc in next 3 sts, dec) repeat x6, sl st on back loop. (24 sts)
- Round 16: ch 1, (sc in next 2 sts, dec) repeat x6, sl st on back loop. (18 sts)
- Stuff firmly with cotton stuffing at this stage.
- Round 17: ch 1, (sc in next st, dec) repeat x6, sl st on back loop. (12 sts)
- Round 18: ch 1, (dec) repeat x6, sl st on back loop. (6 sts)
- Cut yarn, use darning needle to sew closed completely.

Ears (Make 2)
- Round 1: MR, 6 sc, sl st on back loop. (6 sts)
- Round 2: ch 1, inc in each stitch around, sl st on back loop. (12 sts)
- Round 3: ch 1, (sc in next st, inc) repeat x6, sl st on back loop. (18 sts)
- Rounds 4–9: ch 1, sc in each stitch, sl st on back loop. (18 sts)
- Finishing: ch 1, fold ear flat, sc through both sides across to join and close ear. Fasten off.
- Make the second ear the same way.
Assembly & Finished Size
- Sew ears to bunny head, positioning evenly.
- Add safety eyes, embroider or sew mouth below eyes. Use cheek blush (pink yarn or blush) to highlight bunny’s cheeks.
- Sew head and body seam closed neatly.
- Bunny stands approx. 12–15 cm tall, ear-to-toe.
- Adjust placement for a female bunny look if desired.