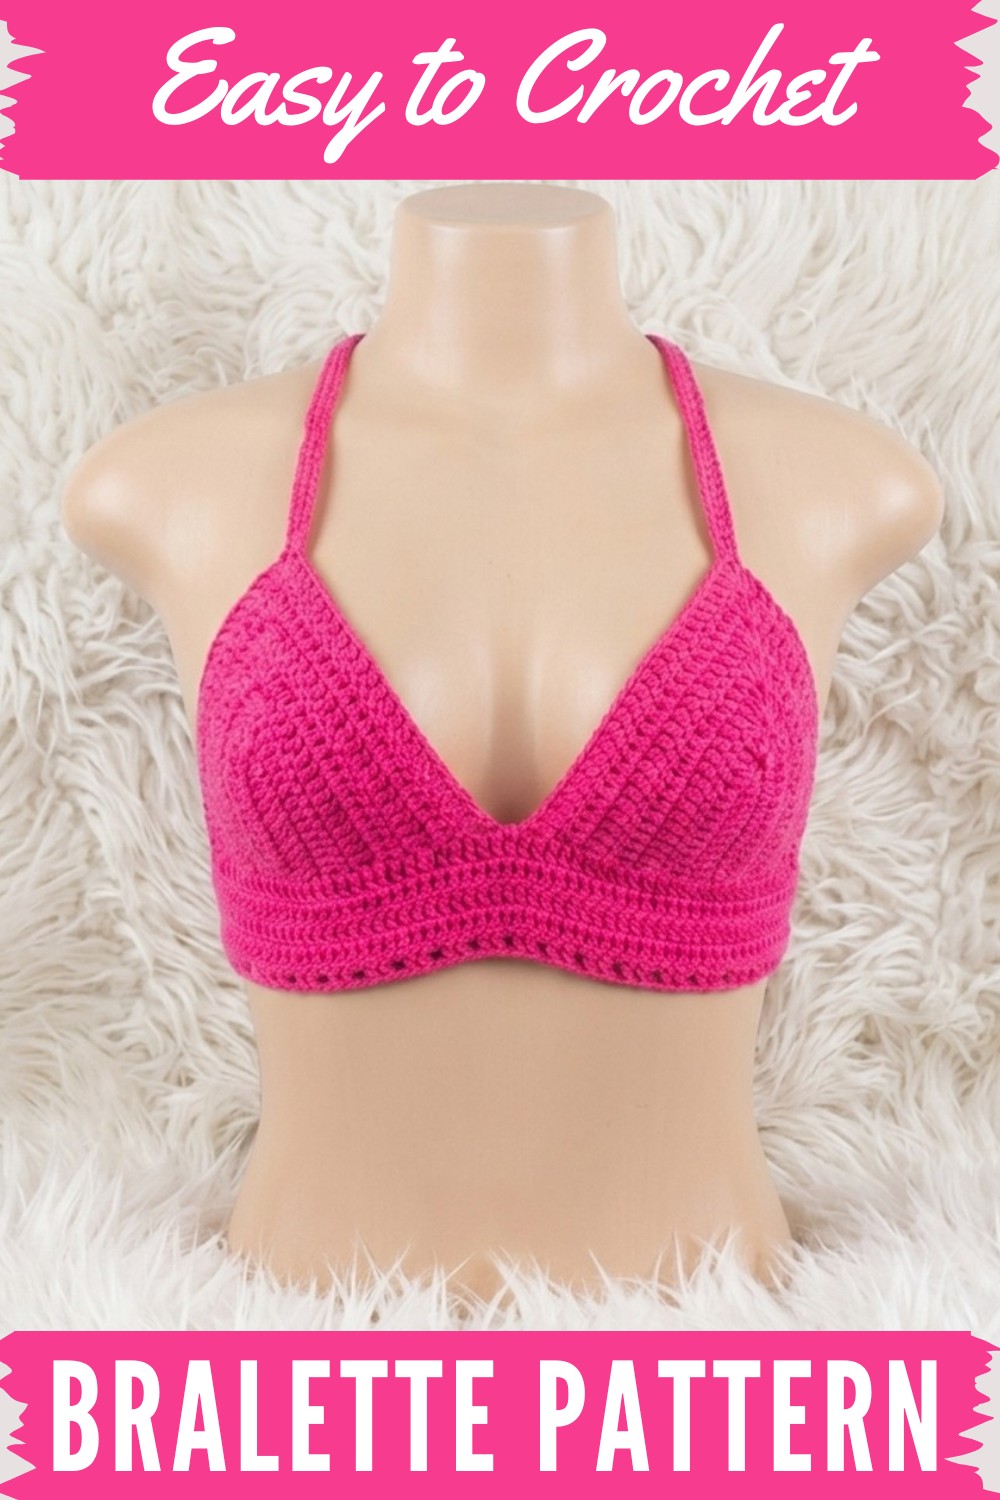
Solve fit and stitching issues with this Free Crochet Bralette Pattern, perfect for summer wear as a stylish standalone top or layered under outfits.
Sunlight streaming through the window sparks excitement for something new and comfortable to wear. Using acrylic yarn and a 2.5 mm hook, the project begins by making a chain as long as the distance from the nipple to just below the bust, ensuring a custom fit for any shape.
Working with double crochet stitches forms the foundation, gradually building each cup. At the very tip, adding five double crochets creates a gentle curve, with a stitch marker placed in the middle to maintain a balanced and smooth shape. Favorite colours are chosen, soft for a subtle look or vibrant for a playful style.
Handmade Crochet Bralette Pattern Design for Girls
Adjusting size is simple: increase or decrease the number of chains or rows as needed. Once both cups are complete, slip them together in the center, add a band with chains to match the waist, and create sturdy straps using single crochet stitches. The finished bralette measures around 5 inches tall for a cup A but can be easily lengthened or shortened.
This pattern can be made into a bikini top for water days, a breezy crop top for sunny outings, or even a fun festival piece. With each stitch, the bralette takes shape, combining comfort, style, and personal expression into a simple, wearable creation.
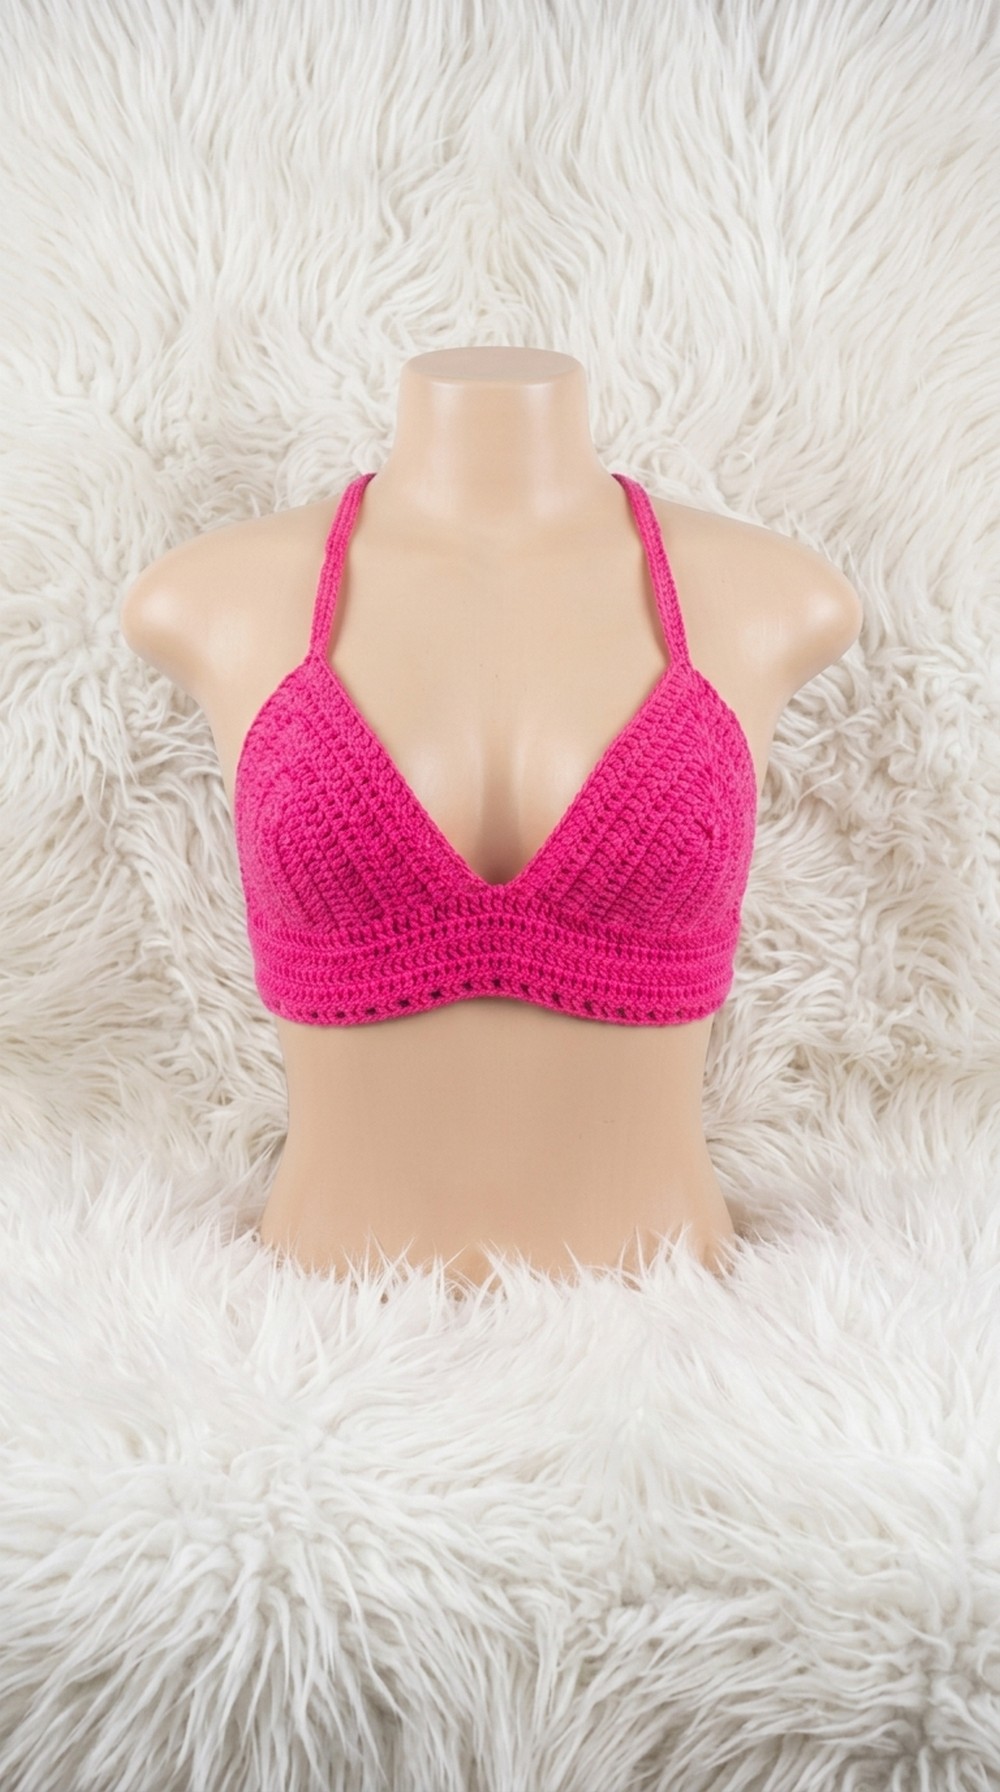
Classic Crochet Bralette Pattern
A crochet bralette is a versatile, stylish piece that’s essential for any handmade wardrobe. This design features simple double crochet, straightforward cup shaping, and a secure fit with customizable side and shoulder ties. Follow this thoughtfully written tutorial for best results.
Before You Start
- Select a soft, comfortable yarn such as acrylic or cotton in a medium weight.
- Review the double crochet and slip knot techniques if you’re a true beginner.
- Gather your materials including a yarn needle and measuring tape.
- Make sure you measure key points (bust, underbust, and shoulder) for a perfect fit.
- Read the whole pattern once before beginning to understand the process.
Pattern Notes
- Cups are made separately using basic double crochet (dc) stitches and a simple increase for shaping.
- Both cups are joined at the base with a row of double crochets, with long chain ties on each end for the underbust band.
- Clever chain spaces and optional mesh row add a decorative finishing touch.
- Straps are added at the end with long chains for neck or shoulder tying.
- Always count stitches after increases, and remember to place stitch markers if you’re new to increases.
How I Designed This Bralette Pattern
- Made two separate triangular cups by increasing at the center and working evenly along the sides.
- Joined the cups at the underbust by crocheting a chain band and border row.
- Added decorative/structural edge detail as a final border.
- Finished with long chain straps attached at the top corners for a flexible fit.
- Used a simple and effective stitch marker method for consistent cup shaping.
Skill Level
Advanced Beginner
Familiarity with chains, double crochet, working back in forth in rows, and basic joining techniques is required.
Finished Size
- Designed for Cup A/B (instructions include guidance for adjusting)
- Cup Height: About 5 inches (from nipple to underbust)
- Bralette Width: Calculated based on bust size and tie length
- Strap and Tie Length: Customizable, suggested around 50 inches for halter ties
Materials
- Medium weight (Worsted/Category 4) acrylic or cotton yarn
- 2.5 mm crochet hook
- Scissors
- Yarn/tapestry needle
- Measuring tape
- Stitch markers (optional)
Measurements / Sizing
- Cup Height: Measure from the center of your nipple down just below your bust (for Cup A, usually 2.5–5 inches)
- Underbust Band: Your full underbust measurement minus 5 inches (for stretch and ties)
- Strap Length: 50 inches for each strap (can be adjusted for your comfort)
Gauge & Stitch Pattern
- Double Crochet (dc): Used throughout the bralette for sturdy yet comfortable fabric
- Gauge: 18 dc x 10 rows = 4x4 in (10x10 cm) in dc—adjust hook size/yarn for fit
Stitch Abbreviations
| Abbreviation | Meaning |
|---|---|
| ch | chain |
| dc | double crochet |
| sc | single crochet |
| sl st | slip stitch |
| st(s) | stitch(es) |
| rep | repeat |
Special Stitches
Double Crochet Increase (dc inc): Work two (or more) dc into same st.
Center Cup Increase: Work 5 dc into the marked/centerstitch for clear shaping.
The Pattern!
Bralette Cup (Make 2):
1. Begin Base:
- Make a slip knot. Ch the number needed to match your "nipple-to-underbust" measurement (example for Cup A: ch enough for 2.5 inches).
- Add 1 more chain for turning.
- Starting in the third ch from hook, work 1 dc in each ch across. (Count and remember your base dc number – Ex: 13 dc)
For non-pattern readers: Make a short chain to fit from your nipple to underbust, then fill this with double crochets.
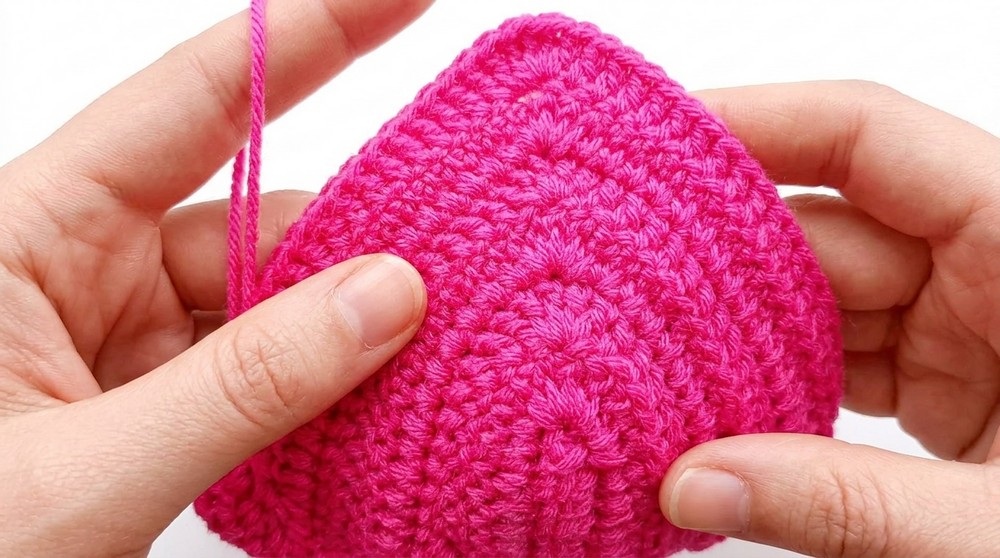
2. Cup Increases:
- Ch 2, turn.
- Skip first st, dc in next and across the row until you reach the last st.
- In the last st, work 5 dc (all in that stitch).
- Place a stitch marker on the third (center) of those 5 dc.
- Continue working 1 dc in each of the foundation dc on the other side of your cup.
- Continue to the end, counting to match your base row.
This creates a triangle cup—with 5 dc at the tip, the cup will shape smoothly. Use the marker to easily place the next set of increases.
3. Continue Rows:
- Ch 2, turn.
- Work dc in each st up to the stitch marker.
- Remove the marker, work 5 dc into the marked st, and move the marker to the new center dc.
- Dc in each st to the end.
- Repeat this sequence, always making 5 dc at the tip, always marking the center dc, and continuing to dc evenly along the edges.
- Work until the cup measures from the tip to the lower band (~5 inches or desired length).
- For larger cup sizes, add more rows in this fashion.
This method gives you cups with straight, clean edges and a central increase for comfort and style.
Joining Cups & Creating Band
1. Place cups side by side, right sides up.
2. With a slip knot, join yarn to the first dc at the base of one cup (the chain 2 edge).
3. Ch the number needed for one underbust tie (suggested: half your underbust minus the combined width of the cups, ex: 27 ch for a 5-in tie per side).
4. Attach to the base of cup two by sl st in the first dc.
5. Ch 1, cut yarn and fasten off.
6. Repeat on the other side.

You’ve now joined your cups with foundation chains on each side for the band!
Non-pattern explanation:
Sew cups together at the bottom and add a tie on each end so it can wrap around your body.
Underbust Row
1. Attach yarn at the first chain band end, ch 2.
2. Dc in each chain, and into every row-end (2 dc per row) across the bottom of both cups, then all the way across the other underbust tie.
3. Cut yarn and fasten off after the last chain.
The band should fit snugly under your bust for support and comfort.
Decorative Final Row
1. Attach yarn, ch 2.
2. Work (dc, ch 1, skip 1 st, dc in next two sts) across the row.
3. Adjust as needed to keep the edge straight and even.
4. Fasten off and weave in ends.
Shoulder Straps
1. With a slip knot, join yarn to the top/side of your cup.
2. Ch until your strap measures about 50 in or desired length.
3. Work sc in each ch back to the top.
4. Slip stitch to secure, ch 1, cut yarn.
5. Repeat for second cup/side.
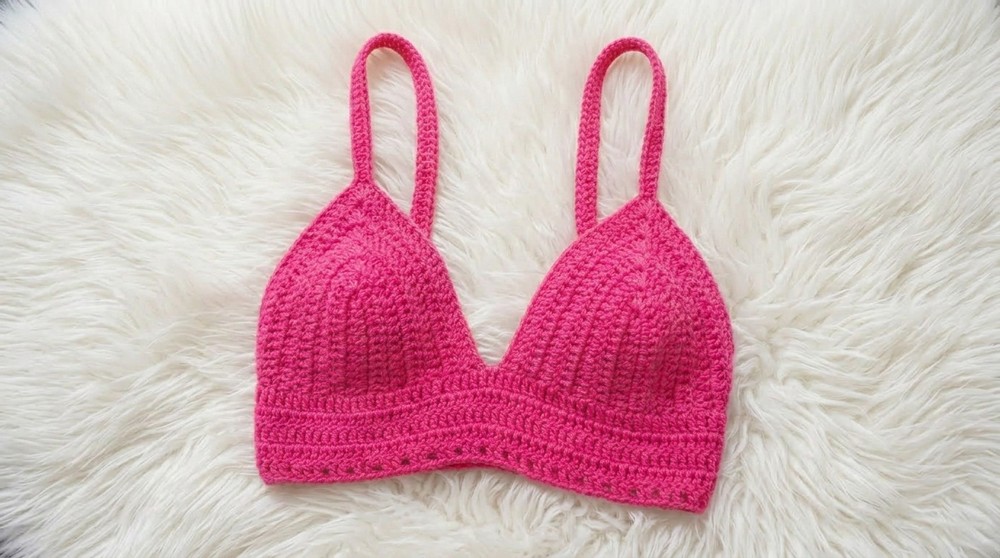
For a no-pattern approach: Make a long chain, work single crochets back, and attach as a secure strap at the top of the cup.
Assembly & Finishing
- Weave in all ends with a yarn needle.
- Double-check the ties and straps for equal length.
- Adjust strap or band length if needed before cutting and finishing.
- Try on and marvel at your finished piece—adjust as desired for your fit!
Solution of Problem
Problem: The cup edges curl or do not lie flat.
Solution:
Make sure you are increasing exactly 5 dc in the tip (always in center/marked st), and always the same number of dc on the sides. Block gently if the curve persists—acrylic will relax with wear.
Creative Possibilities with These Techniques
- Cropped bralettes in various strap/tie configurations
- Festival tops by making larger size or adding mesh/rings
- Summer bikinis using cotton yarn
- Edges for halter top and dress bodices
- Foundation for lace overlays or beaded bralettes
For Non-Pattern Readers
Make two triangle cups by increasing in the middle of every row. Sew them together at the bottom. Add strings for ties on the sides and at the top corners for straps—adjust everything to fit, and you’re done.