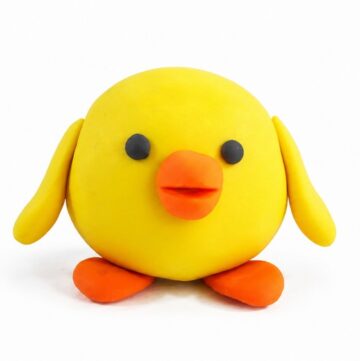
Get inspired by this DIY Polymer Tonyangdeok guide, a fun and easy project for making cute little animal figures with simple steps.
Fun DIY Polymer Tonyangdeok Guide With Helpful Tips
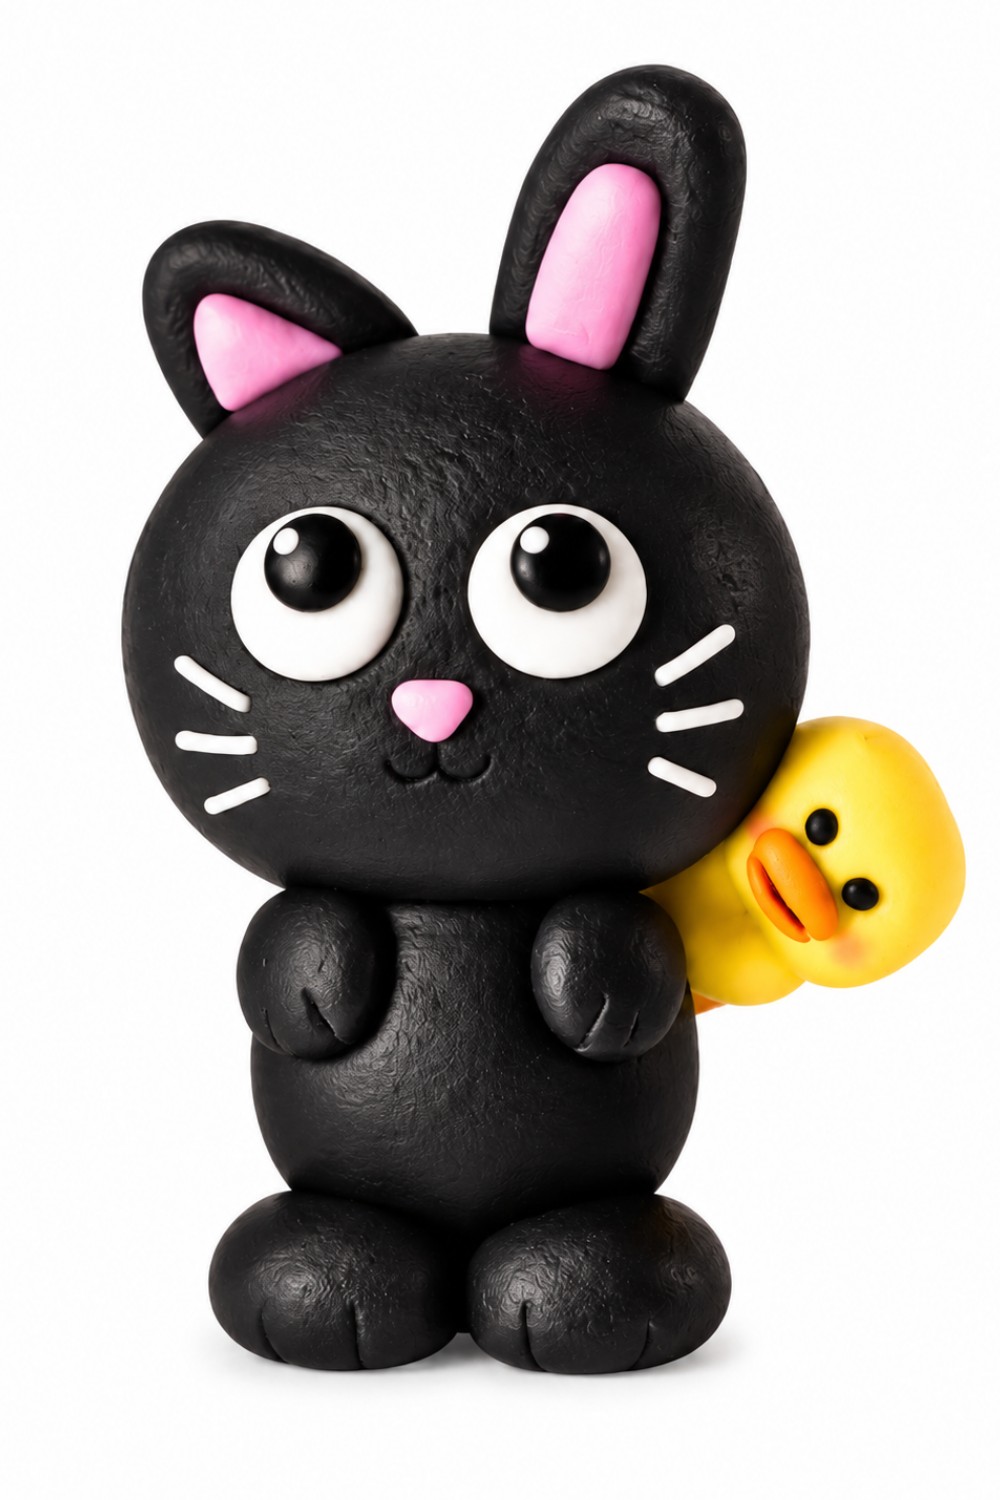
Tonyangdeok stands out because of its combination of animal features. The cat-like details and duck-inspired appearance give this little character a special look. Using soft polymer clay, you can shape the main body and head before working on the smaller facial details. Gentle rolling and pressing help form smooth pieces, while careful positioning gives the character its recognizable expression.
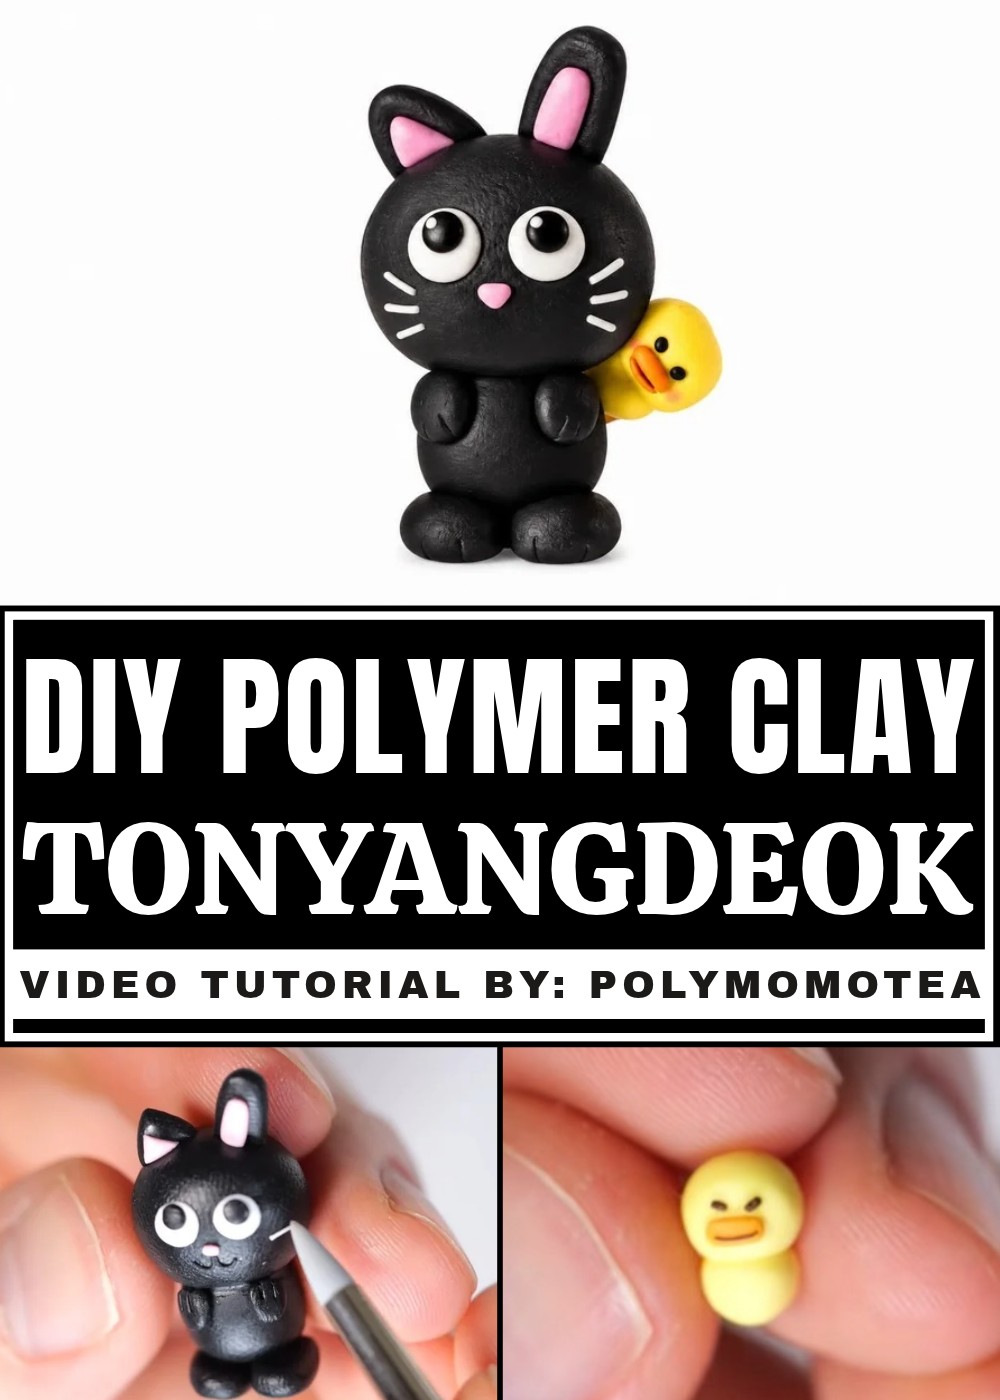
The best part of working with polymer clay is that you can adjust the shapes before baking. This allows enough time to smooth uneven areas, correct small details, and carefully attach the different pieces. Paying attention to the eyes, beak, and other tiny features helps the finished figure resemble Tonyangdeok. Even small changes in the facial expression can affect its overall appearance.
Once all the pieces are attached, bake the figure according to the clay manufacturer's instructions and allow it to cool completely. Your finished DIY Polymer Clay Tonyangdeok can become a lovely decoration for a study table, bookshelf, or bedroom. It is also a sweet birthday gift for friends who like cute animal characters. This charming little project offers a relaxing activity with a finished figure that you can proudly display at home.
How to Make A DIY Polymer Tonyangdeok Guide
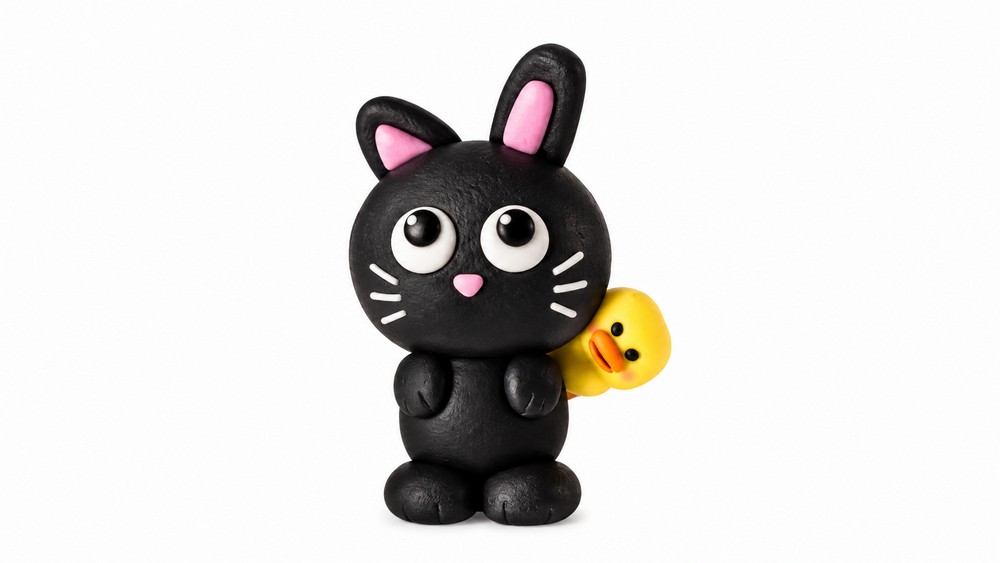
This tutorial will guide you through making Tonyang, a unique clay character from RIIZE. Tonyang is an imaginative combination of a cat, a rabbit, and a duck all brought together into one adorable design. The character features a black cat body with a cattail, rabbit and cat ears, and an accompanying yellow duckling with a charming beak and webbed feet sitting behind the cat-rabbit hybrid. Using simple techniques like rolling, flattening, and cutting clay, you’ll work step-by-step to design every element. With black, pink, white, yellow, orange, and brown clay, this tutorial ensures every detail is easy to follow. Let’s assemble this creative and quirky character.
Materials and Tools
Materials
- Black clay: For the cat’s head, body, paws, ears, eyes, tail, feet, mouth, and whiskers.
- Pink clay: For the rabbit ear, nose, and cat ear detail.
- White clay: For the cat’s eye highlights.
- Yellow clay: For the duck head and body.
- Orange clay: For the duck’s beak and feet.
- Brown clay: For the duck’s mouth detail.
Tools
- Clay blade or cutter: For cutting and shaping specific pieces like ears, legs, and fine details.
- Your hands: For flattening and shaping the clay.
Making the Cat
Shape the Head
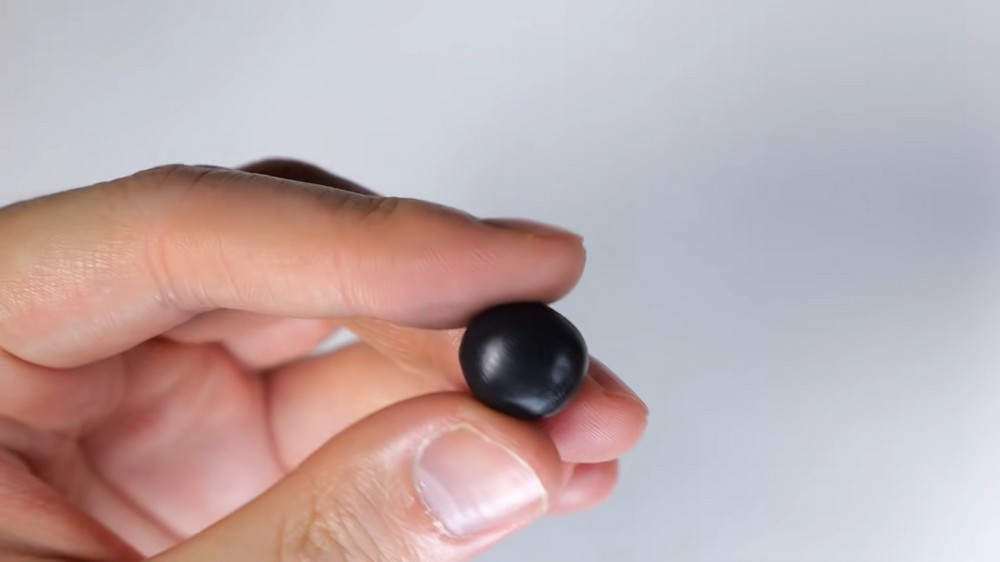
- Roll a portion of black clay into a flattened oval shape for the head.
- Smooth out the edges to create a clean and rounded look.
Shape the Body
- Take another piece of black clay and roll it into a cylinder shape.
- Cut off one end to create a flat edge using your clay blade.
- Attach the flat end of the cylinder to the base of the oval-shaped head.
- Smooth the connection between the head and body for a seamless appearance.
Add the Feet
- Roll two small portions of black clay into flattened oval shapes for the cat’s feet.
- Attach them to the bottom of the body, placing them evenly to resemble paws.
Make the Cat Ear
- Take a piece of black clay and shape it into a flattened triangular form.
- Use the clay blade to cut off the tip, creating a clean edge for the ear.
- Roll a tiny piece of pink clay into a small triangle and place it onto the black ear for decoration.
- Secure the ear on the left side of the cat’s head, positioning it upright.
Make the Rabbit Ear
- Roll a piece of black clay into a long cylinder shape.
- Flatten the cylinder evenly and cut off one end.
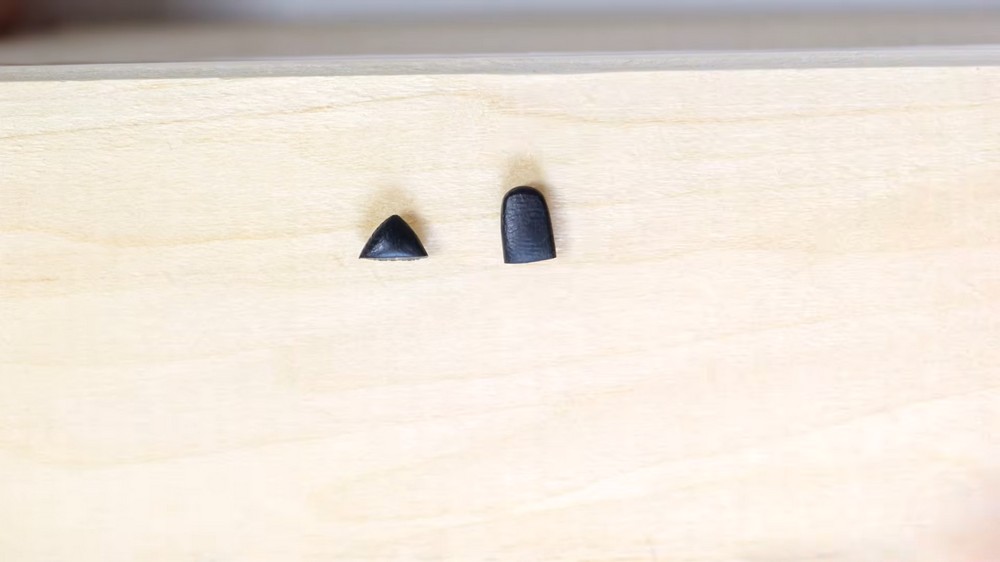
- Roll a small pink oval and press it onto the center of the flattened black clay ear for detail.
- Attach the rabbit ear above and to the right side of the cat’s head, opposite the triangular cat ear.
Create the Paws
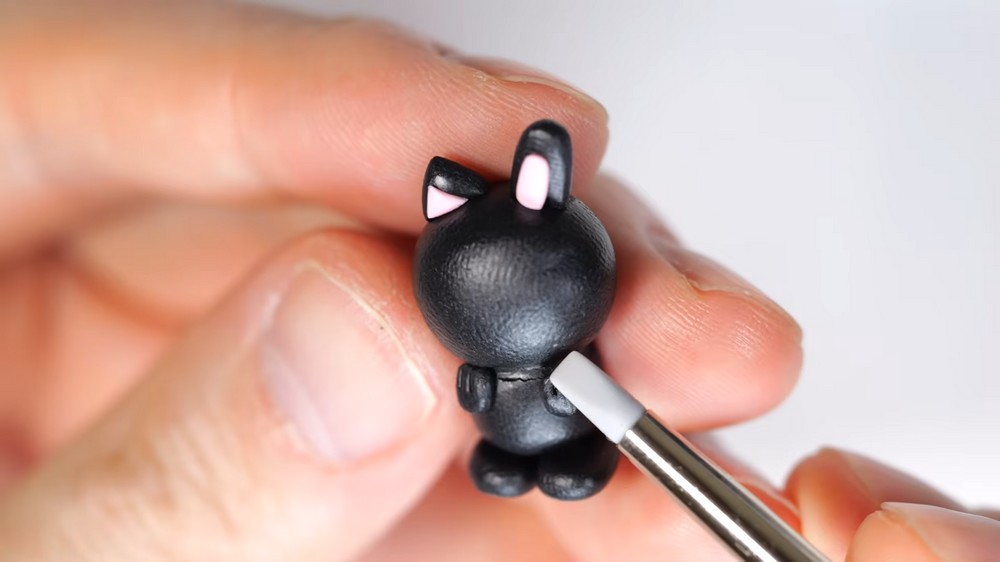
- Pinch small pieces of black clay into flattened oval shapes for the cat’s paws.
- Use the clay blade to gently make two indents on each oval, giving them a paw-like appearance.
- Attach the finished paws to the front of the body, just below the head.
Add the Tail
- Roll a piece of black clay into a thin cylinder shape to form the cat’s tail.
- Curve the cylinder slightly by gently bending it.
- Attach the tail to the back side of the body, ensuring it is secure but retains its curved shape.
Adding the Cat’s Face
Make the Eyes
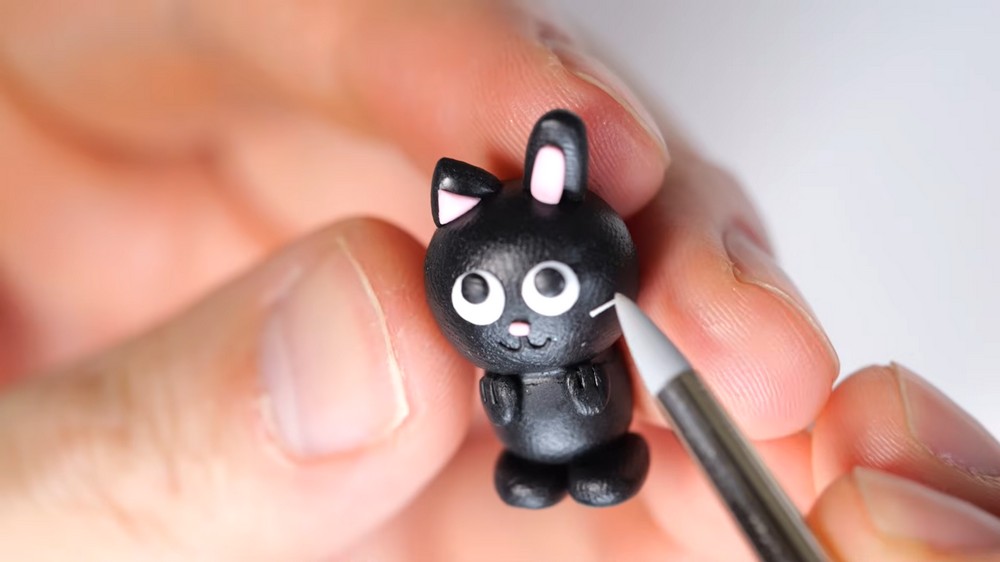
- Roll out two small white circles and attach them evenly on the cat’s head for the eyes.
- Position two tiny black circles inside the white circles to form the pupils, slightly tilted upwards for expression.
Add the Nose
- Use a small oval shape of pink clay to create the nose.
- Attach it to the center of the face just below the eyes.
Create the Mouth
- Roll a thin piece of black clay into a wavy “W” shape.
- Place this piece directly under the pink nose, aligning it to form a cute smile shape.
Add the Whiskers
- Roll six thin lines of black clay, evenly sized.
- Position three whiskers on each side of the face, angling them outward slightly for a playful look.
Making the Duck
Shape the Duck’s Head and Body
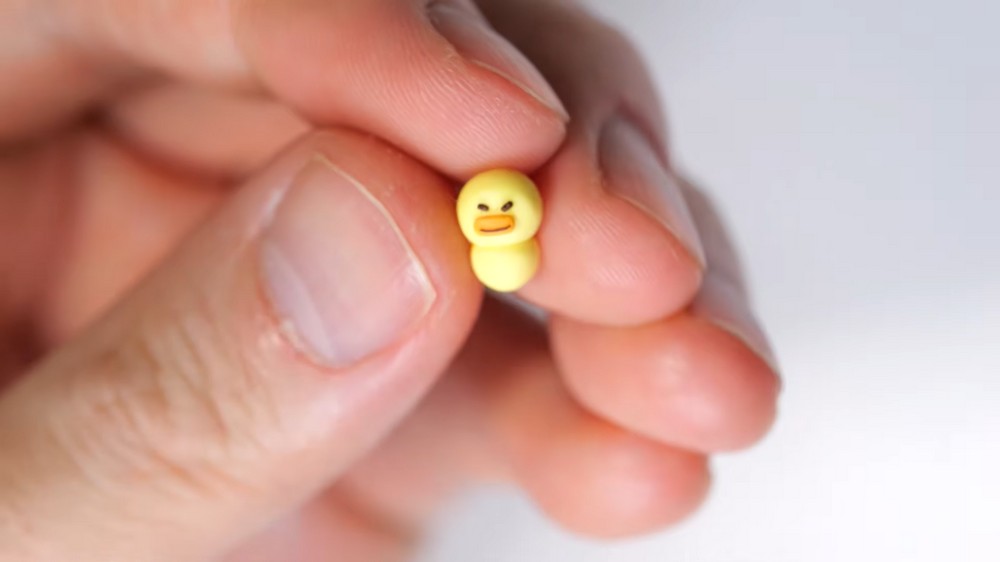
- Use a piece of yellow clay and roll it into a flattened round pancake shape for the head.
- Roll another slightly larger piece of yellow clay into a flattened oval pancake shape for the body.
- Attach the smaller pancake to the top of the larger one, smoothing the connection to make the head and body appear unified.
Add the Beak
- Roll out a small orange oval and attach it to the center of the duck’s face to create the beak.
Add the Mouth
- Take a thin piece of brown clay and position it across the center of the orange beak to indicate the mouth.
Make the Eyes
- Roll two small black ovals and place them evenly on the duck’s face as the eyes.
- Position them slightly slanted to add a lively expression.
Attach Duck’s Feet
- Roll two small orange balls for the duck’s feet.
- Flatten each ball slightly and attach them both to the underside of the duck’s body, near the back.
Position the Duck
- Place the completed duck behind the cat-rabbit hybrid, adjusting its placement so it’s securely seated on the surface without leaning or falling.
Final Assembly
Position the Ears
- Attach the cat ear to the left side of the head and the rabbit ear to the right side.
- Ensure they are angled properly and securely attached.
Secure the Tail
- Ensure the curved black tail is properly secured to the back of the cat’s body.
Arrange the Duck
- Position the duck directly behind the cat-rabbit hybrid.
- Make sure the head, body, and feet are securely in place to prevent the duck from tipping over.
Conclusion
Your Tonyang character is complete! This quirky clay figure combines three distinctive animals: a cat, a rabbit, and a duck, each contributing its unique features to the final design. You have created a clever combination of shapes and textures, from the cat’s triangular ears and curved tail to the rabbit’s long ear and the duck’s round body and cheerful beak. The bold use of black, yellow, pink, orange, white, and brown clay makes this project visually appealing while allowing you to fine-tune your shaping and assembling skills.
This character can serve as a display piece, a fun collectible, or a thoughtful gift for fans of RIIZE. Each detail, including the facial features and intricate tail and ear combination, makes this project stand out with personality. Whether this is your first attempt or one of many clay experiments, working on pieces like Tonyang provides an engaging way to develop artistic techniques and channel creativity into real-world designs.