Shape a cheerful garden friend with DIY Polymer Clay Snail, featuring a curved shell and tiny feelers for shelves, gifts, and miniature scenes.
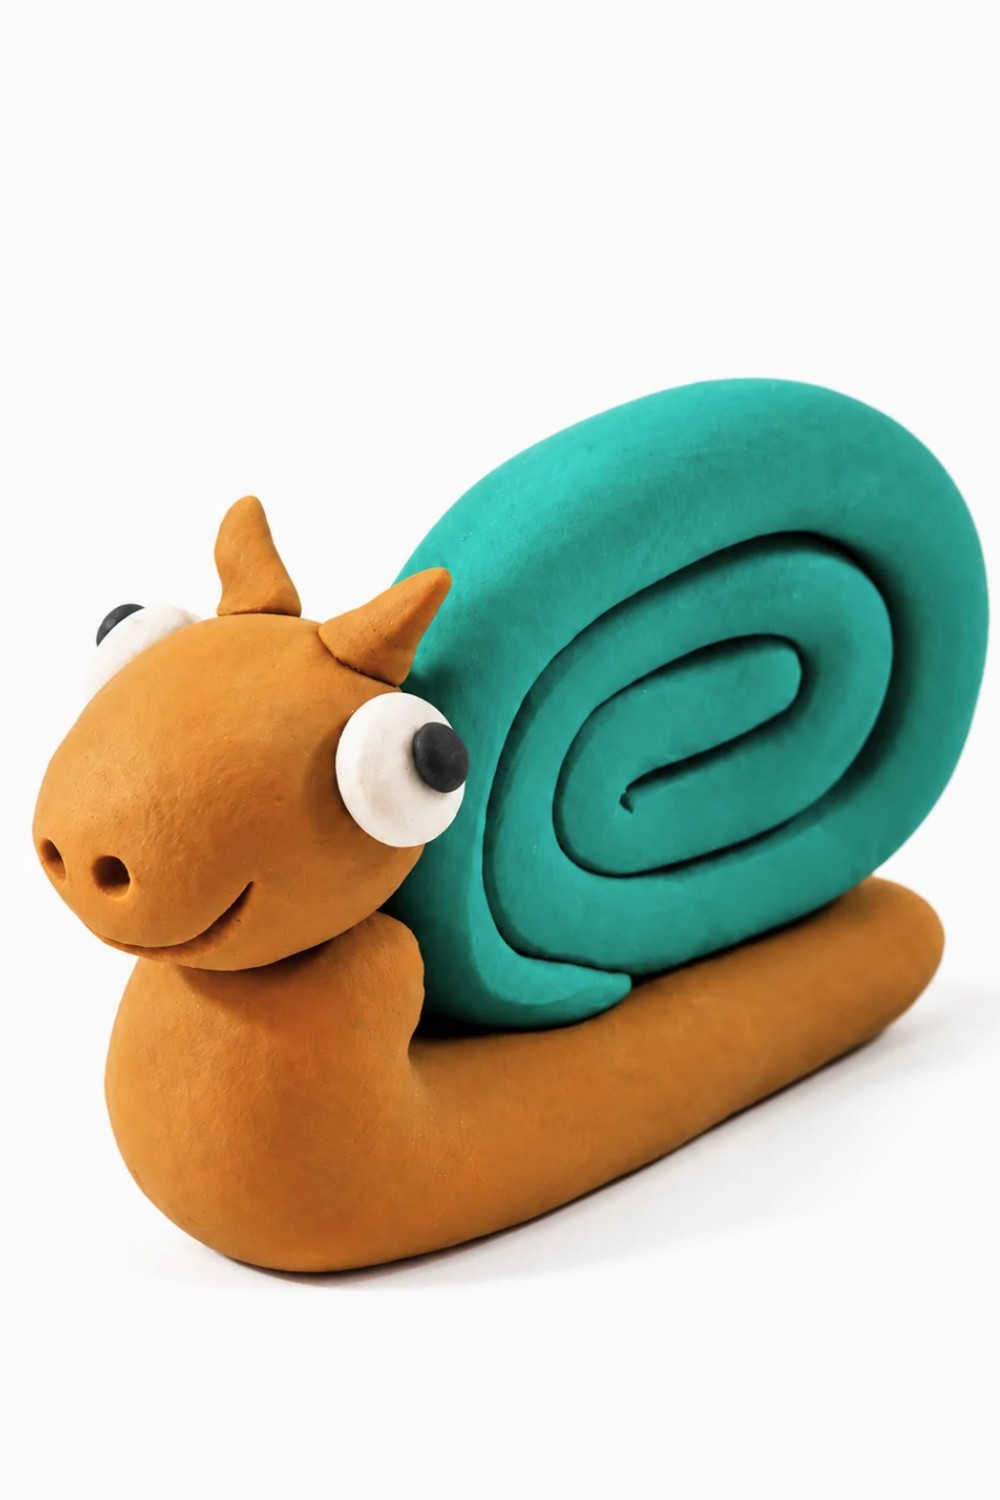
Drawings In Action shares a sweet little animal project inspired by a slow-moving garden visitor. This simple idea uses gentle curves and soft colors to turn an everyday creature into a lovely miniature figure with its own personality. DIY Polymer Clay Snail features a small body, a beautifully curled shell, and two tiny feelers above its head. The shell is the most eye-catching part, with its round spiral shape and raised center. Its soft body rests close to the ground, giving the figure a cute and relaxed appearance. A little smiling face can give this garden animal an extra friendly look.
Quick DIY Polymer Clay Snail With Tiny Eyes
The spiral shell has a lovely twisted form that makes the model interesting from different sides. Brown, cream, or light orange shades can give it a natural appearance, while a contrasting body color helps each section stand out. Small lines across the shell can show its curved design more clearly.
For this project, polymer clay is shaped into a slightly longer body with a rounded front. A separate strip of clay is rolled into a spiral to form the shell. The curled piece is then gently placed on top of the body. Two short feelers and tiny eyes complete its familiar appearance.
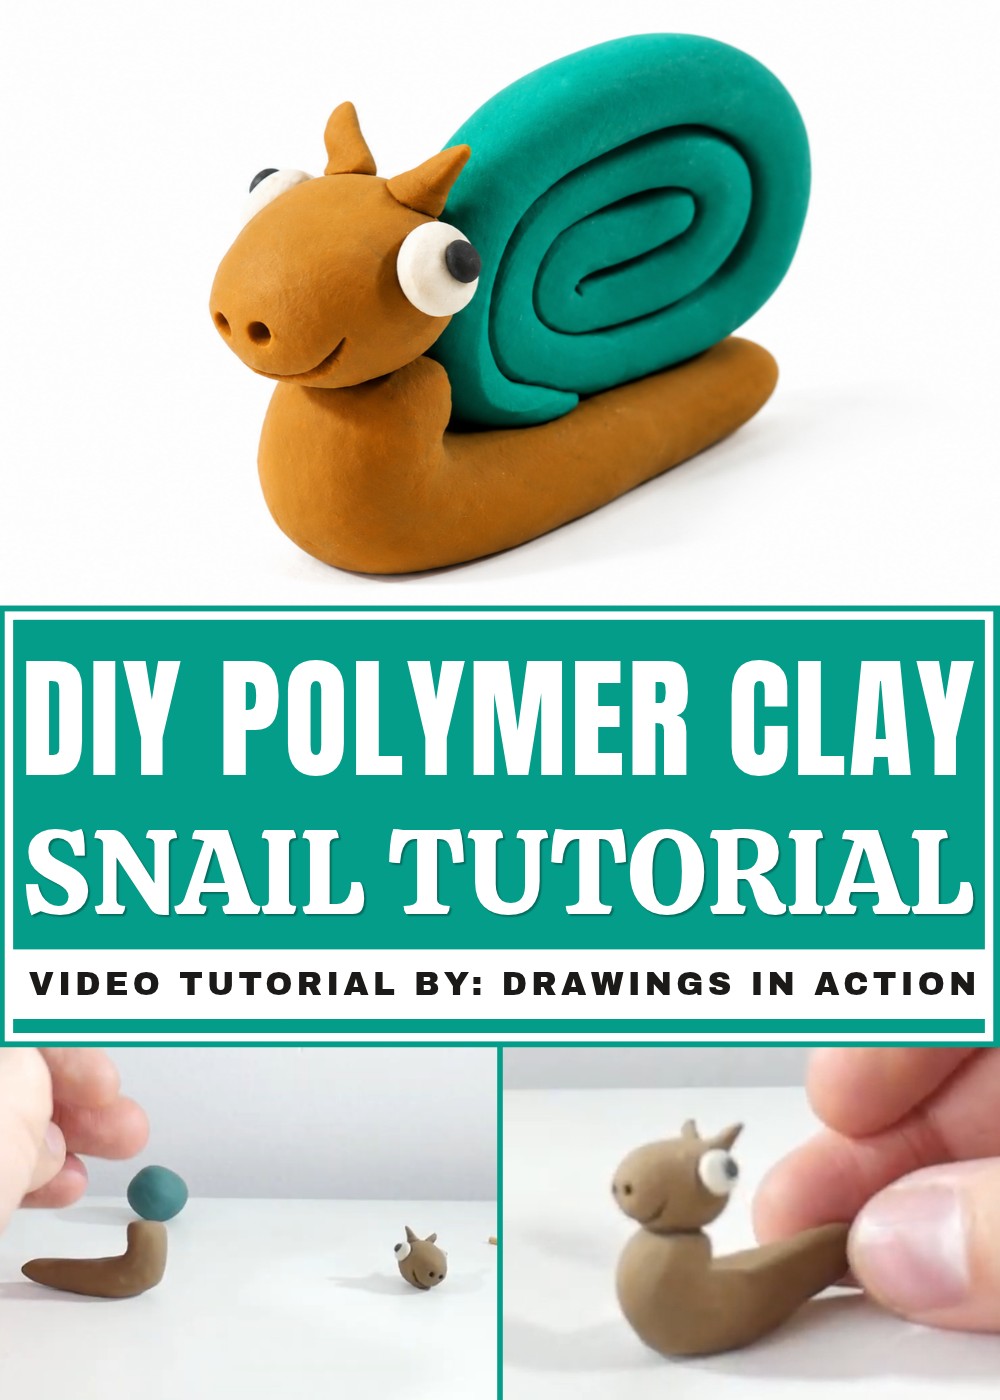
The finished figure has a peaceful and lovely appearance. Its curled shell, gentle expression, and simple shape offer a cheerful way to include a little garden-inspired beauty in your home
How to Make a Cute and Easy Clay Snail
In this easy and fun tutorial, you will learn how to make a cute clay snail using just a few simple colors and basic techniques. This project is perfect for beginners and kids who want to try working with clay for the first time. You will shape the snail’s body, head, eyes, antennas, and shell step by step. With clear instructions and simple materials, you’ll create a charming snail that looks friendly and lively. This craft is a great way to practice molding clay, develop hand skills, and enjoy a creative activity that’s quick and satisfying.
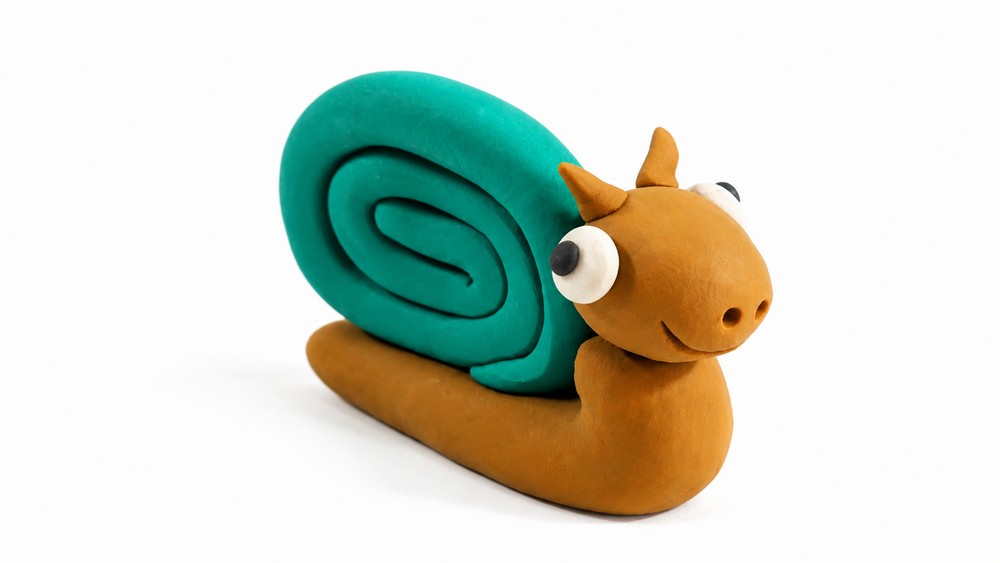
Project Overview
This project guides you through making a cute and simple clay snail using green, brown, white, and black clay. It focuses on basic shaping and assembling techniques suitable for beginners and children. You will create a snail's body shaped like an L, a pear-shaped head with expressive eyes and antennas, and a spiral shell made from rolled green clay. The tutorial covers important details such as adding pupils, drawing a smile, and making nostrils for a charming finish. By following step-by-step instructions, you will develop your clay modeling skills and complete a delightful snail figure quickly and easily.
Materials and Tools
- Green clay
- Brown clay
- White clay
- Black clay
- A pencil or any similar tool for drawing lines
- A pointy object (to make small holes)
- Flat surface to work on
Step-by-Step Tutorial
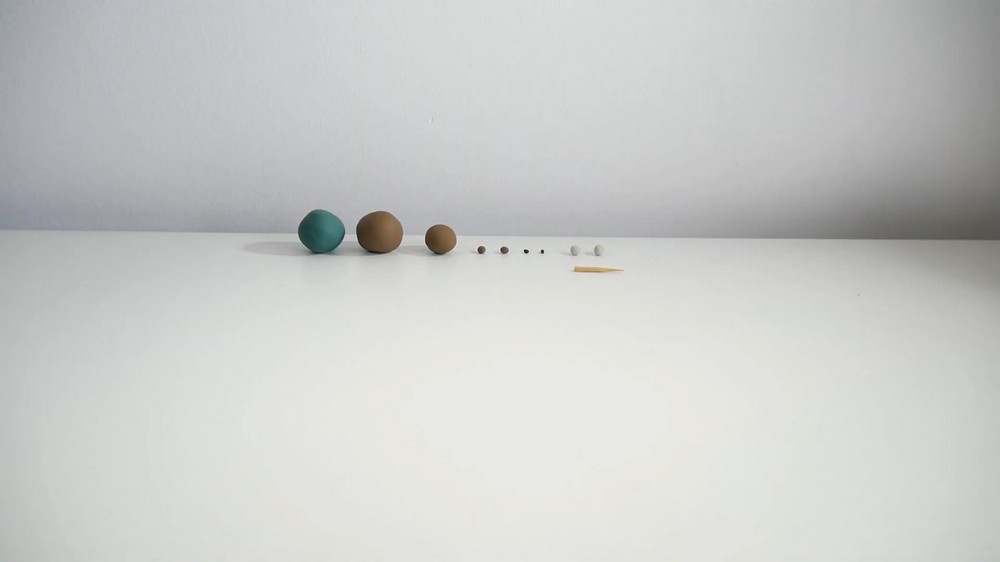
1. Prepare the Clay Balls
- Divide the clay into several small balls of different sizes using the colors green, brown, white, and black.
- You can pause at this stage to check the approximate size and quantity of each ball you will need.
2. Make the Snail’s Body
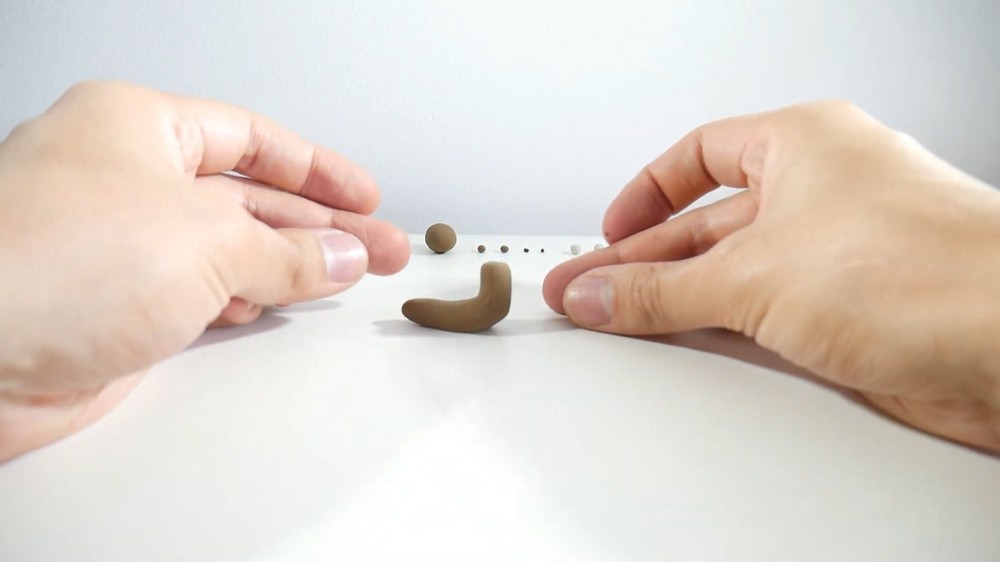
- Take a brown ball of clay and roll it into a cylinder shape.
- Fold one end of this cylinder upwards to form an L shape.
- The folded end should be flat on top; this will be the base for the snail’s head.
3. Shape the Head
- Take another brown ball and shape it into a pear-like form; this will be the snail’s head.
- Attach the pear-shaped head to the flat folded end of the body (the shorter part of the L shape).
4. Make the Eyes
- Take two white balls and place one on each side of the snail’s head to form the eyes.
- Next, take two black balls and add one on each white eye for the pupils.
5. Add the Antennas
- Take two small brown balls and shape each into a cone.
- Place these cones on the top of the snail’s head to create the antennas.
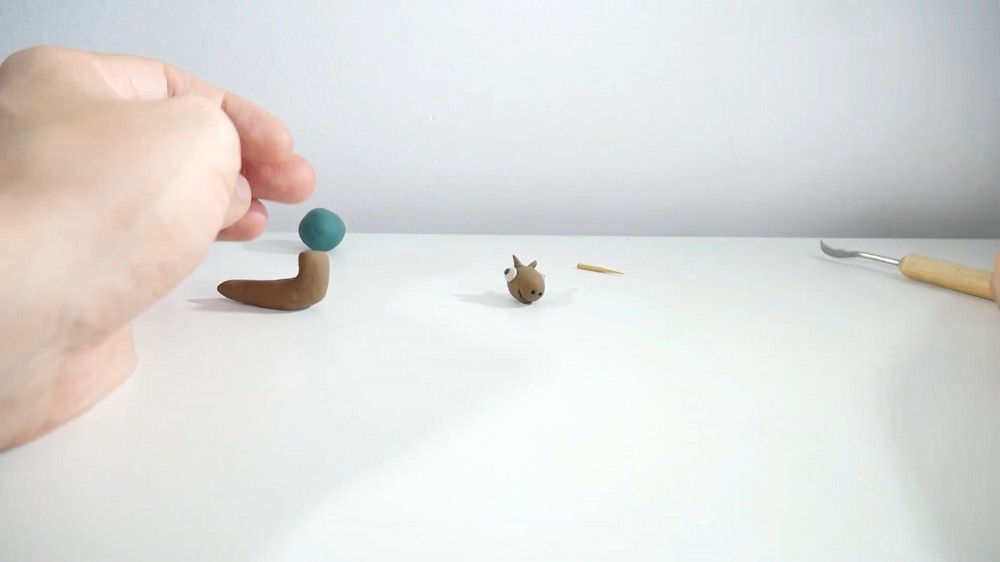
6. Draw the Smile and Nostrils
- Use a pencil or similar tool to make a small curved mark for the snail’s smile on the head.
- With a pointy object, make two small holes above the smile to represent the nostrils.
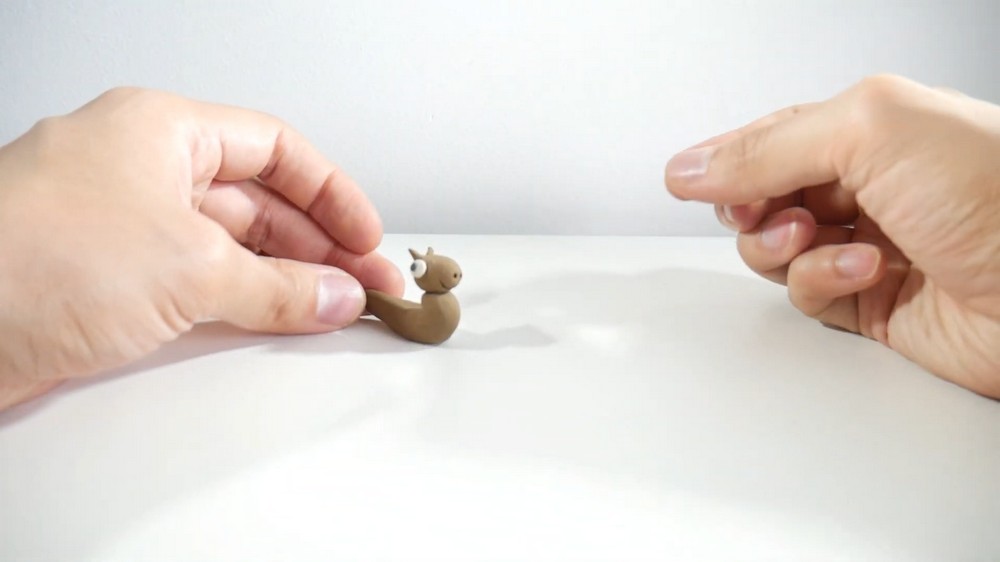
7. Create the Shell
- Take some green clay and stretch it into a long, snake-like shape.
- Then, roll this strip into a spiral shape to form the snail’s shell.
- Attach the spiral shell securely to the snail’s brown body.
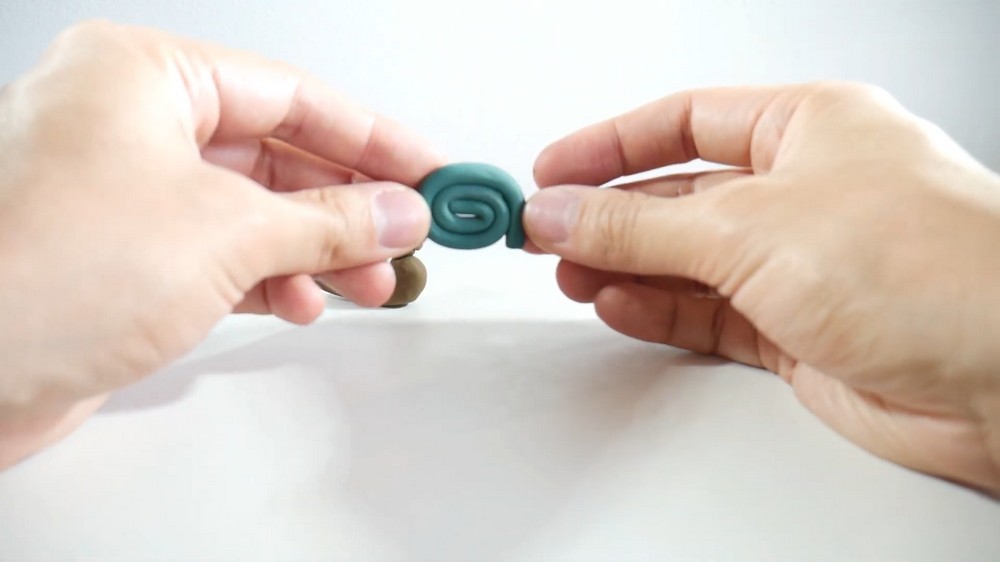
Final Result
You should now have a cute and easy clay snail with a structured body, expressive eyes and pupils, pointed antennas, a friendly smile, nostrils, and a beautifully spiraled green shell.
Tips for Success
- Work slowly to shape smooth, even clay pieces.
- When forming the shell, make sure the spiral is tight enough to hold together but not too compressed.
- Press the parts gently to attach them securely without distorting the shapes.