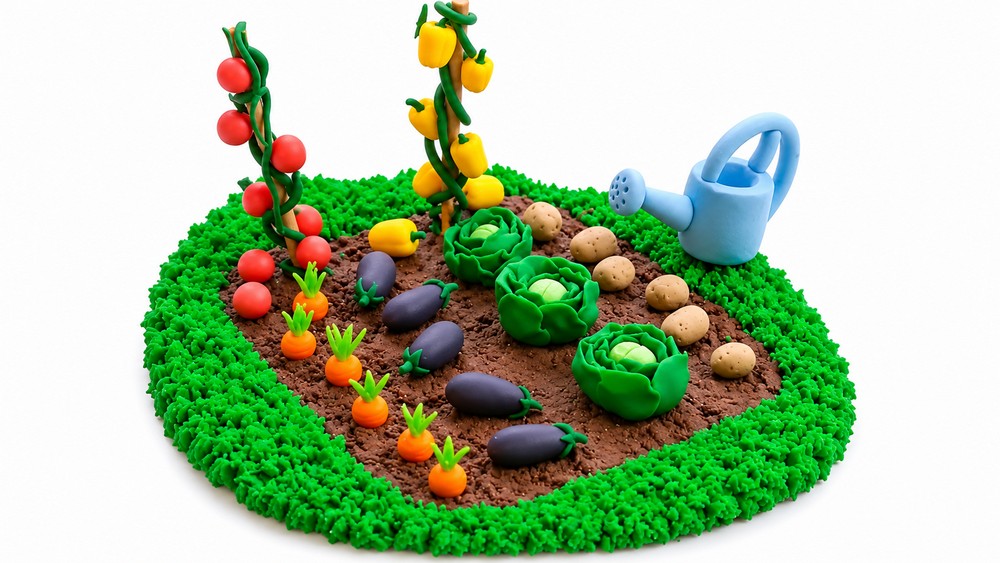
Add a fresh touch to your room with Clay Vegetable Garden, featuring tiny rows of vegetables and rich green leaves for a cute home display.
Growing a healthy garden takes space, patience, and regular attention, but working with clay offers a fun way to build a tiny version of your favorite garden. The Clay Vegetable Garden is a colorful DIY craft project featuring miniature vegetables arranged in a charming garden setting. From leafy greens to bright root vegetables, this creative idea turns everyday garden produce into small clay models filled with interesting details.
The idea comes from Clueless Crafts, who presents a delightful way to celebrate vegetables through miniature clay art.
Easy Clay Vegetable Garden For A Cute Miniature Display
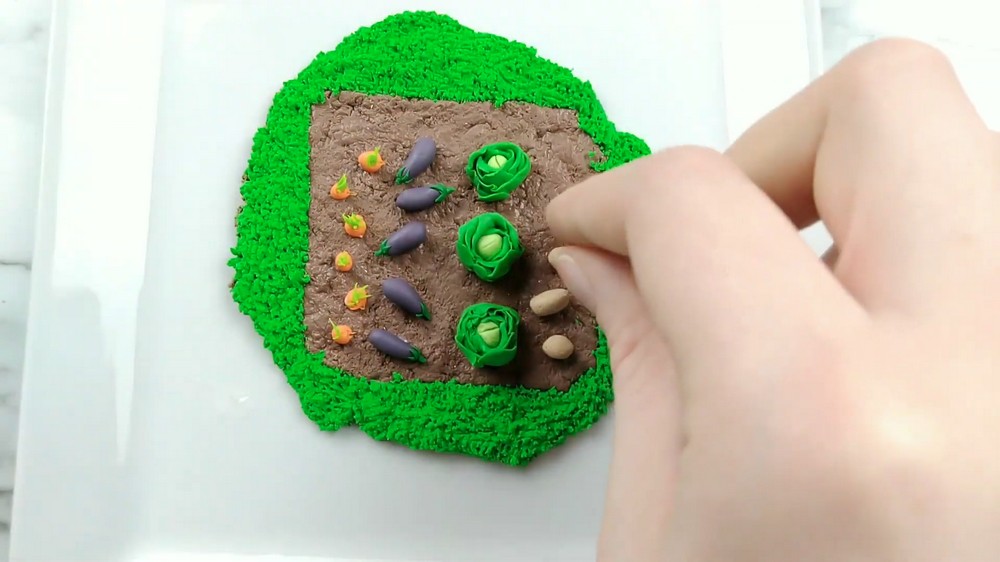
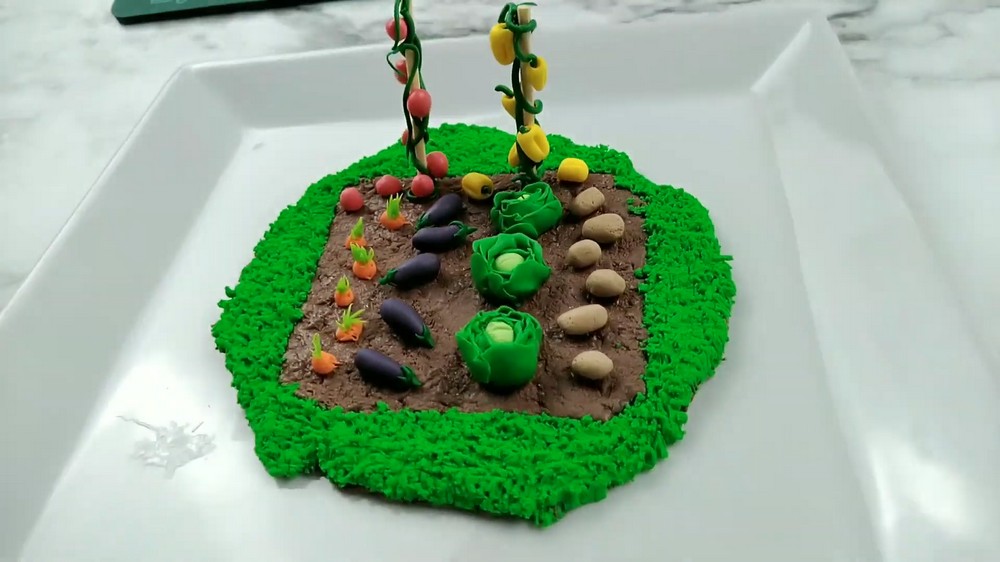
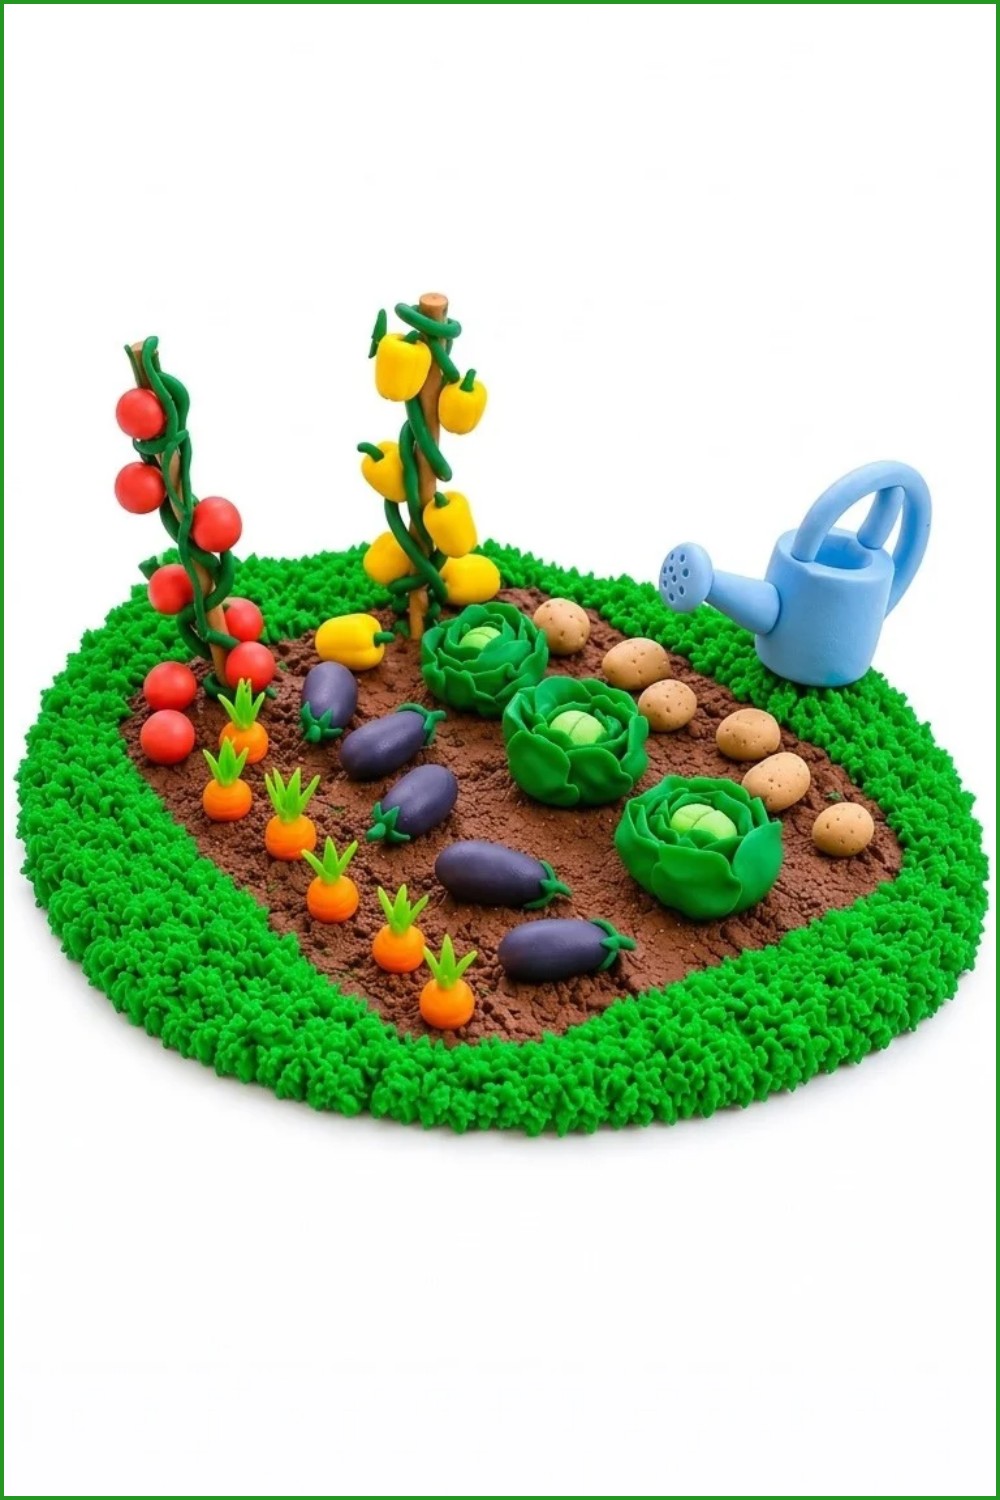
A wonderful part of this project is the variety of shapes found in different vegetables. Carrots have long orange roots with thin green tops, while cabbages have rounded forms covered in overlapping leaves. Tiny tomatoes, radishes, and eggplants can add even more color. Brown clay can represent garden soil, with small rows giving each vegetable its own growing space.
For this DIY activity, roll small amounts of clay into the required shapes. Gently flatten pieces for leaves, pinch the ends of root vegetables, and attach small stems where needed. Simple sculpting techniques help give each vegetable its recognizable appearance.
This miniature garden can be used as a school science model to introduce vegetable names, an educational activity for children, or a fun way to explain how different vegetables grow. It can also be included in a classroom display about healthy food.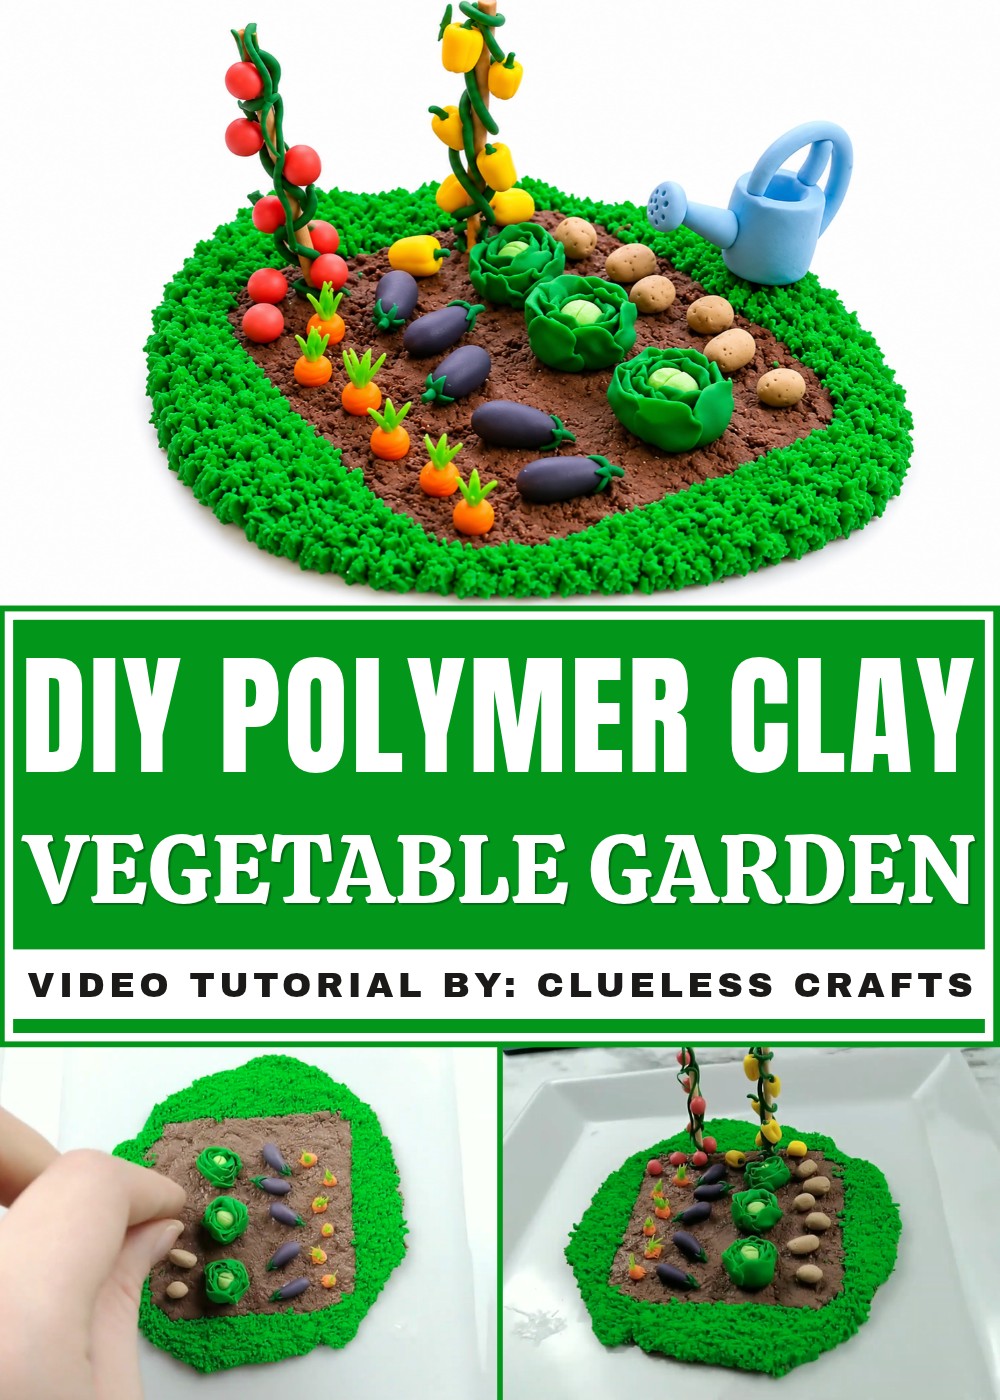
The finished garden offers a cheerful combination of learning and creativity. Its tiny vegetable rows encourage children to recognize familiar foods while experimenting with colors, shapes, and basic clay modeling skills.
DIY Miniature Vegetable Garden with Polymer Clay
Create your own colorful miniature vegetable garden perfect for decoration or as a charming gift. This project guides you through making tiny carrots, eggplants, lettuce, potatoes, tomatoes, yellow peppers, and even a cute little watering can—all from polymer clay. You'll add realistic textures and details, and then bake your creations to harden them.
Materials and Tools Needed
- Polymer clay in various colors:
- Brown (for dirt and potatoes)
- Green (for grass, carrot tops, lettuce leaves, vines, stems)
- Orange (for carrots)
- Purple (for eggplants)
- Light green and dark green (for lettuce)
- Red (for tomatoes)
- Yellow (for yellow peppers)
- Liquid Sculpey (or any liquid polymer clay adhesive)
- Aluminum foil ball (for texturing dirt; alternatively, toothbrush or toothpick)
- Toothpicks (for texture and shaping)
- Knife or blade (for cutting clay)
- Ballpoint tool (for indenting peppers and other details)
- Rolling pin or hands (for flattening clay)
- Oven (for baking polymer clay)
Step-by-Step Instructions
1. Preparing the Garden Base
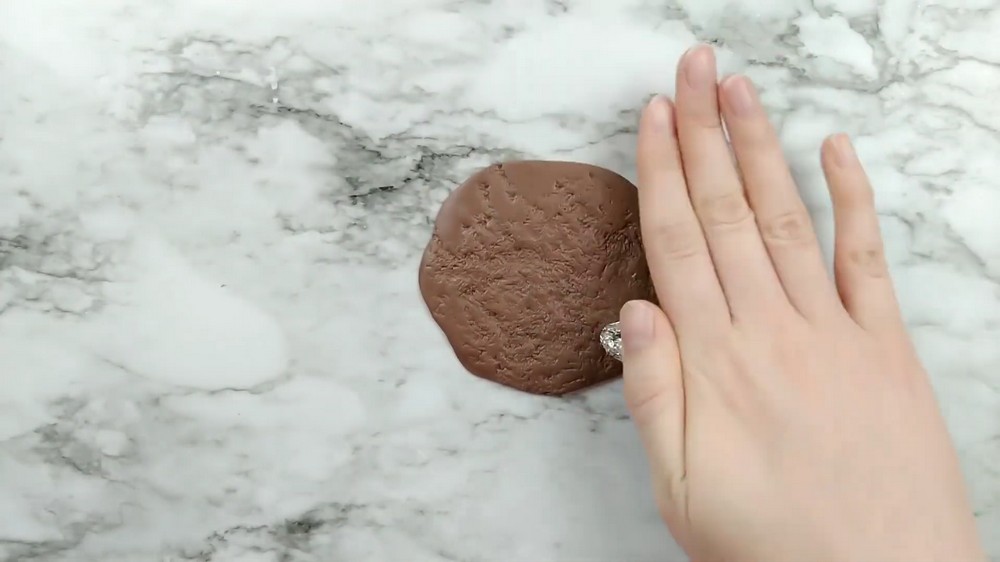
Step 1.1: Forming the Dirt
- Take a large ball of brown polymer clay.
- Roll it flat into the desired shape for your garden base; a square shape is simple and recommended.
- Give the dirt a realistic texture:
- Use a ball of crumpled aluminum foil and press it onto the surface.
- Alternatively, a toothbrush or toothpick can be used to create tiny indents.
- This textured surface will make your base look like soil.
Step 1.2: Adding Grass Edges
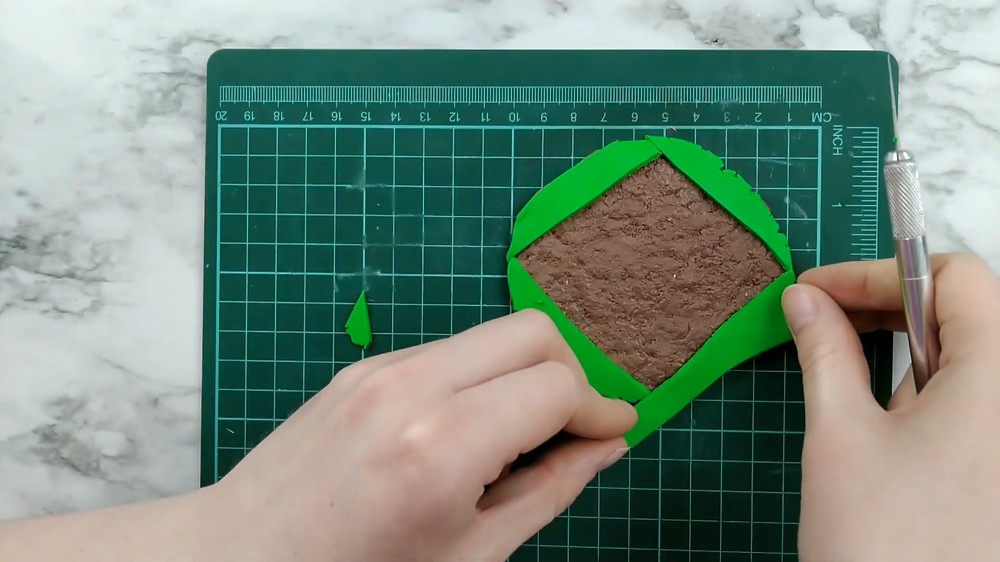
- Roll out some green clay flat and cut it into thin strips.
- Apply a thin line of liquid Sculpey around the edges of the dirt base where you want the grass to be.
- Place the green strips over the liquid Sculpey to create grass borders.
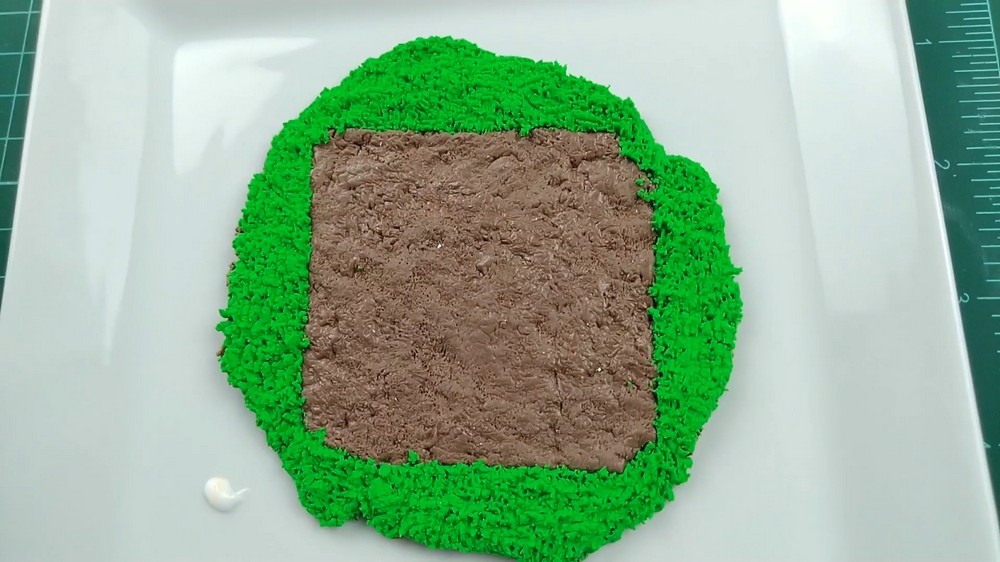
- Use a toothbrush or toothpick to add texture to the grass:
- Make lots of small holes and tiny scratch marks to mimic blades of grass.
2. Making the Vegetables
.1: Carrots
- Roll small balls of orange clay and cut each ball in half to create half-oval shapes.
- With a knife or toothpick, make small horizontal lines along the carrots to mimic ridges.
- To create carrot tops:
- Roll a thin log of green clay, taper one end to make points.
- Cut this into several small, tapered pieces to resemble carrot greens.
- Attach these tapered ends at the top of each carrot.
- Dip the bottom of the carrots in liquid Sculpey to help them stick to the dirt base.
- Arrange the carrots in a neat row on the dirt.
.2: Eggplants
- Shape purple clay into fat teardrop forms for each eggplant.
- For the stems:
- Roll thin green clay logs and cut tapered ends.
- Arrange these tapered pieces in a star shape at the top of each eggplant.
- Add a short green clay stem on top of the star.
- Dip the eggplants in liquid Sculpey and place them on the dirt base next to carrots.
.3: Lettuce
- Roll a ball of light green clay to serve as the lettuce core.
- Flatten pieces of dark green clay into small petal-like shapes.
- Wrap these petals layer by layer around the light green ball to imitate lettuce leaves.
- Continue adding layers until it resembles a full lettuce head.
- Trim the bottom slightly so it sits flat on the garden surface.
- Coat the base with liquid Sculpey, then place the lettuce on the dirt.
4: Potatoes
- Roll irregular small balls of brown clay to represent potatoes (no perfect spheres).
- Use a toothpick or toothbrush to create texture by making many tiny holes and pits on the surface.
- Dip in liquid Sculpey and place the potatoes on the dirt base near the other vegetables.
.5: Tomatoes
- Roll many small balls of red clay to form tomatoes.
- Create thin green clay vines:
- Roll out thin thin logs of green clay.
- Use a toothpick to cut off ends for a natural vine look.
- Curve the vines slowly and place some on the garden base.
- Dip the vine ends in liquid Sculpey and carefully stick the tiny red tomato balls onto the vines.
- Secure tomatoes and vines onto the dirt by pressing them gently.
- Add extra loops of vines on top for a natural effect.
6: Yellow Peppers
- Roll a yellow clay ball and shape it into a fat cylinder.
- Use a knife to carve four vertical indentations around the pepper to create ribbing.
- With a ballpoint tool, make a shallow indent at the top for the stem.
- Roll a small green clay ball, flatten it a bit, and use a toothpick to add small holes to resemble the stem.
- Attach the green stem to the top of the pepper.
- Wrap the yellow peppers lightly with green clay vines.
- Apply liquid Sculpey where the peppers will be placed and stick them on the dirt base.
- You may also scatter some peppers around the garden base for variation.
3. Making the Mini Watering Can
Step 3.1: Forming the Body
- Take a ball of clay (color flexible, like blue or silver).
- Roll it into a cylinder shape.
- Flatten the top and bottom surfaces smoothly.
Step 3.2: Adding Details
- Use a ballpoint tool to create a circular indent on top (to look like the opening).
- Roll out a small cone shape for the stem.
- Cut one end of the cone at an angle.
- For the spout:
- Make a small ball of clay, flatten it.
- Use a toothpick to create many tiny holes on the flattened ball, simulating spout holes.
- Roll a thin clay snake for the handle.
- Attach the handle to the side of the cylinder, supporting it by adding a small clay piece in the middle.
Final Assembly and Baking
- Double-check that all your vegetables, vines, and the watering can are securely attached using liquid Sculpey.
- Carefully place your entire miniature vegetable garden on a baking tray.
- Bake according to your polymer clay brand’s instructions (typically at about 265°F / 130°C for 15-30 minutes).
- Let cool completely after baking.
Tips for Success
- Use liquid Sculpey or similar adhesive under all attachments to ensure nothing falls apart after baking.
- Keep all pieces small, but detailed, to mimic real vegetables.
- Make the dirt base thick enough to hold all vegetables without bending.
- Add texture to every item to increase realism (use toothpicks or toothbrush bristles).
- Customize colors and shapes as you like to create a unique garden.
With a little patience and creativity, this miniature vegetable garden will be a delightful piece to display anywhere. Enjoy the hands-on fun of sculpting tiny carrots, eggplants, lettuce, and more—all crafted carefully from colorful polymer clay! Happy crafting!