
Turn yarn into a cute carrot holding a little book with this simple crochet pattern, perfect for fun gifts, cozy decorations, or brightening any room.
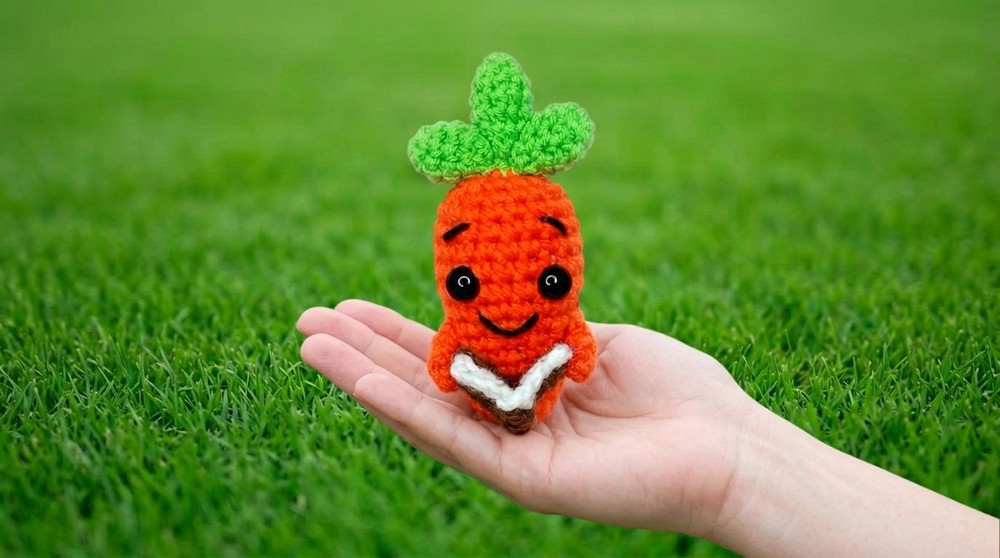
Carrots are such a delicious and juicy vegetable, aren’t they? But have you ever thought of turning this humble veggie into something adorable and fun, like a crochet piece? That’s where the Crochet Carrot With Holding Book Pattern comes in—a playful project full of personality. This carrot isn’t just about its rich orange texture and classic leafy top; it also comes with tiny arms holding an even tinier book, making it irresistibly charming and a joy to look at.
Handmade Crochet Carrot with Book Free Pattern – A Delightful Idea
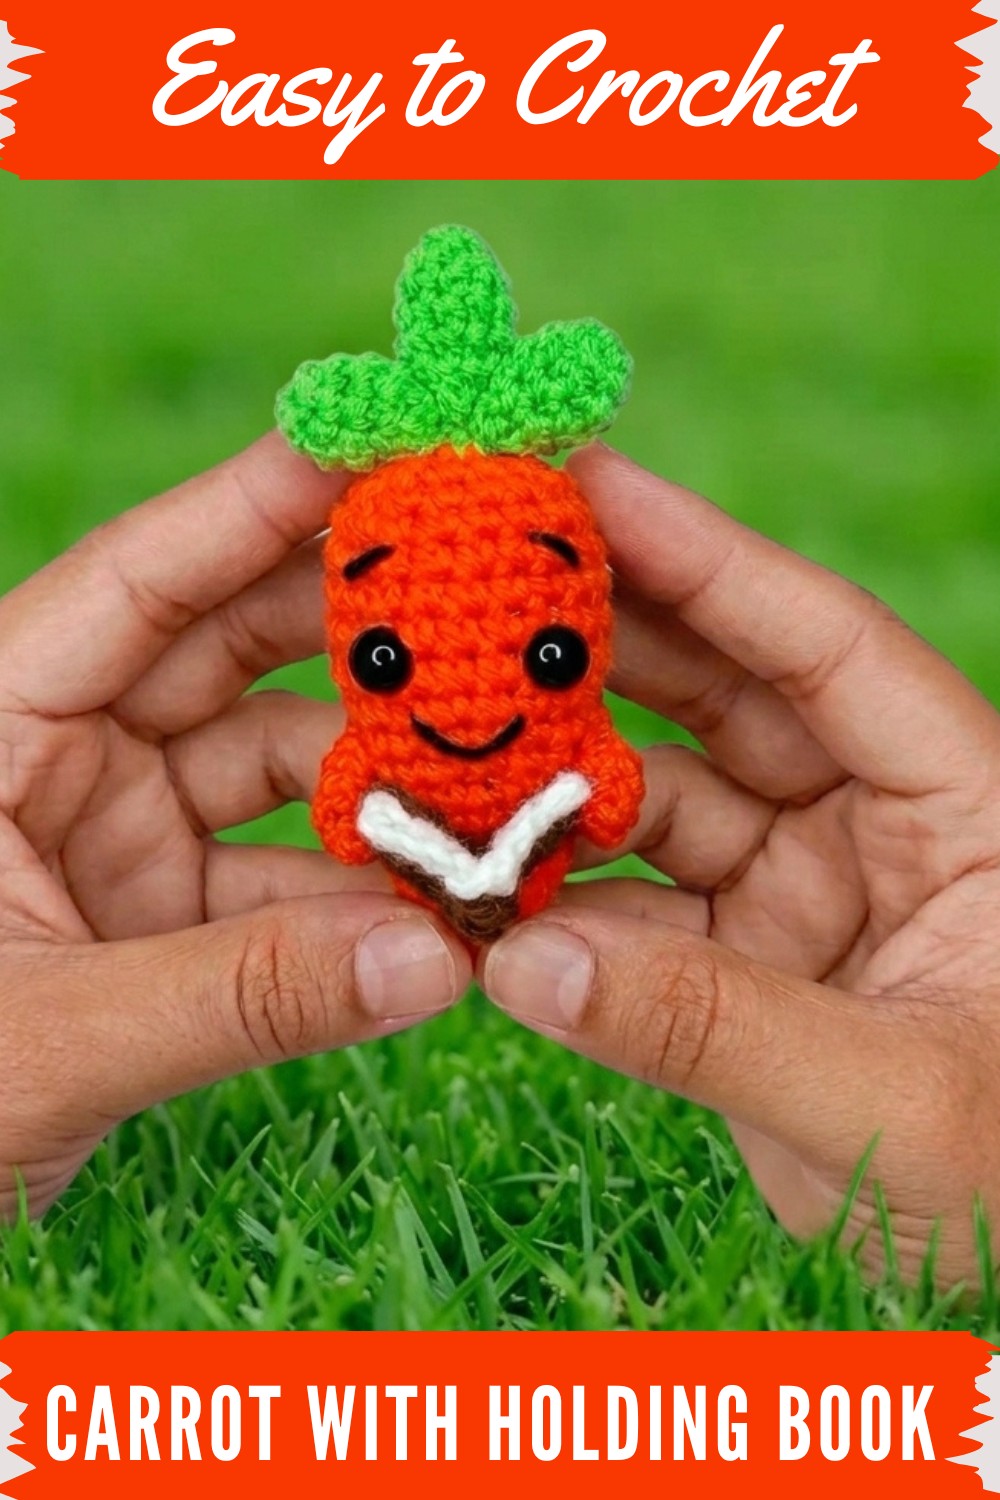
The style of the carrot leans toward whimsy, with a soft, rounded shape that’s just the right size to fit snugly in your palm. Its simple stitches offer a clean and neat texture, while the added book gives it a fun pop of creativity—perfect for anyone who loves playful, cute pieces. This makes it a lovely choice for crochet beginners and seasoned hobbyists alike. Customization is a breeze, too. From bright orange hues and light green leaves to switching up the book’s cover color, it’s easy to add your own personal touch.
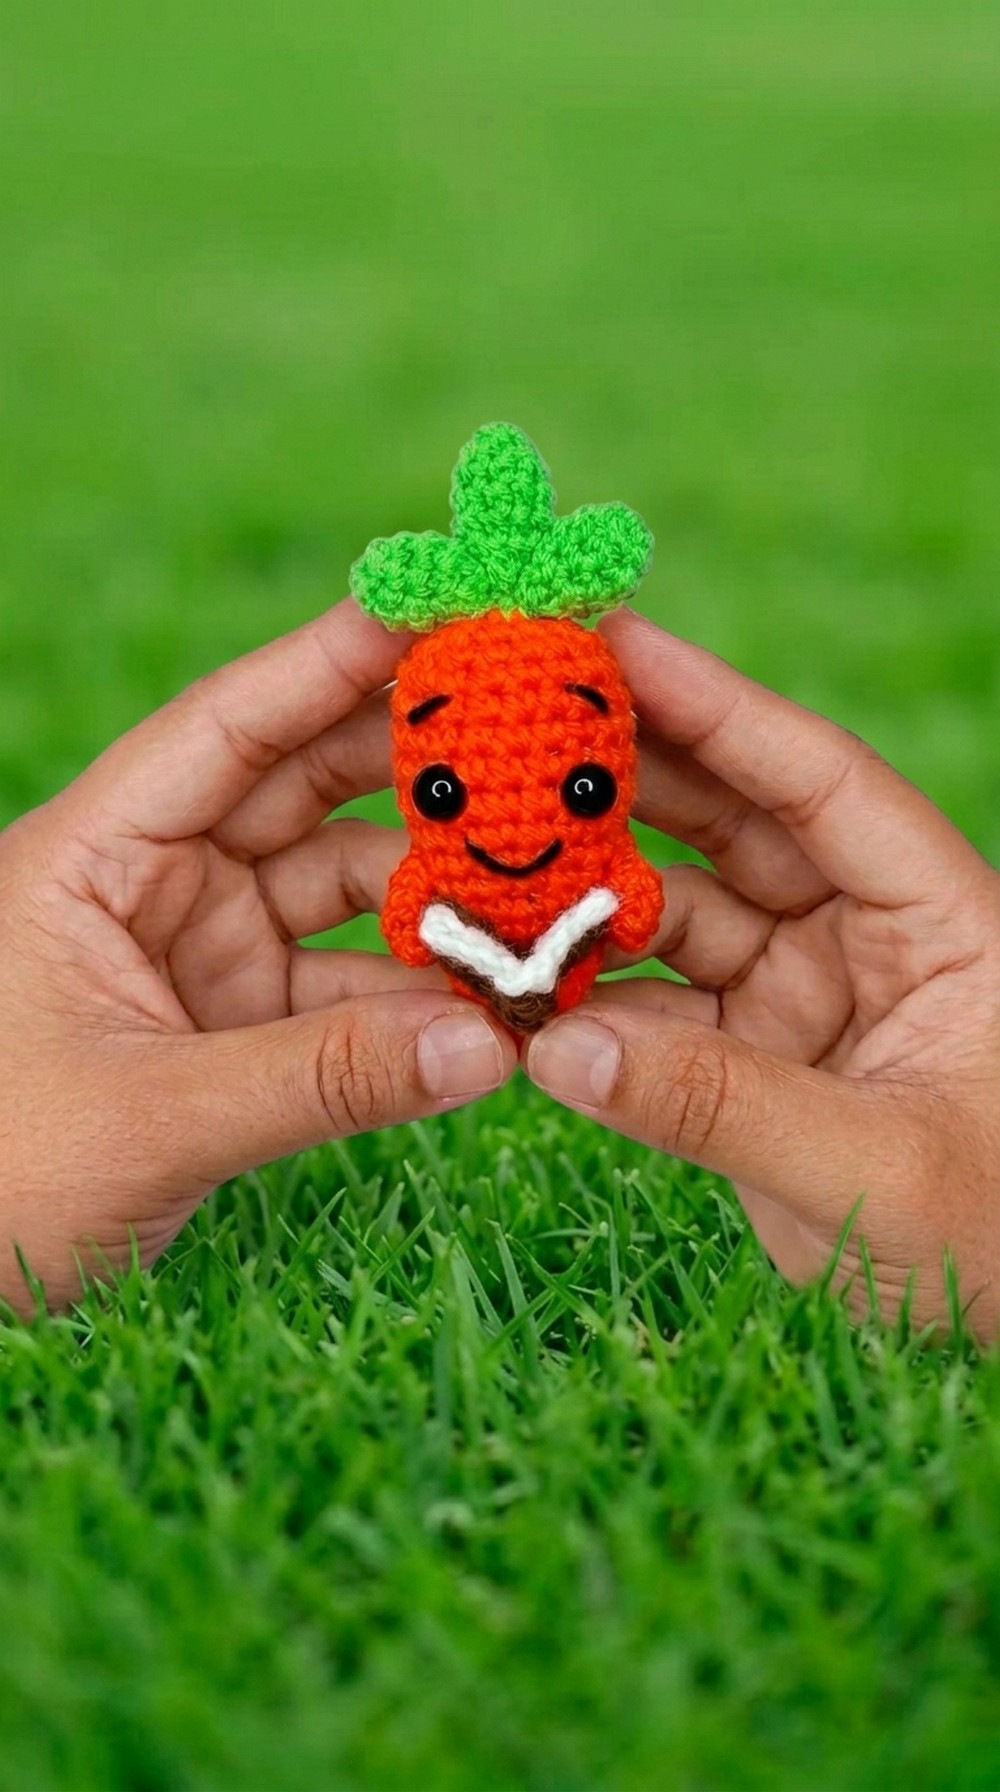
Using soft cotton or acrylic yarn works best for this project because it provides both structure and a smooth finish. Plus, the forgiving texture of these yarns makes it easier to crochet small, precise details. As for the book, basic stitches make the process straightforward, adding an extra layer of charm to the carrot's personality.
The idea for this project came from the thought of blending love for food and quirky art. With a bit of stuffing, some simple stitching, and a sprinkle of imagination, this crochet carrot holding a book makes for a cute decor item, a meaningful gift, or just a fun addition to brighten someone’s day.
Crochet Carrot With Holding Book Pattern
Materials You’ll Need
- Yarn:
- Orange 4 ply or 3 ply yarn for the carrot’s body.
- Green 3 ply yarn for the leaves.
- Brown and white yarn for the book (if adding the optional book).
- Black embroidery thread for features like smile and eyebrows.
- Crochet Hooks:
- 5.0 mm hook for the body.
- 2.5 mm hook for the arms and leaves.
- Stuffing: Polyfill or any soft material for stuffing the carrot and leaves.
- Safety Eyes: 2 mm black safety eyes.
- Needles: Tapestry or sewing needle for embroidery and attaching parts.
- Optional Tools:
- Stitch markers to mark the beginning of rounds.
- Glue for attaching small parts (such as optional books).
Special Techniques
- Magic Ring: Used to start the base of the carrot, arms, and leaves.
- Single Crochet (sc): Basic stitch used throughout.
- Increase (inc): Two single crochets in the same stitch.
- Decrease (dec): Join two stitches together using the front loops of each stitch.
- Slip Stitch (sl st): A joining method for rounds.
- Invisible Decrease: Used for decreases to maintain neatness.
Crochet Instructions
Carrot Body
- Round 1: Create a magic ring, chain 1 (not counted as a stitch). Make 6 sc into the magic ring. Pull the loop tight.
- Total: 6 stitches.
- Round 2: Make 1 sc in the first stitch and 1 inc in the next stitch. Repeat this pattern 3 times.
- Total: 9 stitches.
- Round 3: 1 sc in each of the first 2 stitches, 1 inc in the next stitch. Repeat this pattern 3 times.
- Total: 12 stitches.
- Round 4–5: 1 sc in each stitch around (no increases).
- Total: 12 stitches per round.
- Round 6: Make 2 sc in the first 3 stitches, 1 inc in the next stitch. Repeat this pattern.
- Total: 15 stitches.
- Rounds 7–8: 1 sc in all 15 stitches around.
- Total: 15 stitches per round.
- Round 9: Make 4 sc, 1 inc. Repeat this pattern for the round.
- Total: 18 stitches.
- Round 10: 1 sc in each stitch around (no increases).
- Total: 18 stitches.
- Rounds 11–13: 1 sc in each stitch around, maintaining 18 stitches per round.
- Round 14: Make 4 sc, 1 dec. Repeat this pattern for the round.
- Total: 15 stitches.
- Round 15: Make 3 sc, 1 dec. Repeat this pattern for the round.
- Total: 12 stitches.
- Round 16: Make 2 sc, 1 dec. Repeat this pattern for the round.
- Total: 9 stitches.
- Round 17: Make 1 sc, 1 dec. Repeat this pattern for the round.
- Total: 6 stitches.
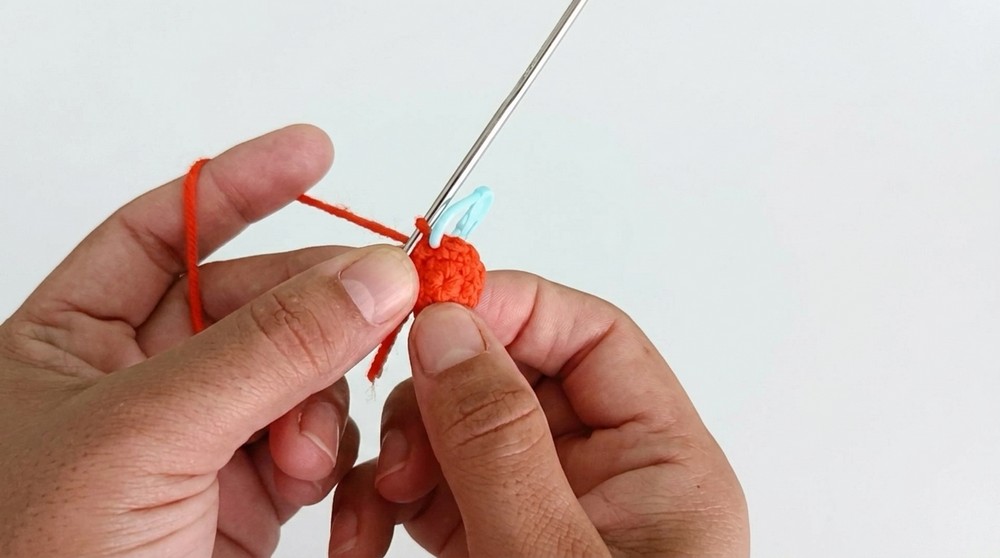
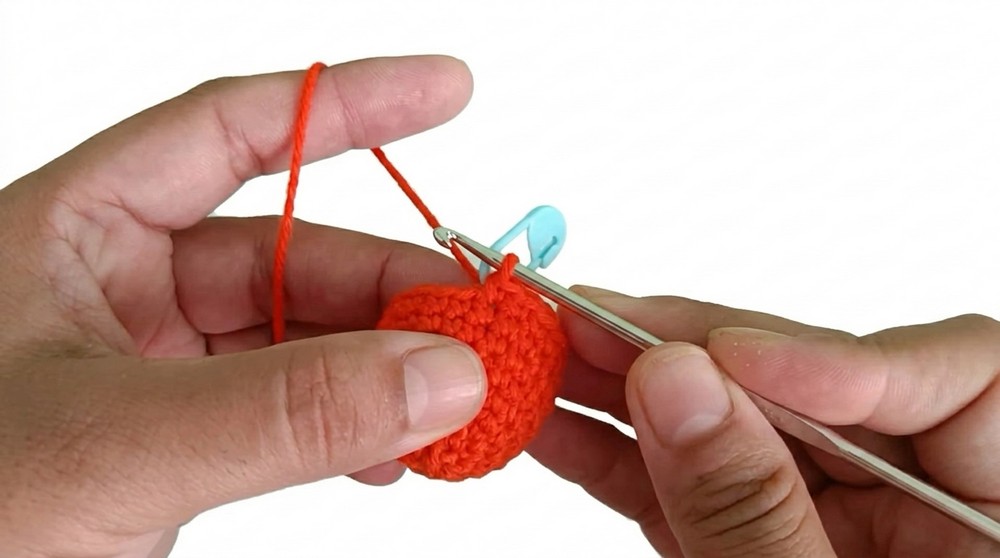
Stuffing: Fill the carrot body with stuffing before closing. Use a needle to thread through the last 6 stitches, pull tight to close the opening, and secure the end.
Leaves
- The carrot will have 3 leaves: 2 smaller side leaves and 1 larger middle leaf.
- The smaller and larger leaves follow the same basic pattern but differ in the number of rows.
- Round 1: Create a magic ring, chain 1. Make 4 sc into the ring.
- Total: 4 stitches.
- Round 2: Make 1 inc in each stitch around.
- Total: 8 stitches.
- Rounds 3–5:
- For smaller leaves, make 8 sc in each round for 3 total rounds.
- For the larger leaf, add an extra round (8 sc for 4 rounds).
- Round 6 (Decrease): For all leaves, make 1 dec (front loops only) in every two stitches.
- Smaller leaves total: 4 rounds.
- Larger leaf total: 5 rounds.
Stuffing: Add light stuffing to the leaves and stitch them together at the top of the carrot.
Arms
- Round 1: Create a magic ring, chain 1. Make 4 sc into the ring.
- Total: 4 stitches.
- Round 2: Make 1 inc in every second stitch.
- Total: 6 stitches.
- Rounds 3–5: Make 6 sc in each round (maintain stitches).
- Round 6 (Optional Decrease): Decrease the ends slightly for a tapered look.
Stuffing and Attachment: Stuff the arms and attach them to the sides of the carrot.
Facial Features
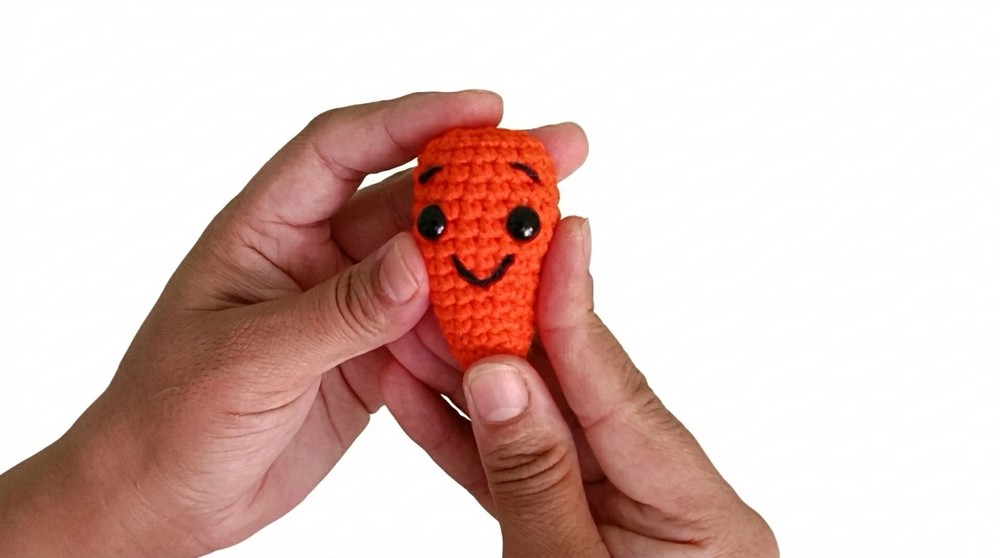
- Eyes: Attach safety eyes between rounds 11 and 12, spacing them 4–5 stitches apart at the top section.
- Eyebrows and Smile: Use black embroidery thread to stitch eyebrows above the safety eyes and a curved smile slightly below the eyes.
Optional Book
- Base: Chain 9 with brown yarn. Skip the first chain and make 8 sc into the chain.
- Rows: Turn and continue making 8 sc for 3 rows.
- Border: Switch to white yarn for the inside "page" effect. Work around the edges with single crochet, adding 3 sc in the corners for a smooth edge.
- Binding: Fold the brown section in half to form the book cover, stitching down the middle with white yarn to create the binding effect.
Assembly
- Attach Leaves: Using a needle, securely stitch the leaves to the top of the carrot.
- Join Arms: Attach the arms to the sides using a needle or glue.
- Keychain/Fridge Magnet:
- For a keychain, attach a split ring or chain to the top of the carrot.
- For a fridge magnet, glue a small magnet to the back of the carrot.
Finishing Touches
- Secure Loose Ends: Weave in all loose threads and trim them neatly.
- Shape the Carrot: Adjust and slightly shape the carrot by pressing lightly on the stuffing to ensure it is even.
Care Tips
- Cleaning: Hand wash gently with mild soap; let air dry.
- Storage: Keep it away from moisture to maintain the shape.
- Repairs: If the magnet or keychain attachment loosens, reapply glue or reinforce it with stitches.
Final Words
This carrot keychain/fridge magnet project is not only functional but also a perfect way to add a crochet charm to your day or gift something thoughtful. Following the above steps, you’ll have a cute creation ready to bring a smile to anyone’s face. Whether made for gifting or personal use, it’s bound to be a hit.



