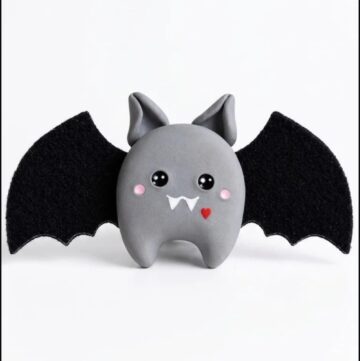
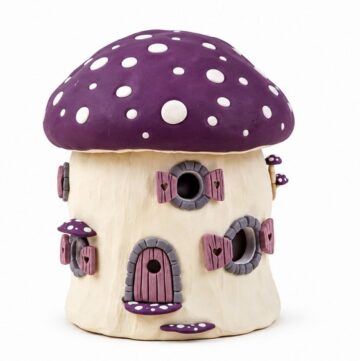
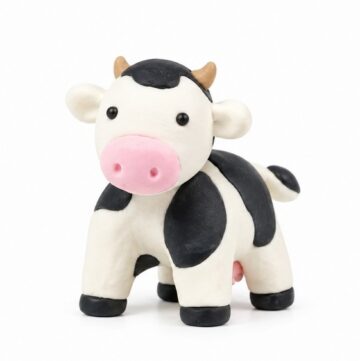
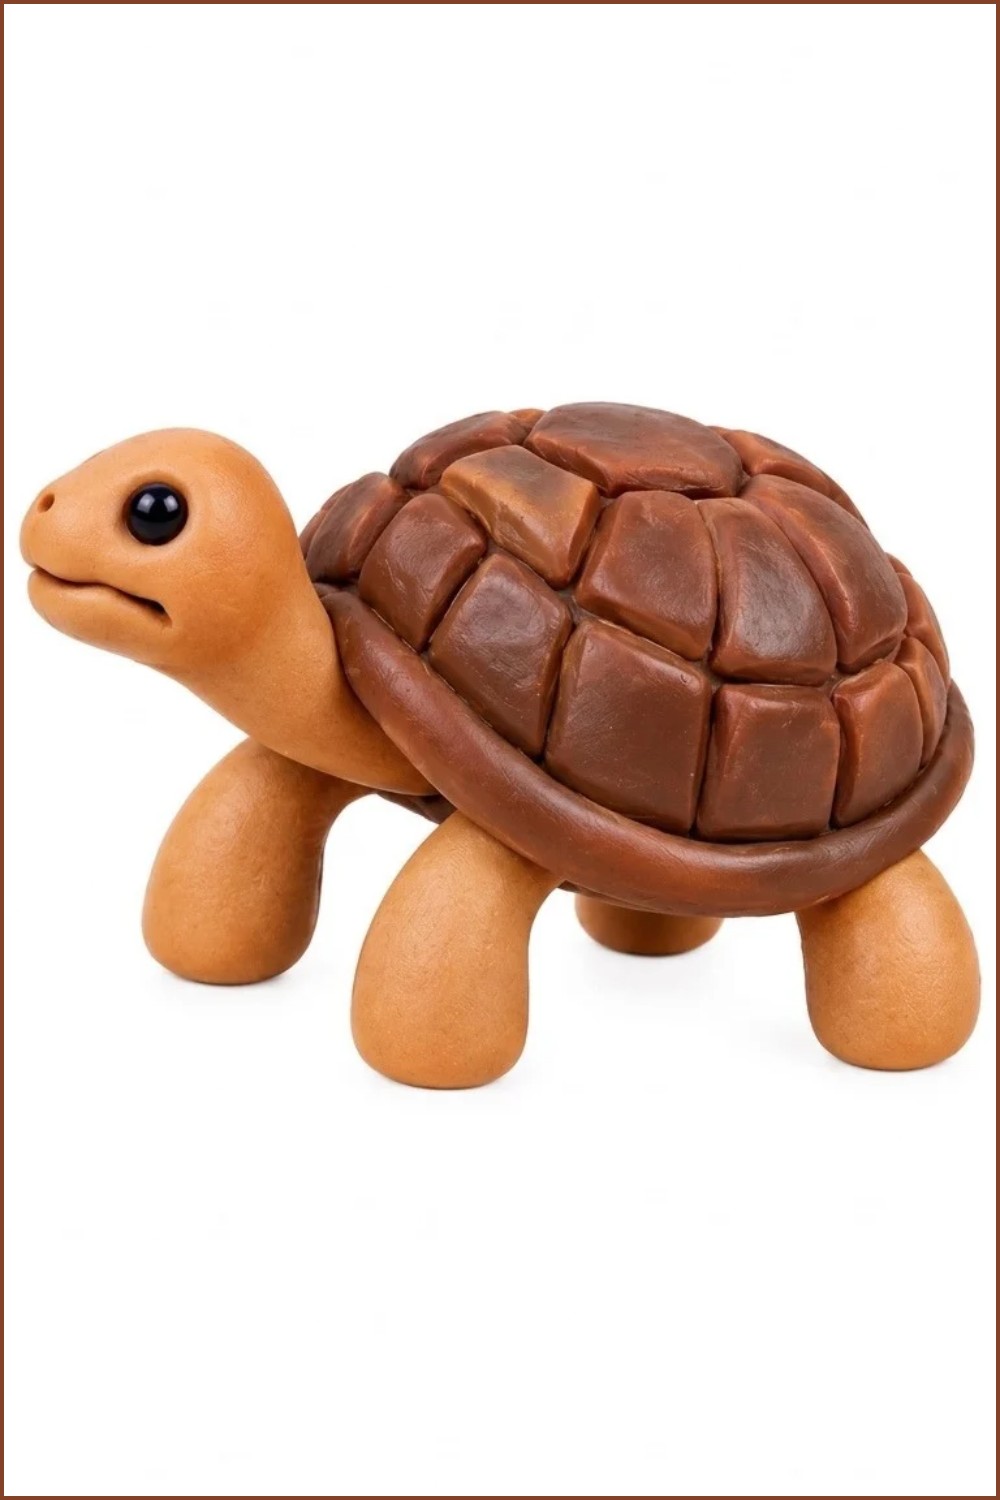
Design an eye-catching DIY Polymer Clay Turtle with this easy project, adding a playful touch to your craft collection or home decorations.
Turtles are calm, lovable creatures that have a special charm, making them a wonderful choice for creative projects. With this DIY activity, you can create your own turtle using polymer clay, a material that’s fun and easy to work with. It’s a relaxed project anyone can enjoy, whether you’re new to crafting or have some experience. Once finished, your handmade turtle can brighten up a desk, bookshelf, or even make a sweet little gift for someone special.
Unique DIY Polymer Clay Turtle Design for Decor
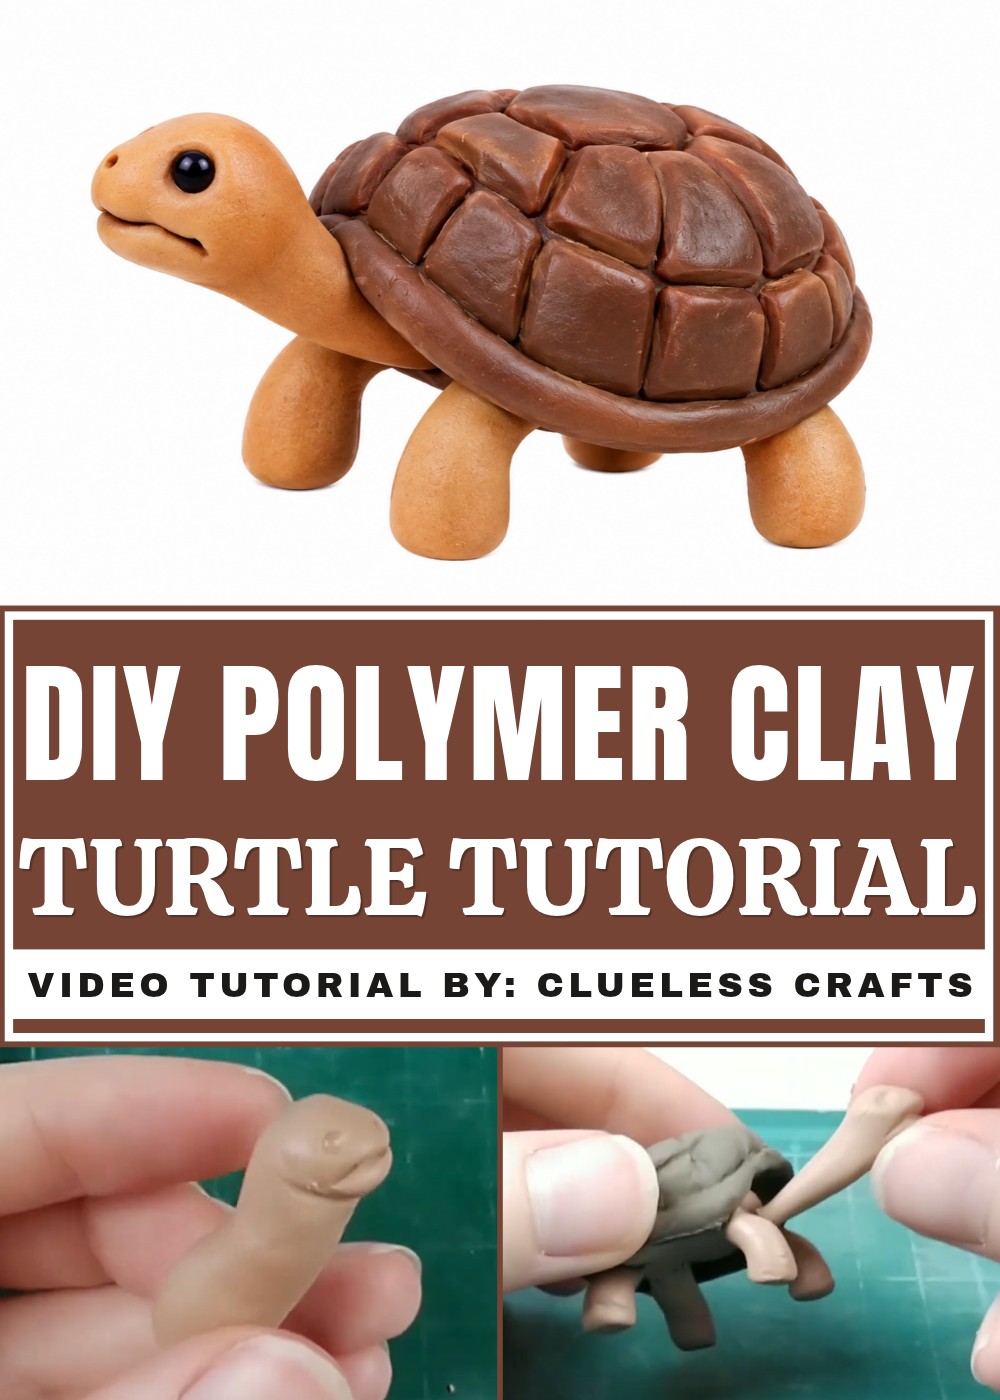
Designing a clay turtle is both simple and creative. You can start by sculpting its round shell, smooth body, and little legs. The shell is where you can have the most fun—adding colorful designs, patterns, or even small textures. The tiny details bring the turtle to life, giving it a personality that reflects your unique style. Whether you stick with natural tones or try playful colors, the result will be a figure that’s full of charm and fun to look at.
Polymer clay is perfect for this project because it’s easy to shape and provides a smooth finish. You can take your time to carefully add details like eyes or patterns on the shell, and once it’s baked, your turtle will have a solid and lasting design. It’s such an enjoyable way to get creative, and in the end, you’ll have a lovely handmade turtle to display or share.
Project Overview
Create a realistic miniature clay tortoise with a textured shell, sculpted head, legs with wrinkles, a tail, and an underbelly. This guide follows the full step-by-step process from the original tutorial — do each stage in order for best results.
Materials & Supplies
- Polymer clay in dark brown or gray (shell and skin)
- Liquid Sculpey (for securing legs and internal adhesion)
- Acrylic paints (brown and white, watered-down for washes)
- Paper towels for wiping paint
- Parchment or tile for working surface
Tools & Equipment
- Sculpting tools (ball-point and pointed tools)
- Blade / craft knife for cutting clay tubes
- Rolling surface / finger technique for shaping domes
- Oven (follow your clay brand’s baking instructions)
Project Details
- Finished size: small tabletop tortoise (size depends on initial clay amounts)
- Skill level: beginner–intermediate (requires texturing and staged baking)
- Key features: layered shell pattern, rim border, separately baked shell, articulated legs and tail, painted washes for depth
Preparation
- Condition clay by warming and kneading until soft and pliable.
- Choose a work area with good lighting and set out sculpting tools.
- Decide shell diameter to size the head and legs proportionally.
- Have your oven instructions handy; plan to bake the shell once before adding body pieces.
Step-by-Step Detailed
(Full, ordered procedure from the transcription — follow each bullet.)
Shell
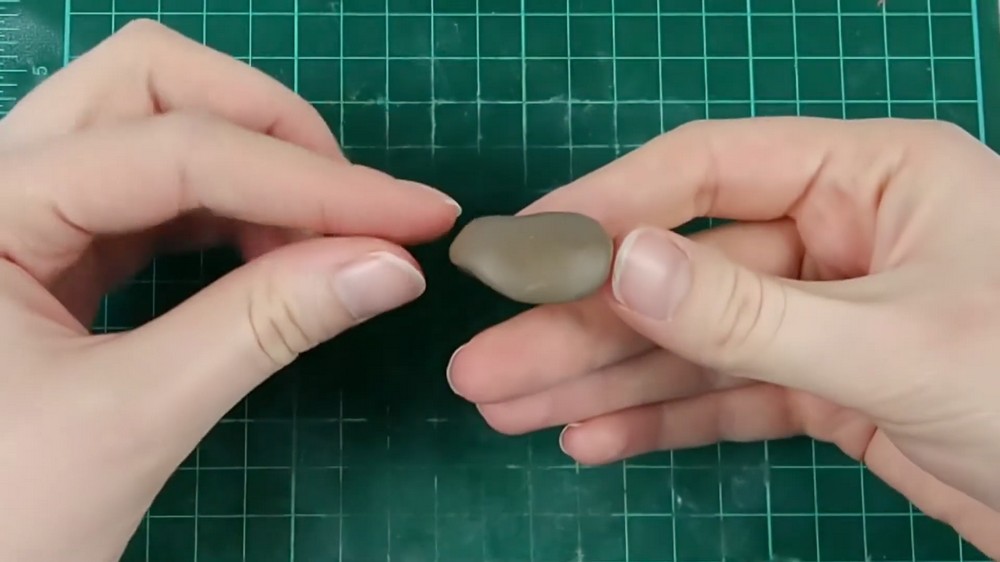
- Start with a ball of dark brown or gray clay.
- Shape into a dome with a rounded bottom by placing on your finger and pressing around the edges to form a shell dome.
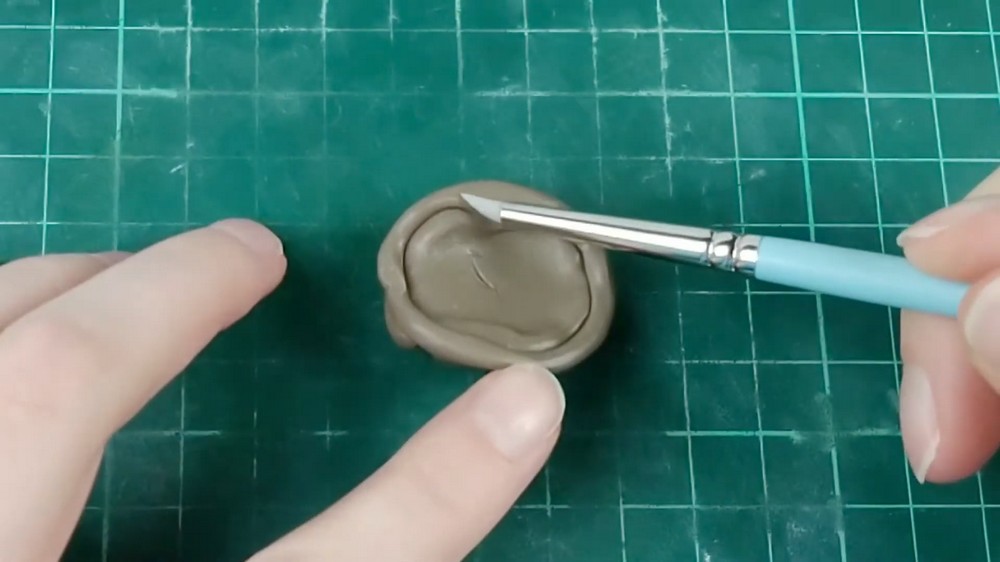
- Create central shell pattern: use a sculpting tool to carve a single central shape.
- Draw radiating lines down from each corner of the initial central shape.
- Connect these lines across to form two layers of patterning (a central polygonal mosaic).
- Roll out a long tube of the same clay and wrap it around the shell edge to form the rim.
- Trim excess and blend the cut edges into the shell so the rim reads as one piece.
Bake Shell
- Bake the shell first according to your clay manufacturer’s instructions.
- This staged bake prevents smudging the shell design later when you handle and attach other parts.
- Doing the shell separately is important — attempting the whole figure at once may cause loss of detail.
Head
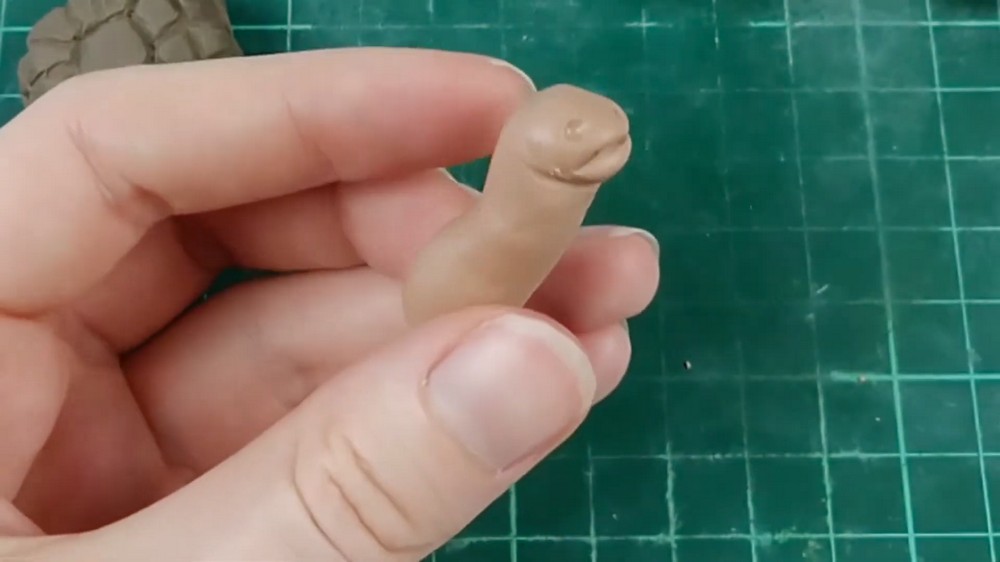
- Roll a tube of clay and pinch around the neck to shape the head.
- Define the jaw and add a line for the mouth.
- Make eye indents and two tiny nostril dots.
- Scale the head size: if it’s too large for the shell, roll it down to a smaller size until proportionate.
- Attach later after you have the legs/tail positioned (the transcription attached head after legs but you can refine order for convenience).
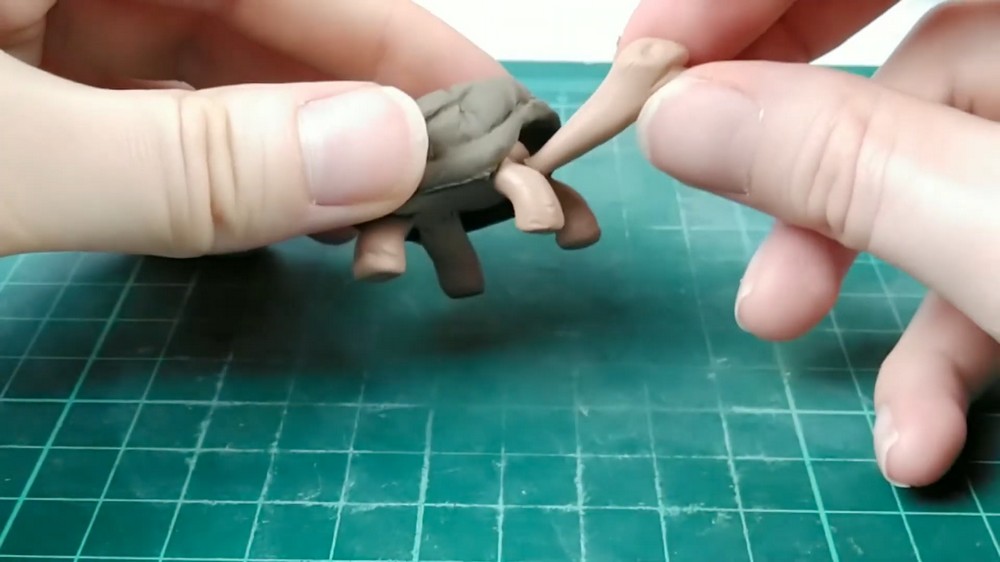
Legs
- Add a clay ball inside the baked shell where each leg will connect; use liquid Sculpey to secure — this creates a good surface for attachment.
- Form each leg as a slightly curved cone.
- Add wrinkle texture: horizontal wrinkles on the foot and vertical wrinkles on the leg and knee joint using a sculpting tool.
- Attach legs one at a time to the interior clay spots using a ball-point tool to blend the join and secure them.
Adjust Head & Tail
- Resize the head further if needed and attach it to the body.
- Form and attach the tail in a small tapered shape; blend into the rear of the shell.
- Add wrinkle texture along head and neck to give the impression of age (tortoises can be very old, so deep wrinkles are fine).
Underbelly / Plastron
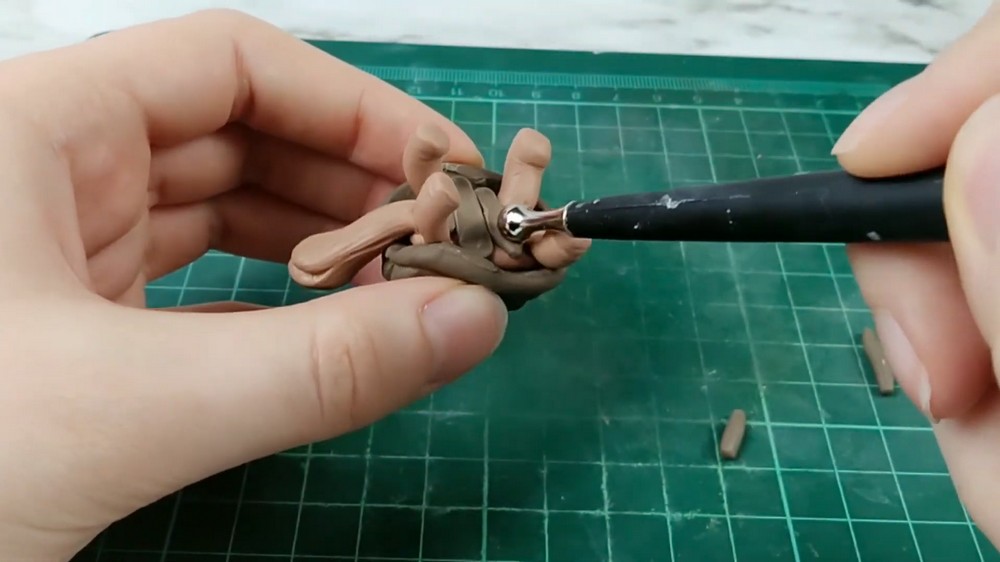
- Roll small tubes of the same shell color clay and squish them along the stomach area to form the tortoise’s underbelly plates.
- Blend edges so the underbelly fits naturally against the shell and legs.
Final Bake
- Bake the assembled tortoise again per your clay’s package instructions to cure the legs, head, tail, and underbelly.
- Allow to cool completely before painting.
Painting & Finishing
- Water down brown and white paints to create a thin wash.
- Brush the washes over the shell and skin, then wipe most off with a paper towel to leave color in the nooks and crannies for depth.
- Repeat the wash on the skin to emphasize wrinkles and texture.
- Add brown toe details on each foot as final touches.
Finishing Instructions
- Allow paint to dry fully between layers.
- Optionally seal with a matte or satin varnish (test a small area first).
- If desired, add tiny highlights to eyes with a dot of white paint for realism.
Tips & Techniques
- Work in stages — bake the shell first to preserve surface detail.
- Use the ball-point tool for texture; it’s versatile for both shell pattern lines and skin wrinkles.
- Scale head and legs to the shell by sizing and comparing before final attachment.
- Blend joins thoroughly to avoid visible seams that distract from the sculpt.
Common Problems & Solutions
- Shell design smudges when working on rest of body:
- Solution: bake shell separately before adding other parts.
- Legs don’t adhere well:
- Solution: add liquid Sculpey inside the shell at attachment points, then press and blend legs with a ball-point tool.
- Head looks too big or disproportionate:
- Solution: roll the head down smaller and reattach; adjust neck length for balance.
Creative Ideas & Variations
- Make a baby tortoise by reducing shell scale and softening wrinkles.
- Use different color clays or paint layers to create pattern variations on the shell (greens, ochres, and speckles).
- Add a tiny moss or rock base for display, or glue to a small wooden plaque.
Last Word
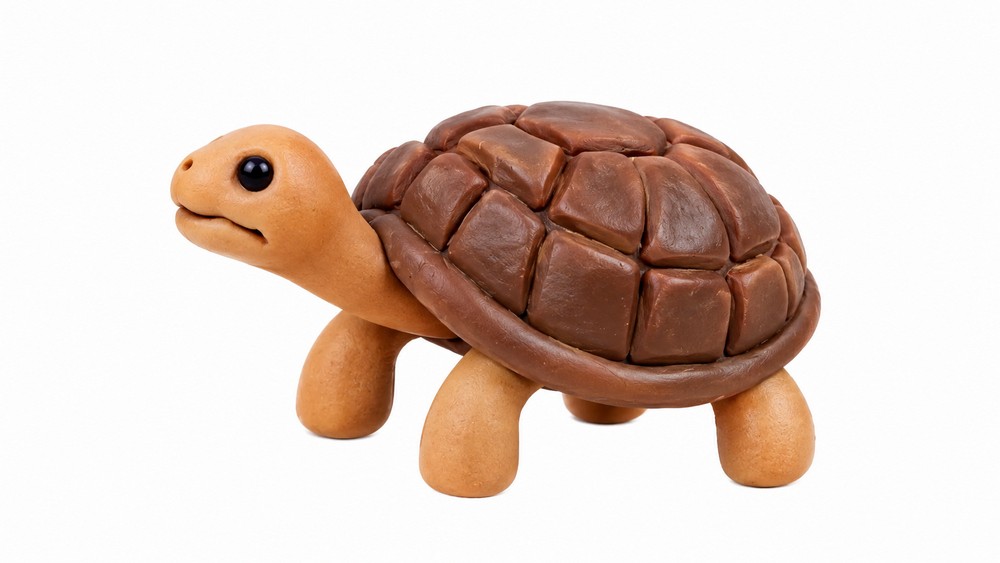
You’ll end with a textured, lifelike mini tortoise: a baked patterned shell, sculpted head with mouth and nostrils, four wrinkled legs with toes, a shaped underbelly, and painted washes adding depth and realism. This staged approach preserves shell detail and produces a solid, display-ready piece.