Craft your own elegant DIY Polymer Clay Horse with this step-by-step guide, perfect for adding artistic charm to your decor or gifting ideas.
Horses are elegant and captivating animals, and creating one out of polymer clay is a fun and creative way to celebrate their beauty. This project is perfect for anyone who loves animals, enjoys crafting, or wants to try making something unique. It’s a simple yet rewarding activity that allows you to create a piece of art with your own hands. Once finished, your handmade horse can be used as a decoration, a thoughtful gift, or a keepsake to treasure.
DIY Polymer Clay Horse Mini Craft in Simple Steps
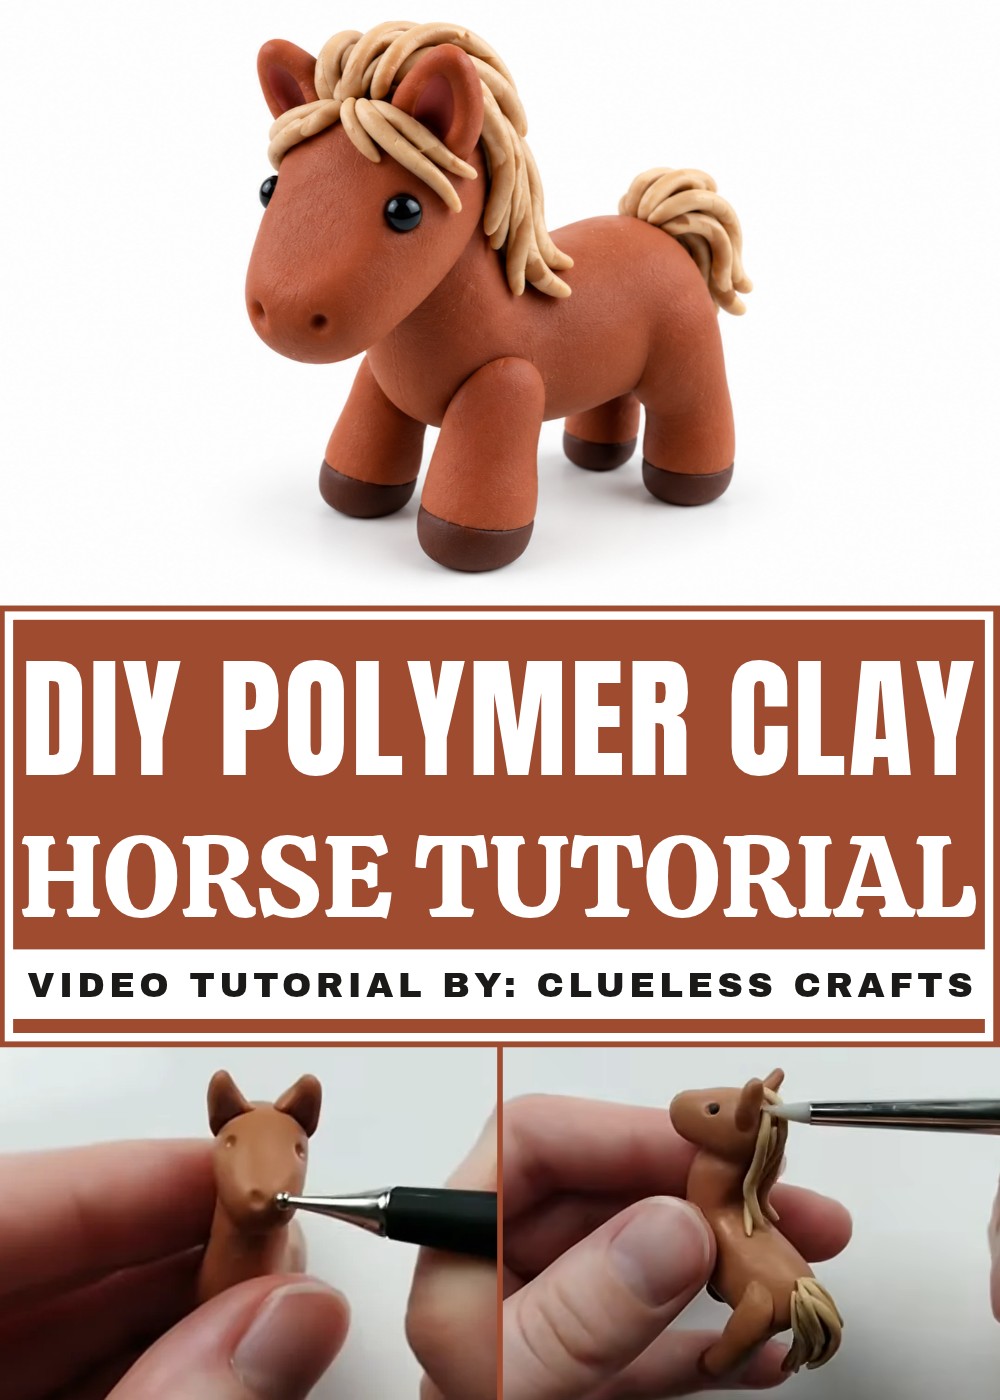
With this project, you can design your horse any way you like. From adding a flowing mane to shaping strong, graceful legs, every detail is up to your creativity. You can choose soft, natural colors or go bold with your favorite shades, it’s all about making something that feels special to you. It’s small enough to display anywhere, but the personality and charm you add will make it stand out.
Working with polymer clay is easy and fun, even if you’re new to crafting. You can shape, mold, and add tiny features like eyes or patterns to make your horse look unique. It’s a relaxing and enjoyable activity, allowing you to take your time and focus on the details. In the end, you’ll have a beautiful little figure that shows off your creativity and makes you proud to say, "I made that."
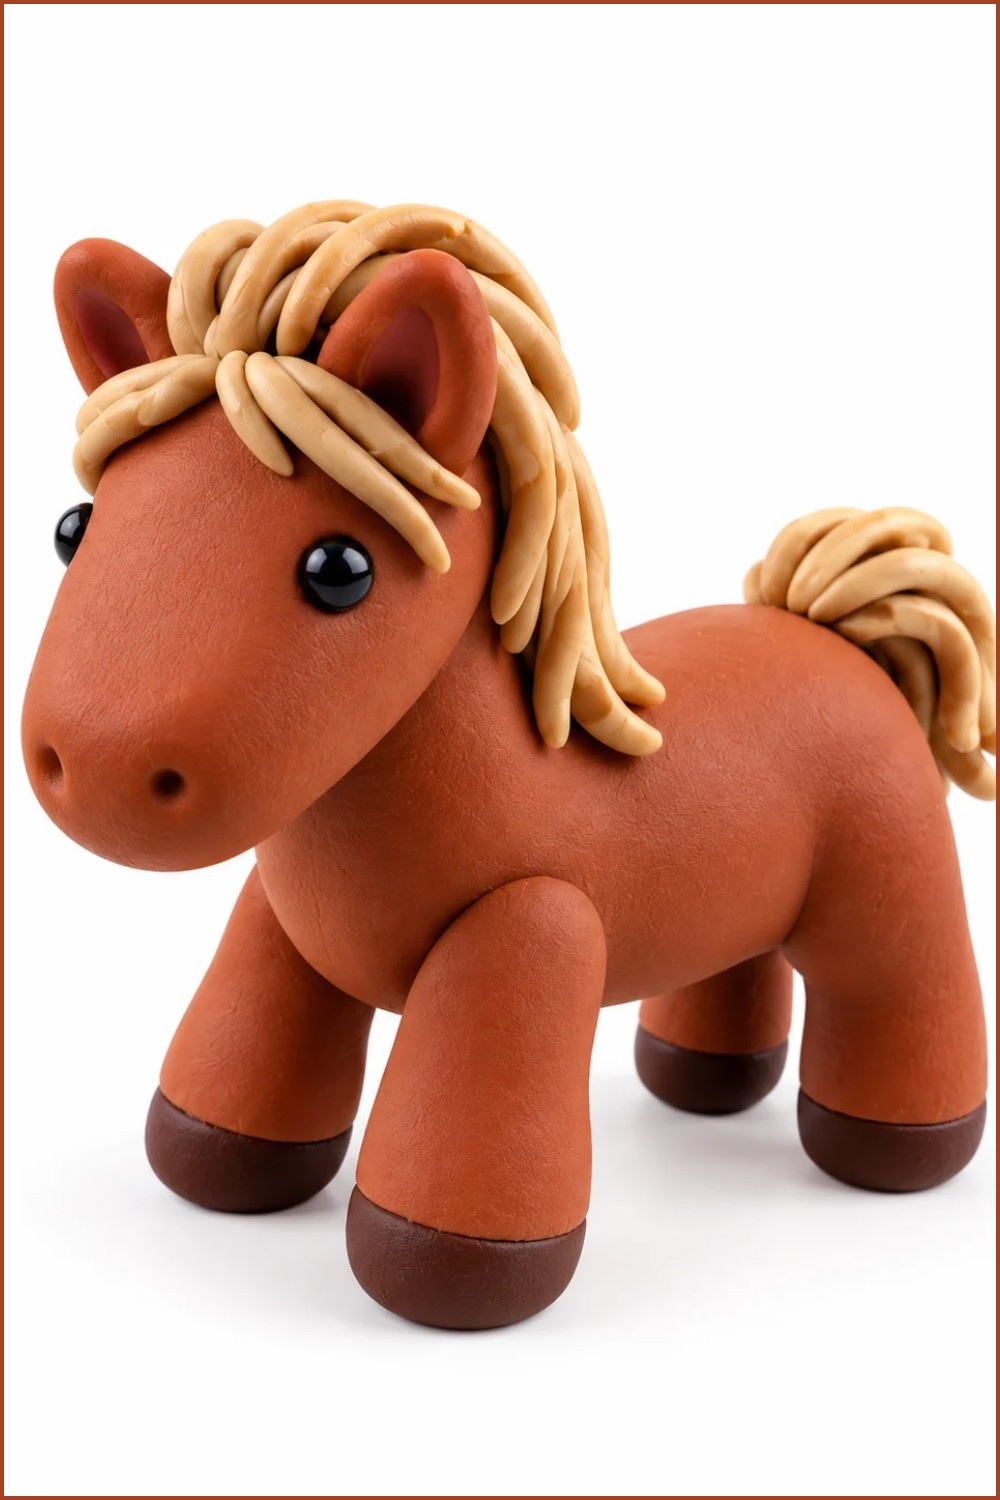
DIY Polymer Clay Horse
Create a miniature polymer clay horse using simple sculpting techniques. This guide follows the original tutorial steps: forming a tapered body with an angled neck, sculpting a peanut-shaped head, making ears, legs with hooves, a braided tail, and a textured mane. Bake according to your clay’s instructions to finish a durable mini horse.
Materials & Supplies
- Polymer clay in brown (main body) and light brown (tail/mane accents)
- Small black clay for eyes
- Liquid Sculpey (optional, for tight joins)
- Parchment paper or nonstick baking surface
Tools & Equipment
- Rolling pin or smooth roller
- Ball-point sculpting tool and flat/rounded sculpting tools
- Blade / craft knife
- Needle tool (for small indents)
- Small flat surface for pressing and blending
- Oven (follow clay manufacturer’s bake temp/time)
Project Details
- Finished size: miniature figure (scale depends on initial log size)
- Skill level: Beginner to intermediate
- Key features: tapered L-shaped body, peanut head, pinched ears, four legs with angled tops, braided tail, layered mane
Preparation
- Condition clay by warming and kneading until pliable.
- Set up tools and workspace with good light.
- Pre-cut the amounts of clay you’ll need: one main brown chunk, smaller light brown for mane/tail, tiny black for eyes.
- Preheat oven per clay brand only when pieces are ready for baking.
Step-by-Step Detailed
Below are the full procedure steps as in the transcription, written in order and without skipping parts. Use bullets for each action to follow cleanly.
Head
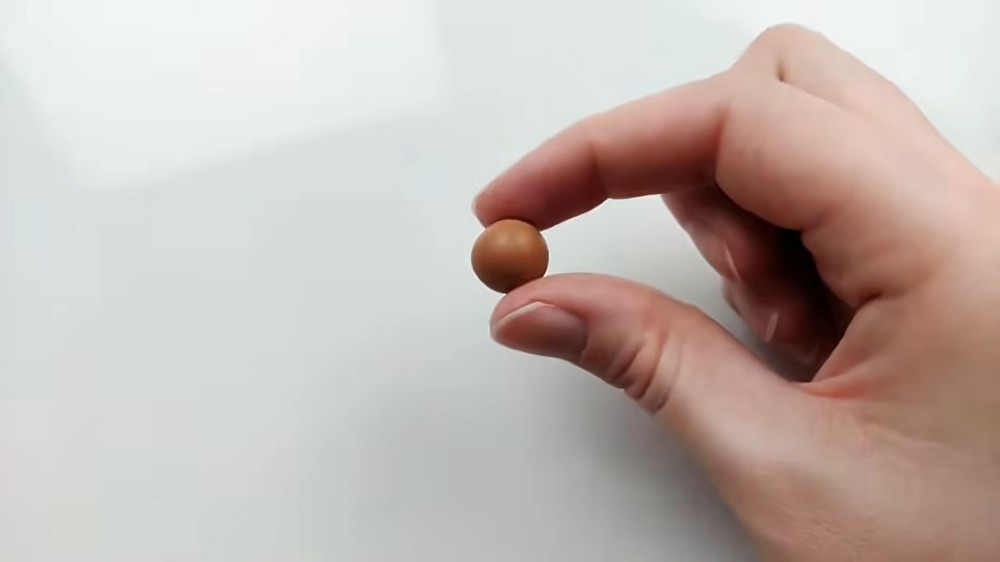
- Roll a ball of brown clay into a thick log; taper one end for the neck and round the other slightly for the butt.
- Angle the neck up to create an L-shaped body silhouette.
- Form the head: roll a separate ball into a peanut shape (two rounded lobes joined).
- Attach the peanut head to the neck and blend the seam using a rounded sculpting tool or your finger until smooth.
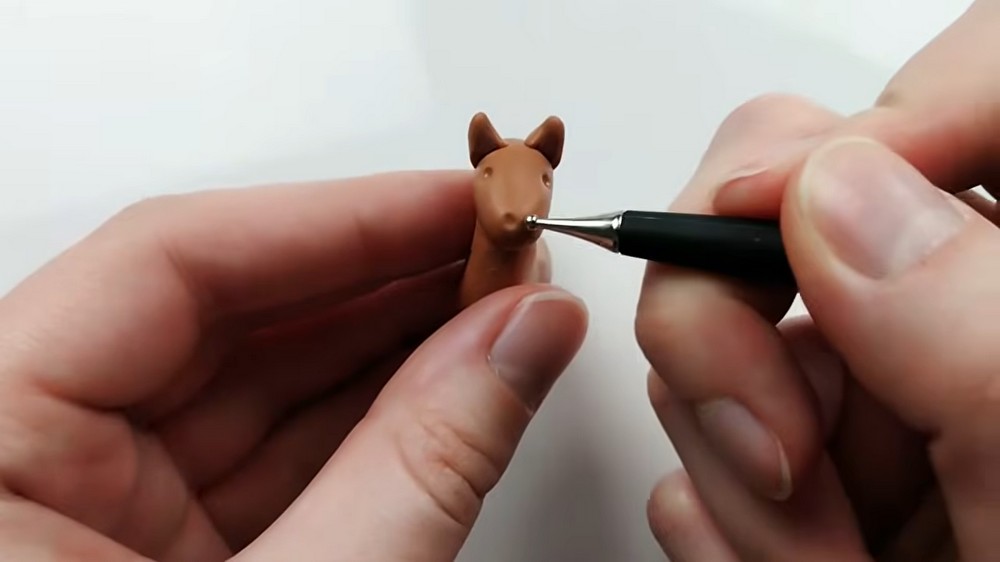
- Make ears: roll a small ball, pinch into a diamond shape, press flat, and indent the center with a ball-point tool.
- Fill the indent with a smaller ball of contrasting color to create inner ear detail.
- Cut the diamond in half to produce two triangular ears; pinch slightly to fit the head curve and blend edges where they attach.
- Add facial indents: make shallow indents for eyes and nostrils with a needle or ball tool.
- Place tiny black balls into the eye indents for pupils.
Legs
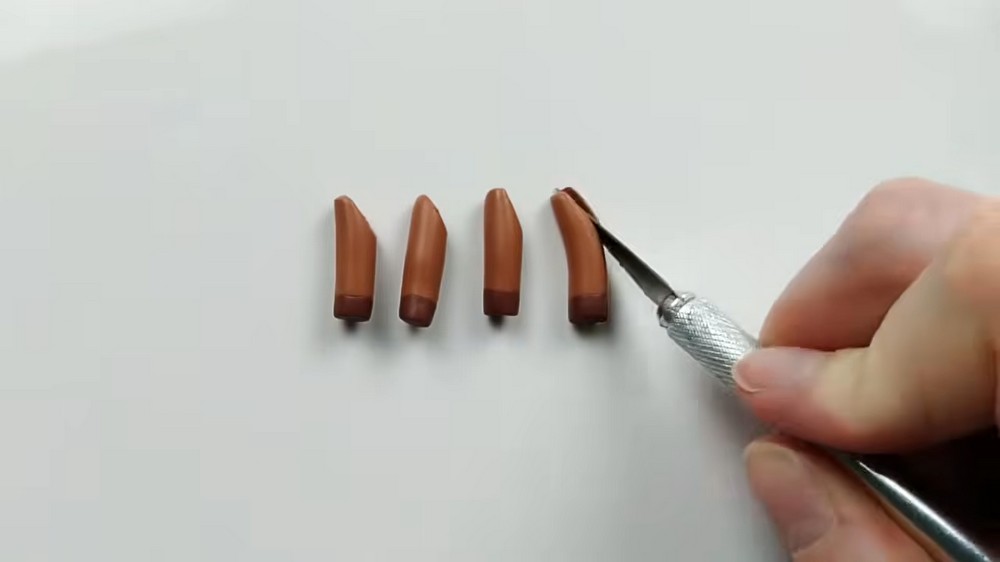
- Roll a log of clay matching desired leg width.
- Cut the log into four equal pieces for the legs.
- Prepare hooves: roll a smaller ball of a different color and flatten to form hooves.
- Attach a hook to the end of each leg (a slight inward curve or keyed surface for better adhesion).
- Roll each leg against a flat surface to join and blend the hoof piece to the leg.
- Repeat until you have four completed legs.
- Make an angled cut at the top of each leg so they sit flush against the body for easier attachment.
- Place legs in chosen pose (the tutorial used standing with one front leg bent).
- Slightly blend the top of each leg into the body — do not aim for a perfect seam if you prefer a stylized look.
Tail
- Select a light brown clay for the tail.
- Roll multiple tiny thin logs with tapered ends on both sides.
- Group a few strands between your fingers, rotate and add strands until you have a braided or bundled tail.
- Use firm pressure to attach the tail to the body; add extra small pieces on top to hide any flattening where pressure was applied.
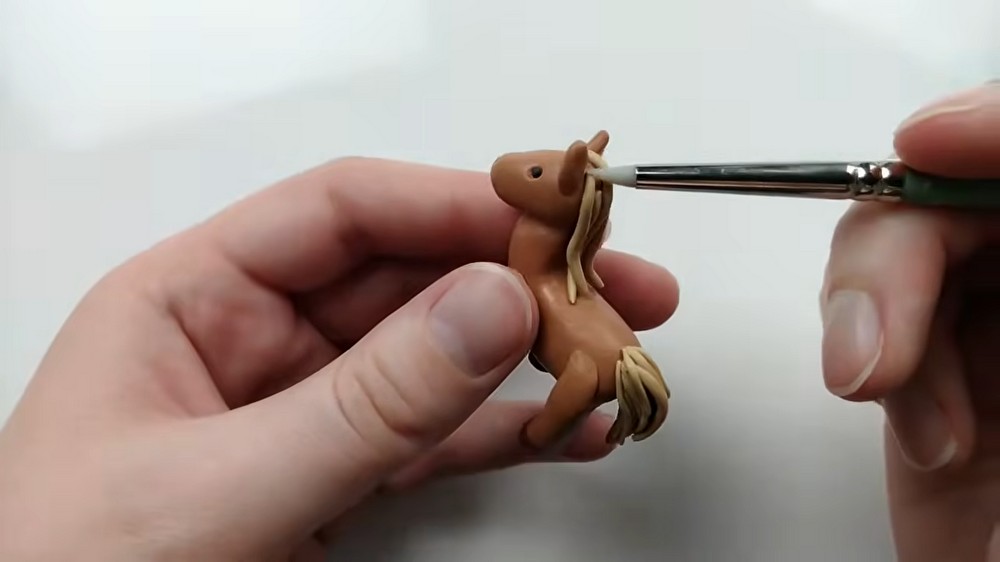
Mane
- Option 1: braid or bundle strands similar to the tail.
- Option 2 (preferred): add individual thin strands starting from the bottom of the neck and work upward for a more organic look (the transcript notes this order is easier and more natural).
- Add smaller strands around the face to shape and add volume to the head area.
Finishing Before Bake
- Inspect joins for any gaps; use small extra clay pieces and blend gently.
- If desired, add subtle texture with a needle tool for hair or fur lines.
- Prepare your baking surface (parchment paper) and place the horse ready for baking.
Finishing Instructions
- Bake according to your clay brand’s instructions (temperature and time).
- Allow the piece to cool completely before handling to avoid distortion.
- Optionally, sand or use a light acetone wipe for smoothing baked surfaces (use caution and proper ventilation).
Tips & Techniques
- Angle the neck early to determine the final posture.
- Flatten leg tops at an angle for easier attachment and cleaner silhouette.
- Attach ears after head is positioned to maintain facial proportions.
- Work in small strands for mane to achieve natural flow; build from bottom up.
Common Problems & Solutions
- Problem: face squashes when attaching head.
- Solution: add facial details after attaching head or support the head while blending.
- Problem: tail attachment flattens body area.
- Solution: add small clay patches over the flattened area to rebuild volume.
- Problem: legs don’t sit flat.
- Solution: re-angle the leg tops or slightly sand/bake then adjust for stability.
Creative Ideas & Variations
- Add tiny saddles or bridles in contrasting clay.
- Create different manes (short, braided, flowing) using the same strand technique.
- Make a set of horses in varied poses by changing neck angle and leg positions.
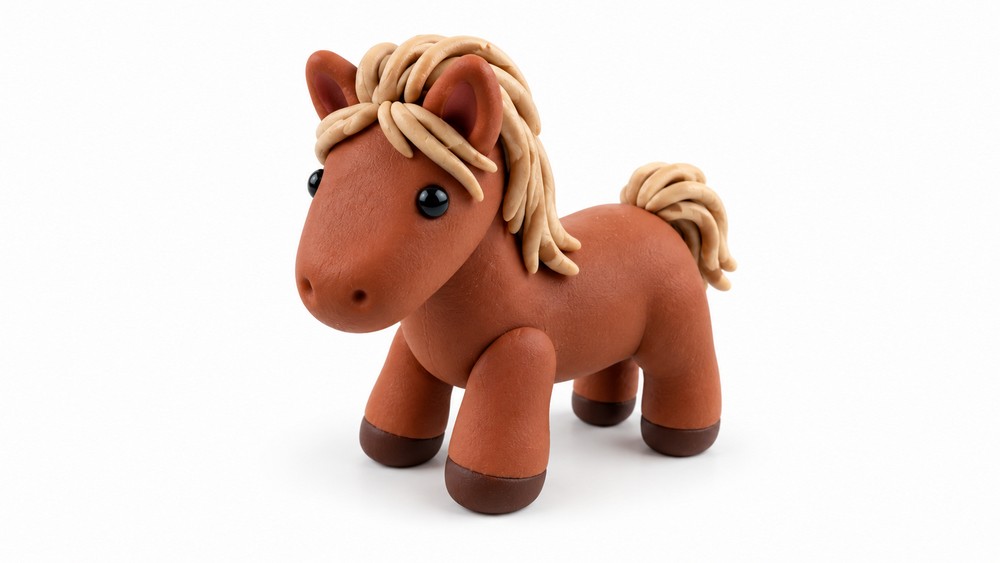
Final Result
Bake, cool, and display your miniature clay horse. You’ll have a charming sculpt with a tapered L-shaped body, blended peanut head, pinched ears, four hooved legs, a textured mane, and a braided tail — ready for display or gifting.