Create a delightful treat with this DIY Polymer Clay Strawberry Cake tutorial, perfect for crafting realistic decor, accessories, or unique gifts.
Who doesn’t love miniature desserts? Making a strawberry cake out of polymer clay is a delightful and creative project that will bring sweetness to your crafting experience. This DIY can be used to make tiny decorations, charms, or gifts. It’s a simple, hands-on activity that lets you shape and design a beautiful cake without needing real baking skills. Perfect for beginners, children, or anyone who enjoys colorful and playful crafts, this fun idea allows you to create something cute and personalized.
DIY Polymer Clay Strawberry Cake Charms for Jewelry
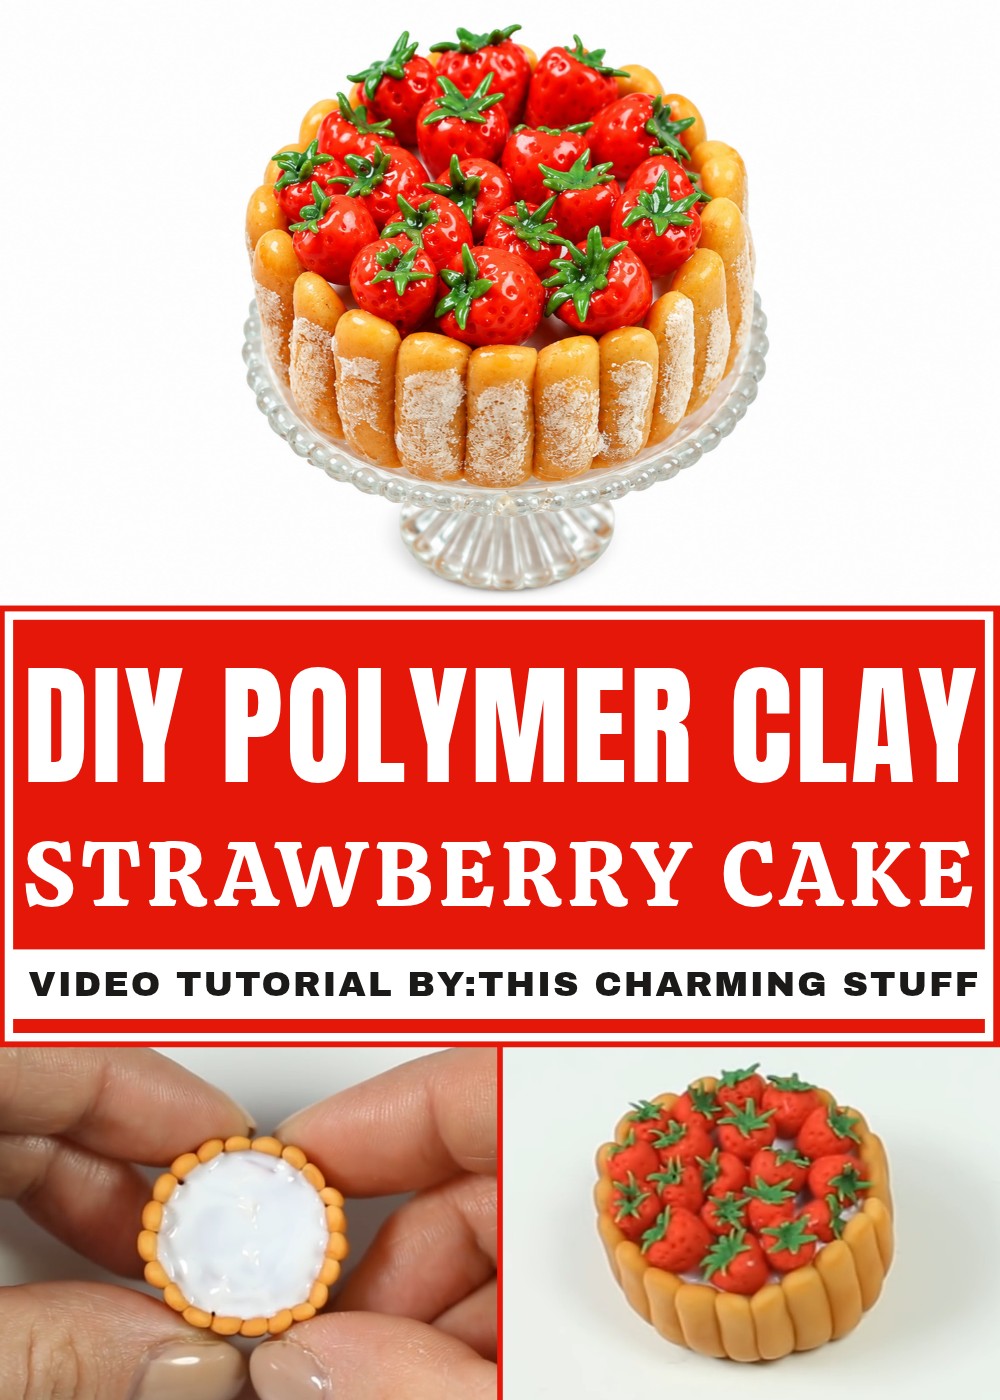
What makes this project so enjoyable is how detailed yet easy it is. You can design layers of “cake,” add tiny strawberry decorations, or even make chocolate drizzles to top it off. Using tools like toothpicks, knives, and your fingers, you can sculpt every little piece. Polymer clay is simple to work with, and once baked, it stays sturdy and looks amazing! The process of mixing clay colors and texturing the cake makes crafting even more fun and satisfying.
This DIY polymer clay strawberry cake project is perfect for anyone who wants to try something creative and relaxing. It’s affordable, doesn’t require many tools, and can be completed in a short amount of time. By the end, you’ll have a charming, realistic-looking miniature cake that’s cute enough to keep, gift, or turn into a fun accessory. Get started and enjoy making something sweet.
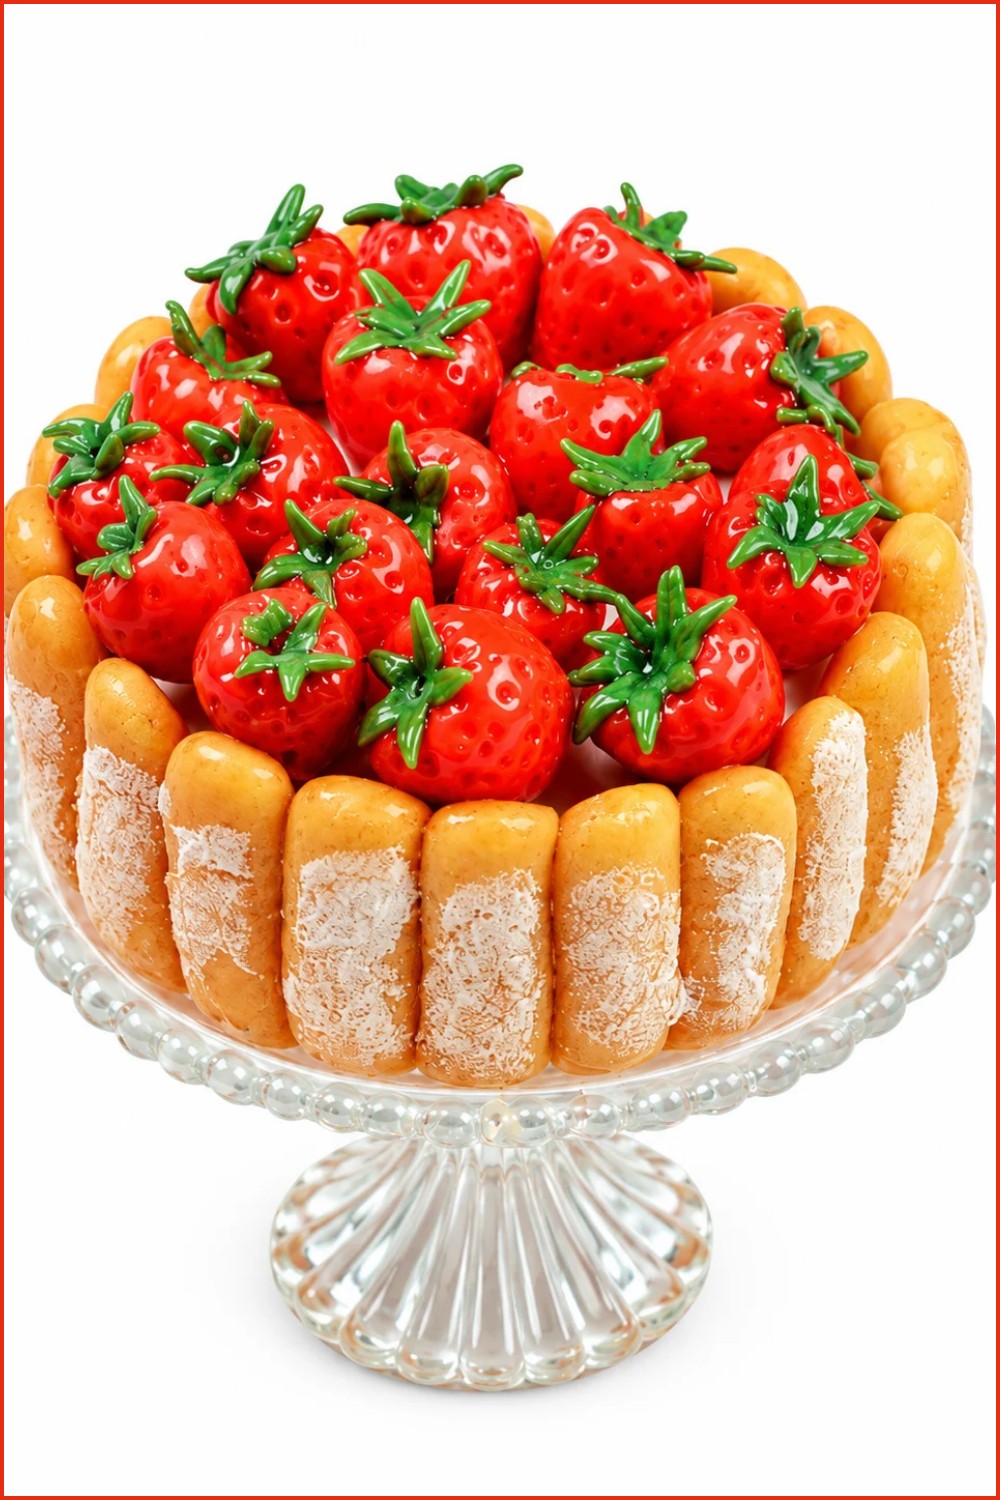
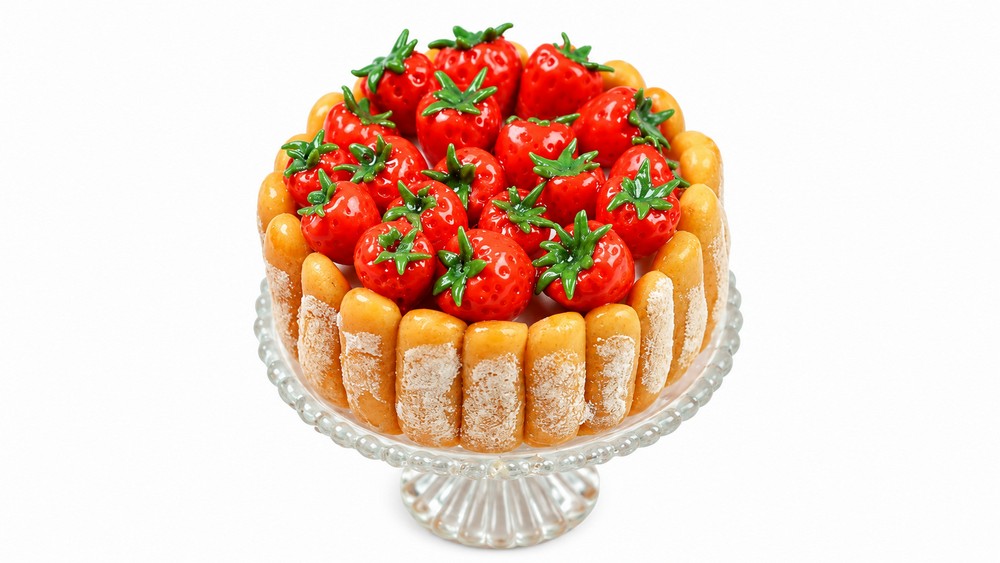
Miniature Strawberry Cake with Sponge Fingers
- Creates a charming miniature cake that’s perfect for dollhouses, jewelry, or decorative display.
- Uses leftover clay and simple tools so it’s economical and beginner‑friendly.
- Teaches essential miniature techniques: forming repetitive elements (sponge fingers), pastel shading, glazing, and layering.
What You'll Need
- Polymer clay: neutral/scrap color for sponge finger base, tan for sponge fingers, red for strawberries, green for stems, white for frosting.
- FIMO liquid (or compatible polymer clay liquid) for gluing and mixing frosting.
- Soft pastels (golden/tan) and a small makeup brush for shading.
- Razor/X‑Acto knife, dotting tool, needle tool, small roller, and tweezers or pincette.
- Baby powder or cornstarch, gloss varnish, baking surface and oven.
- Work mat (glass or tile) and paper towels.
A Few Things Before You Start
- Condition clay thoroughly so it’s pliable and won’t crack during shaping or baking.
- Work on a dust‑free surface and keep tools clean to avoid debris on visible surfaces.
- Follow manufacturer bake times/temperatures; use an oven thermometer for accuracy.
- Plan how many sponge fingers and strawberries you’ll need to cover the top — making extras is quicker in batches.
Let's Make It
Getting Started
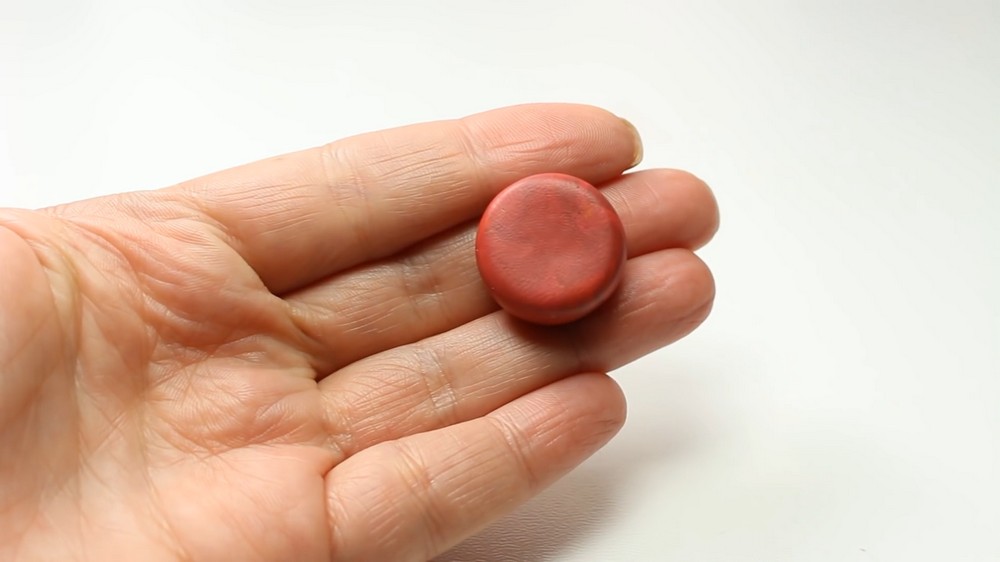
- Prepare the base and sponge finger balls:
- Use scrap clay rolled into a cylindrical base — any leftover color works.
- Roll many small tan balls (these form sponge fingers). Make slightly more than you think you need.
- Keep sizes consistent for a neat, uniform border.
Creating the Main Shape
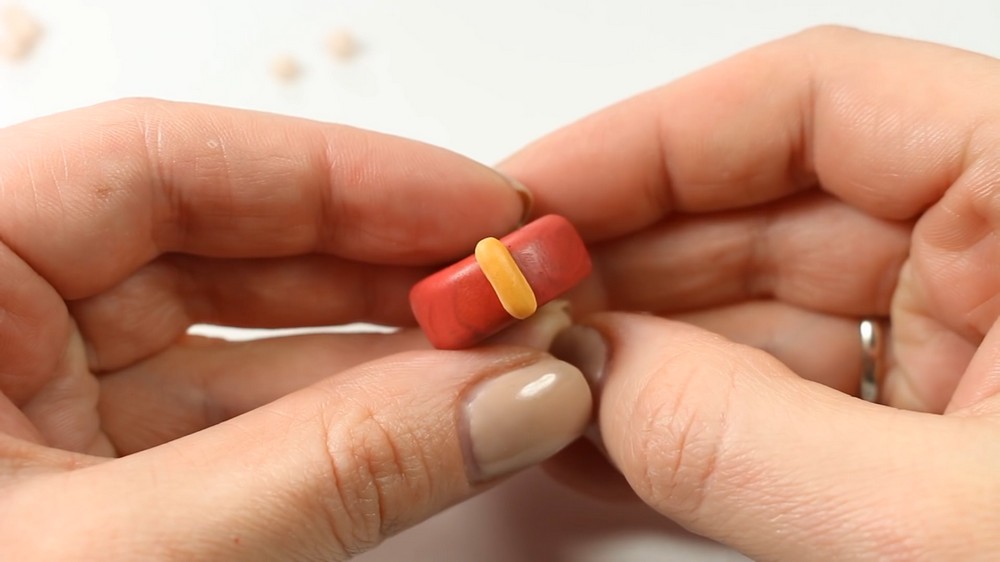
- Shape the sponge fingers:
- Roll each tan ball into a slender sausage using gentle pressure.
- Flatten each sausage lightly to form the classic sponge finger silhouette.
- Ensure edges are smooth so they sit flush together when attached.
- Attach sponge fingers to the base:
- Press each finger vertically around the base, placing them snugly side by side to form a continuous wall.
- Work in sections so you can adjust spacing and alignment before baking.
- If necessary, prebake the base and fingers separately for stability, then attach later with FIMO liquid.
Adding the Details
- Give sponge fingers a golden color:
- Lightly dust with soft pastel using a makeup brush to mimic baked golden edges.
- Blend gently and avoid over‑applying; excess can be removed with a cotton pad and rubbing alcohol.
- Create strawberries:
- Roll red clay into small cones or teardrops, pinching or rolling to refine the shape.
- Use a needle tool to add tiny seed dots on each berry.
- Make tiny dimples on top using a dotting tool for stem placement.
- Roll thin green snakes for stems, taper and cut a pointed end with a razor, and attach to each berry.
- Bake pieces:
- Bake both the cake base (if not already cured) and strawberries according to clay instructions. Allow full cooling before further handling.
Bringing Everything Together
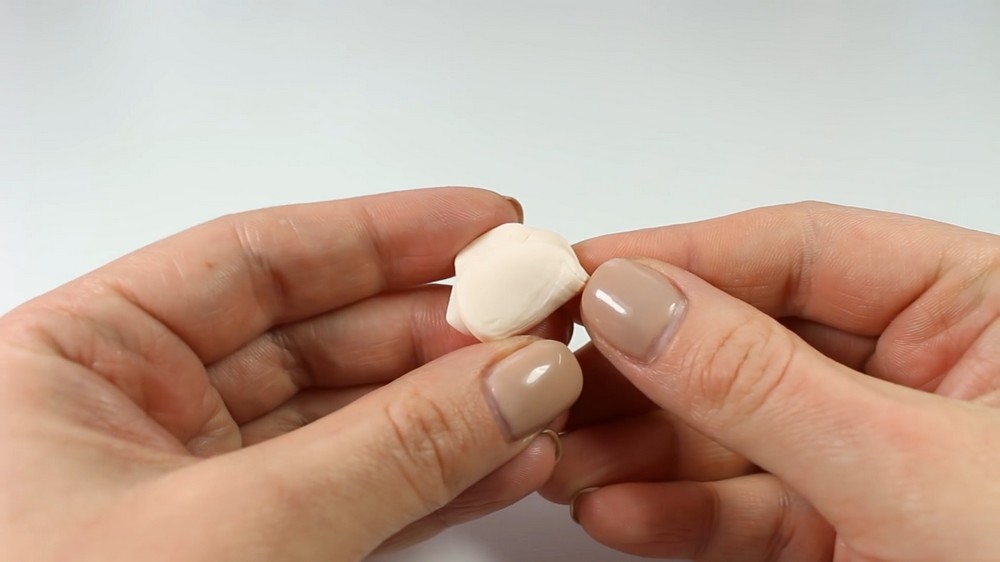
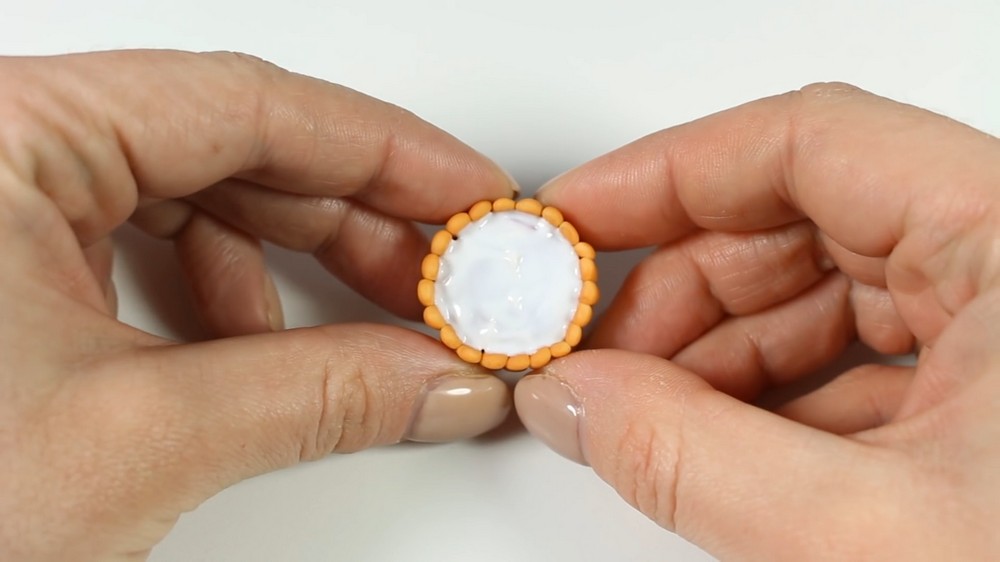
- Prepare white frosting:
- Mix white clay with a small amount of FIMO liquid to create a spreadable frosting texture.
- Spread evenly across the top of the cake using a small spatula or sculpting tool, leaving a slightly textured surface for realism.
- Arrange strawberries:
- Use the white frosting as an adhesive and place strawberries into position, starting around the outer ring and working inward.
- Use tweezers or a pincette for precise placement and to maintain symmetry.
- Ensure each berry is gently pressed into the frosting so it appears naturally nestled.
Finishing the Design
- Add custard sugar effect on sponge fingers (optional):
- Brush a thin layer of FIMO liquid over the sponge fingers, dust with baby powder to simulate powdered sugar, and gently tap off excess.
- This enhances realism and gives a delicate texture.
- Final bake and glaze:
- Bake the fully assembled cake following the highest temperature/time required by the components.
- After cooling, apply gloss varnish to strawberries for a fresh, glazed appearance. Avoid varnishing pastel‑shaded areas if you prefer a matte sponge look.
Tips for a Beautiful Finish
- Make extra tiny elements in batches to maintain consistent sizes and to save time.
- Use a steady hand and magnification when placing the last few strawberries for precise alignment.
- Test pastel shading on scraps first to control intensity. Layer color lightly for depth.
- If rebaking previously cured pieces is a concern, use FIMO liquid or a suitable adhesive for post‑bake assembly (check brand recommendations).
Make It Your Own
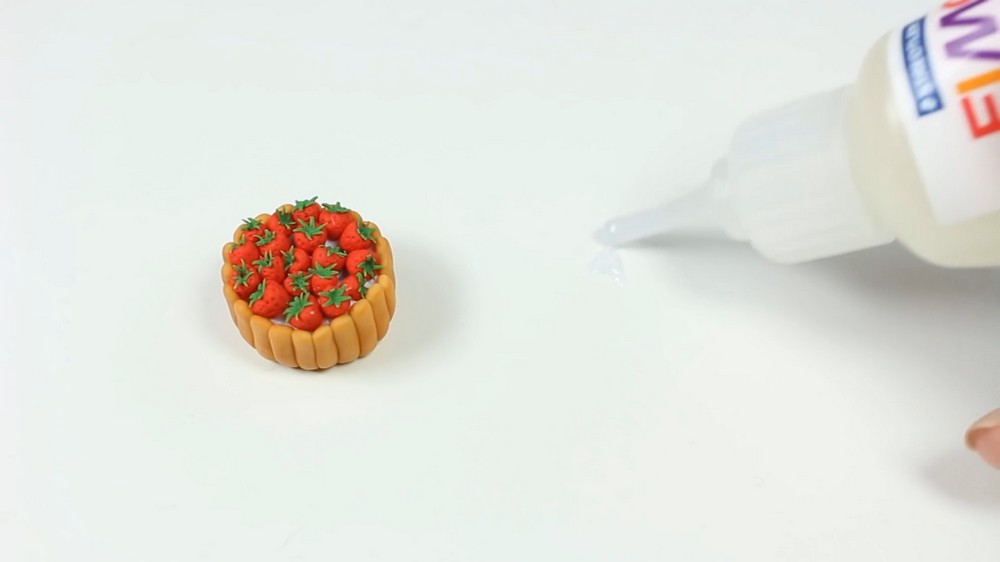
- Vary scale: make a smaller single‑serve version for jewelry or a larger cake for a miniature tea set.
- Flavor variations: replace strawberries with tiny raspberries, blueberries, or a mixed fruit arrangement.
- Decorative touches: add piped frosting rosettes, tiny sugar pearls, or a miniature cake topper.
Frequently Asked Questions
- Can I prebake some elements?
- Yes, prebaking the base or strawberries is fine; use FIMO liquid to adhere prebaked parts or rebake cautiously per manufacturer guidance.
- How do I prevent pastel from smudging?
- Seal delicate pastel work lightly with a matte fixative if desired, but avoid sealing areas you’ll varnish gloss later.
- What if my sponge fingers don’t sit flush?
- Trim or flatten bases slightly with a razor and reposition before baking; small gaps can be filled with frosting paste.
Final Thoughts
- This miniature strawberry sponge finger cake is an excellent exercise in repetition, texture, and composition.
- Work methodically: prepare components, prebake when helpful, shade gently, assemble with care, and finish with glazing for a polished result.
- Have fun customizing colors and decoration — small changes yield delightful miniature variations.