Add a playful vibe to your projects with a DIY Polymer Clay Beehive With Bees, an easy and fun way to showcase your creativity in handmade art.
Who doesn’t love a tiny, buzzing world of bees? Imagine crafting your own cheerful beehive filled with adorable little bees using polymer clay! This DIY project is not just creative, it’s downright fun and satisfying. You get to shape colorful honeycombs, build a playful little hive, and bring it to life with teeny tiny bees that will put a smile on your face. Whether you’re new to crafting or already love working with clay, this project is a fantastic way to enjoy some creative downtime while making something cute and lively.
Adorable DIY Polymer Clay Beehive with Bees Project
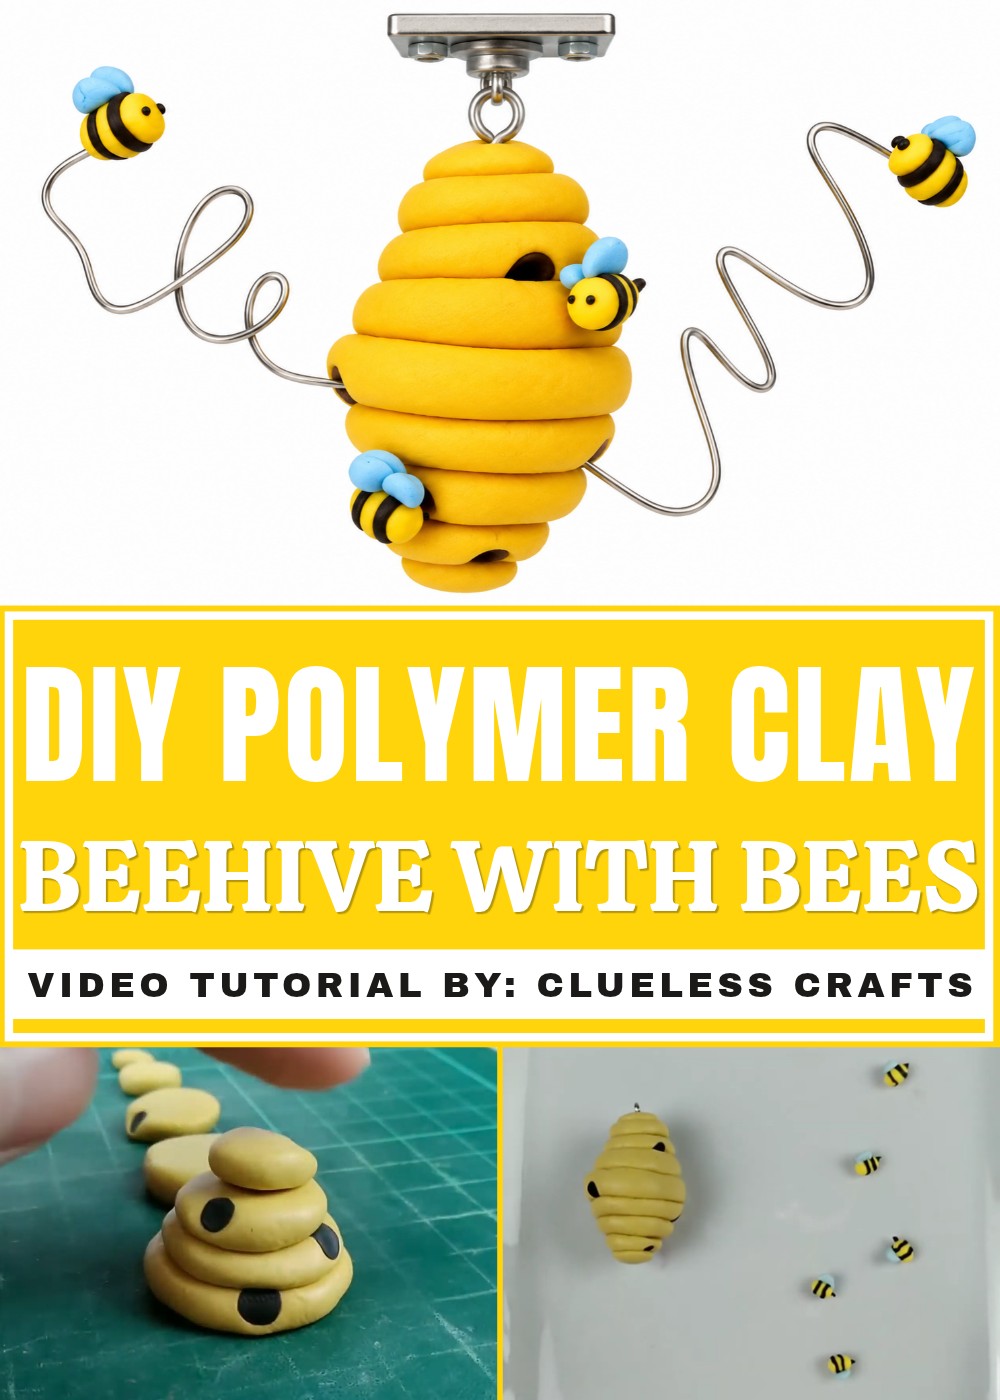
The best part of this activity is how much fun you can have with the details. Forming a rounded beehive, adding textured layers to make it look realistic, or even giving it a quirky design—it’s all up to you! Then come the bees, those tiny busy workers that bring so much personality to the project. Imagine shaping their tiny stripes, cute little wings, and setting them on the hive as if they’re buzzing around. You could even add flowers or drops of honey for extra fun! It’s like building your own mini bee village.
Polymer clay makes it all super easy and enjoyable. You can squish, roll, and shape it just the way you want, and once baked, your hive becomes a sturdy little masterpiece. It’s exciting to see your beehive come together, and when it’s finished, you’ll have something sweet and handmade to decorate your space or gift to someone who loves bees.
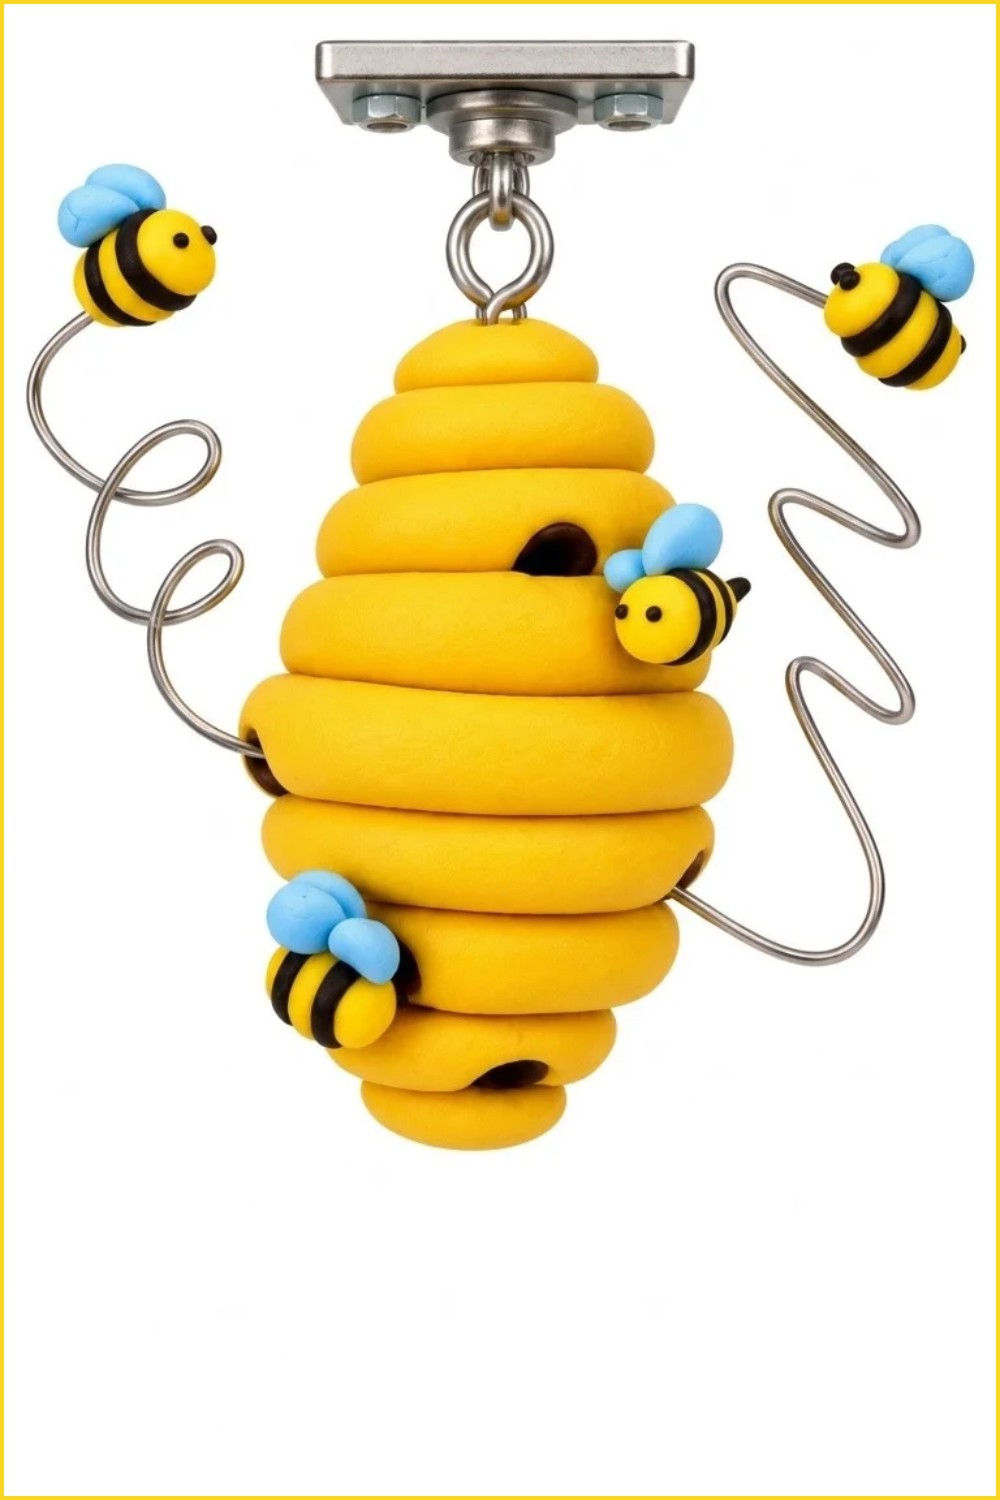
DIY Polymer Clay Beehive With Bees
Create a hanging polymer-clay beehive with tiny flying bees on spiraled wires. This project builds stacked disk layers to form a hive, adds doorways, sculpts small bees with striped bodies and wings, and finishes by attaching bees to wire spirals so they appear to fly out of the hive. The finished piece is lightweight and suitable for hanging as decor.
Materials & Supplies
- Off-yellow polymer clay (main hive color)
- Black clay (doorways and bee stripes)
- Yellow clay (bee bodies)
- Light blue clay (bee wings)
- 22-gauge wire (short strips for flying effect)
- Super glue (to secure wires after baking)
- Optional: eye pin (to hang the hive)
Tools & Equipment
- Roller (or smooth bottle) for flattening discs
- Ball-point tool for making indents and doorways
- Blade / craft knife for cutting clay and wires
- Pliers or wire cutters for shaping wire
- Work tile or nonstick surface for baking
- Oven (follow clay manufacturer’s instructions)
Project Details
- Finished size: small to medium hanging ornament dependent on initial disc sizes.
- Skill level: beginner (basic rolling, cutting, and simple assembly).
- Key features: layered disk hive, recessed doorways filled with black clay, multiple small bees with wings and stingers, spiral wire flight paths, optional hanger.
Preparation
- Condition your clay by warming and kneading until soft and pliable.
- Decide on scale: select sizes for the largest disk and proportion the smaller disks so the stack forms a tapered beehive.
- Cut wire strips in advance (22-gauge recommended) and have pliers ready.
- Preheat oven only when piece is ready for baking and follow clay brand temp/time recommendations.
Step-by-Step Detailed
(Complete, ordered steps reflecting the transcription. Use bullets for clear actions.)
Form the Disks
- Roll one large ball of off-yellow clay plus four smaller balls each smaller than the last.
- Duplicate all pieces except the largest so you have pairs of each size (two of each smaller disk, one largest).
- Flatten each ball into a disk using fingers or a roller; ensure consistent height across disks.
- Tip: use your roller as a guide to keep height uniform.
Create Doorways
- Use a ball-point tool to make indents along the edges of some disks to form doorways.
- Flatten small balls of black clay and press them into the indents to create recessed doorways.
- Important: place doorways thoughtfully so they read correctly once stacked (see stacking step).
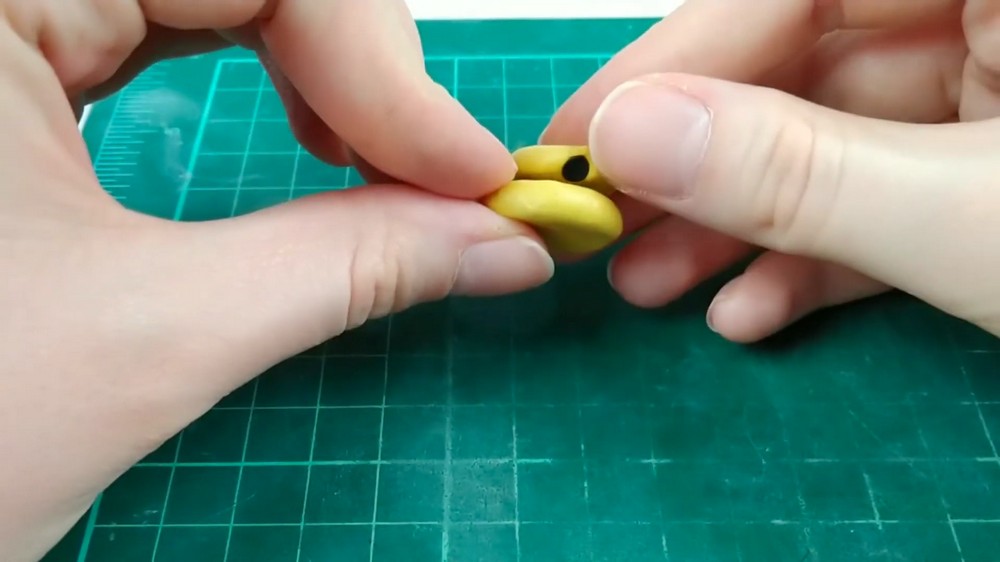
Stack the Hive
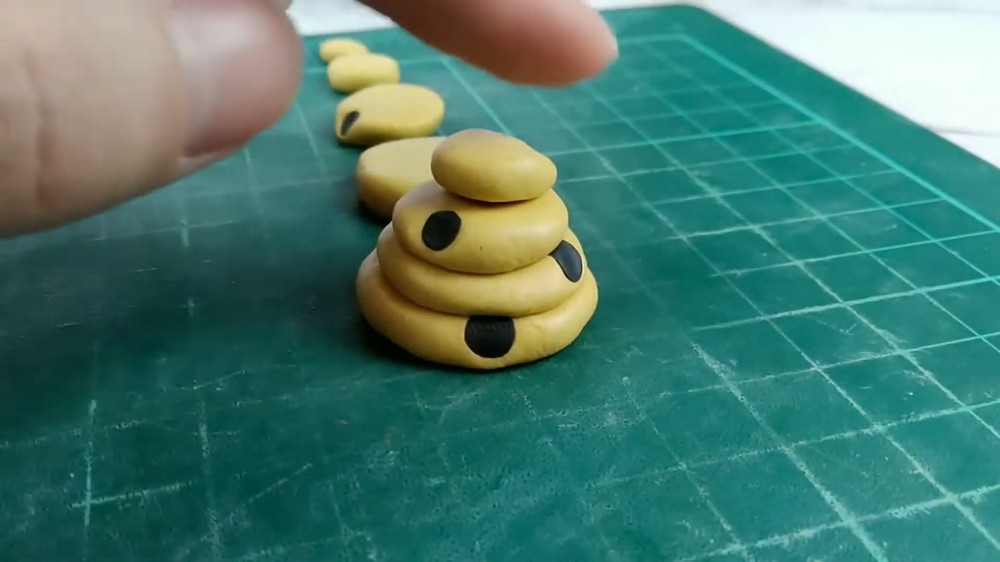
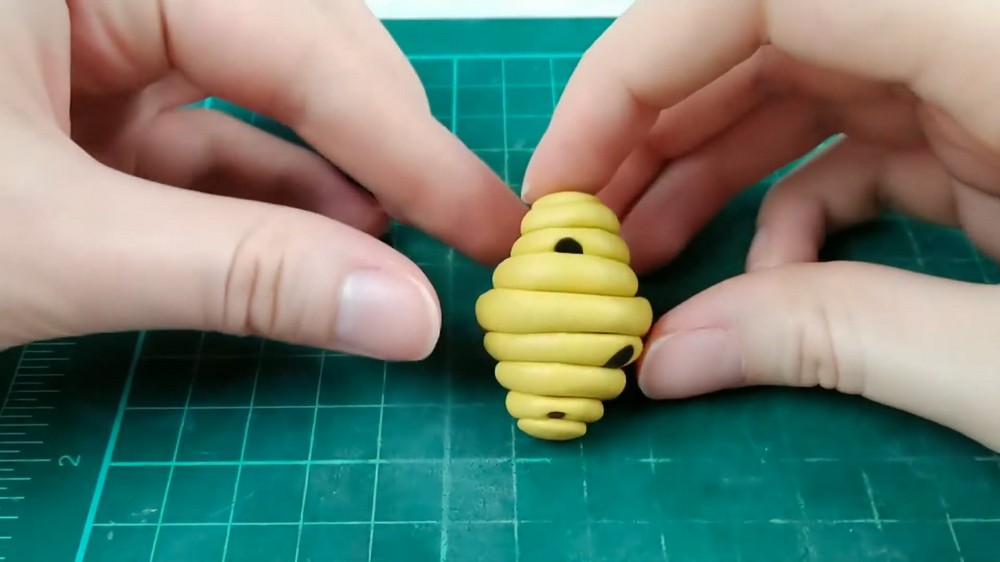
- Assemble the bottom half first (so bottom doorways will appear upside down while stacking the lower disks).
- Assemble the top half separately; doorways will be right-side up for these pieces.
- Combine top and bottom halves and press gently to ensure the entire stack is secure and uniform.
Add Hanging Hardware
- Insert an eye pin at the top of the hive before baking if you plan to hang the finished piece.
- Important: make sure the eye pin is well-seated and won’t interfere with the bake.
Make the Bees
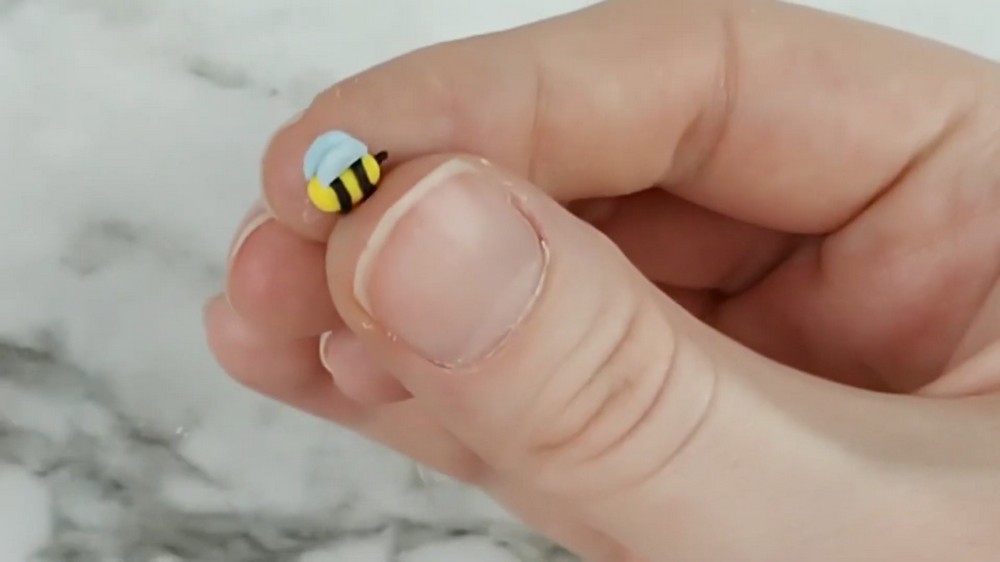
- Form small yellow balls for bee bodies.
- Roll thin black logs and wrap around each yellow ball to create stripes (two stripes per bee is suggested).
- Technique: hold the black log in place and roll the yellow ball to wrap the stripe neatly.
- Roll the body together so stripes are flush and smooth.
- Create wings: roll light blue clay into a tiny ball, cut into two halves, and flatten them into wing shapes.
- Add a stinger: form a tiny tapered black or yellow piece and attach to the back.
Prepare Flight Wires
- Cut short strips of 22-gauge wire and twirl each around a finger to make a spiral shape.
- Insert wire spirals into random hive doorways so they look like flight paths emerging from the hive.
Bake
- Bake the assembled hive with wires inserted according to polymer clay instructions (temperature and time per the clay brand).
- Important: follow manufacturer’s bake guidelines for safety and proper curing.
Secure Wires & Attach Bees
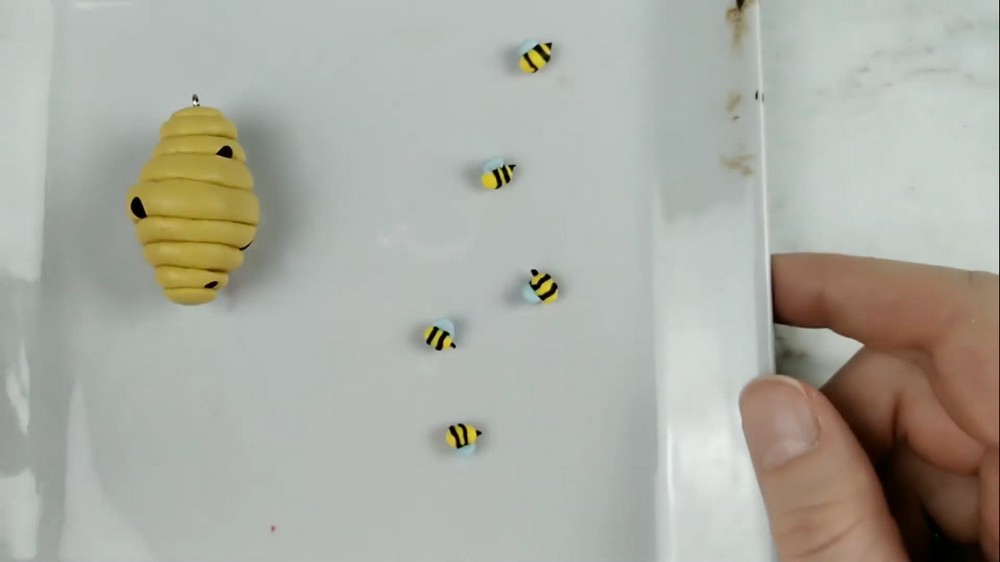
- After baking and cooling, remove each wire, dab super glue into the hole, and reinsert the wire to secure it.
- Attach a bee to the end of each wire using super glue so bees appear to fly in a spiral pattern away from the hive.
- Place remaining bees randomly on or around the hive surface as desired.
Display
- Install a hanging point (wrap a wire or use the eye pin) and hang from a shelf, hook, or ceiling hardware.
- Ensure the hanging fixture is secure and the hive is balanced.
Finishing Instructions
- After glue sets, check all bees and wires for stability.
- Optionally varnish the hive or bees with a matte or satin seal to protect the surface (test compatibility with glue/paint first).
- Trim any excess wire and smooth glue bumps with a craft knife if necessary.
Tips & Techniques
- Keep disk heights consistent for a clean, even hive silhouette.
- Make recessed doorways before stacking to ensure a defined look.
- Wrap stripes neatest by rolling the yellow body, not the black log, for control.
- Twirl wires tightly around a finger to form neat spirals that read as flight trails.
Common Problems & Solutions
- Bees fall off wires: use a stronger adhesive or add a small clay dab baked onto the wire tip before final glue.
- Disks slip after stacking: press edges together firmly and consider inserting a small amount of liquid clay (if compatible) at seams before baking.
- Wires bend out of shape: use thicker gauge or double-twist the wire for added stiffness, or shorten wire length.
Creative Ideas & Variations
- Color variations: use gradient yellows or add subtle brown washes for an aged look.
- Scale up: make a larger hive with more disks and additional bees for a mobile.
- Add detail: sculpt tiny flowers or leaves at the hive base to create a scene.
Final Result
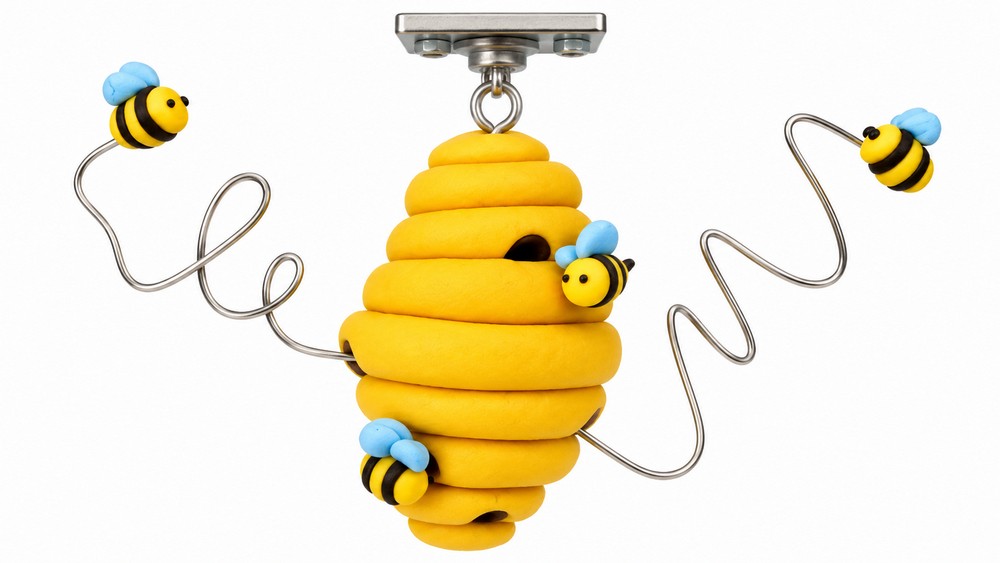
You’ll have a charming hanging beehive ornament: layered, yellow disks with recessed black doorways, multiple tiny bees with wings and stingers, and spiraled wire flight paths that create a dynamic, lifelike display. Durable after baking and glueing, it makes a delightful handmade decoration.