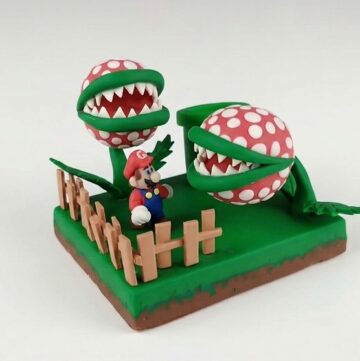
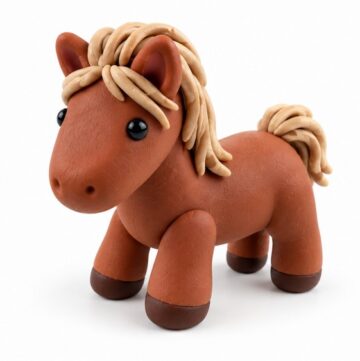
Design your own detailed DIY Polymer Clay Minecraft Jungle Biome and capture the magic of the game with this beginner-friendly crafting project.
If you enjoy Minecraft and love being creative, this project is perfect for you. Using polymer clay, you can recreate the vibrant and rich jungle biome from the game as a fun DIY activity. It’s an exciting way to bring the virtual world into real life, where you get to craft tiny blocks, trees, animals, and other details inspired by the game. Whether you’re a fan of crafting, gaming, or both, this project lets you explore your creative side while celebrating one of Minecraft’s coolest biomes.
Easy DIY Polymer Clay Minecraft Jungle Biome Instructions
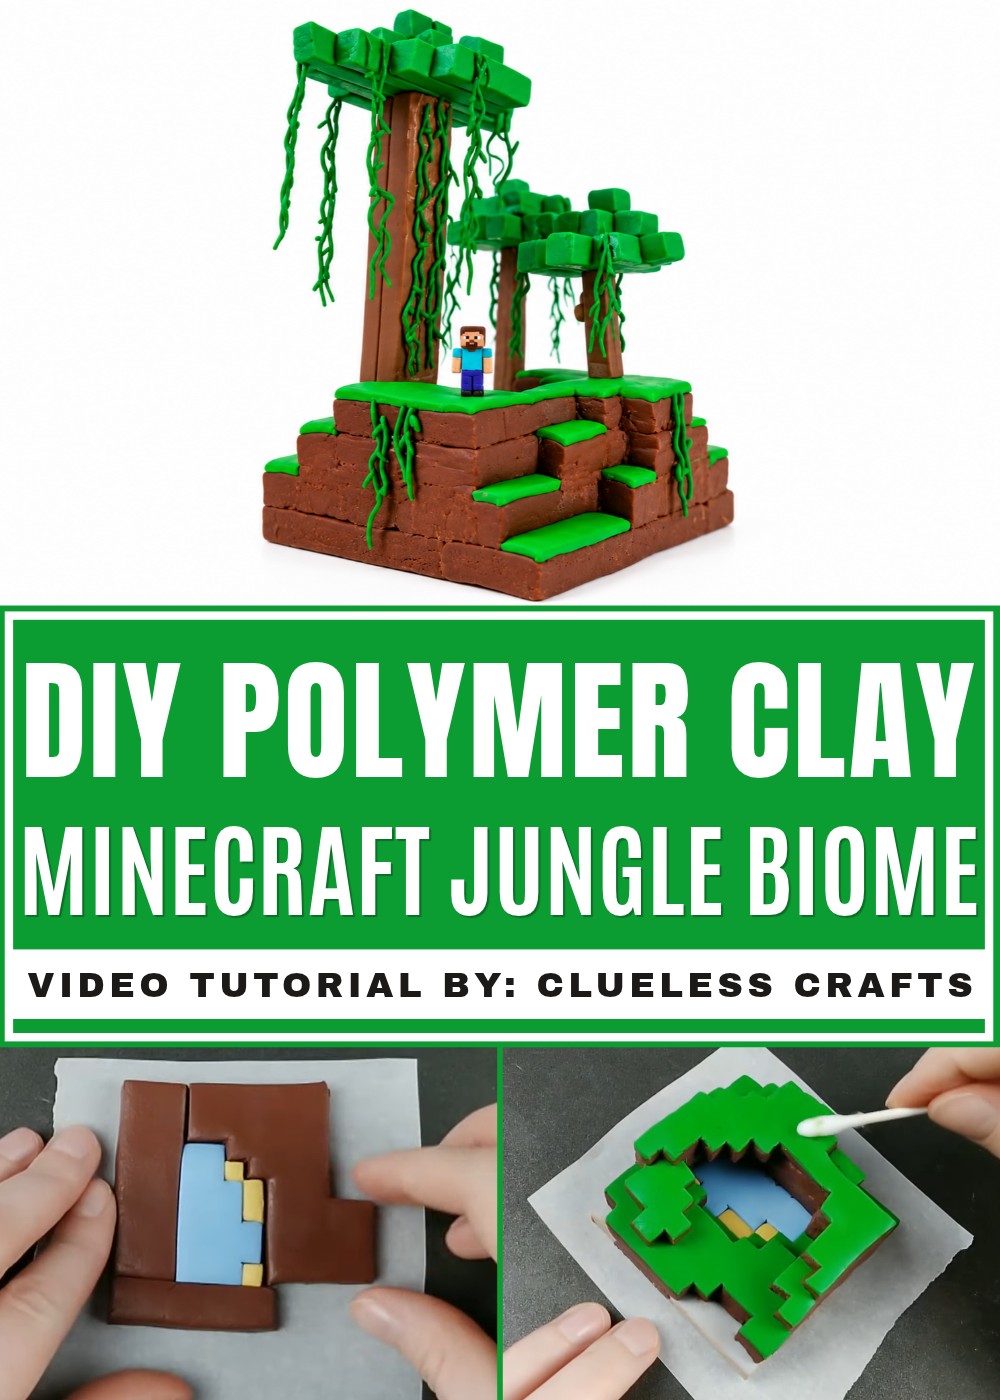
Building the jungle scene is where the fun begins. You can start by crafting blocks to resemble the grass, dirt, and stone. Then, shape tall jungle trees with their leafy tops and vines cascading down. Add playful details like ocelots, parrots, or even hidden treasures to make the scene come alive. The best thing about creating this biome is how customizable it is! You can fill the jungle with as much or as little detail as you want, making it entirely your own.
Polymer clay is ideal for this project because it’s easy to mold and perfect for creating clean, Minecraft-style designs. You can work on it piece by piece, building your jungle biome layer by layer, just like in the game. Once it’s baked, you’ll have a detailed, colorful Minecraft scene that’s ready to display or share. It’s not just a craft—it’s like building a real-life adventure.
Project Overview
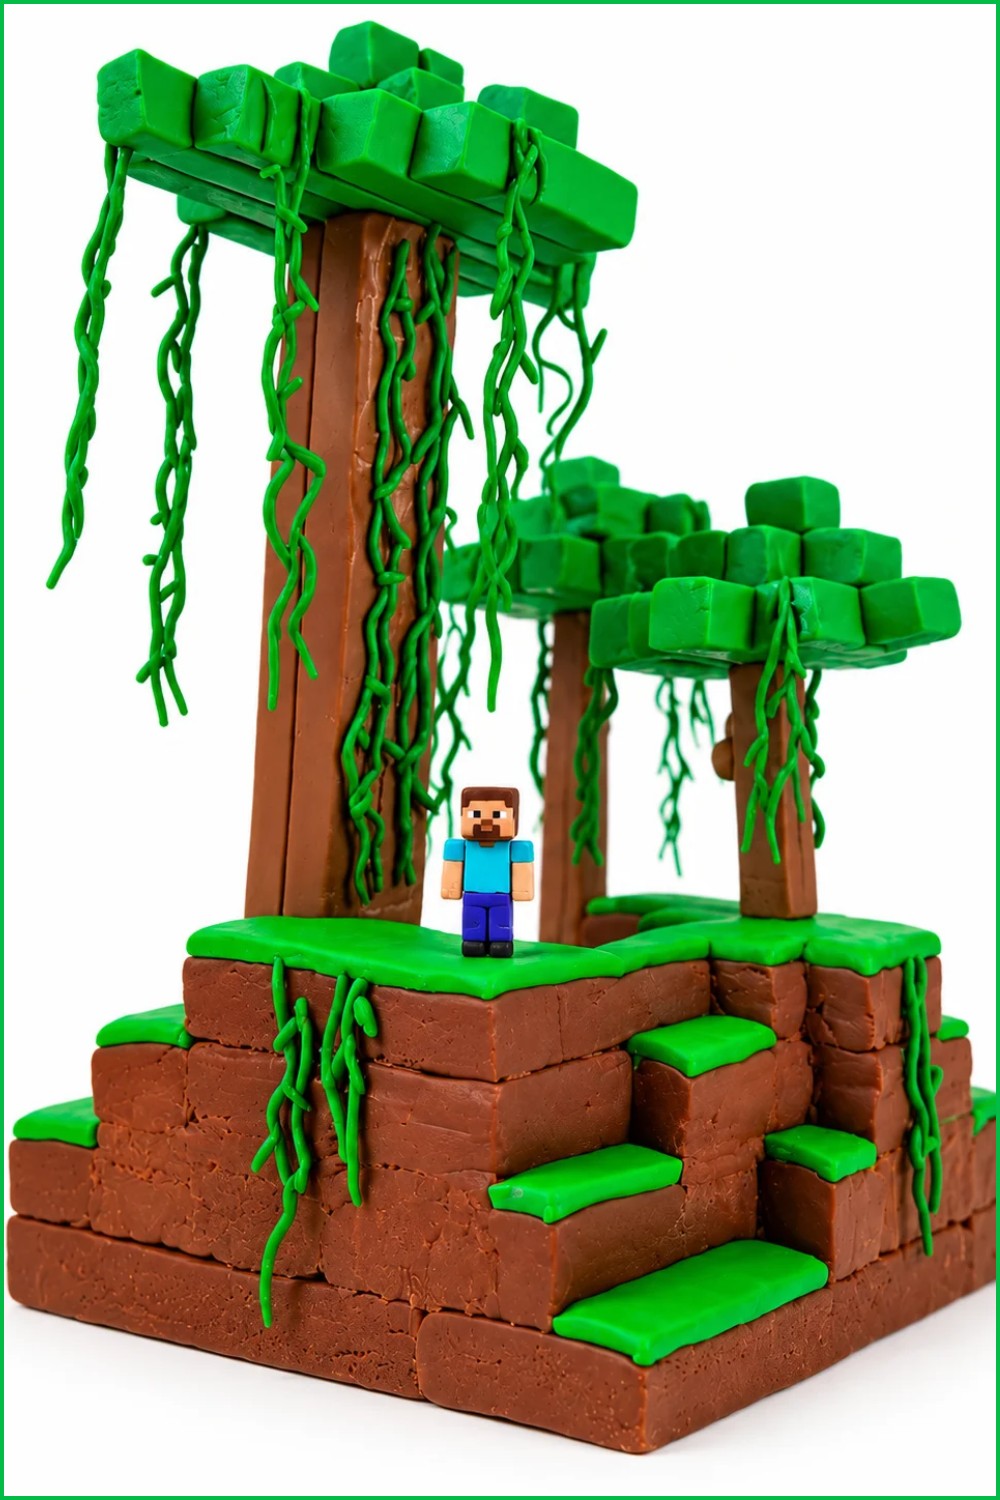
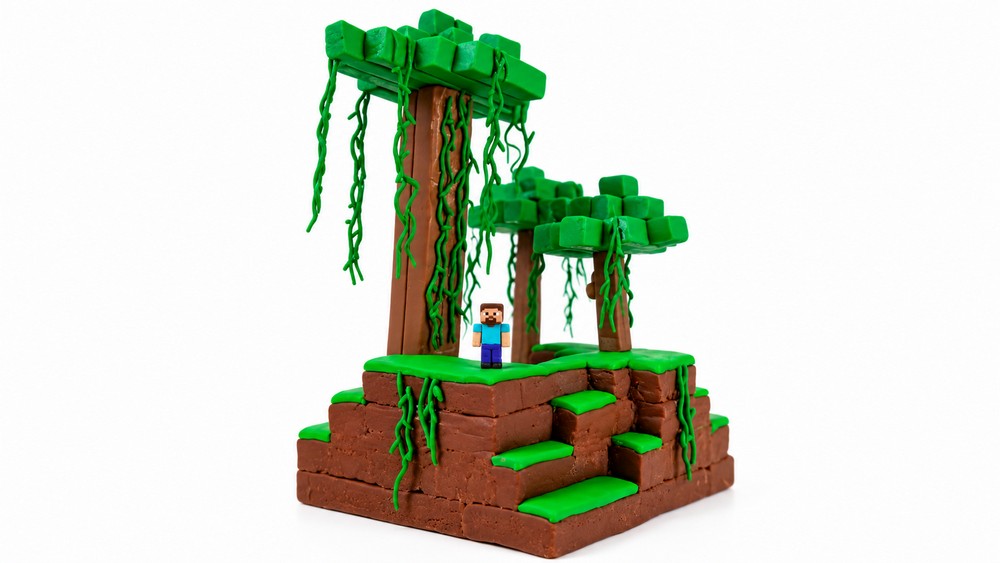
Create a layered Minecraft-style jungle scenery diorama using polymer clay (or similar media). The project builds stacked terrain levels from paper templates, adds grass and dirt layers, sculpts a miniature Steve figure, constructs vines, makes trees with textured leaf blocks, and assembles a large jungle tree with vines. The guide follows the full workflow from template to finished scene.
Materials & Supplies
- Polymer clay (brown, green, and other colors as needed)
- Parchment paper (for baking and layout)
- Paper template (cut into levels)
- Hot glue (for forming stoppers and later assembly)
- Super glue (for securing baked pieces like tree tops)
- 22–26 gauge wire (optional for internal supports)
- Acrylic paints (optional for weathering/highlights)
Tools & Equipment
- Scissors / craft knife (for cutting templates and clay)
- Popsicle sticks / roller (for flattening clay)
- Sculpting tools (ballpoint, blade, silicone-tip tools)
- Pliers / cutting tools (if using wire)
- Oven and baking tray (follow clay manufacturer instructions)
- Rubber finger guard (recommended for safe cutting)
Project Details
- Finished object: multi-level Minecraft jungle diorama with trees, vines, and a small Steve figure.
- Skill level: intermediate — requires template use, layering, precise cutting, texturing, and some hot-gluing and painting.
- Key features: stacked terrain levels, grass and dirt transitions, thin rolled vines with leaves, blocky trees and a large central jungle tree.
Preparation
- Print and cut the paper template, then divide into individual level pieces.
- Duplicate templates if needed to simplify cutting multiple identical clay sections.
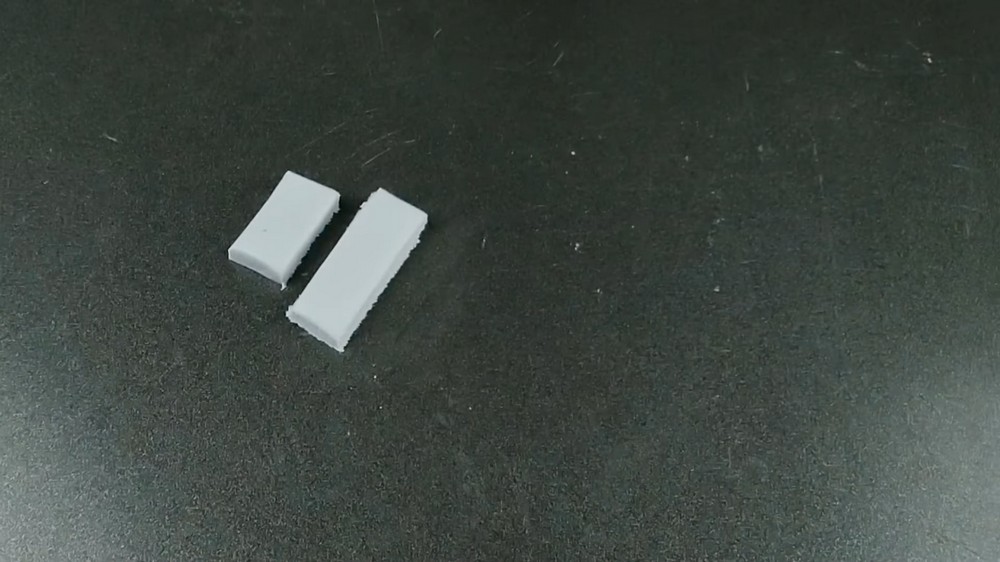
- Make a simple stopping jig by hot-gluing two popsicle sticks together to help cut even edges. This improves consistency when trimming clay pieces.
- Lay out parchment paper on your bake tray to prevent sticking and reduce burning risk.
Step-by-Step Detailed
Template & First Layer
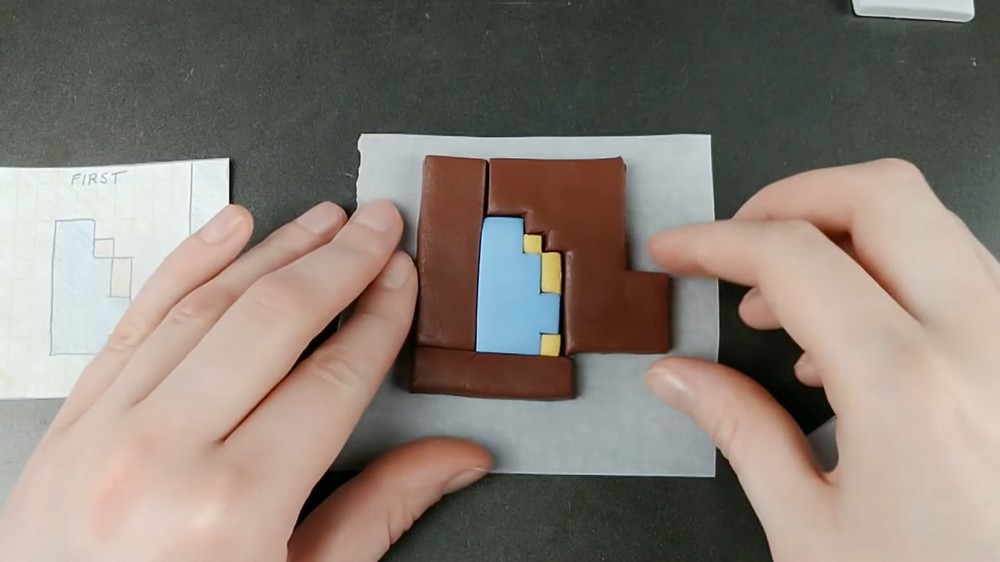
- Cut the paper template into each individual level shape.
- Duplicate the template pieces to make cutting multiples easier.
- Use the popsicle stick stopper to guide cutting and help create more even edges.
- Lay all cut pieces on parchment paper rather than directly on the tray — this reduces sticking and burning risk.
- Use an additional sheet of parchment to flip and blend edges together so layers match the template silhouette.
Trimming & Grass Preparation
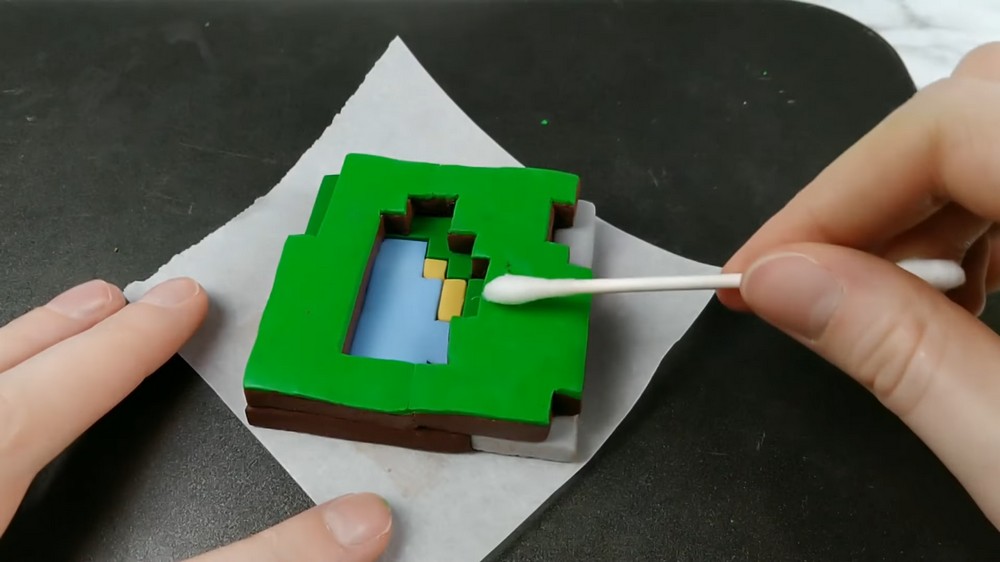
- Place the template back on top of the baked or trimmed layer to trim edges closer to the original shape.
- Cut green strips for grass; lay green clay strips along the top edge of brown dirt layers.
- Trim excess grass that will be covered by the next layer (important for avoiding visible green lines between stacked brown levels).
Second Layer & Subsequent Layers
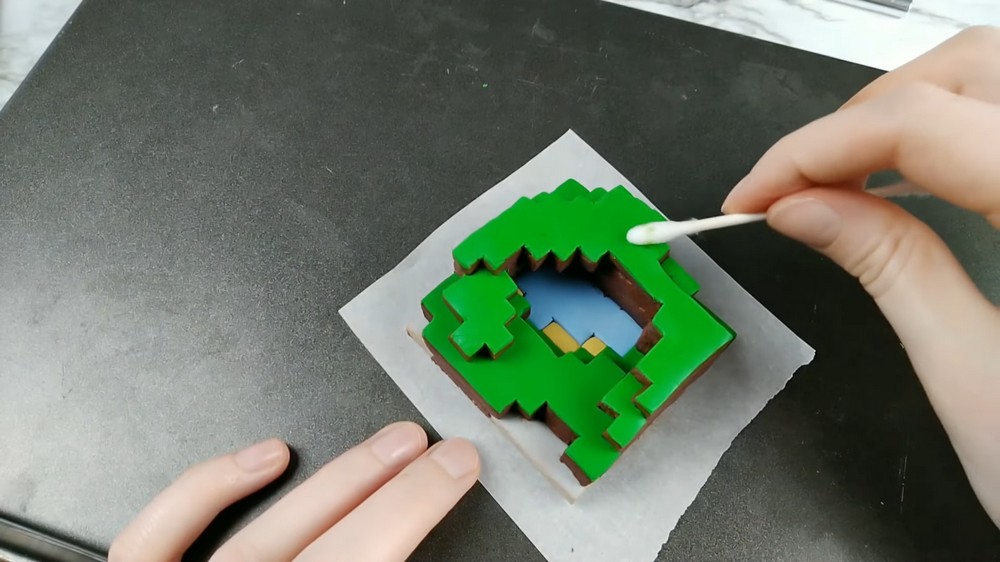
- For the second layer, cut a brown dirt base and attach a green strip of grass on top.
- Cut the template in half if helpful, then trim the green strip to match the shape.
- Before stacking, remove any green that will be hidden by the next dirt layer to prevent an unwanted green seam later.
- Assemble and stack layers once trimmed and blended; press edges together so levels align.
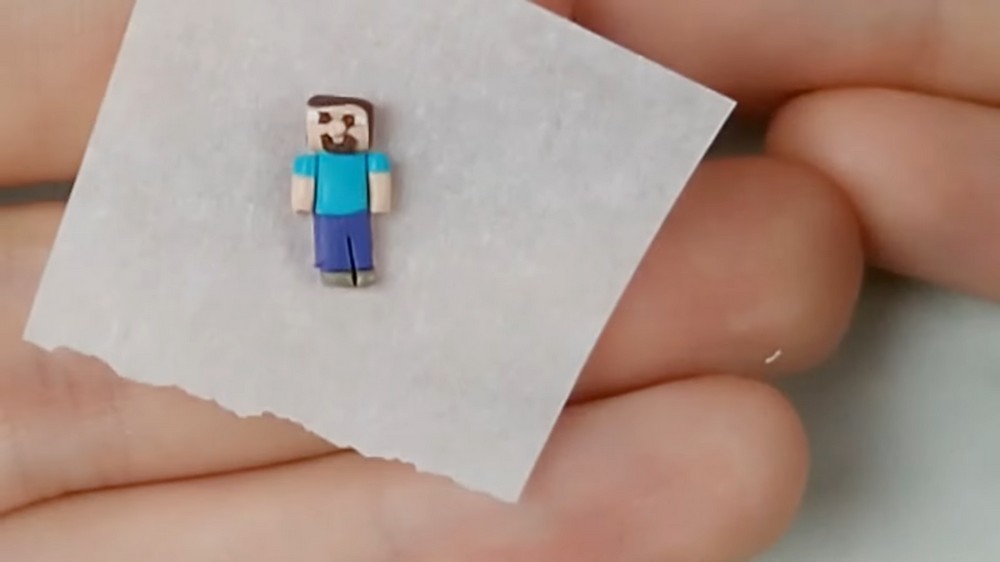
Steve Figure (Mini)
- Sculpt a small blocky Steve using square-ish clay shapes.
- Work small and expect pieces to stick to your fingers — use tools or parchment to move parts.
- Refine details as tolerances allow; a small Steve suffices if sculpting is difficult at tiny scale.
Vines
- Roll very thin green logs and split them lengthwise to create vine strands.
- Use silicone-tip or sculpting tools to very carefully shape a wave-like curve into each vine.
- Use leaves as connectors between vine sections so they won’t fall apart; attach leaf shapes where two vine segments meet.
- Make many vines — jungle scenes require lots of practice and repetition.
Trees & Tree Tops
- Roll tree trunks as long fat logs and shape them with a blade to get a blocky trunk appearance.
- For leaves, cut green clay into squares or cubes to represent Minecraft leaf blocks.
- Note on workflow: cutting pre-baked leaf logs can round corners; the recommended method is:
- Cut cubes before baking, squash them together into the tree-top shape, then bake.
- The transcript attempted cutting after baking and found it inferior.
- If you must cut logs, prepare for more trimming; use a rubber guard on blades to avoid injury.
Large Jungle Tree
- Plan tree size; make a giant trunk and many leaf cubes.
- If short on leaves, you can still assemble with available pieces, but a fuller tree reads better.
- Cut leaf logs into appropriate sizes, then super-glue them together into a canopy shape for the giant tree.
- Attach vines around trunks and canopy — securing may be tricky but visually rewarding.
Assembly & Finishing
- Add vines to trees and the main structure, arranging them to cling to trunks and hang between layers.
- Glue tree-tops and other hard-to-bake assemblies after curing/clay baking as needed.
- Make finishing touches along edges and place Steve in the scene.
Finishing Instructions
- After all elements are baked and glued, inspect seams and joints; touch up with paint if desired.
- Use super glue for permanent joins of baked elements (e.g., leaf cubes glued for large tree).
- Optionally apply a thin varnish for protection, testing compatibility with your clay and glue.
Tips & Techniques
- Work in stages: bake detailed shell pieces (like leaf blocks) rather than trying to sculpt everything in one go.
- Trim excess green early to avoid visible unwanted layers.
- Use a stopper or jig (popsicle sticks) to help keep level edges consistent.
- Use a blade guard to avoid cutting your fingers when trimming many small pieces.
Common Problems & Solutions
- Uneven levels: use the stopper and check orientation before baking (ensure the bottom is flat).
- Visible green seam between layers: trim grass that will be covered by the next level before stacking.
- Vines not sticking: use leaf connectors and a dab of glue after baking for long-term hold.
- Rounded leaf corners after cutting baked logs: pre-cut cubes before baking and assemble then bake for cleaner edges.
Creative Ideas & Variations
- Create different biomes by swapping leaf and grass colors (savanna, desert, snowy).
- Scale up for a diorama: add water features, mobs, or multiple characters (Alex, villagers).
- Add LED micro-lights inside cave areas for illuminated scenes.
Conclusion
A multi-level Minecraft jungle diorama featuring layered grass-and-dirt terrain, a miniature Steve, waving vines, several trees, and a large jungle tree canopy. The piece demonstrates staged baking, template-based accuracy, and detailed assembly; expect a learning curve but a highly rewarding finished terrain scene.