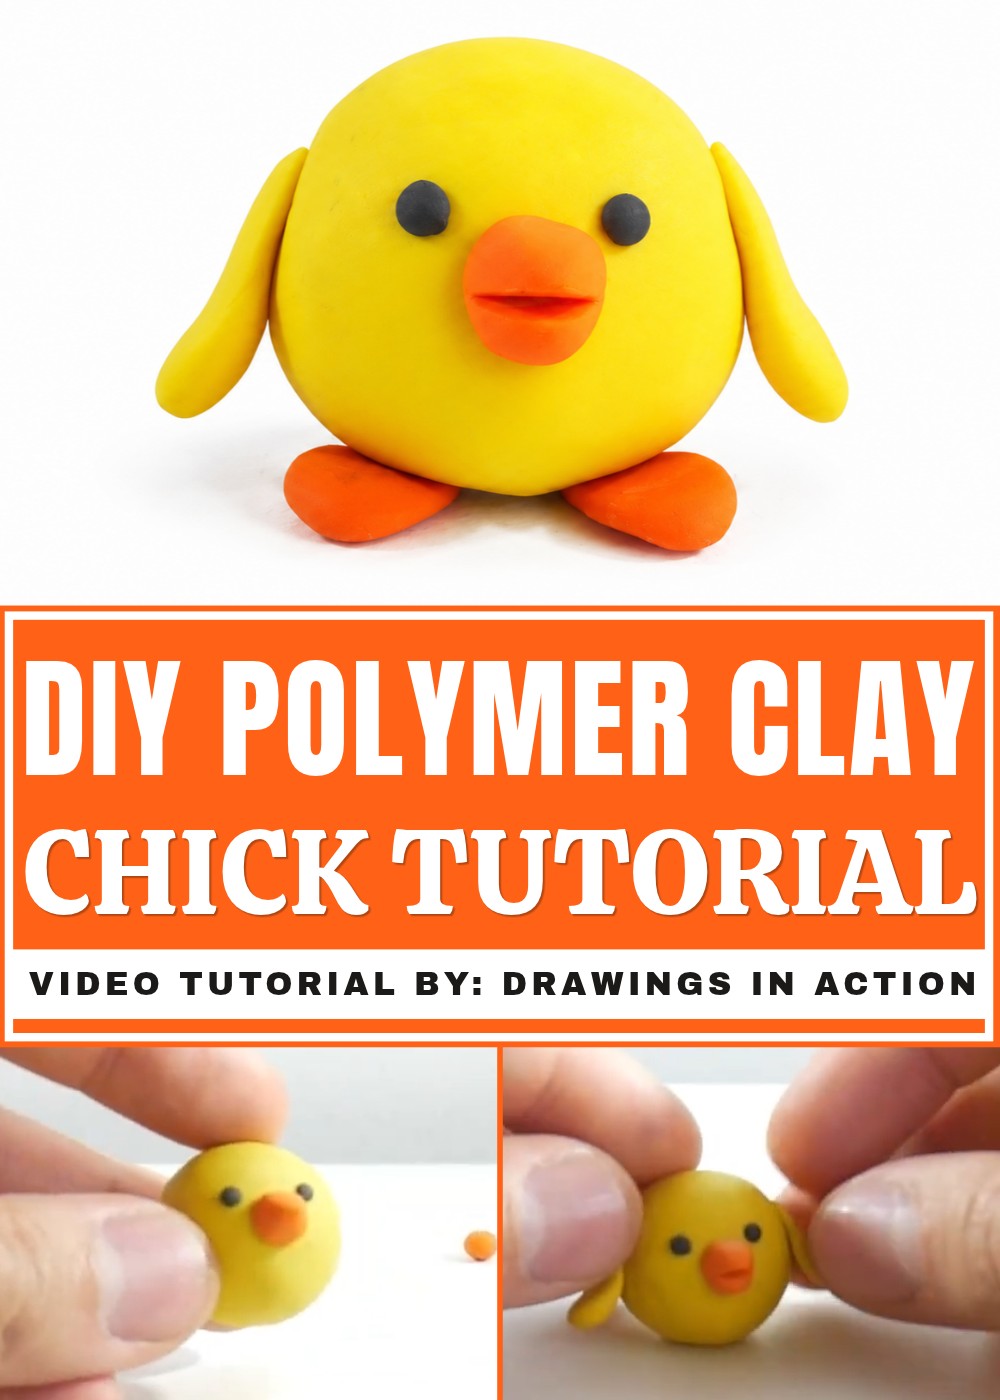
Bring your creativity to life with this DIY Polymer Clay Chick Idea, a fun and simple crafting project that’s great for kids and adults alike.
Getting started with a new craft is a great way to spend your free time, especially when it is simple and joyful. If you are looking for a cute and happy small project to try, you will absolutely love this beautiful DIY Polymer Clay Chick Idea. Full credit for this lovely tutorial and design goes to the amazing original YouTube channel, Drawings In Action, who created this wonderful guide. Playing with clay is a fantastic way to relax and let your creative side shine. This little project is easy to follow and brings lots of joy to anyone who makes it.
Simple DIY Polymer Clay Chick Idea For Display
You might wonder why reading about it is such a great choice. Making this tiny yellow bird is incredibly fun because you get to mold and shape soft material with your own hands. The process is very relaxing, and seeing the little face come to life will surely put a big smile on your face. You do not need any special skills or expensive tools to get started. Just grab some basic colors of clay, take a seat at your table, and enjoy the smooth feeling of rolling the shapes. It is a wonderful activity to do on a quiet afternoon or a weekend.
Once you finish your little masterpiece, you will have a tiny, cheerful friend to decorate your desk or give as a sweet gift to someone special. Everyone loves handmade items because they come straight from the heart. Reading about this enjoyable process will help you understand every step clearly, giving you the confidence to start your own creative journey today. Grab your materials and get ready to enjoy a happy crafting time that leaves you with a bird to treasure forever.
Adorable DIY Polymer Clay Chick Idea
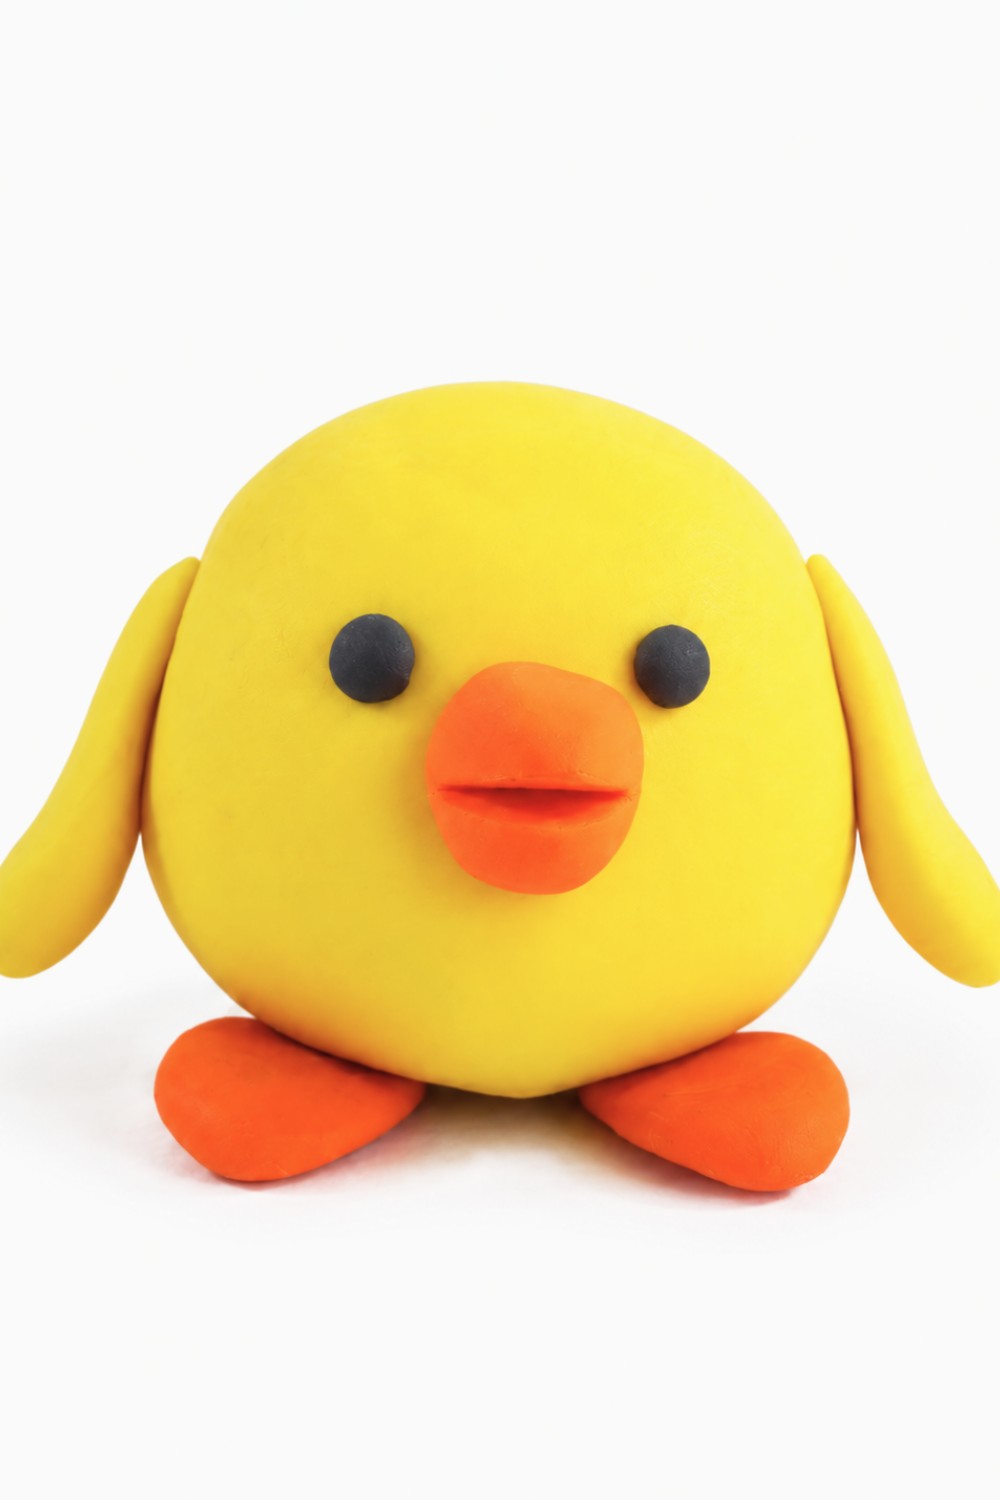
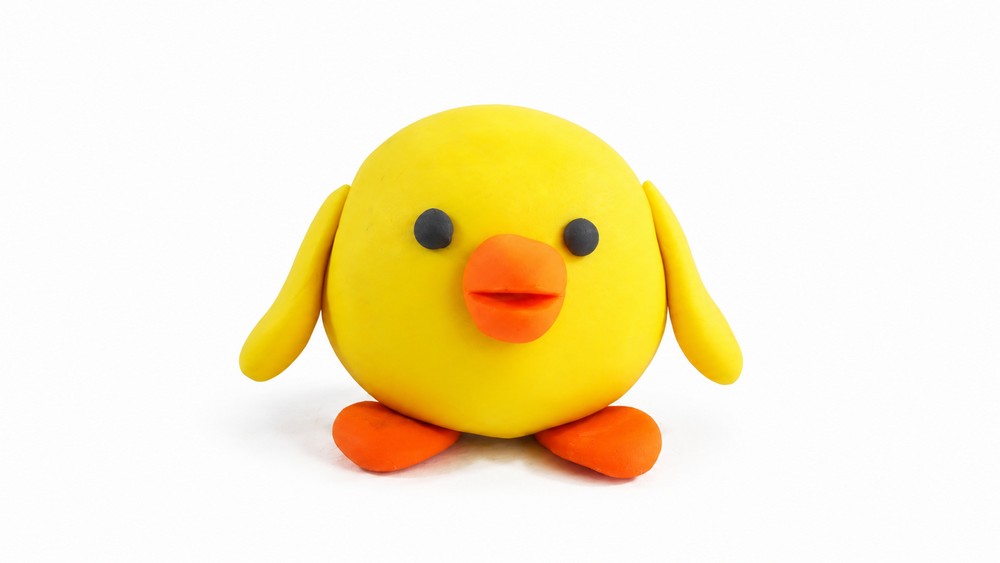
This tutorial provides a detailed guide to sculpting a charming clay chick using basic techniques. The finished project features a soft yellow body, a bright orange beak and legs, and black eyes, making it the perfect representation of a cheerful little chick. By following this clear and beginner-friendly tutorial, you’ll learn how to shape and assemble the parts using simple tools and a minimal set of materials. The process involves rolling clay into balls, shaping pieces like a cone for the beak, and attaching all the parts in a logical sequence. With just a few steps and basic skills, you’ll have a delightful clay figure for display or gifting.
Materials and Tools
Materials
- Yellow clay: For the main body and wings.
- Orange clay: For the beak and legs.
- Black clay: For the eyes.
Tools
- A household cutter or knife: For shaping the beak.
Preparing the Clay
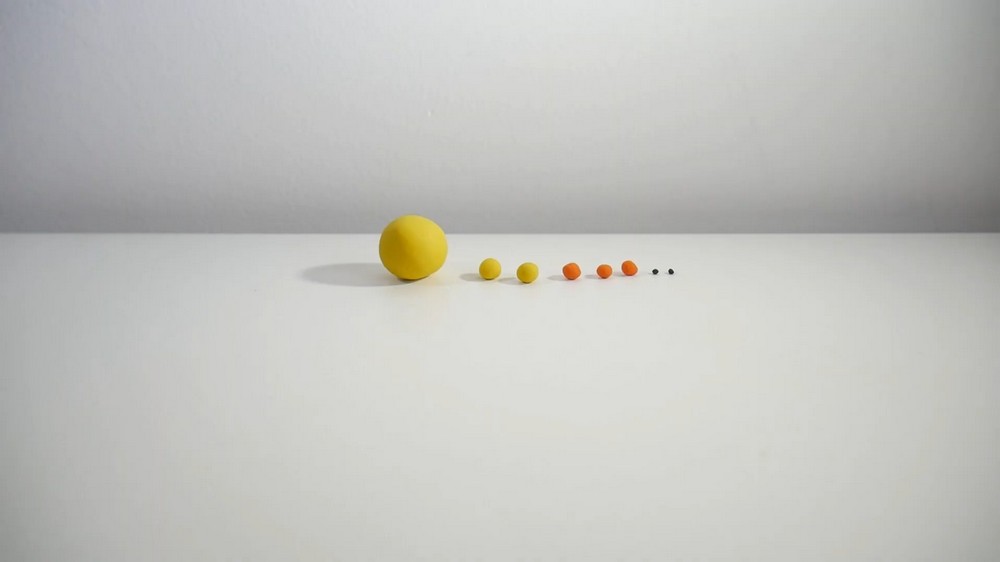
Divide Clay into Balls
- Roll and divide the clay into balls of various sizes:
- Yellow clay:
- One large ball for the chick's body.
- Two small balls for the wings.
- Black clay:
- Two tiny balls for the eyes.
- Orange clay:
- One small piece for the beak.
- Two small balls for the legs.
- Yellow clay:
- Make sure all the clay balls are smooth and even. Adjust the size of the balls based on the proportions of your chick to ensure balance.
Shaping the Body
Form the Body
- Take the largest yellow ball and place it in the center of your workspace.
- Roll and smooth the ball between your hands to ensure it’s perfectly round and even.
- Keep it structured as a round shape, as this will serve as the chick's body.
Adding the Eyes
Attach the Eyes
- Take the two tiny black balls made from black clay.
- Roll each ball gently to ensure they are smooth and uniform.
- Attach the black balls near the top center of the yellow body, leaving enough space between them for the beak.
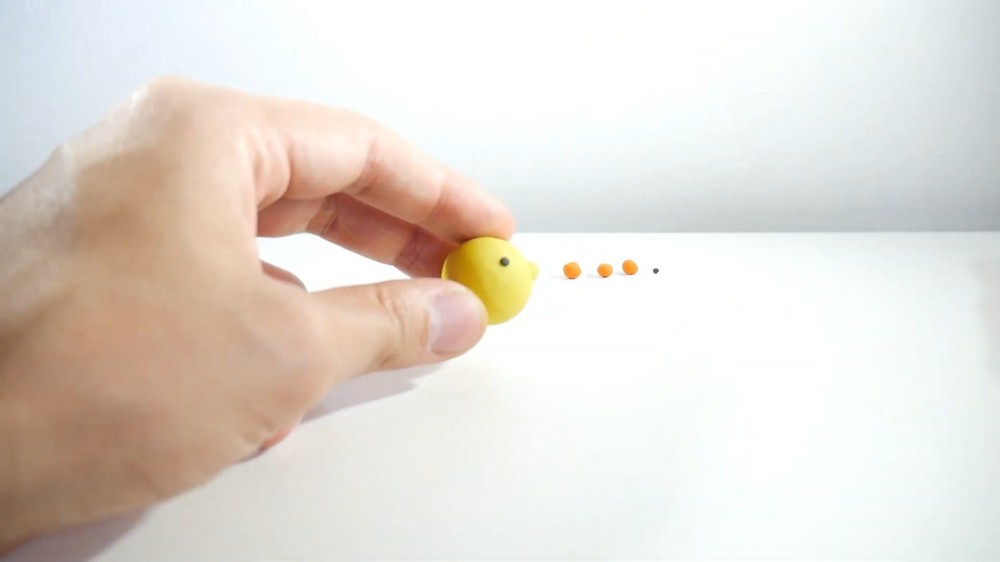
- Press gently to secure the eyes. Adjust the placement to ensure they are aligned evenly for a balanced and cute appearance.
Adding the Beak
Shape the Beak
- Take a small piece of orange clay and roll it into a short, evenly shaped cone.
- Make sure the base of the cone is slightly rounded, and the tip comes to a smooth point.
Attach the Beak
- Position the beak directly under the eyes on the yellow body.
- Place the larger half on top and the smaller half slightly below to give the appearance of an open beak.
- Gently press the two beak halves onto the body, ensuring they are securely attached.
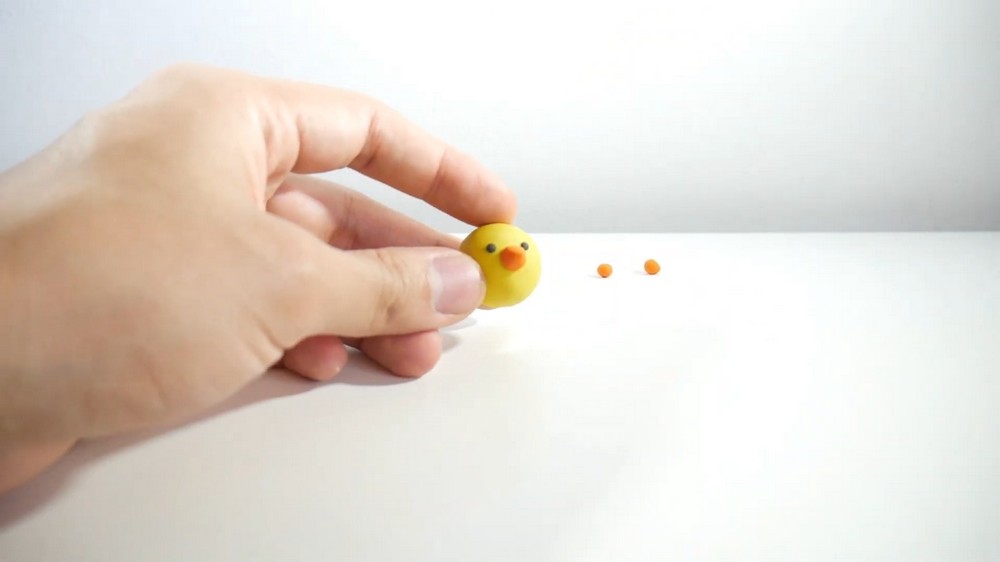
Cut the Beak in Half
- Use a cutter or knife to carefully slice the cone in half horizontally.
- These two halves will serve as the top and bottom parts of the chick’s open beak.
Adding the Wings
Shape the Wings
- Take the two small yellow balls of clay prepared for the wings.
- Roll each ball in your hands until it’s smooth and even.
- Flatten one side of each ball slightly to create a rounded wing shape.
Attach the Wings
- Attach one wing to each side of the body, making sure they are evenly positioned.
- The flattened side of the wing should touch the body for better adhesion.
- Press gently to secure the wings, smoothing the edges to blend them seamlessly with the body.
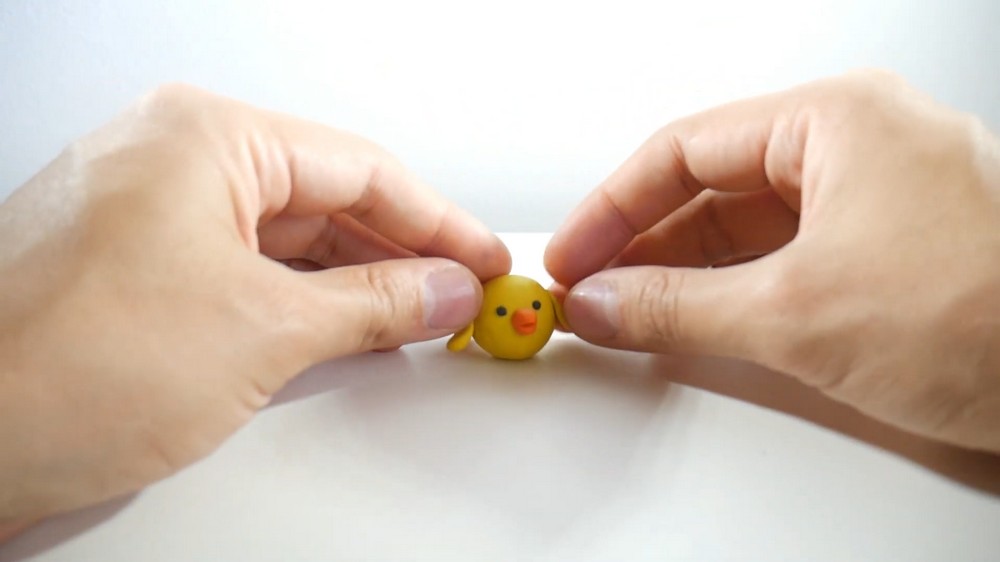
Adding the Legs
Shape the Legs
- Take the two small orange balls prepared for the legs.
- Flatten one side of each ball gently with your fingers to create a stable base for the legs.
Attach the Legs
- Position the flattened side of each leg at the bottom of the body, leaving some space between the two for balance.
- Press gently to attach the legs to the body, ensuring they are symmetrical.
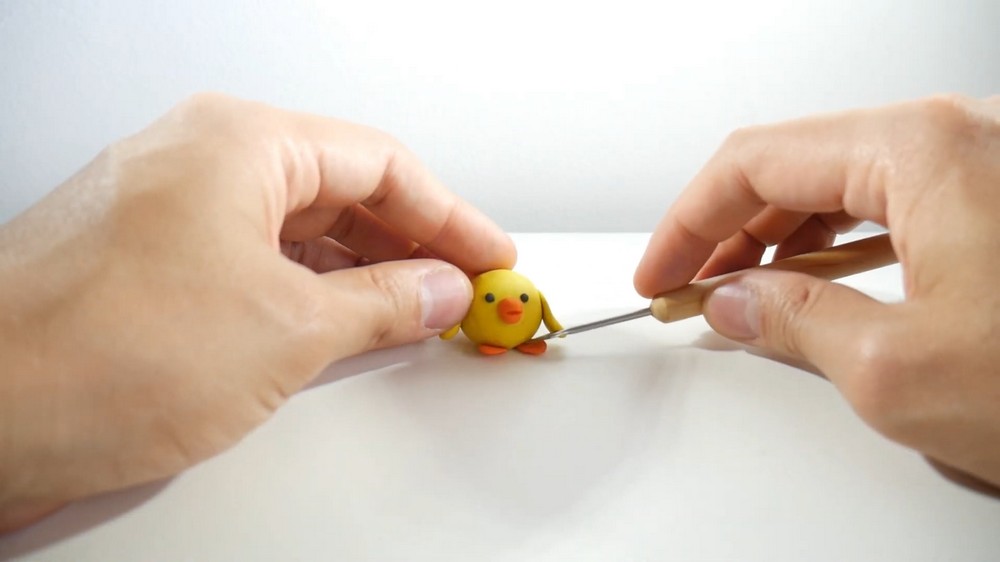
Final Adjustments
Inspect the Chick
- Check your clay chick from all angles to make sure all parts are attached securely and evenly.
- Ensure the eyes are aligned.
- Double-check the placement of the beak—it should sit centered below the eyes and look proportional to the body.
- Make sure the wings and legs are symmetrical.
Smooth the Surface
- Use your fingers to gently smooth out any rough edges, fingerprints, or uneven areas on the clay.
- Refine the details, such as the texture of the wings and edges of the body, to give the chick a polished look.
Conclusion
The clay chick you’ve just completed is a colorful and delightful creation that perfectly captures the essence of a cheerful baby bird. With a simple yellow body, black eyes, orange beak, and legs, this craft comes to life in just a few easy steps. By following clear and straightforward shaping techniques such as rolling, flattening, and attaching, you’ve successfully assembled this adorable piece.
This clay project is ideal for beginners, as it uses minimal materials and requires little prior experience to execute well. The end result can be displayed on your desk, gifted to a loved one, or even used as part of a larger clay animal collection. Whether this is your first project or a fun hands-on activity to try again, this cute chick is sure to charm anyone who sees it.