Build your own DIY Polymer Clay Robots with this simple instruction that guides you step by step to create fun colorful figures perfect for kids and adults.
Robots are a fun and exciting way to spark creativity, especially when you can design your own. This project invites you to step into a world of imagination and create mini robot figures that are both unique and eye-catching. Whether you’re a fan of science fiction or simply enjoy crafting quirky, one-of-a-kind decorations, this idea is perfect for kids and adults alike. It’s an enjoyable way to bring futuristic vibes into your space or create personalized gifts that everyone will love.
DIY Polymer Clay Robots with Detailed Instructions for Beginners
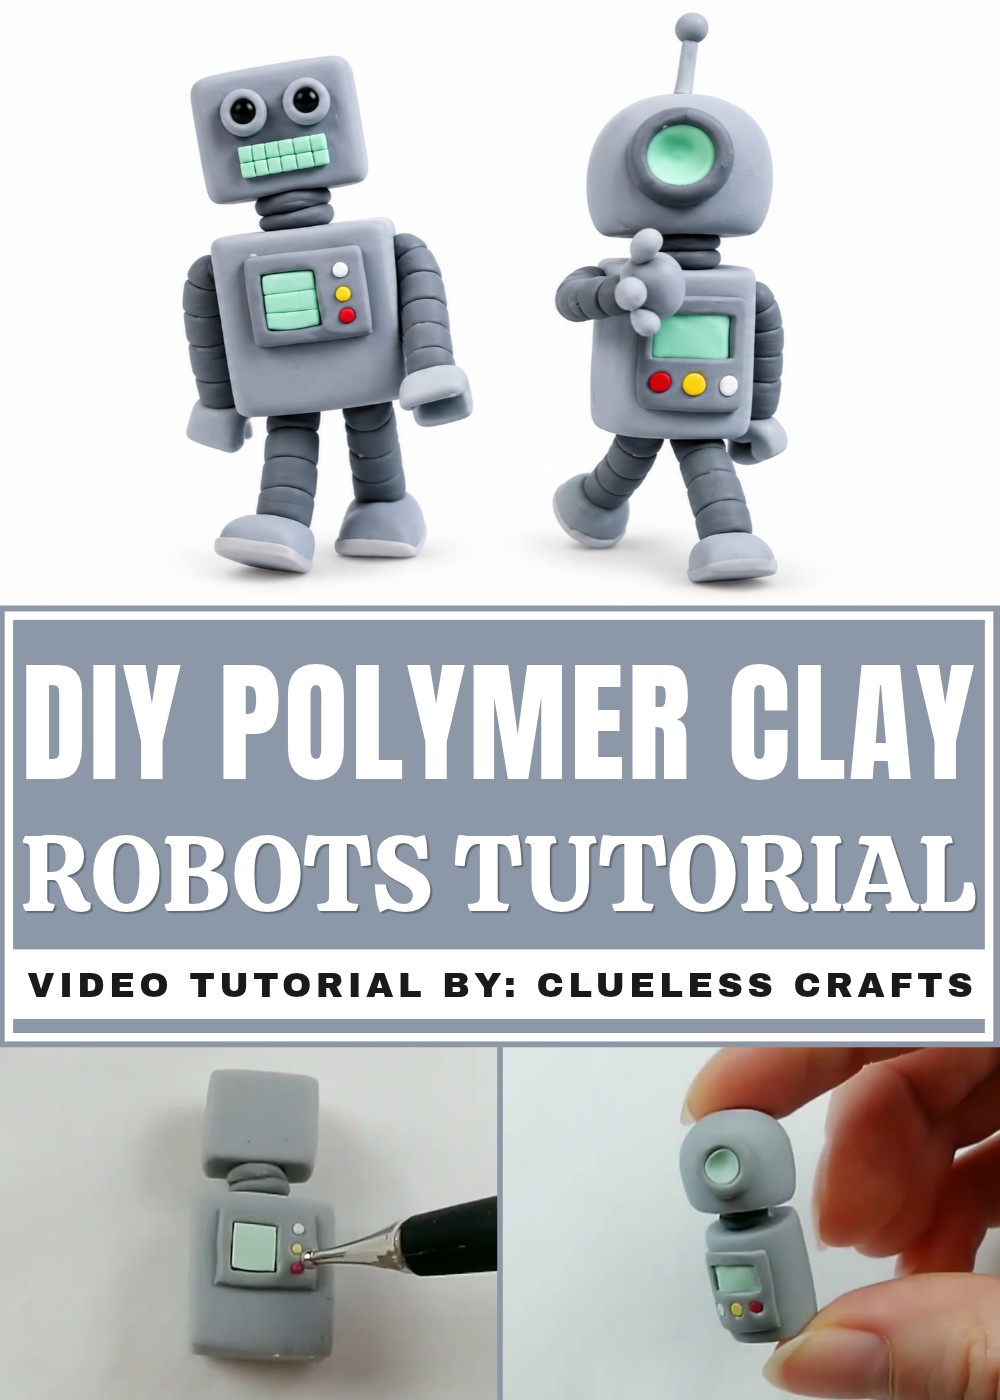
These little robots can be anything you dream up—square heads, round eyes, or colorful buttons. Their playful details make them fun to look at and share with others. With the use of vibrant clay and creative designs, these figures can fit into any setting, from decorating a desk or shelf to becoming a cool toy or collector's piece. Their clever appearance adds personality and a touch of tech-inspired charm to your surroundings.
Creating unique robot designs is a perfect way to let your imagination shine. You can mix colors, shapes, and styles to create characters that feel like your own creations. Whether they’re tiny, friendly companions on your work desk or handmade gifts for a robot-loving friend, these polymer clay figures bring a creative and futuristic touch to your world.

Clay Robots — Step‑by‑Step Project
Project Overview
Make a pair of small polymer‑clay robots: one squarish robot and one rounded/cylindrical robot. The guide below follows the entire spoken procedure and reproduces each action in sequence, including shaping, texturing, pre‑bakes, attaching details, fixes, and finishing touches.
Supplies and Equipment
- Polymer clay in: light gray (body/head), slightly darker gray (limbs/details), dark gray (eye pads), black (eye centers), turquoise (display screens/buttons), optional accent colors.
- Liquid Sculpey (or other liquid clay/adhesive) — important for attaching baked to unbaked clay.
- Cutting blade / craft knife
- Small rolling surface / table
- Ball‑pointed tool / sculpting tools
- Silicone tool / flat tool (for pressing edges flush)
- Oven and baking tray
- Small nail file or sandpaper (for sanding attachment surfaces)
- Super glue (for post‑bake assembly if needed)
- Optional: rotary tool for texture, small needle tool for grid details
Getting Everything Ready
- Condition all clay until soft and workable.
- Choose two similar grays (one slightly darker) for contrast between body/head and limbs/details.
- Have Liquid Sculpey and oven set up if you plan to pre‑bake parts before final assembly.
Making Instructions
Robot 1 — Squarish Robot (Body & Head)
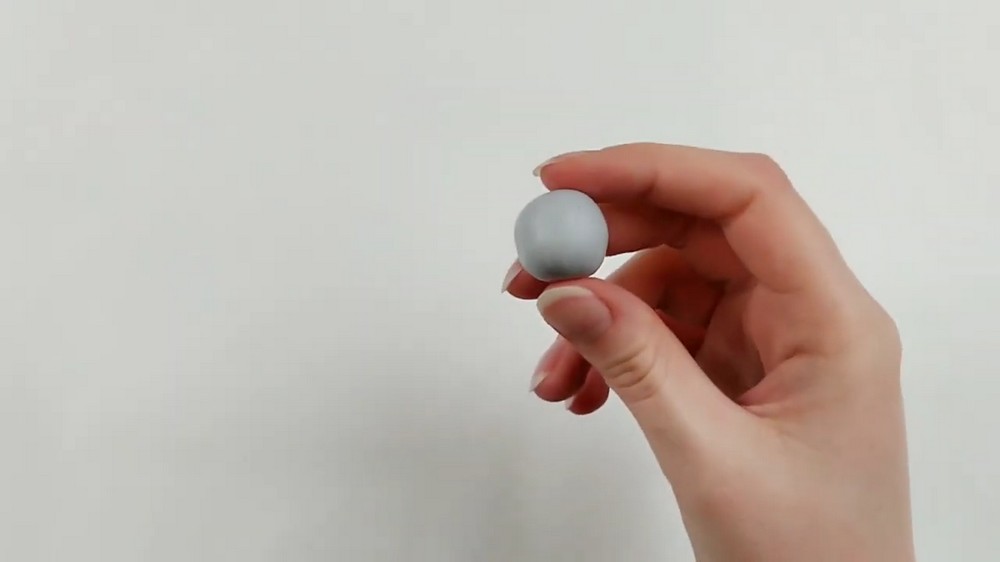
- Take a ball of light gray clay and flatten it until you have a wide enough flat surface to work with.
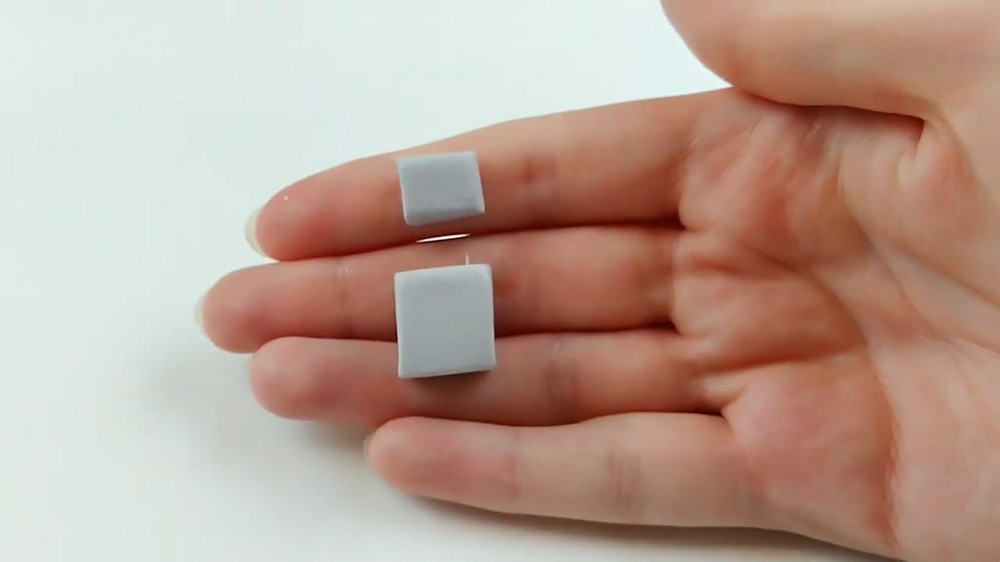
- Cut out a rectangular shape from this flattened piece for the robot’s body. It does not need to be perfect.
- Take a smaller ball of the same light gray and cut a rectangular/square shape for the head.
Limbs and Attaching Pieces (Contrast Color)
- Use a slightly darker gray to make limbs and attachment tubes for contrast.
- Roll the darker gray into a log.
- Cut the log into four equal sections (for two arms and two legs).
- If the blade smushes the edges, re‑roll the sections lightly to round/smooth them again.
- To add a simple tube texture for arms/legs:
- Place the blade on top of the log and drag it along its length while keeping the log straight; this creates a long line that joins with the start of the line and gives a tube/ribbed look.
Hands and Feet (Light Gray)
- Roll another log of the light gray and cut it into four equal parts.
- For the feet:
- Roll each section, then press the clay against the table to flatten the bottom and create a dome shape (flat bottom for stability).
- Use Liquid Sculpey to attach the legs to the feet (important: baked and unbaked clay do not stick well without liquid clay).
- For the hands:
- Flatten two of the remaining balls into rectangles for hands.
- Place them at the end of each arm and pinch the ends together so the hands resemble a claw / LEGO‑style hand.
Attaching Head to Body
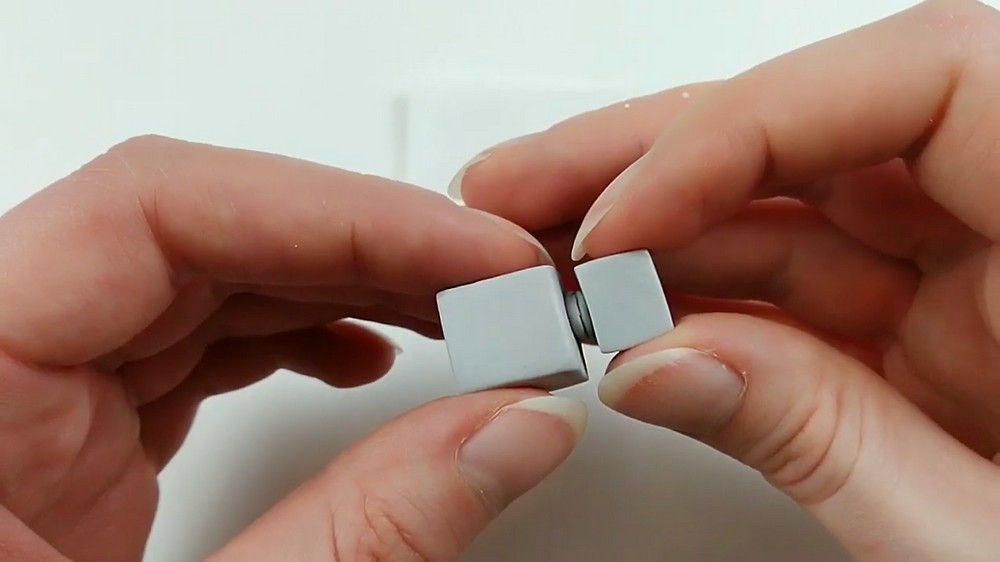
- Use a small tube‑like connector piece (rolled from the darker gray) to attach the head to the body.
- Place it carefully so the head sits centered.
- At this stage, the creator did a pre‑bake to solidify the structure — do a short bake (see Baking note) so you can add details without fear of deforming soft clay.
Pre‑Bake (to Stabilize)
- Bake the assembled body/head/limbs per your clay manufacturer’s instructions (the creator pre‑baked to make the piece solid before adding small details). This step reduces the risk of squashing details during subsequent work.
Details (After Pre‑Bake)
- With the robot now solid, attach details using Liquid Sculpey (since baked clay won’t adhere to raw clay without it).
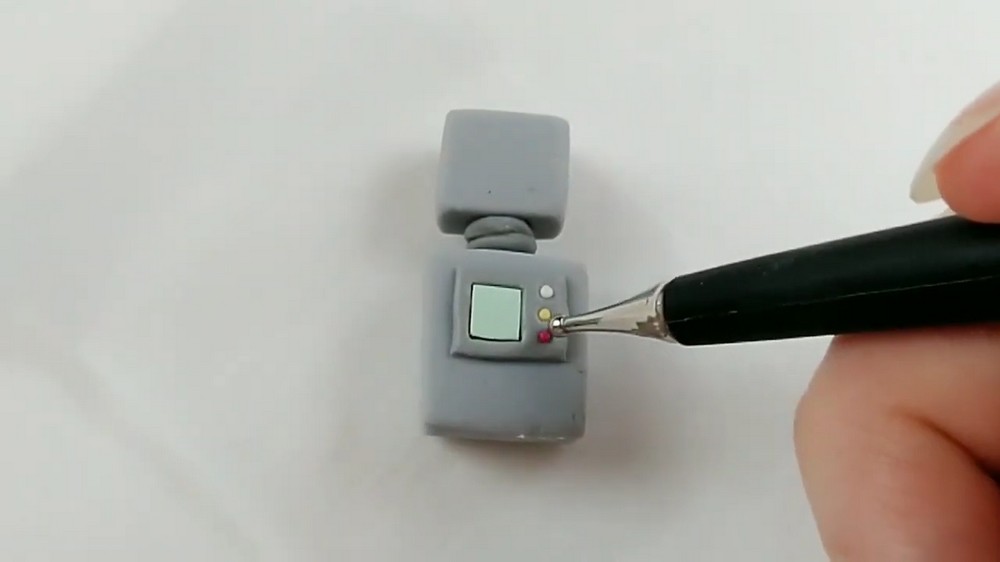
- Create a control panel on the body:
- Cut out a square recess where you want the display screen.
- Cut/finesse a small turquoise square to fit into the recess; wiggle and adjust until it sits nicely.
- Make buttons:
- Pre‑poke holes where buttons will sit so the buttons can sit flush on the panel.
- Make matching mouth/screen:
- Use the same turquoise color for the mouth to match the screen.
- Add grid texture to the mouth and to the screen to create the look of buttons or instrumentation.
- Eyes:
- Squish down a ball of dark gray for the eye pad, then add a small black ball in the center.
- Refine textures and placement; adjust and finesse until it looks right.
The Big Fail & Fix
- The creator reports a sculpting mishap: they didn’t like the feet and decided to bake pieces separately then glue them together.
- Steps they used to fix:
- Bake parts separately, cool them.
- Super glue pieces together where needed.
- Sand some ends with a nail file to make attachment surfaces even and fit together more cleanly.
- This yielded a single solid robot with a cute walking stance.
Robot 2 — Rounded / Cylindrical Robot (Body & Head)
- Roll light gray clay into a thick cylinder.
- Cut off the ends to the desired body length.
- Roll the ends a few times to round out any squished areas; you can also flatten the ends against the table for a flatter surface.
- For the head:
- Take a smaller gray ball and cut off about one third of it — shape the remainder into a tall dome for the head.
- Attach the head to the body with a small tube connector piece and center it.
- Pre‑bake the assembly (same rationale as before) so you can add details safely.
Face & Screen (After Pre‑Bake)
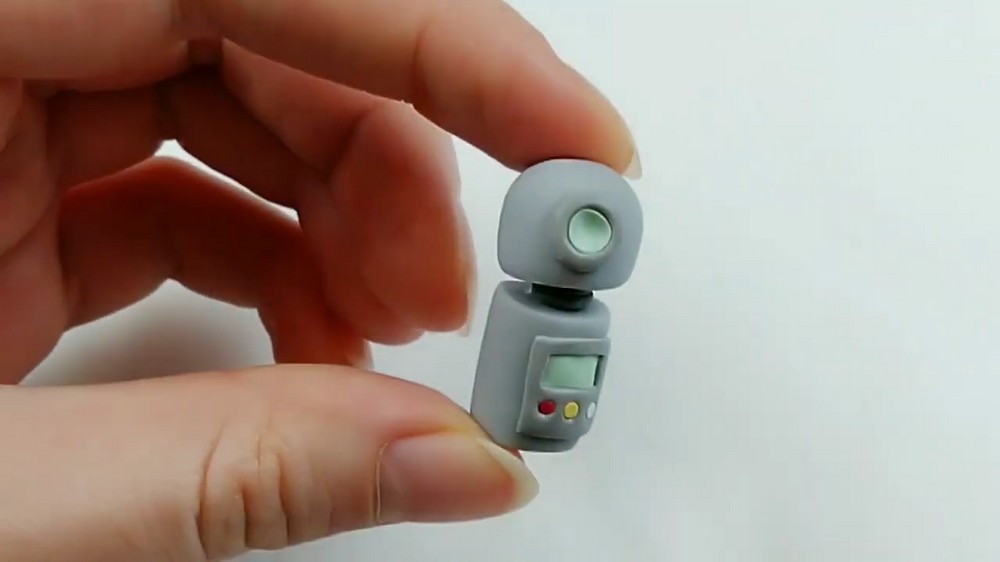
- Cut a display screen section above where buttons will go (like before).
- For the eye:
- Flatten the center of a small dark gray ball.
- Add a small turquoise ball and squish it in place for the eye.
- Apply a dot of Liquid Sculpey to the back and glue the eye into place.
- Use a flat silicone tool to push edges flush against the face for a neat look.
- That simple method yields a clean, minimal face.
Body Details, Hands & Feet (Rounded Robot)
- Keep the tube‑looking arms/legs method (it worked well).
- For round hands:
- Roll a tiny log, split into four rounded pieces.
- On a small ball of gray clay, make three indents next to each other for fingers and a fourth indent offset for the thumb.
- Insert the small rounded finger pieces into the indents to form a hand. Repeat for the other hand.
- For improved feet:
- Take small balls of clay and cut off a small portion to make a dome with a flatter bottom and crisper edges.
- Make two of these and attach to the legs.
- Slightly bend the arms to avoid a stiff posture (optional — creator bent them for personality).
- Add a small antenna detail (creator kept method secret — you can roll a tiny thin cone or cylinder and attach to the head).
Final Assembly & Finishing
- Bake final combined pieces per your clay brand’s instructions if you added uncured liquid clay.
- Make any last adjustments: sanding, gluing, or reattaching pieces if necessary.
- Position the robots together; they look good as a pair and convey personality (walking stance, waving, etc.).

Baking Notes
- The creator pre‑baked major structural elements so small details could be added without deforming soft clay.
- Always follow your polymer clay brand’s recommended temperature and time. Use short pre‑bakes as needed to stabilize fragile shapes, then finish with a full cure after final assembly if required.
Tips for Better Results
- Use two close grays for contrast between body/head and limbs — it helps details read visually.
- When cutting logs into sections, re‑roll lightly if the blade smushed edges to keep neat joins.
- Use Liquid Sculpey whenever attaching baked-to-raw clay or if you need stronger adhesion.
- If parts don’t fit perfectly after baking, sand or file flat surfaces slightly for better contact before gluing.
- Pre‑poke button holes so buttons sit flush and look intentional.
- Use a silicone tool to press thin details flush without leaving fingerprints.
Troubleshooting
- Pieces won’t stick to baked clay: use Liquid Sculpey or apply a thin coat of raw clay as an adhesive and rebake.
- Texture lines are uneven: re‑roll and smooth before baking; texture with consistent pressure and movement.
- Feet feel unstable: flatten the bottom of feet more or enlarge their flat surface slightly for balance.
- Hands/arms detach after bake: sand mating surfaces and use super glue for permanent bonding.
Creative Variations
- Swap colors for more playful robots (metallic foil clay for a shiny look).
- Add tiny decals, painted details, or tiny LEDs (careful with heat and electronics).
- Make jointed limbs with wire if you want posable robots.
- Create a whole robot family in different shapes and sizes.