Craft an adorable DIY clay baby bat with this fun project that's perfect for decorations, gifts, or adding a spooky-cute touch to your collection.
Unique little projects can make any day feel special, and this one focuses on shaping a sweet baby bat from simple clay. It’s perfect for Halloween, a child’s room, or anyone who enjoys cute, tiny figures. With soft clay and a few basic tools, you form a small body, gentle wings, and a lovely face that feels full of character. Every step stays simple and clear, so beginners and kids can follow along without stress or confusion.
Simple DIY Clay Baby Bat Kids Will Love
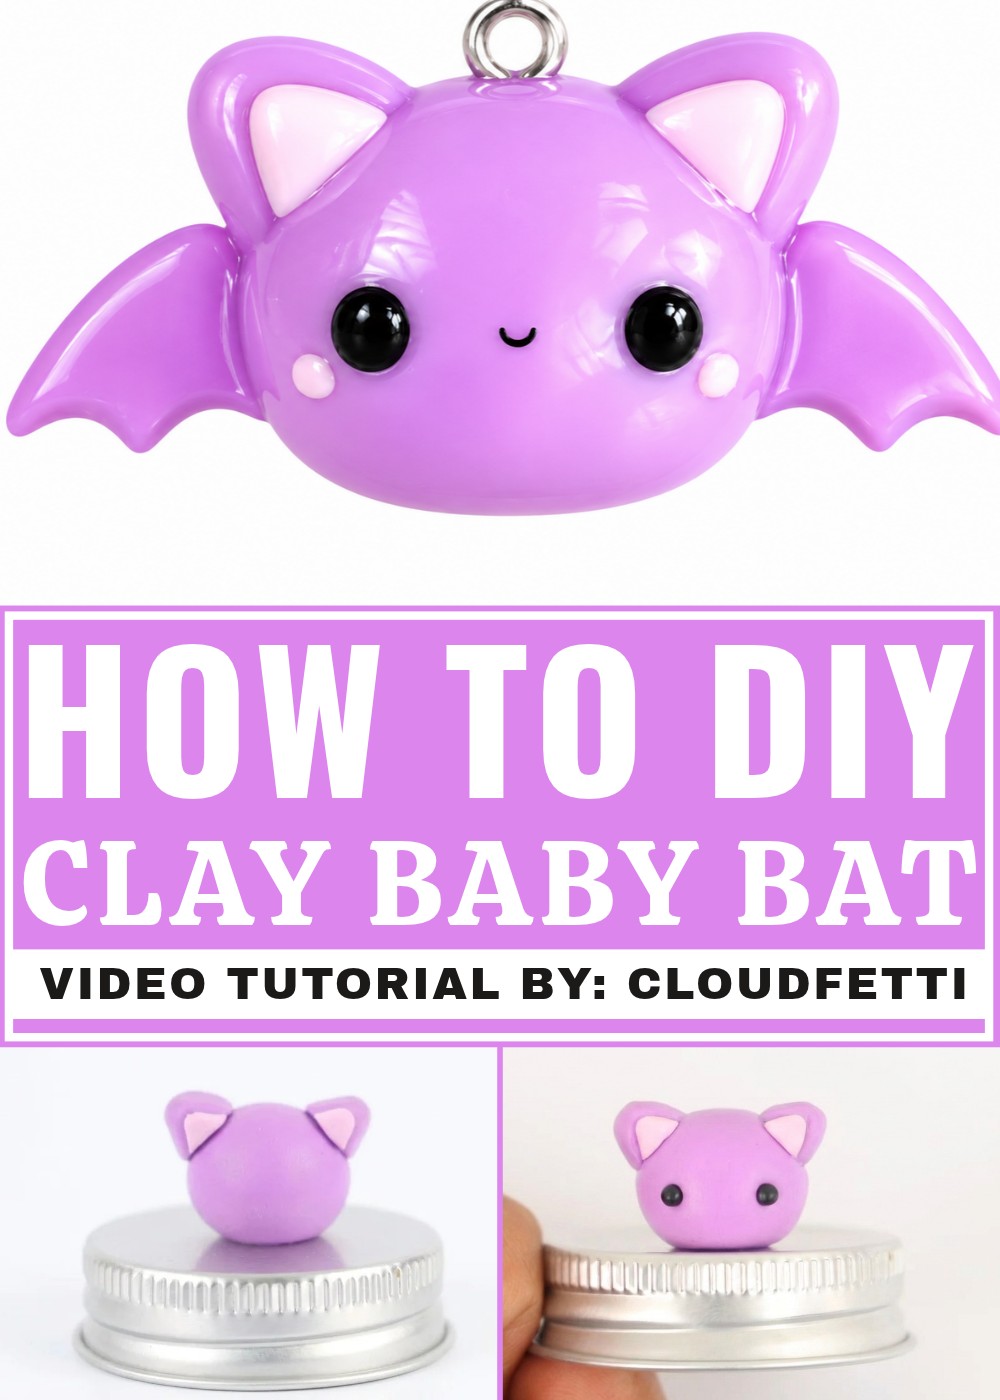
What makes the DIY Clay Baby Bat so interesting is how personal it can feel. Each person can choose colors, wing shapes, and facial details that match their own taste. Some may like soft pastels with a shy smile, while others might prefer darker shades and a bold look. This friendly pattern keeps instructions easy and direct, so the whole process feels relaxed and fun from start to finish.
By the end, a charming little bat sits in your hand, light and cute, ready to sit on a shelf, desk, or gift box. The project helps build confidence with simple clay work and offers a calm, hands-on way to spend time alone or with family. Anyone looking for a small, joyful project will find this baby bat both simple to make and very pleasing to keep.
12345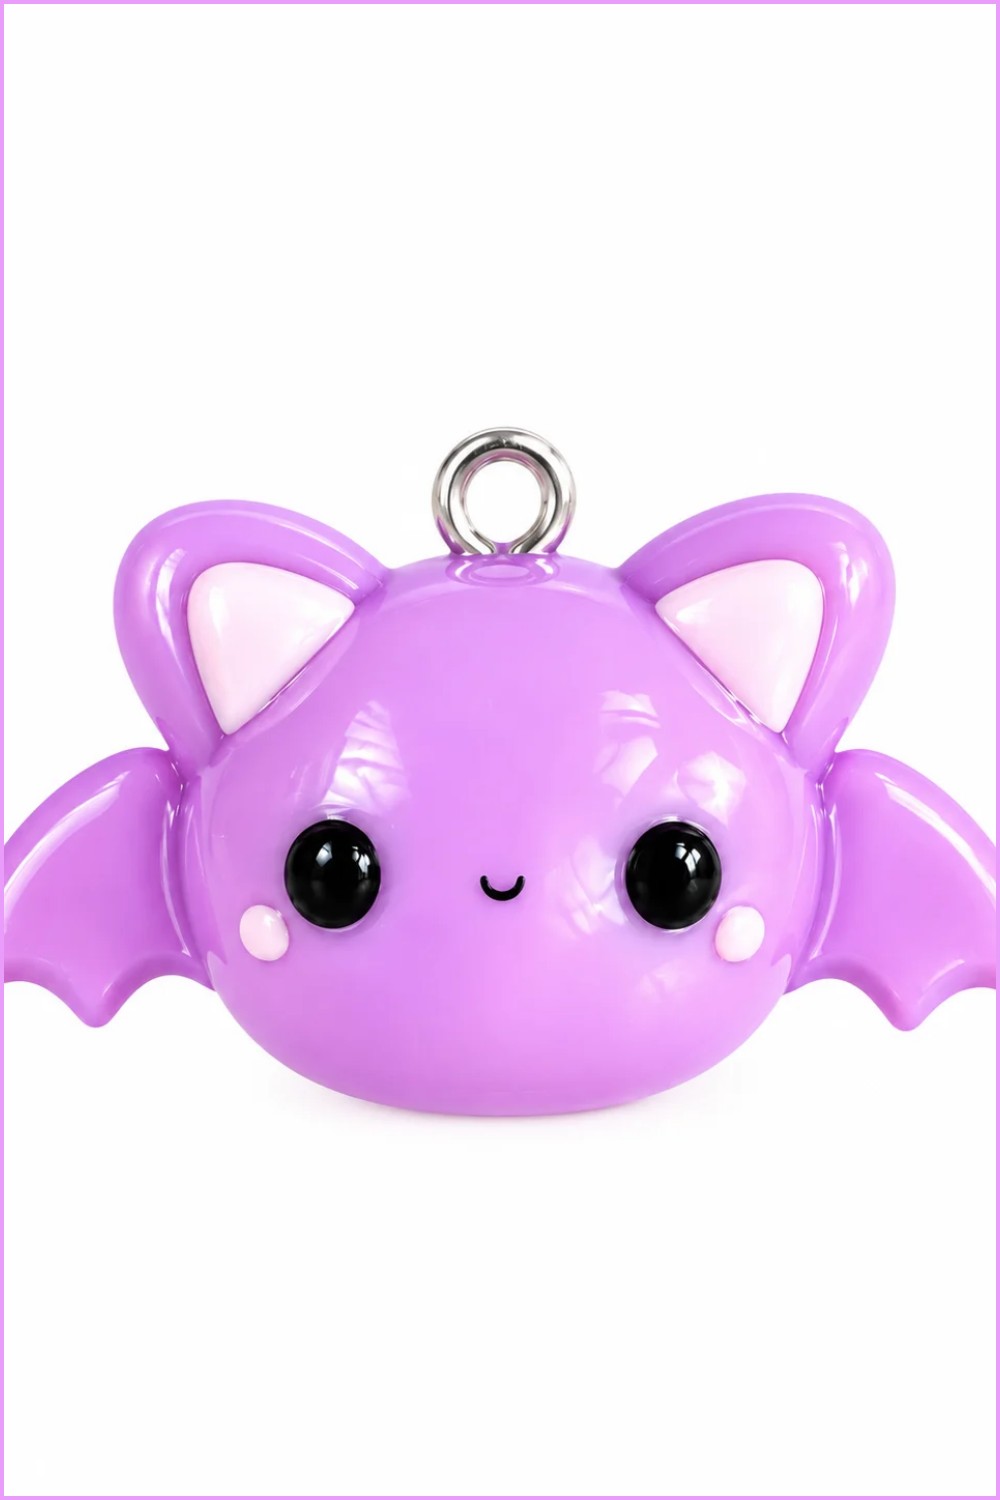
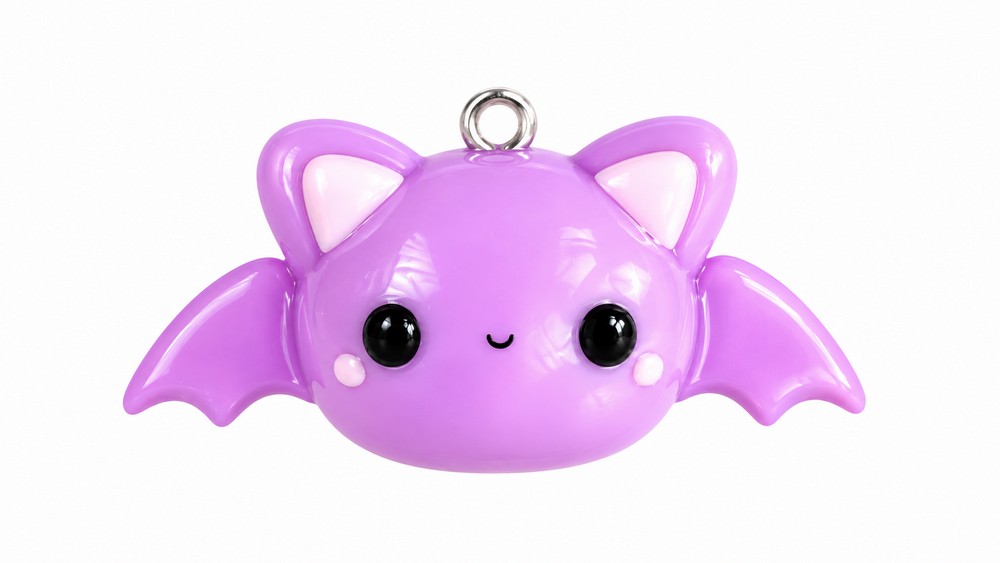
Project Name — Baby Halloween Bat Charm
About This Project
- Create a tiny, adorable bat charm from polymer clay suitable for keychains, necklaces, or Halloween decorations.
- The charm is beginner friendly and uses basic shaping, simple cutouts for wings, and small facial details for maximum cuteness.
- Finished charm is lightweight, durable after baking, and can be sealed with resin or glaze for a glossy finish.
What You'll Need
- Polymer clay: purple (body and wings), pink (inner ears and cheeks), black (eyes and mouth).
- Small eye pin or jewelry finding for hanging.
- Dotting tool or toothpick for eye indentations.
- Needle tool or fine sculpting tool for blending.
- Small rolling surface and two stacks of Popsicle sticks to control thickness.
- Small round cutter or straw for wing scallops, long craft blade.
- Oven for polymer clay curing, parchment paper or ceramic tile for baking.
- Super glue for securing eye pin post-bake (optional).
- UV resin or clear glaze for a shiny finish (optional).
Before You Begin
- Condition clay by kneading until soft and uniform in color to prevent cracking when baked.
- Work on a clean, dust-free surface and wash hands to minimize debris embedding in the clay.
- Preheat your oven to the temperature recommended by your clay brand; use an oven thermometer if possible.
- Cut Popsicle sticks into two short stacks so you can roll clay slabs with even thickness.
- Prepare a small workspace to assemble and bake components separately if needed.
How to Make It
Step 1: Prepare the Materials
- Condition clay:
- Knead small amounts of purple, pink, and black clay until soft and pliable.
- Gather tools:
- Arrange dotting tool, needle tool, rolling sticks, cutters, blade, and eye pin on your workspace.
- Plan sizes:
- Decide on charm size—typical baby bat body is about 1–2 cm wide; scale tools accordingly.
Step 2: Start the Project (Form the Body)
- Shape the body:
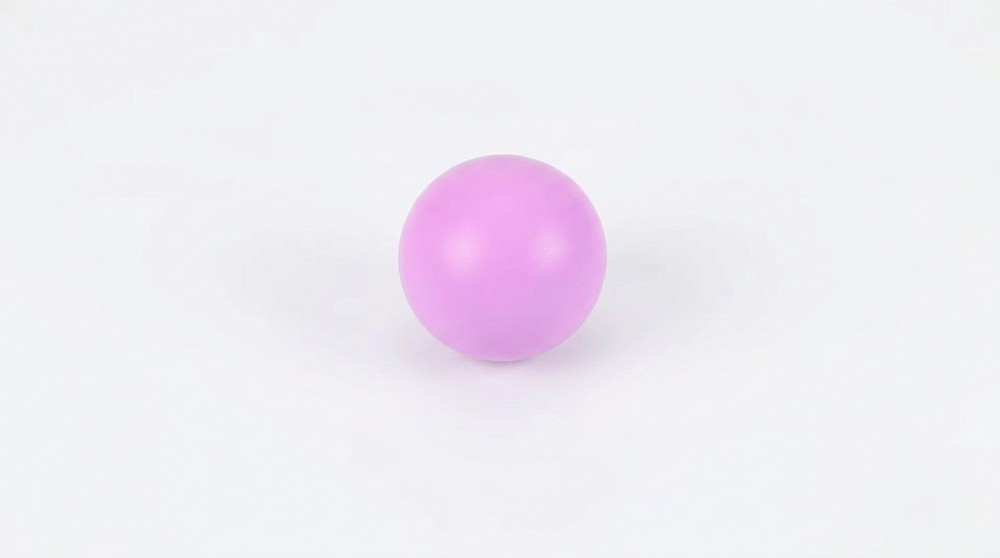
- Roll a small ball of purple clay and press the top gently with your finger to form a slightly oval, flattened body.
- Smooth surface:
- Use your thumb and a smoothing tool to eliminate fingerprints and create a clean dome.
- Create ear bases:
- Roll two smaller purple balls, flatten into oval/diamond shapes, then pinch to form triangular ear bases.
Step 3: Build the Main Part (Ears and Face)
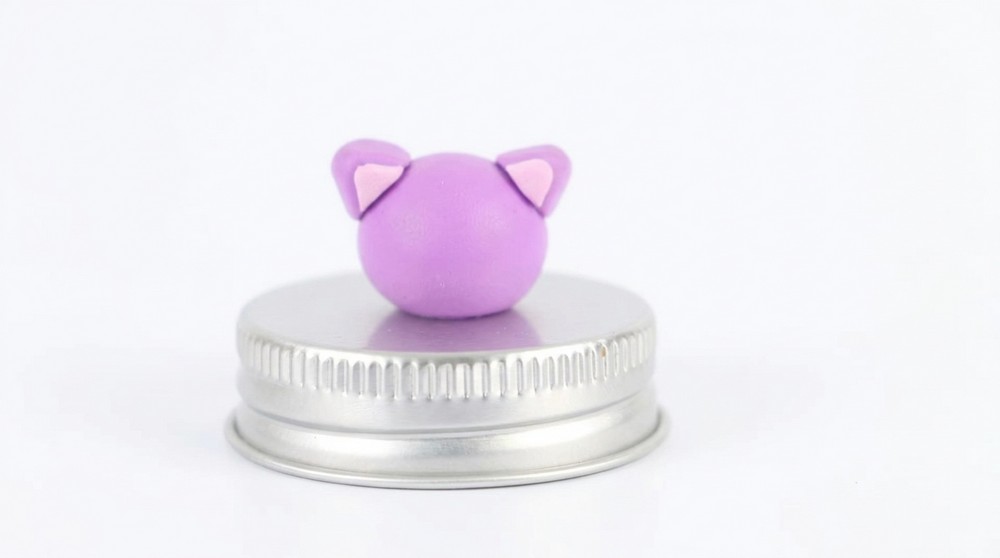
- Add inner ears:
- Flatten tiny pieces of pink clay into diamond shapes and place them centered on the purple ear pieces.
- Cut pairs in half to make two ear halves, then attach one to each side of the head.
- Blend seams:
- Use a needle tool to gently blend the ear bases into the body for a seamless joint.
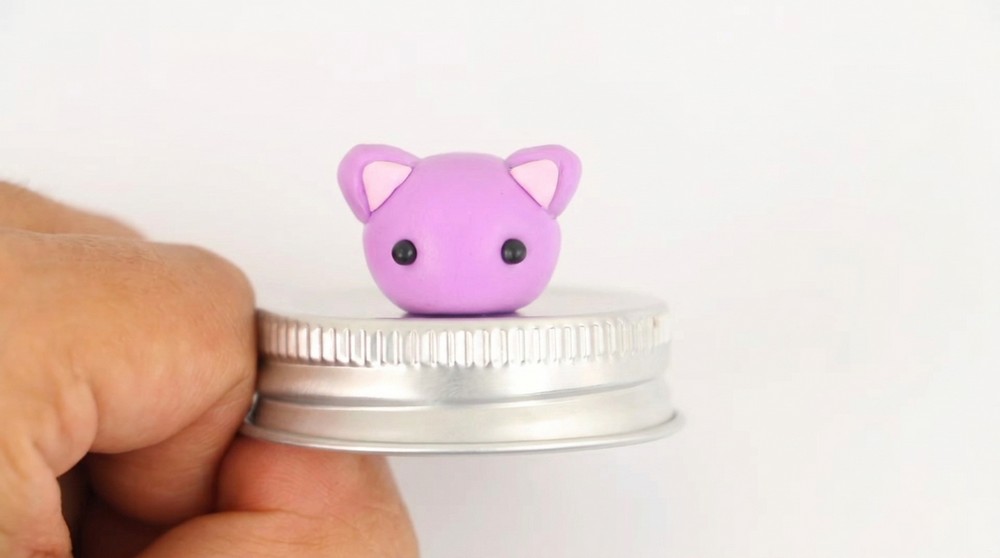
- Make facial indentations:
- Use a dotting tool to make two shallow eye wells and a tiny shallow smile indentation.
Step 4: Add the Details (Eyes, Cheeks, Wings)
- Insert eyes and mouth:
- Roll two minute black balls, press into the eye wells, and add a very thin black strip or dot for a tiny smile.
- Create rosy cheeks:
- Press two small light pink balls onto the body below the eyes for cheeks, smoothing edges lightly.
- Make wings:
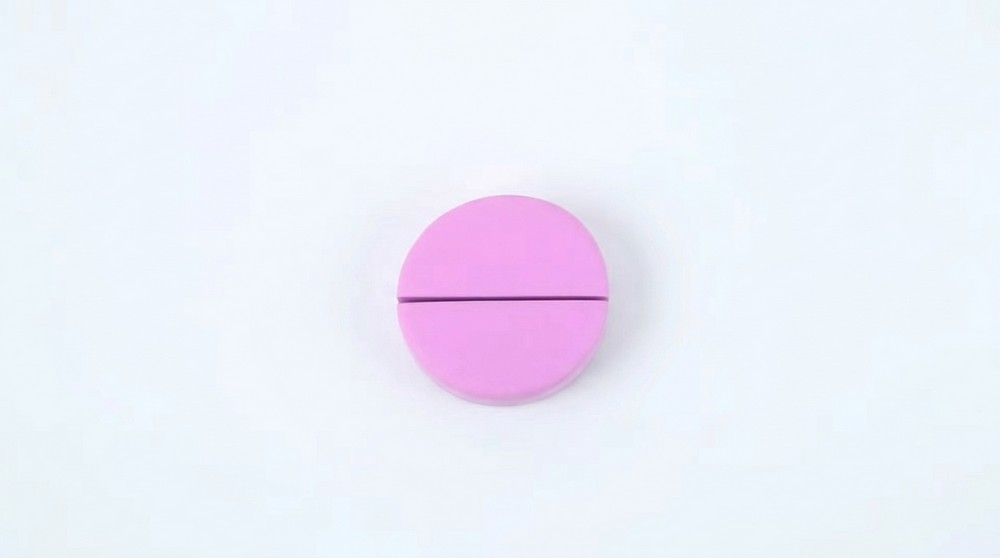
- Condition additional purple clay and roll it out between two stacks of Popsicle sticks to achieve even thinness.
- Use a small round cutter or a circular template to cut a circle, then trim it horizontally to remove the bottom half.
- Cut the top half vertically to produce two wing shapes, then use a shortened straw to punch several semicircles along the bottom edge to form scallops.
- Trim and refine:
- Use the craft blade to trim the wing bottoms into a smooth curve and remove excess clay from the work surface.
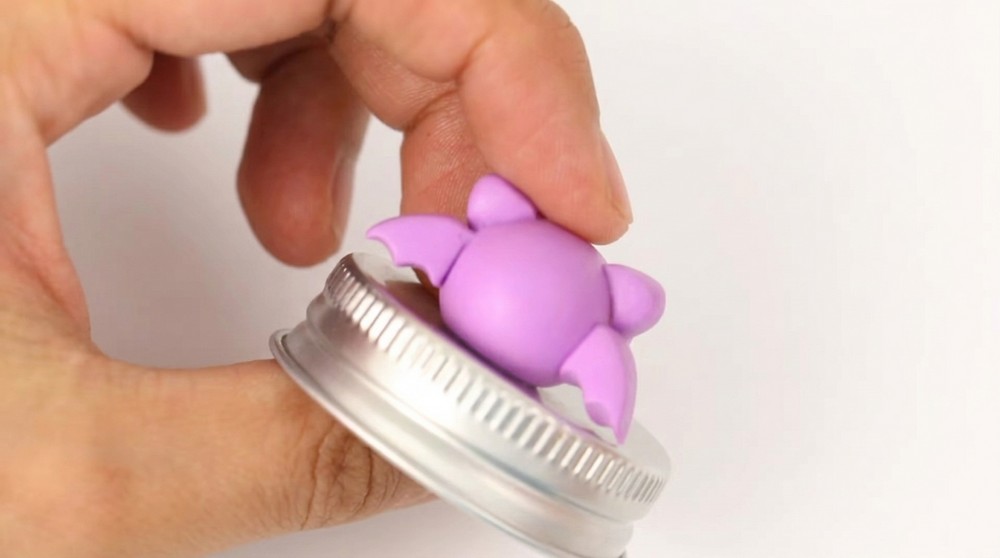
- Attach wings:
- Place both wings slightly behind the head on either side and blend the inner edges into the body using the needle tool.
Step 5: Complete the Project (Eye Pin and Baking)
- Add eye pin:
- Gently insert an eye pin through the top of the head so a loop is exposed for a jump ring; if concerned about twisting during bake, insert partially and secure post‑bake with glue.
- Bake components:
- Bake the assembled charm according to the polymer clay manufacturer’s temperature and time guidance. Typical baking is about 110–130°C for 15–30 minutes depending on thickness.
- Cool completely:
- Let the charm cool fully on the baking surface to avoid warping.
Finishing Details
- Secure eye pin:
- If the eye pin was not fully inserted before baking, apply a small amount of super glue into the hole and push the pin into place once the piece is cool.
- Glaze or resin:
- Apply a thin coat of UV resin or polymer clay glaze to the body and wings for a glossy finish, curing resin per instructions.
- Sand and buff:
- If needed, lightly sand any rough edges with fine-grit sandpaper before glazing for a smoother result.
Helpful Tips
- Keep features tiny: small eyes and a subtle smile enhance the charm’s cuteness.
- Avoid air pockets: press seams firmly when joining parts to prevent bubbles that can expand during baking.
- Test fit the eye pin orientation before baking so the charm hangs straight from a chain or ring.
- Work quickly with small pieces—polymer clay can pick up oils and become sticky; condition as needed.
Your Finished Craft
- The finished baby bat charm should be compact, balanced, and durable enough to attach to jewelry or a keyring.
- With a glossy resin topcoat, colors will pop and details will be protected against wear.
- This small, handmade bat makes a charming Halloween gift, zipper pull, or addition to seasonal craft markets.