Seeking a distinctive and personalized decoration that’s easy to achieve follow straightforward steps to craft a polished polymer clay cat perfect for any setting.
Special credit goes to Tagadanail Fimo & Miniatures for the creative tutorial.
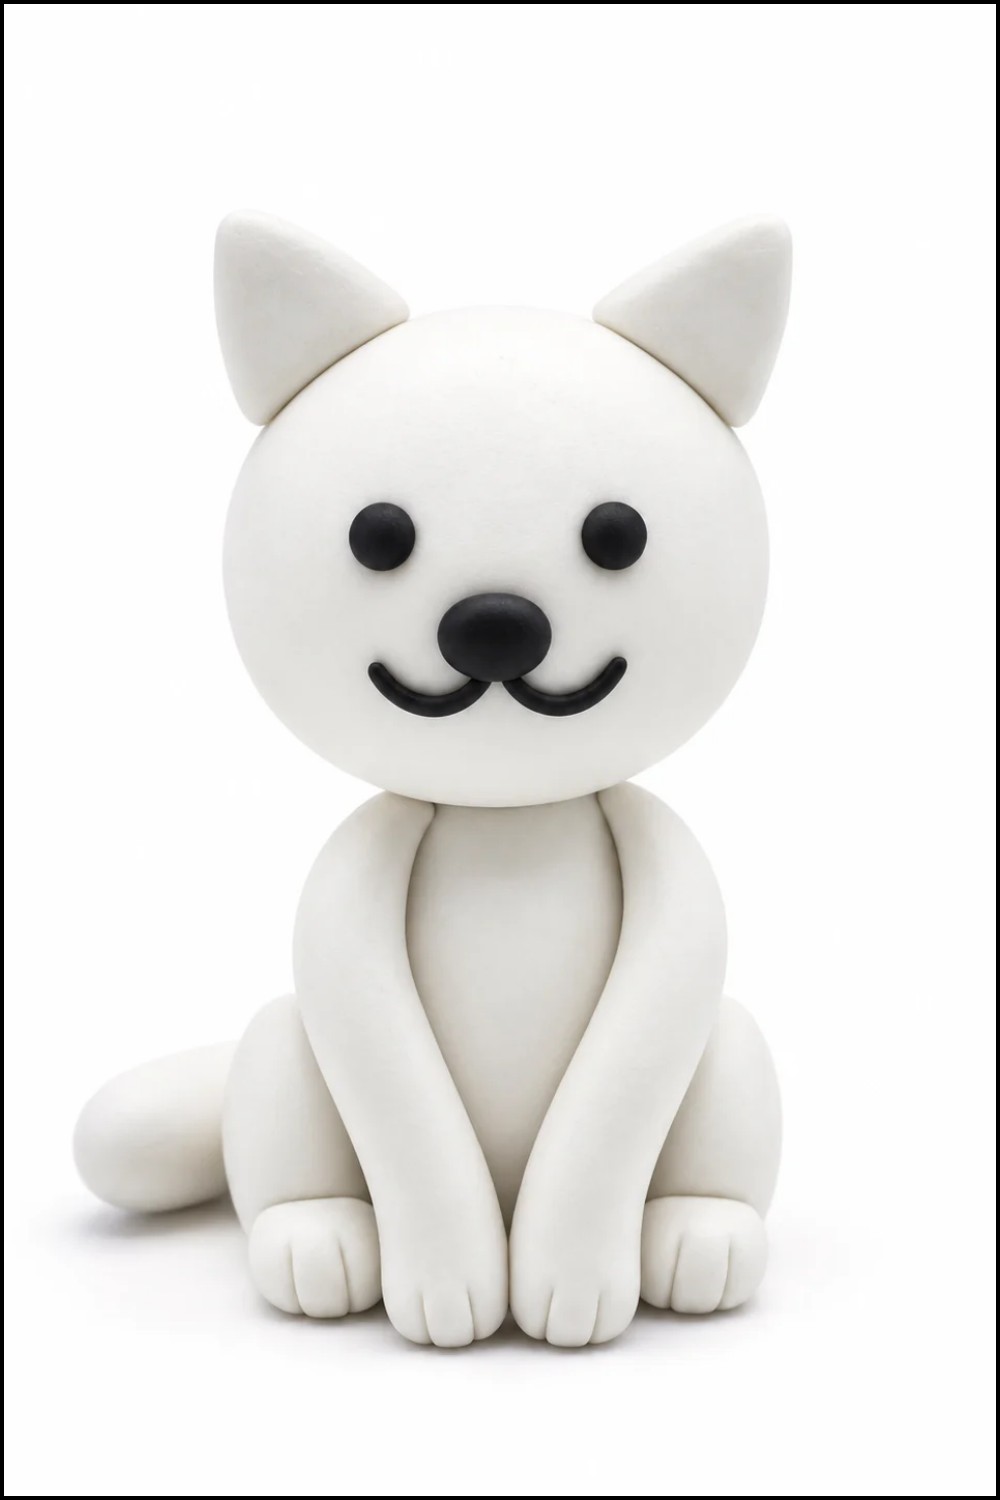
This charming sculpted figure is a perfect example of how simple design can capture the true spirit of a cat. The DIY Polymer Clay Cat features soft gray shading paired with bright, expressive eyes that give it a lively and inviting appearance. Its small bell and carefully posed curled tail add character and a playful touch, making it stand out as more than just a decoration.
Craft Your Own Adorable Polymer Clay Cat in Simple Steps
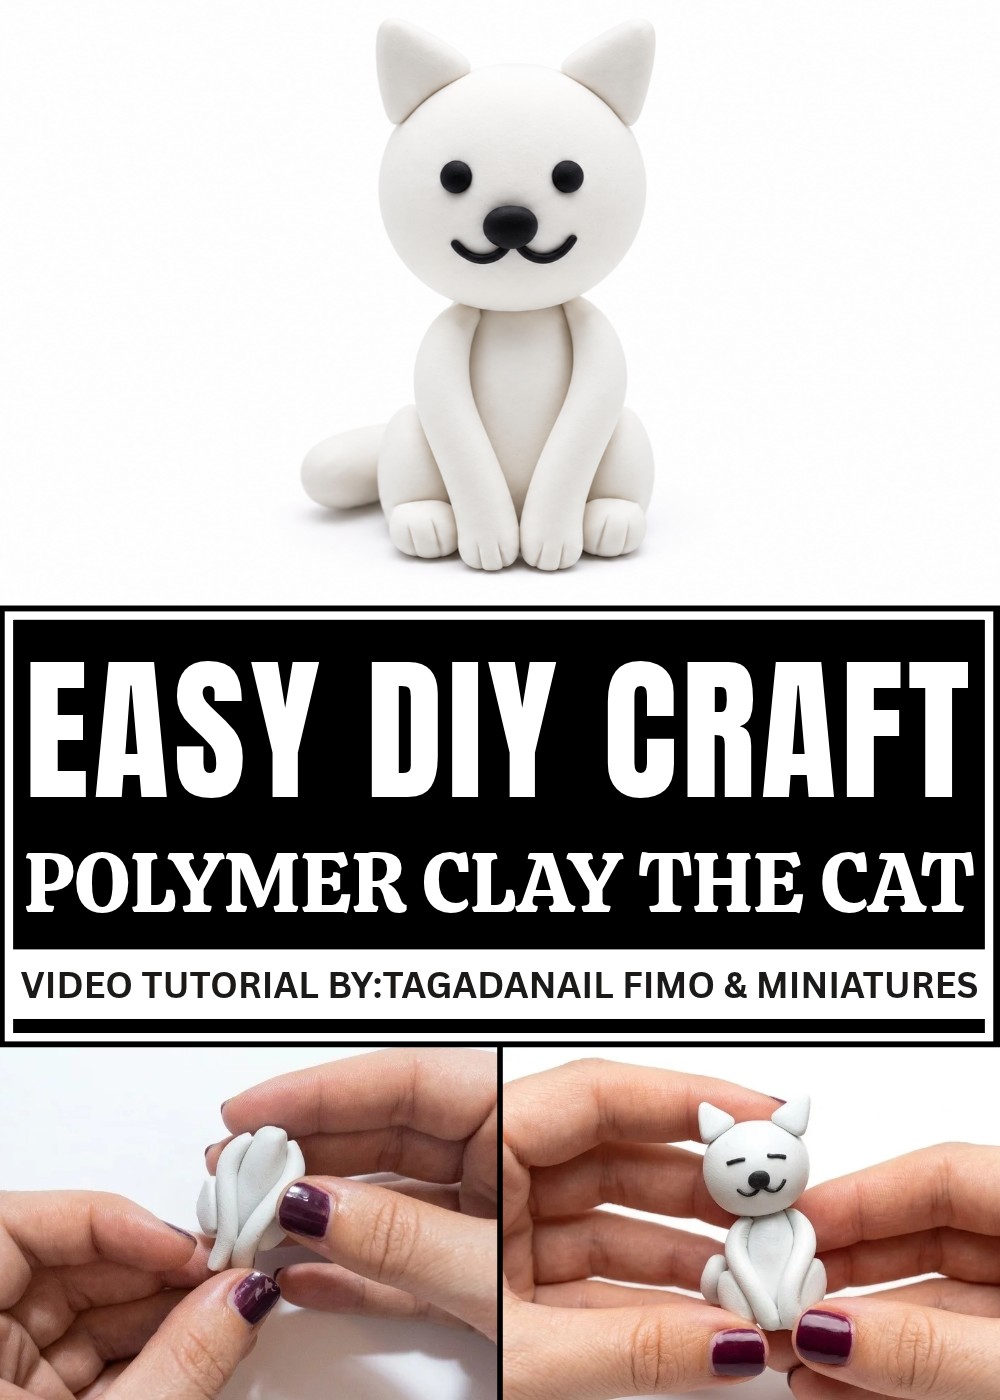
With smooth, clean lines and an approachable size, this cat figure fits beautifully on desks, shelves, or any small space that needs a little warmth. It brings a friendly, calm vibe, reminding cat lovers of their pets’ gentle yet curious nature. The overall style blends minimalism with personality, which makes it appealing to a wide range of tastes.
What makes this design truly interesting is how it conveys emotion through simple shapes and subtle details, creating a sense of connection without overwhelming the viewer. The DIY Polymer Clay Cat invites you to pause and appreciate its quiet charm while adding a personal, handcrafted feel to your home or workspace. It’s a delightful piece that offers both beauty and character in a small package.
How to Create a Charming Handmade Gray Cat Figurine
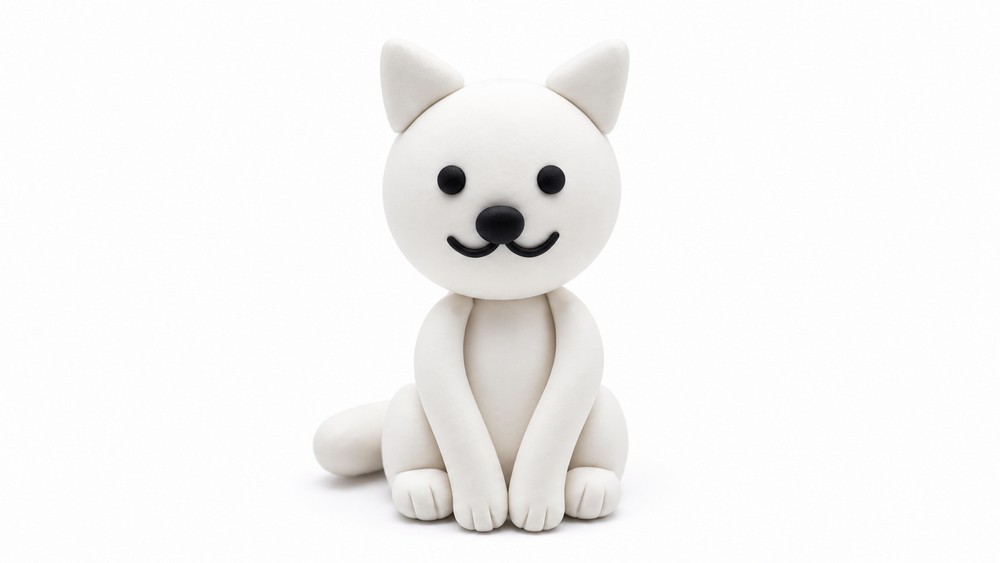
Making a little gray cat figurine from colored dough or clay is a fun and creative project that adds a charming element to your decoration or collection. This cat features softly sculpted ears, expressive eyes, and a cozy sitting posture with a small tail and a playful bell accessory. The project is approachable for beginners and helps develop sculpting and detail techniques with simple materials.
Design Overview of the Gray Cat Figurine
- Soft, Rounded Head and Features: A gently flattened gray ball forms the cat’s head, with small pointed ears adding a cute touch.
- Expressive Eyes and Nose: Tiny black sausage-shaped pieces create alert eyes, and a small nose adds character.
- Sitting Posture: The cat sits on a stable, flattened cone-shaped body.
- Additional Details: A playful yellow bell, nicely twisted, sits near the neck, while a thin tail supports stability.
The Importance of Gathering Materials and Tools
Having all materials and tools ready at the start is essential for a seamless crafting experience. Quality clay or dough produces cleaner shapes and firmer results, while having the right tools allows exact shaping and texturing. Preparation helps maintain crafting momentum, crucial for sculpting when the dough or clay must be molded efficiently before baking or hardening. This planning minimizes errors and frustration, ensuring better results.
Materials and Tools Needed
- Gray modeling dough or polymer clay (for head, body, ears, tail)
- Black dough or clay (for eyes and nose details)
- Yellow dough or clay (to create the bell)
- Rolling surface and workspace (flat and clean)
- Baking sheet lined with parchment paper (for baking the assembled cat)
- Knife or clay cutting tool (for slicing dough pieces)
- Toothpick or small sculpting tool (for shaping, marking, and applying details)
- Oven (to bake and harden the final figure)
Important Tips Before You Begin
- Keep your workspace clean and dry to avoid dirt mixing into your dough.
- Use clean, dry hands to avoid unwanted stickiness or smudging.
- Work gently when shaping small pieces to prevent tearing or deforming.
- Be patient during the baking process; follow the temperature and timing instructions carefully.
- Allow your figurine to cool completely after baking before handling to prevent damage.
- If you are new to working with clay or dough, practice shaping small forms before starting your main project.
Step-by-Step Pattern for Crafting the Gray Cat Figurine
1. Sculpting and Preparing the Head
- Start by rolling a ball of gray dough.
- Gently flatten the top and bottom of the ball between your fingers to create a soft, oval-shaped head.
- Set the head aside briefly for accessory attachment later.
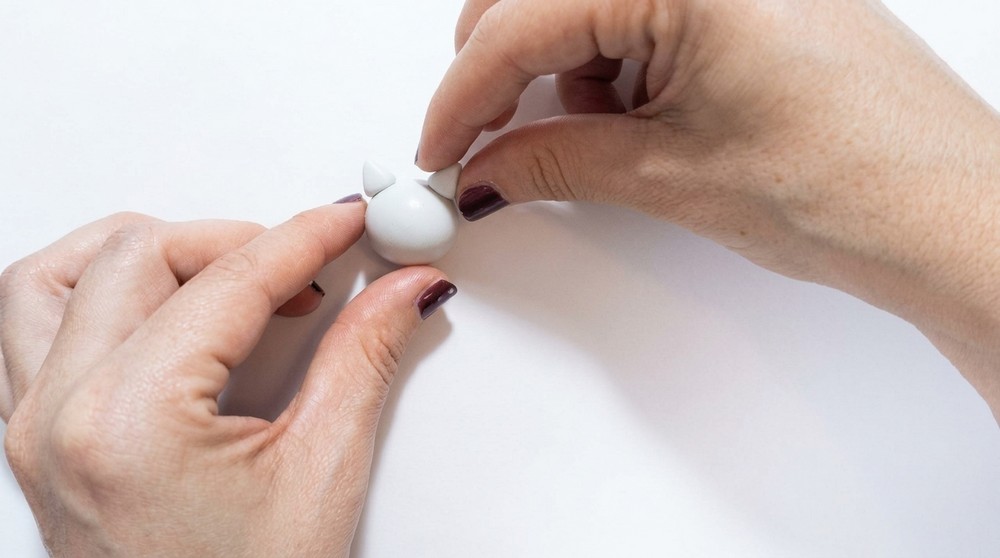
2. Creating the Ears
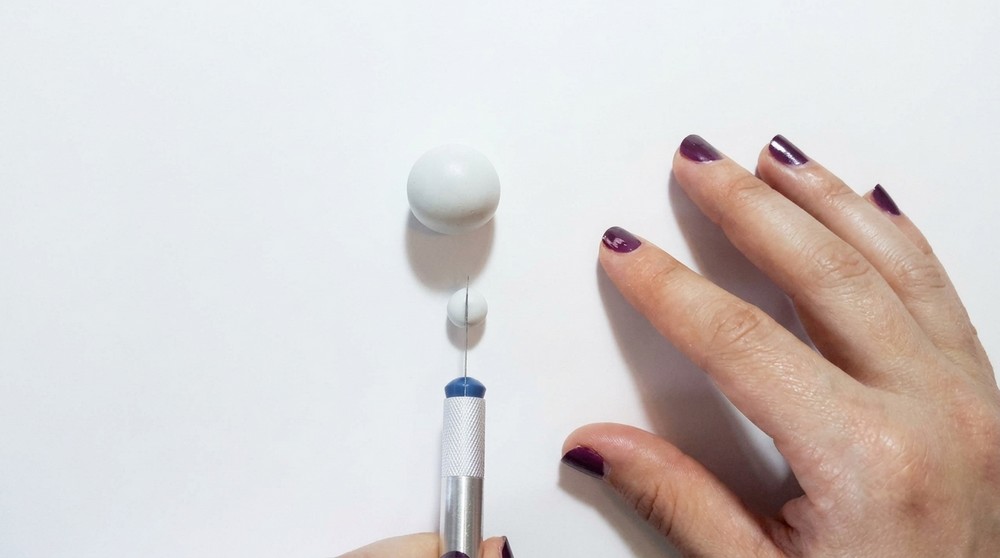
- Take a small ball of gray dough and cut it into two equal parts.
- Roll each part into small balls, then gently pinch and crush between your fingers to form tiny cones or pointed shapes.
- Attach one cone to the top left side of the head and the other to the top right side, forming ears.
- Lightly press each ear to make sure they adhere to the head.
3. Forming the Eyes
- Roll a very thin black dough sausage, then cut it into two equal pieces.
- Place one piece on the left and the other on the right side of the cat’s head where the eyes will be.
- Press gently so the pieces stick to the surface securely but keep their rounded form.
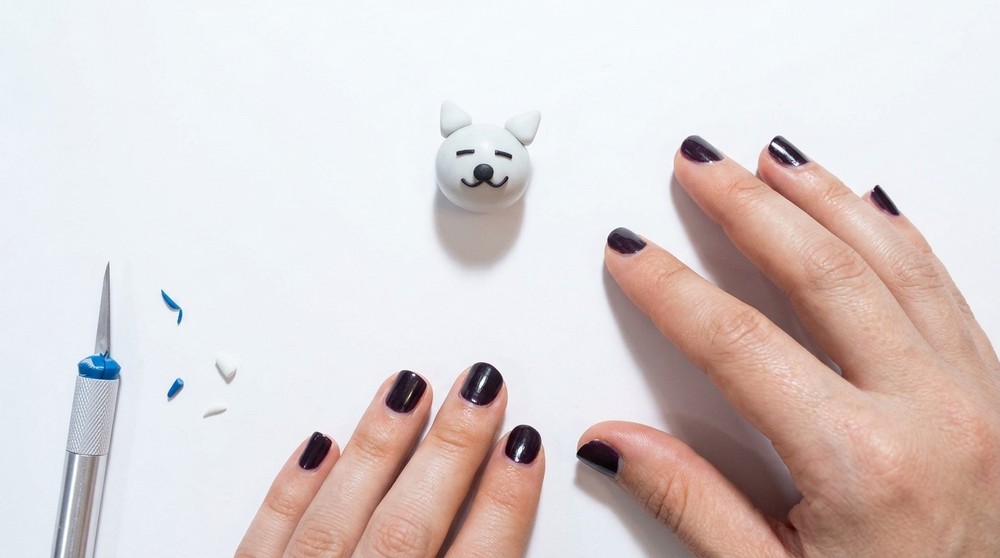
4. Crafting the Nose and Mouth Detail
- From the remaining black dough sausage, cut two small pieces.
- Slightly bend each piece to create a curved shape.
- Attach the curved pieces side-by-side beneath the eyes, towards the center of the face, mimicking the cat’s nose and mouth.
- Additionally, roll a very small ball of black dough.
- Flatten it slightly and place it just above the nose pieces to complete the nose detail.
5. Making the Cat’s Body
- Roll a larger piece of gray dough into a cone shape with smoother and thinner tapered sides.
- Place the cone flat side down on your table—this will keep the cat sitting firmly and steadily.
- This cone represents the cat’s sitting body posture.
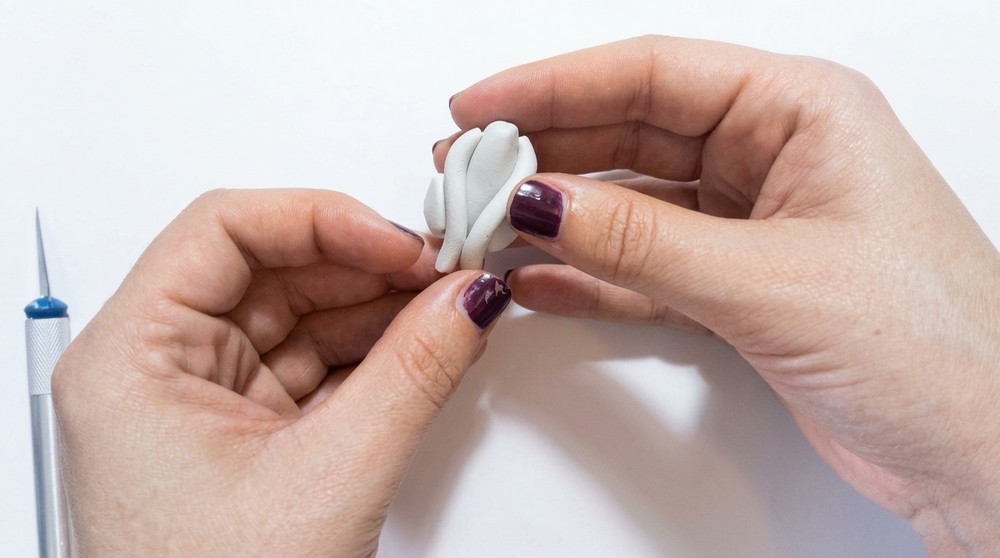
6. Adding the Front Paws
- Cut a medium ball of gray dough into two equal halves.
- Roll each half into a small ball.
- Flatten and shape each ball into a tiny cone with one end slightly rounded like a drop.
- Attach the paws to the lower front section of the body cone, leaving a small gap between the two.
7. Constructing the Cat’s Tail
- Roll a thin sausage of gray dough.
- Attach it to the back lower side of the body cone.
- Bend or shape the tail slightly upward to give it a natural curve.
8. Sculpting the Cat’s Collar Bell
- Roll a small piece of yellow dough into a thin sausage.
- Twist the sausage gently to form a bell-like shape.
- Cut off any extra dough to tidy the shape.
- Attach the yellow bell just under where the cat’s head will rest on the body, near the front paws.
9. Assembling the Head to the Body
- Place a short segment of toothpick or small stick into the top of the cone body, leaving enough length visible.
- Fit the prepared head with ears, eyes, and nose onto the exposed toothpick segment to secure it firmly.
- Make sure the head sits flat and straight without leaning too much.
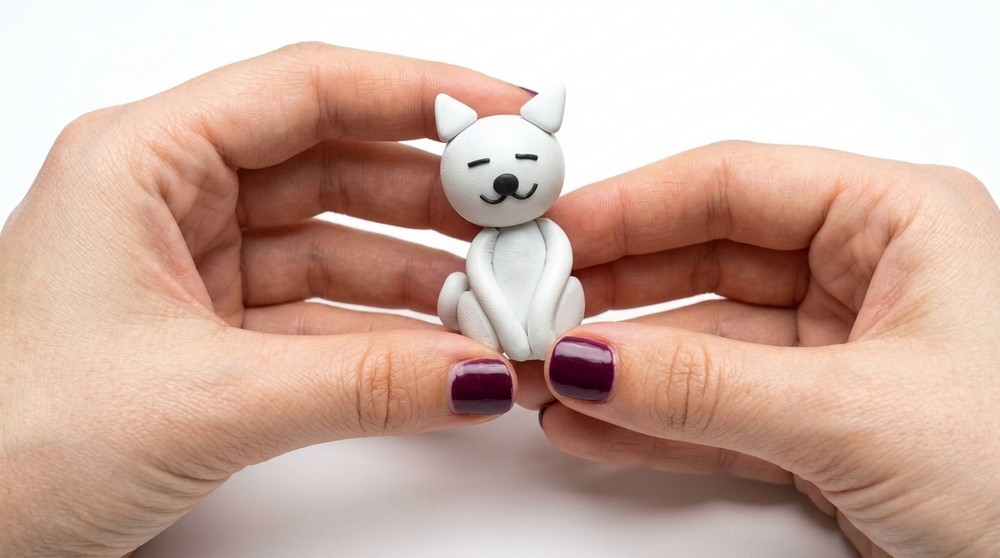
10. Final Touches and Baking
- Inspect the figurine for any loose pieces or irregularities; gently press parts to strengthen connections.
- Using the toothpick or sculpting tool, add two small marks or details near the bottom edges of the paws to add dimension.
- Place the assembled cat on the parchment-lined baking sheet.
- Bake the whole figurine at 110°C (230°F) for approximately 30 minutes, or according to your dough/chosen clay’s manufacturer instructions.
- Allow the figure to cool fully before handling to avoid cracking or breaking.
Conclusion
By carefully following these steps, you will create a delightful gray cat figurine that showcases detailed features and a charming posture. The process develops important sculpting skills including shaping, detail application, and assembling small components. This project is adaptable for personalization, such as changing colors or adding unique accessories, making it a rewarding craft to revisit and enhance in future attempts. The final baked creation will bring warmth and character to your space or gift collection.