Bring a whimsical ocean-themed touch to your projects by creating a delightful DIY Clay Whale that's perfect for decor or thoughtful gifts.
Creating adorable whale figurines out of clay is a fun and easy project that brings sea-inspired charm to your DIY adventures. This craft lets you shape and design a tiny whale using polymer clay, perfect for decorating desks, gifting to friends, or simply enjoying as a handmade keepsake. It’s simple enough for beginners and offers lots of creative freedom to personalize your whale’s size, color, and features.
Beautiful DIY Clay Whale Figurine with This Easy Guide
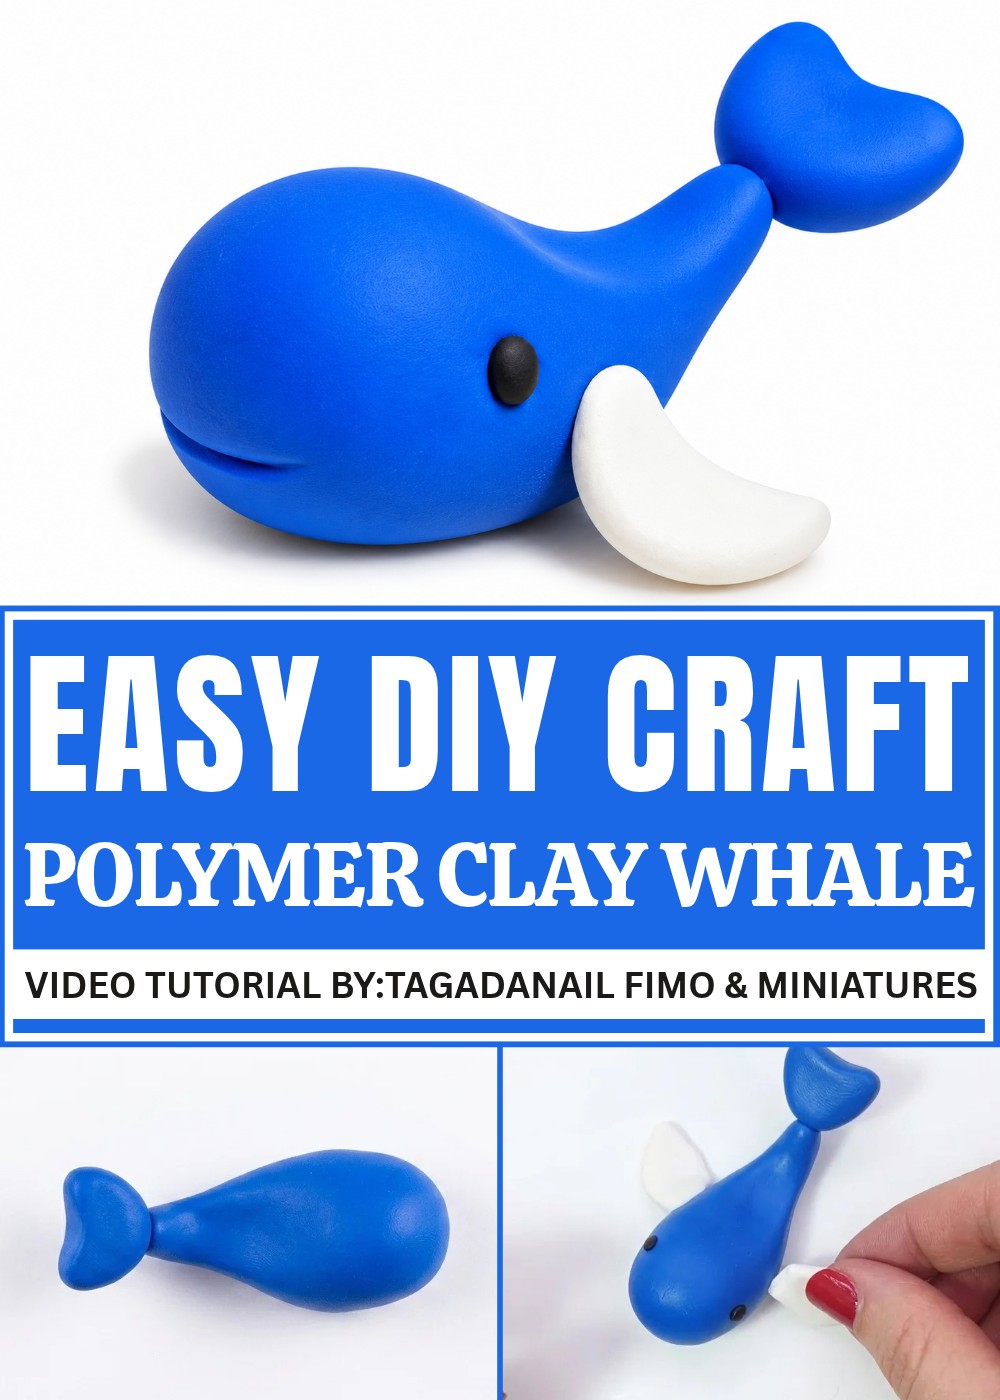
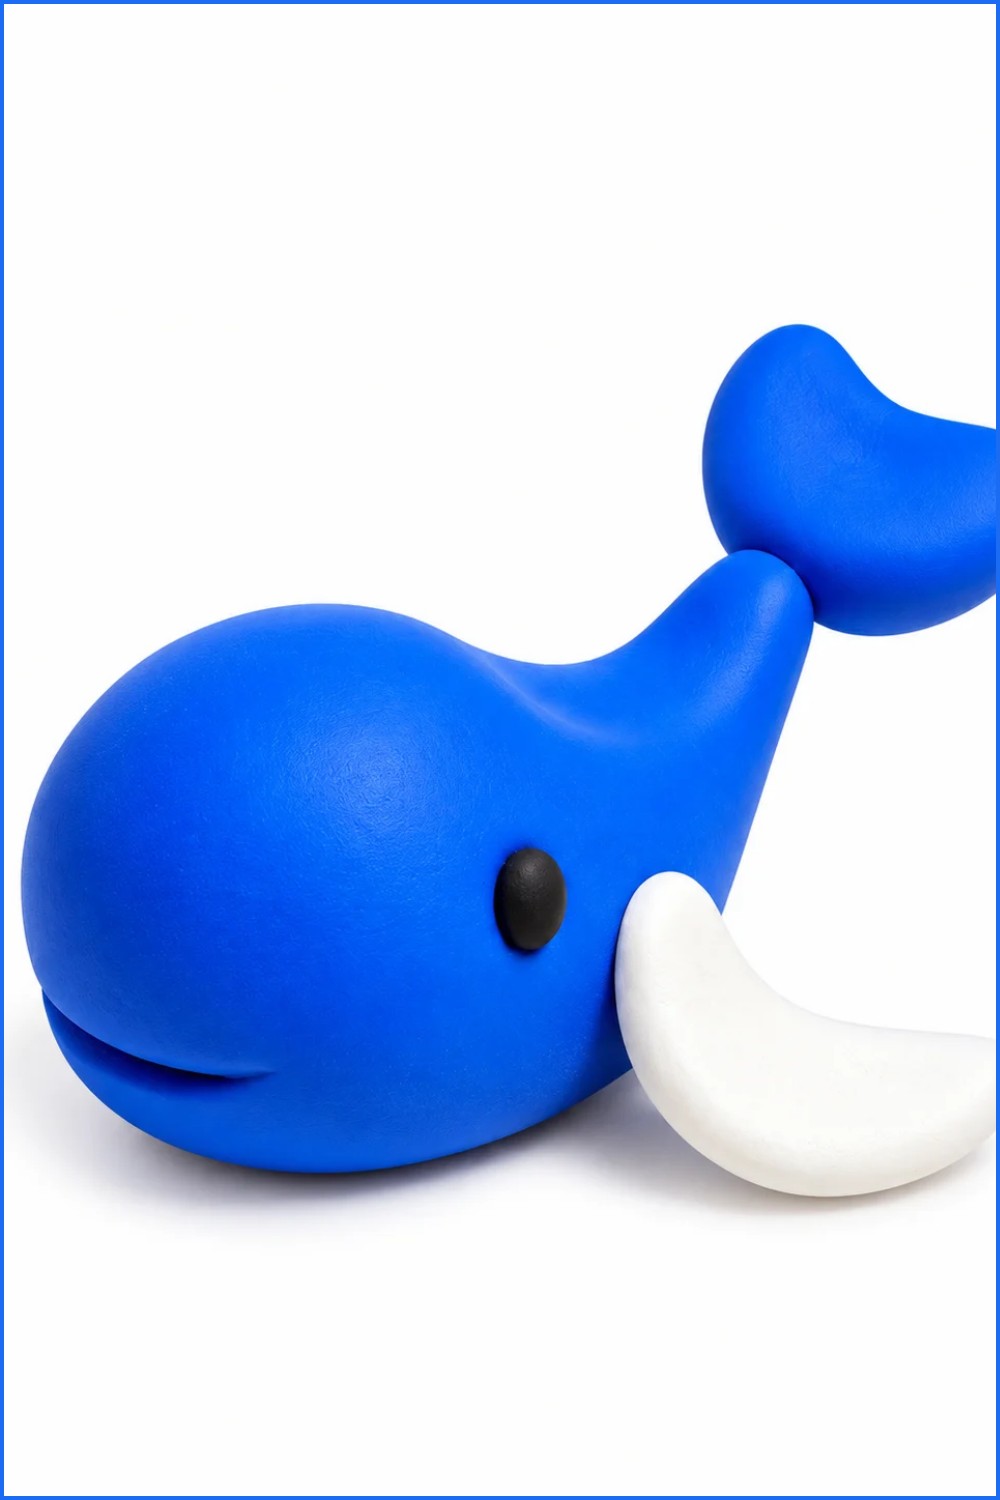
The DIY Clay Whale project is exciting because it’s both playful and creative. You can give your whale details like a happy smile, a curved tail, or even small patterns to make it stand out. Once shaped, the clay is baked to set your design, making it durable and ready to display. This project is great for kids and adults alike, offering an enjoyable way to work with your hands and create something unique.
Your finished clay whale can be used as a decoration, keychain, or even a tiny figurine for storytelling or crafts. It’s lightweight, sweet, and adds a touch of ocean fun to your creations. This project is simple to follow, relaxing to work on, and guarantees a result that feels personal and special. Whether you’re making it for yourself or as a gift, it’s a delightful way to explore your artistic side and have fun with clay.
12345
About This Project
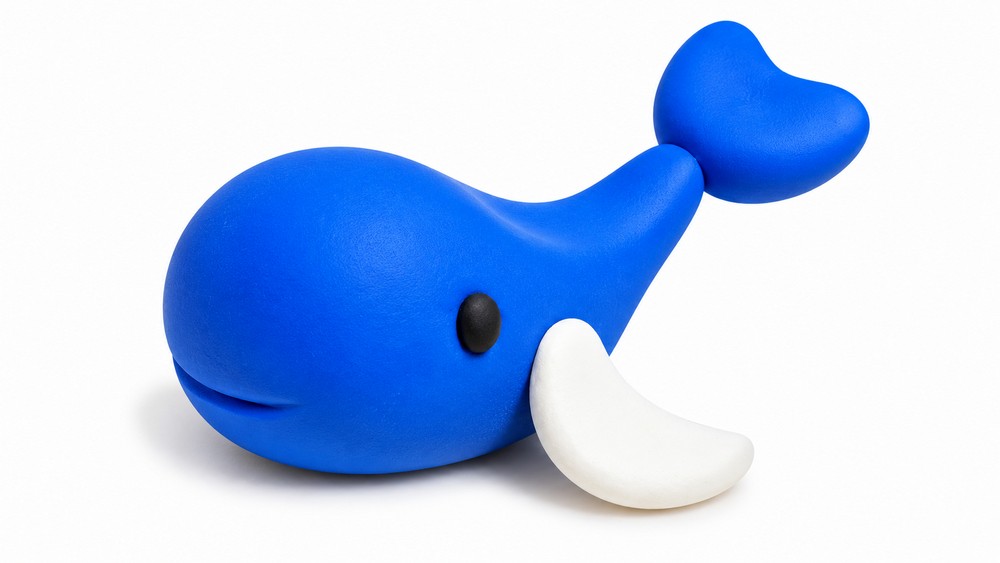
This tutorial shows how to make a small, cute whale figurine from polymer clay (referred to in the video as dough). The design is quick and beginner friendly: shape a stretched ball for the body, add a lighter belly plate, attach tiny eyes and a smiling mouth, form a split tail and side fins, add a small dorsal accent, then bake and finish. The finished whale is perfect as a charm, miniature decoration, magnet, or gift.
What You’ll Need
- Polymer clay in a main color for the body.
- Small amounts of white (or lighter) and black clay for belly and eyes.
- A metal rod, toothpick, needle tool, or rounded stylus for indentations and the smile.
- A small sharp blade for trimming and cutting the tail split.
- A smooth work surface such as glass or tile.
- Oven for baking the clay following manufacturer instructions.
- Optional: fine sandpaper and gloss varnish for finishing.
Before You Begin
- Condition each color by kneading until soft and homogeneous; this prevents cracking and improves adhesion.
- Keep a clean work surface and separate containers for different colors to avoid contamination.
- Lay out all tools and preheat the oven only when the piece is ready to bake.
- Plan proportions: decide how large you want the whale to be so tail and fins scale appropriately.
- Work patiently and use gentle pressure to avoid deformation of small elements.
How to Make It
Step 1: Prepare the Body
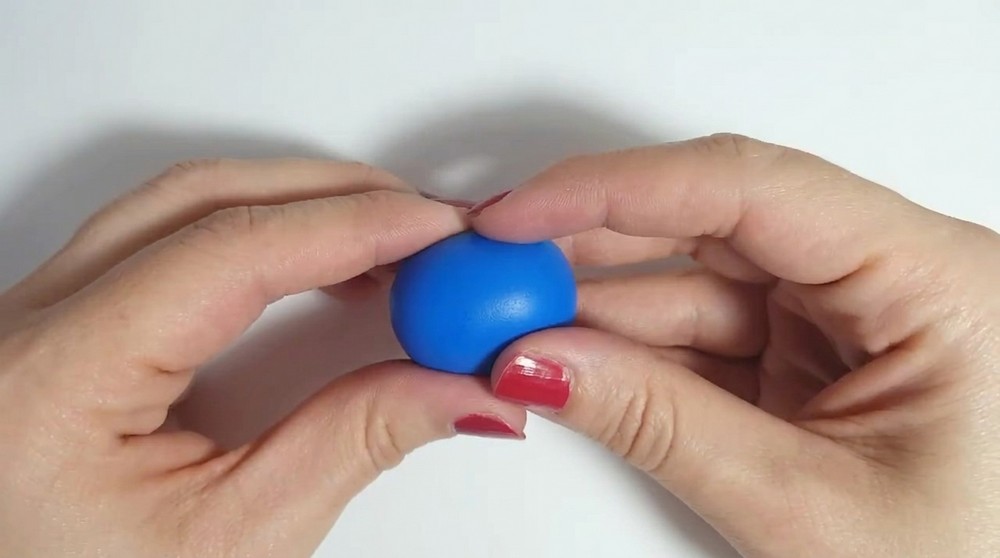
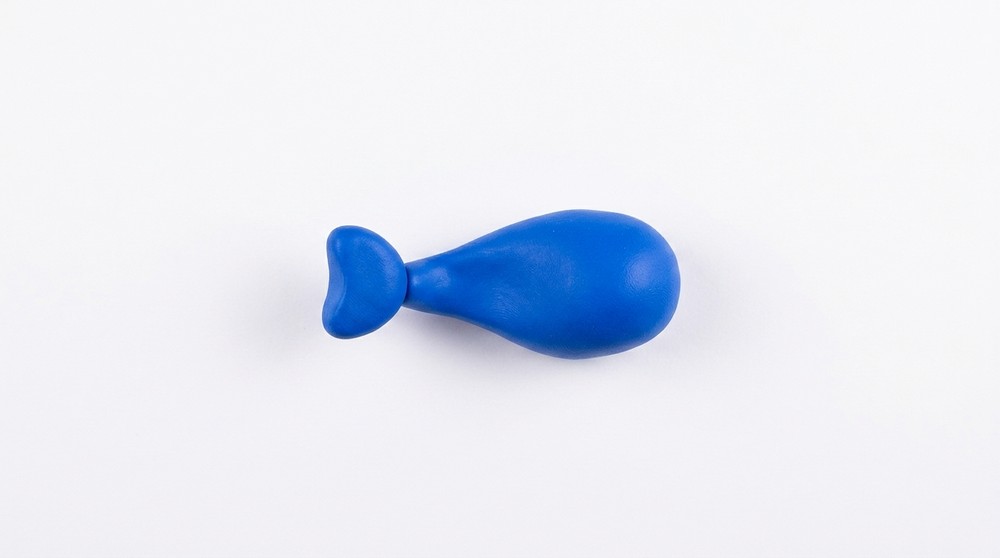
- Roll a ball of the chosen color between your palms to warm and smooth it.
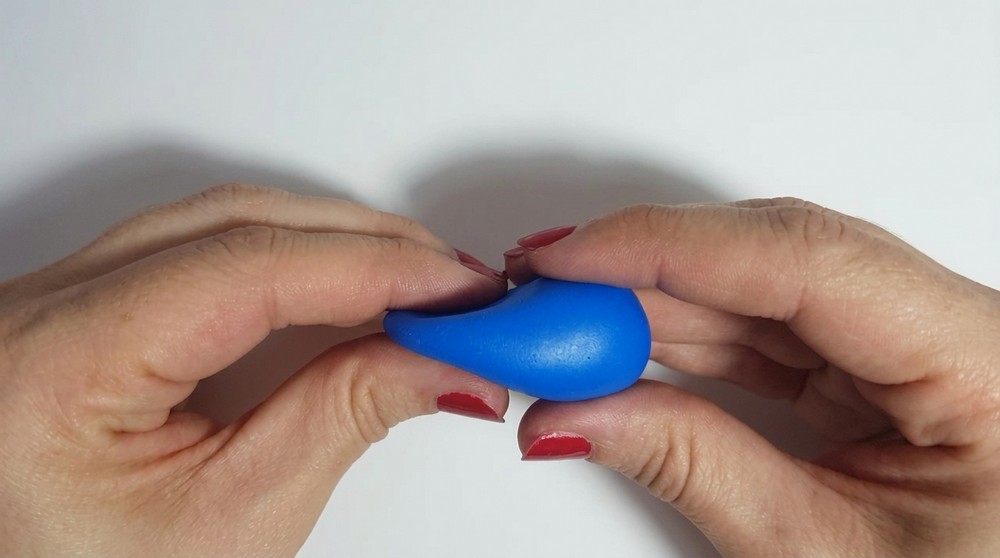
- Stretch and roll the ball so one side becomes slightly elongated, creating an asymmetrical teardrop shape.
- Make one end rounder and fuller for the head and taper the opposite end to form the tail base.
- Smooth fingerprints and minor imperfections with a fingertip or smooth tool for a clean silhouette.
Step 2: Add the Belly Plate
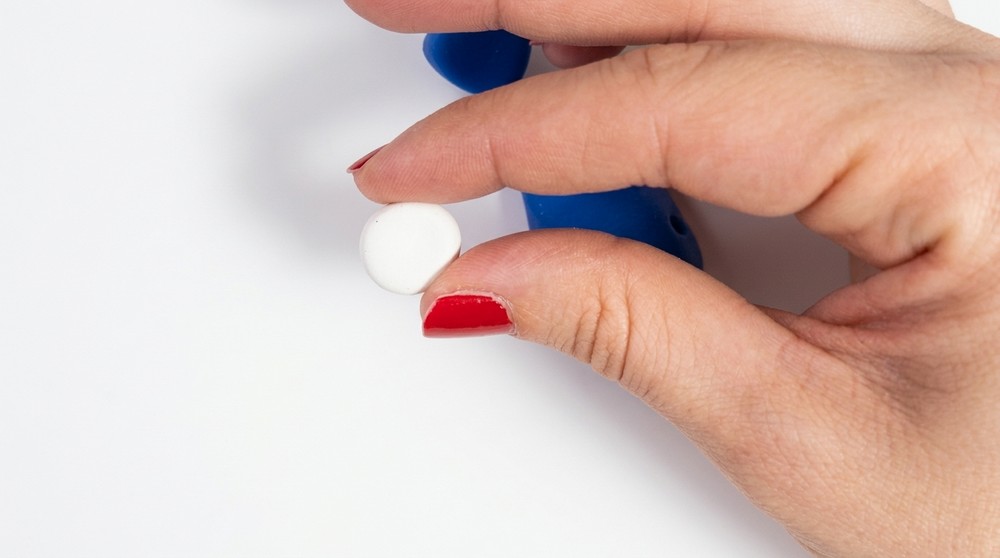
- Roll a small amount of white or lighter clay into a ball and flatten it gently between fingers.
- Shape the flattened piece into a subtle heart or almond form by pinching one side to suggest a cheek or belly.
- Place this piece under the whale’s head area and blend the edges lightly with a fingertip so it adheres without visible seams.
- Adjust position to mirror the curvature of the body while preserving the overall outline.
Step 3: Create Eyes and a Smile
- Roll two tiny black balls for eyes and set them on the head area, spacing them proportionally.
- Use the rounded end of a tool or a toothpick to press shallow eye sockets before setting the black dots if needed.
- With a metal rod, toothpick, or other pointed tool, gently press a small curved line to create a smiling mouth.
- Slightly vary eye position or mouth curve to give different expressions if making multiple whales.
Step 4: Form and Attach Tail and Fins
- Flatten a small amount of clay into an almond shape for the tail.
- Use the blade to cut a shallow notch at the tip to create the characteristic split tail.
- Attach the tail to the tapered end of the body and blend the base so it looks integrated without lumps.
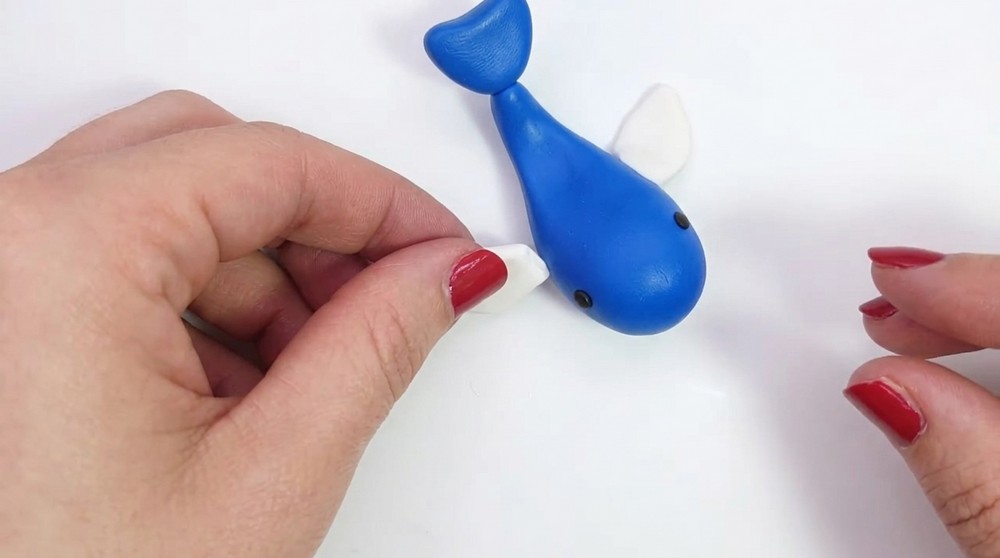
- Make two tiny rounded triangles or teardrop shapes for side fins, flatten them slightly and attach to the belly sides near the midsection.
- Smooth transitions and refine the tail split and fin edges with a small tool or finger.
Step 5: Add Dorsal Accent and Details
- Create a small rounded dot, stripe, or tiny heart of contrasting color for a dorsal accent and press it onto the back.
- Optionally add a tiny blowhole or additional decorative marks using a needle tool or very small clay pieces.
- Ensure all small elements are seated flush to reduce the chance of detachment during baking.
Finishing and Baking
- Place the assembled whale on a baking-safe tray or tile.
- Bake following the polymer clay manufacturer’s recommended temperature and duration for the total thickness (common range 110–130°C / 230–265°F and 15–30 minutes).
- Allow the piece to cool completely on the baking surface to prevent warping before handling.
- After cooling, sand minor rough spots with fine-grit sandpaper and apply a thin coat of gloss varnish if a shiny finish is desired.
Helpful Tips
- Work with small amounts of clay and avoid excessive handling to keep colors clean and shapes crisp.
- Use even gentle pressure when blending joints to avoid flattening the overall profile.
- If a small seam appears, a touch of liquid clay or a smoothing tool can hide it before baking.
- Practice tail shape and fin proportions on scraps before committing to the main piece.
- Keep a scrap palette to test small color combinations or expressions.
Care and Uses
- The finished whale can be used as a charm, pendant, magnet, or miniature figure.
- Avoid exposing the piece to heat beyond baking recommendations.
- Dust gently with a soft dry cloth; do not submerge varnished items in water.
- If a small element becomes loose later, reattach with a tiny dab of super glue or rebake if working with uncured clay.
Final Notes
This quick whale project is perfect for beginners and can be customized by size, color, facial expression, and small decorative marks. Repetition will improve your speed and control; soon you can create a whole pod of tiny whales with varied personalities. Have fun experimenting and adapting the basic steps to your preferred style.