Build a cozy Nordic holiday accent by assembling a DIY Polymer Clay Christmas Gnome with simple steps and pro finishing tips for shelf worthy charm.
A small figure pauses on a windowsill, hat tilted as if listening to falling snow. This DIY Polymer Clay Christmas Gnome arrives with a warm, understated presence that feels perfectly at home among seasonal displays. Its silhouette is compact and rounded, immediately readable from across a room.
Featured By: Merry Maker Studio.
DIY Polymer Clay Christmas Gnome step-by-step tutorial for beginner
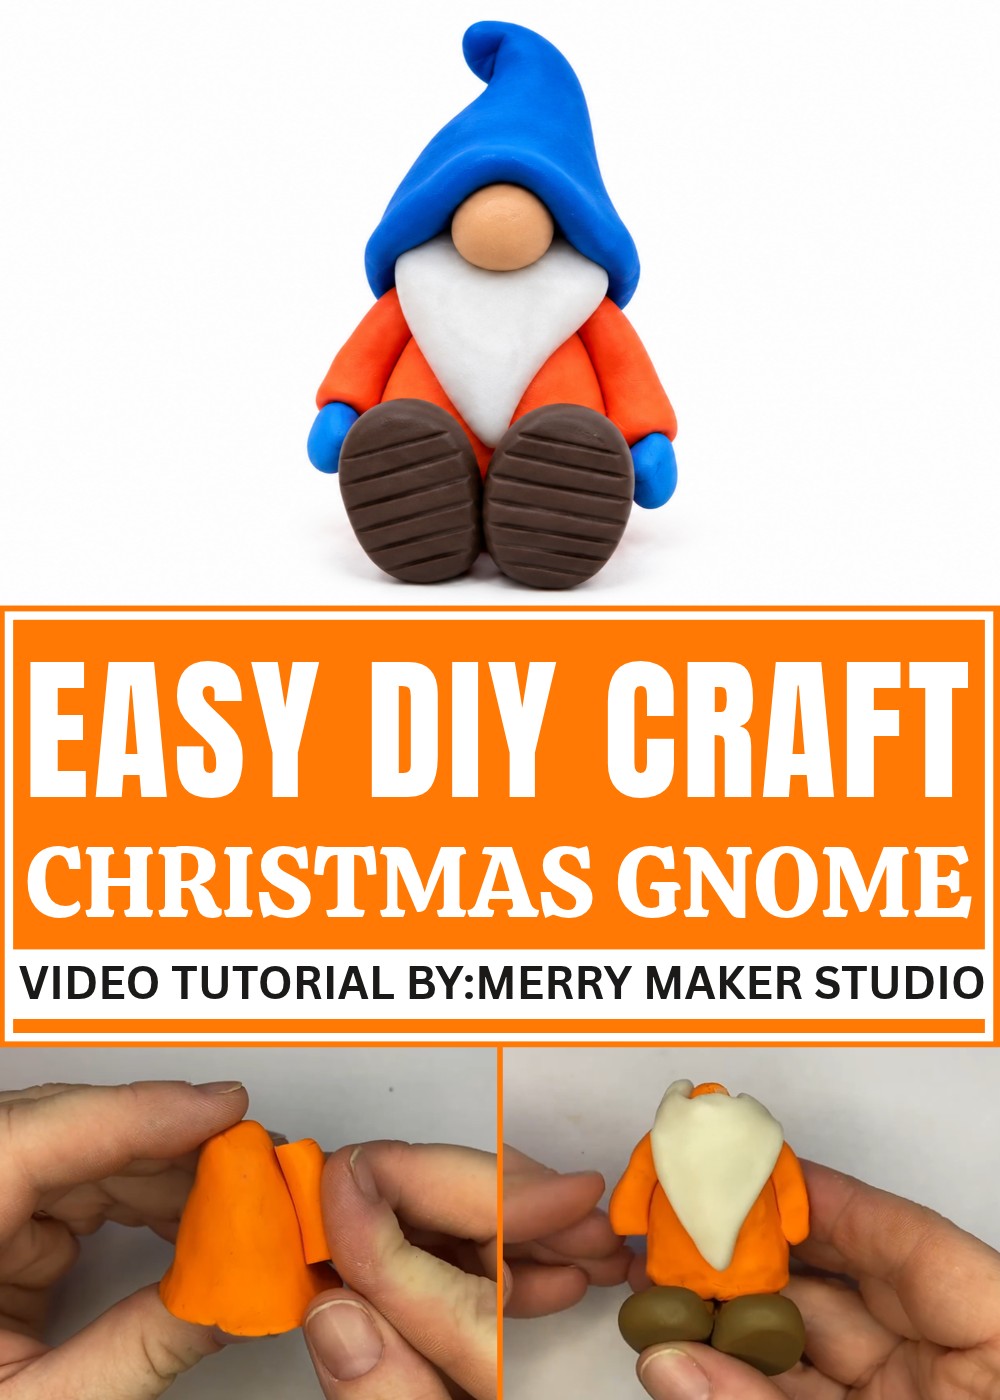
The finished look is smooth and matte, with a soft, muted palette punctuated by a single brighter accent on the hat. A rounded nose peeks out from beneath a generous beard, giving the piece a friendly, unobtrusive face. Proportions are intentionally simple, short body, long slouching hat, so the design reads as modern folk art rather than a toy. Meant for shelves, mantel clusters, or perched on wrapped gifts, it works as a quiet focal point in both contemporary and rustic settings. It also pairs well with miniature trees and candles, making it an easy piece for tabletop vignettes.
The gnome’s character comes from restrained choices: a gentle posture, subtle texture in the beard, and a modest color story that suggests winter cheer without shouting. What makes it interesting is how expressive it remains while staying minimal—each tiny contour adds personality without clutter. Compact, camera-friendly, and versatile, the DIY Polymer Clay Christmas Gnome feels curated and cozy, inviting a second look wherever it sits.
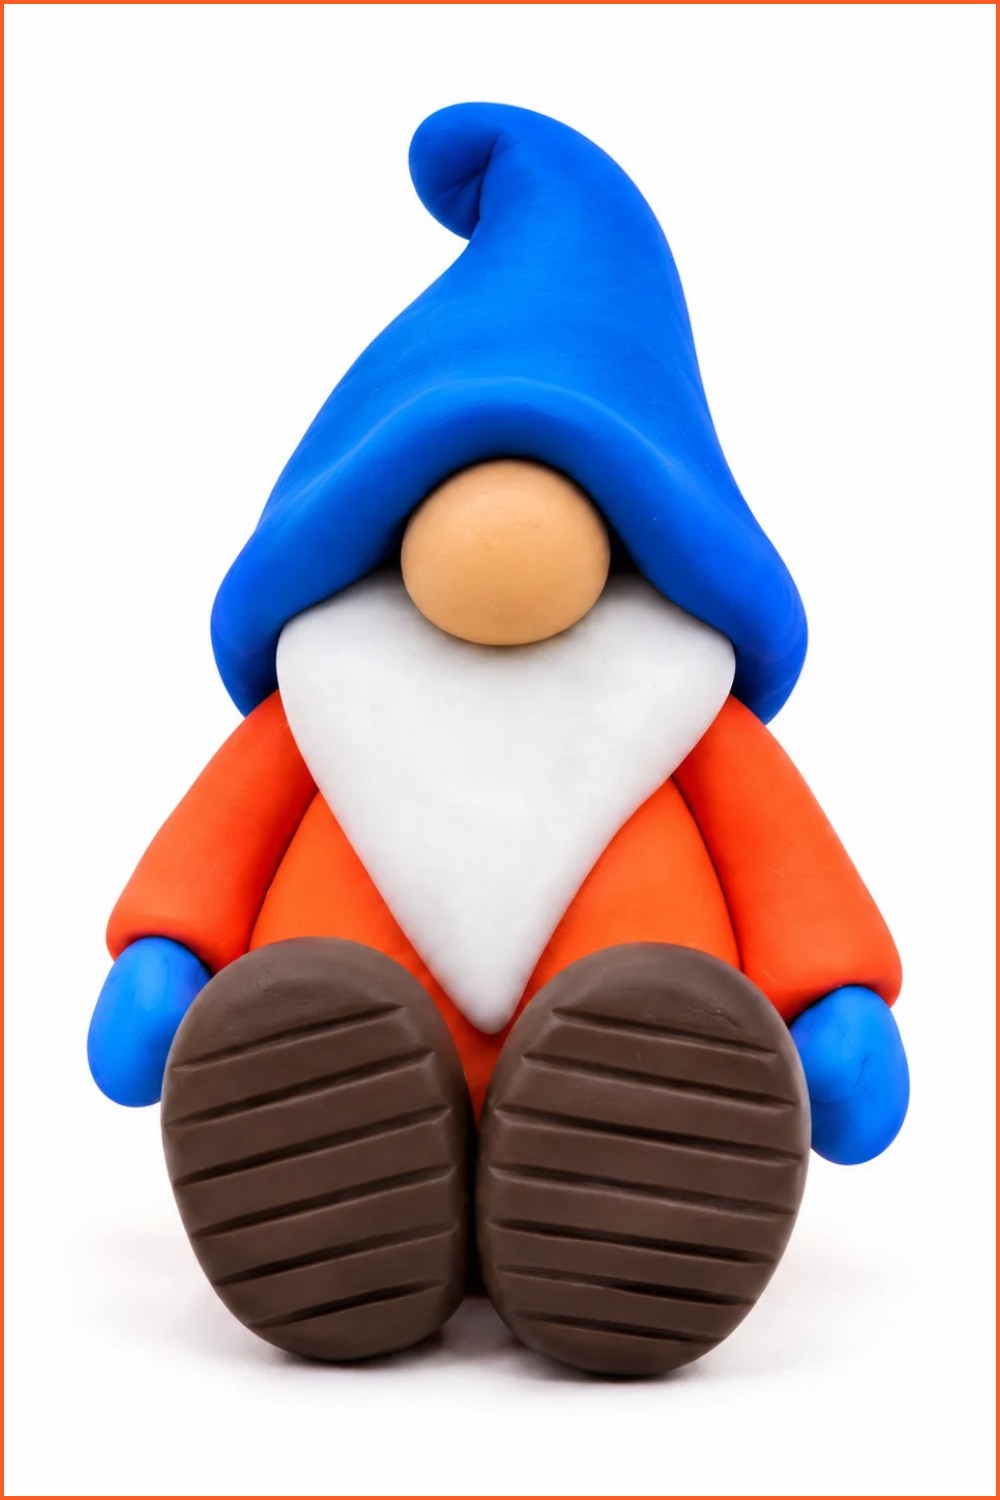
DIY Polymer Clay Christmas Gnome
This tutorial walks you through making a small standing gnome from polymer clay, step by step. The project uses simple shapes and a few finishing details to create a charming gnome with a floppy hat, bushy beard, tiny mittens and boots. It is designed for beginners and focuses on clear, repeatable actions.
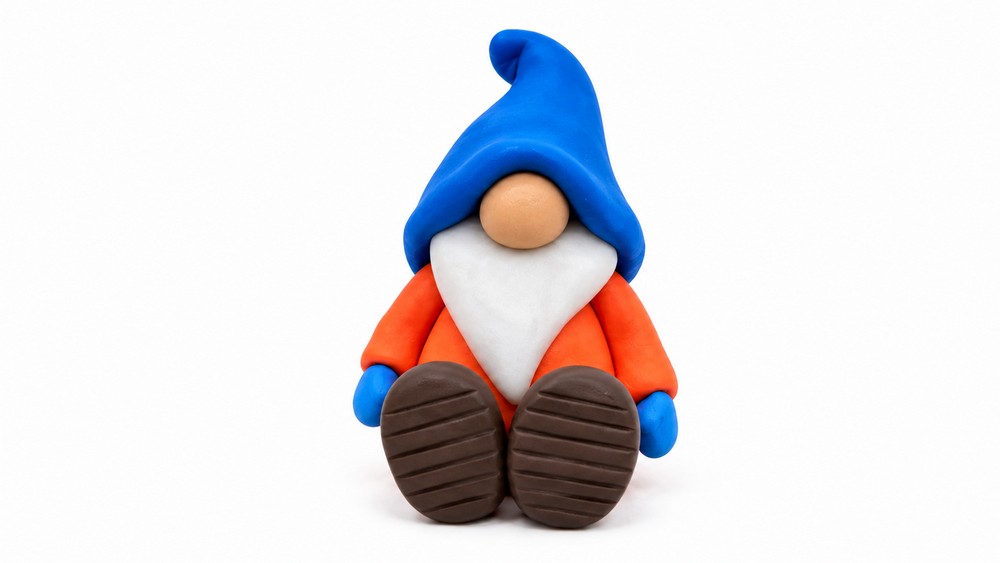
Design overview
- Rounded cone body with a flared shirt hem and separated legs for a stable base.
- Large triangular beard that frames a rounded nose beneath a floppy, tilted hat.
- Small accessories (mittens, boots, snowflake dots) add character without complex shaping.
Gather materials (why they matter)
Choosing the right materials and tools makes the process reliable and more enjoyable. Good-quality polymer clay conditions smoothly, blends well at seams, and bakes consistently. Appropriate shaping tools let you add clean details and texture without overworking the clay. A stable work surface and proper baking setup help prevent warping or dust adhesion during curing.
Materials & tools
- Polymer clay colors: shirt (orange or your choice), pants (tan), boots (brown), beard (white), hat/mittens (blue), small amount for skin tone (mix white + brown or tan).
- Tools: craft knife or blade, wooden/plastic clay tool for smoothing, ball tool or rounded object, needle tool or toothpick, small roller or conditioning tool, cutting surface (ceramic tile or glass).
- Extras: oven-safe baking tray, parchment paper, toothpick for tiny dots, optional sandpaper and varnish for finishing.
Important tips before starting
- Condition clay well: knead until soft and consistent in color; warm clay is easier to shape and less likely to crack.
- Work on a clean, nonporous surface to avoid lint and dust embedding in the clay.
- Score and press joints where pieces meet to improve adhesion before baking.
- Follow manufacturer baking instructions exactly; let the piece cool fully before handling.
Pattern — Step-by-step Rounds
Each round focuses on one component. Important action words are bolded.
Round 1 — Body (Cone-shaped Shirt)
Purpose: Form the main torso and shirt silhouette that everything else will attach to.
-
Steps:
- Condition a generous piece of shirt-colored clay until soft and uniform.
- Roll the clay into a smooth ball.
- Pinch one end slightly to make a top, then roll the piece on the table into a rounded cone.
- Tap the bottom gently on the surface to flatten it so the gnome stands.
- Pinch around the base and flare the bottom edge outward to make the shirt hem.
-
Tips:
- Check the base for stability and evenness before adding any parts.
- If the cone leans, trim or flatten the base until it stands upright.
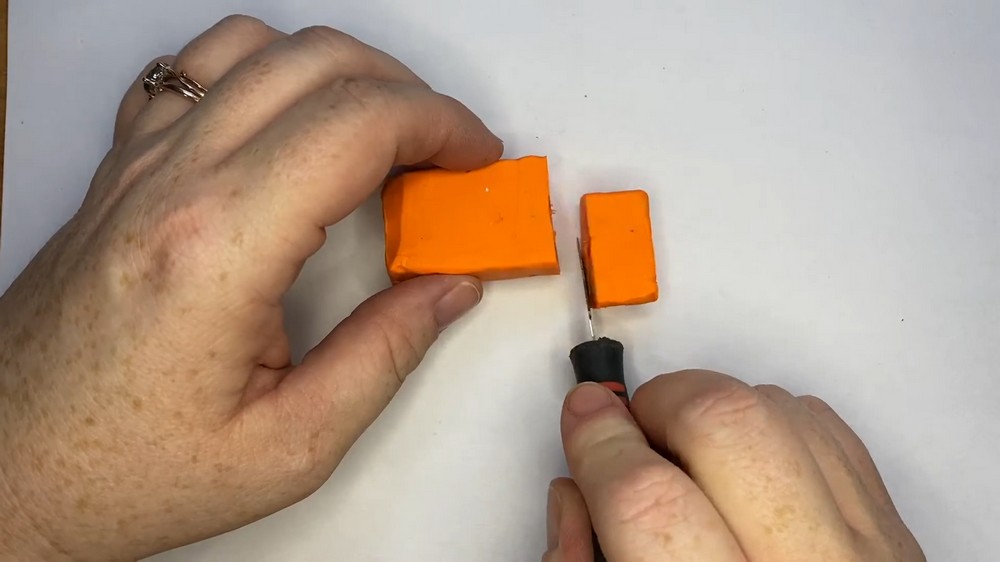
Round 2 — Sleeves
Purpose: Add basic arm shapes that will accept the mittens.
-
Steps:
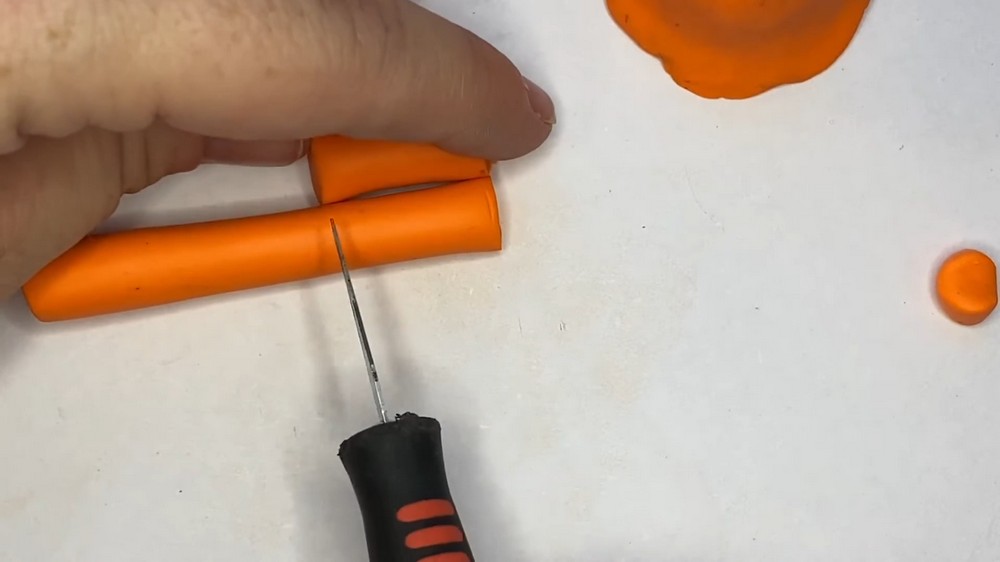
- Roll two thin coils of the same shirt-colored clay.
- Cut two equal-length pieces using a blade or tool.
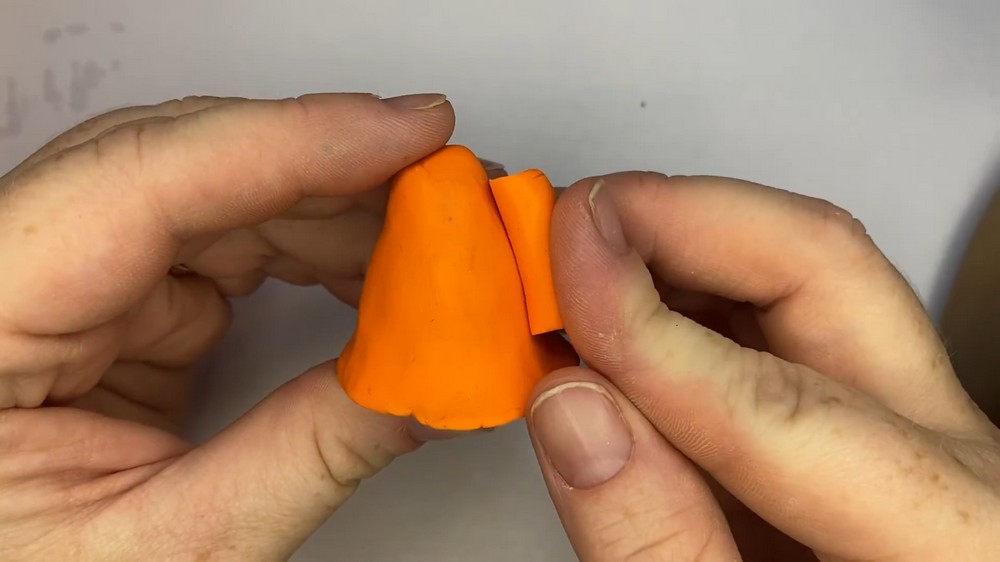
- Attach each piece to the side of the cone at about mid-height.
- Press the top edge of each sleeve into the body and smooth the seam with a wooden tool or finger.
-
Tips:
- Match sleeve lengths for a balanced look.
- Blend seams carefully so no obvious gaps remain.
Round 3 — Legs & PantsPurpose:
Build the lower section that supports the gnome and defines proportions.
-
Steps:
- Condition tan clay and roll into a rounded log (slightly flattened for pants).
- Indent lightly along the length near the top and bottom to imply two legs.
- Position the log under the torso and trim to a proportionate length.
- Fold or press the flared shirt hem slightly down over the top of the legs to create a natural overlap.
-
Tips:
- Keep legs chunky enough to provide a stable center of gravity.
- Trim small amounts and test balance often.
Round 4 — Boots
Purpose: Create shoes that anchor the figure and add detail.
-
Steps:
- Roll two small balls of brown clay and flatten slightly.
- Shape each into a rounded teardrop foot silhouette.
- Score the top of each boot and the corresponding leg area to help them stick.
- Press boots onto the leg bottoms, wiggle gently to bond, and smooth seams.
- Optionally carve lightly with a blade to add sole lines or texture.
-
Tips:
- Score contact points for stronger joins, especially on parts that may be bumped.
Round 5 — Beard & Nose
Purpose: Define the gnome’s face area and focal point.
-
Steps:
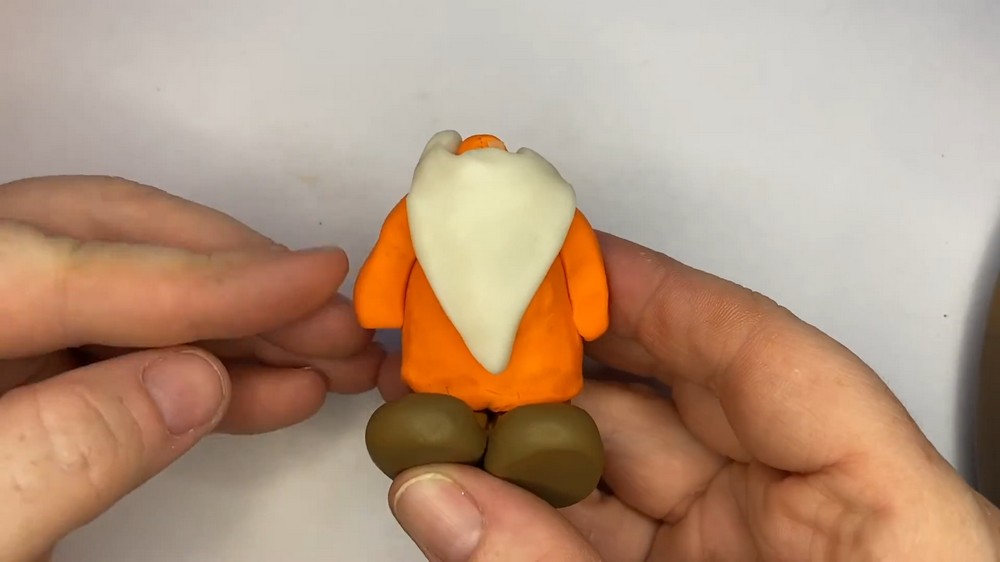
- Condition white clay and roll into a ball; flatten into a medium-thick rounded triangle.
- Pinch the triangle corners slightly to make them wrap around the sides of the head area.
- Place the beard on the front of the torso, leaving room at the top for the nose and hat brim.
- Mix a small skin-tone by combining white with tan or brown; roll into a small ball for the nose.
- Press the nose into place at the top center of the beard and blend the base lightly so it sits snugly.
-
Tips:
- Keep the beard thick enough to read as dimension after baking but not so thick it overwhelms the torso.
Round 6 — Hat
Purpose: Make a floppy hat that sits over the beard and nose.
-
Steps:
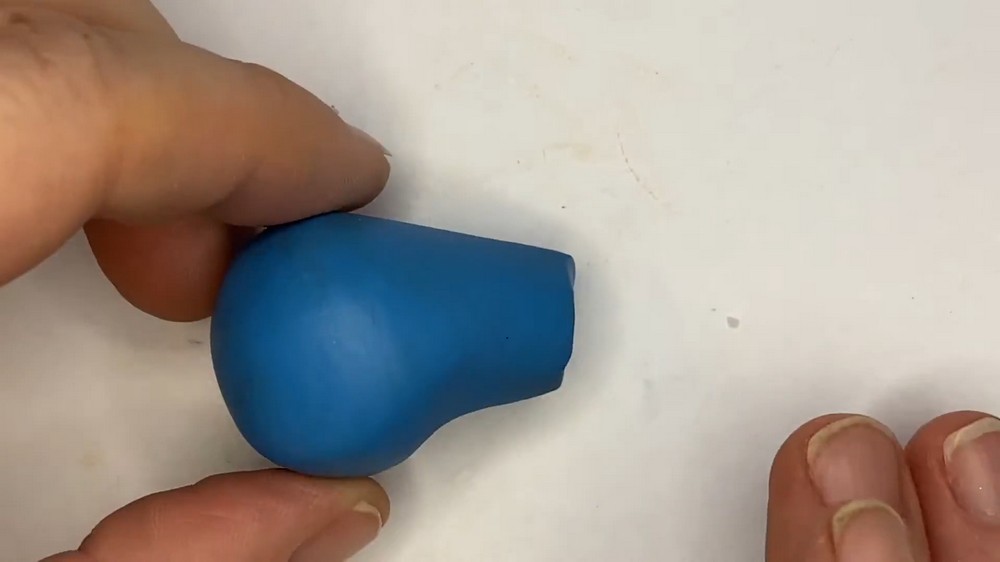
- Condition hat-colored clay and roll into a ball.
- Pinch one end and roll into a tapered rounded cone.
- Hollow the base with a ball tool or your thumb so it fits over the head and beard.
- Form a small flange at the brim to accommodate the nose.
- Place the hat over the nose and beard, press gently to attach and tilt the top for a floppy look.
-
Tips:
- Ensure the hat opening hugs the beard top and nose flange for a stable fit.
Round 7 — Mittens & Final Details
Purpose: Add hands, small decorations, and finish touches.
-
Steps:
- Roll tiny balls of mitten-colored clay and taper one side to form a thumb.
- Indent the sleeve ends with a ball tool and insert mittens, flatten slightly, then trim the thumb area with a sharp tool if needed.
- Cut minuscule white pieces and press them onto mittens as irregular snowflake dots.
- Refine boot indents, beard texture, and hat folds with a needle tool.
- Place the gnome on parchment on an oven-safe tray and bake following the clay manufacturer’s instructions.
- Cool completely before handling; optionally sand and varnish after cooling.
-
Tips:
- Use tiny, irregular dots for snowflakes to keep a handmade look.
- Do not rush baking or cooling steps; proper curing ensures durability.
Conclusion
This step-by-step pattern breaks the gnome into manageable rounds so you can focus on one part at a time. Take your time conditioning clay, scoring joins, and testing balance before baking. Small variations in shape and color give each gnome personality, so feel free to customize hat tilt, colors, and tiny details to make a unique piece.