Make your space whimsical with a photo ready DIY Polymer Clay Mushroom tutorial that guides beginners to create charming shelf ready miniatures.
This project draws reference from the original tutorial presented by Merry Maker Studio.
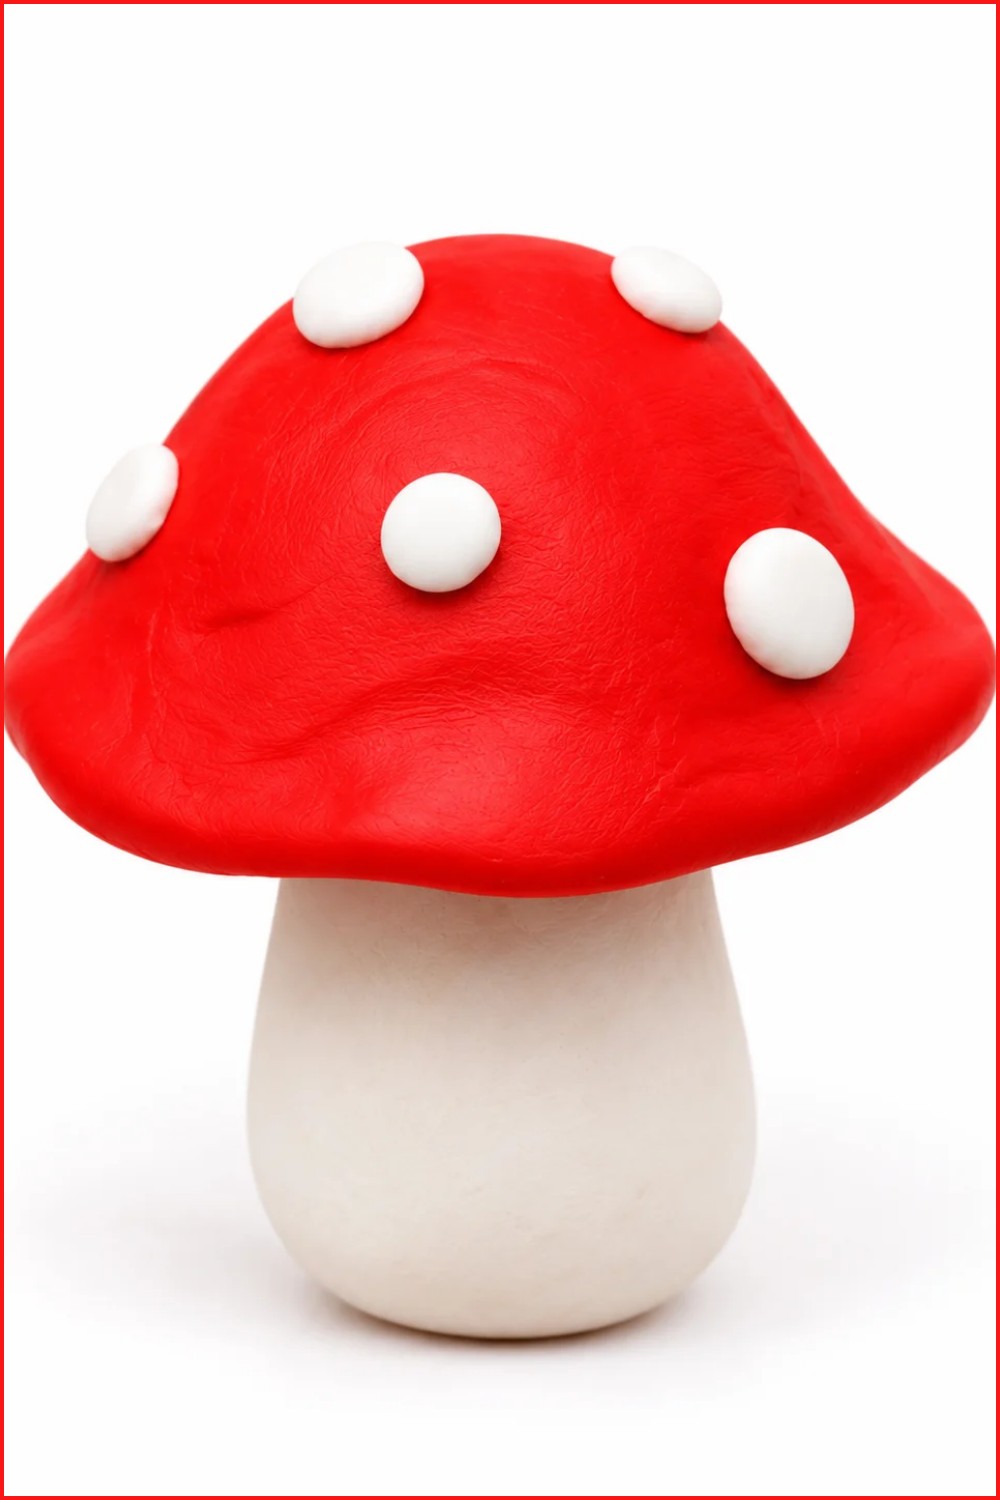
A tiny toadstool perches like a small storybook character, ready to catch an eye on a desk or windowsill. The DIY Polymer Clay Mushroom features a vivid red cap speckled with irregular ivory dots and a soft, tapered stem that reads as both playful and polished. Its compact profile and subtle asymmetry give it personality, each dot sits slightly off-center, the cap edge flares gently, and the stem leans just enough to feel alive rather than rigid.
How to Shape a DIY Polymer Clay Mushroom for Beginners
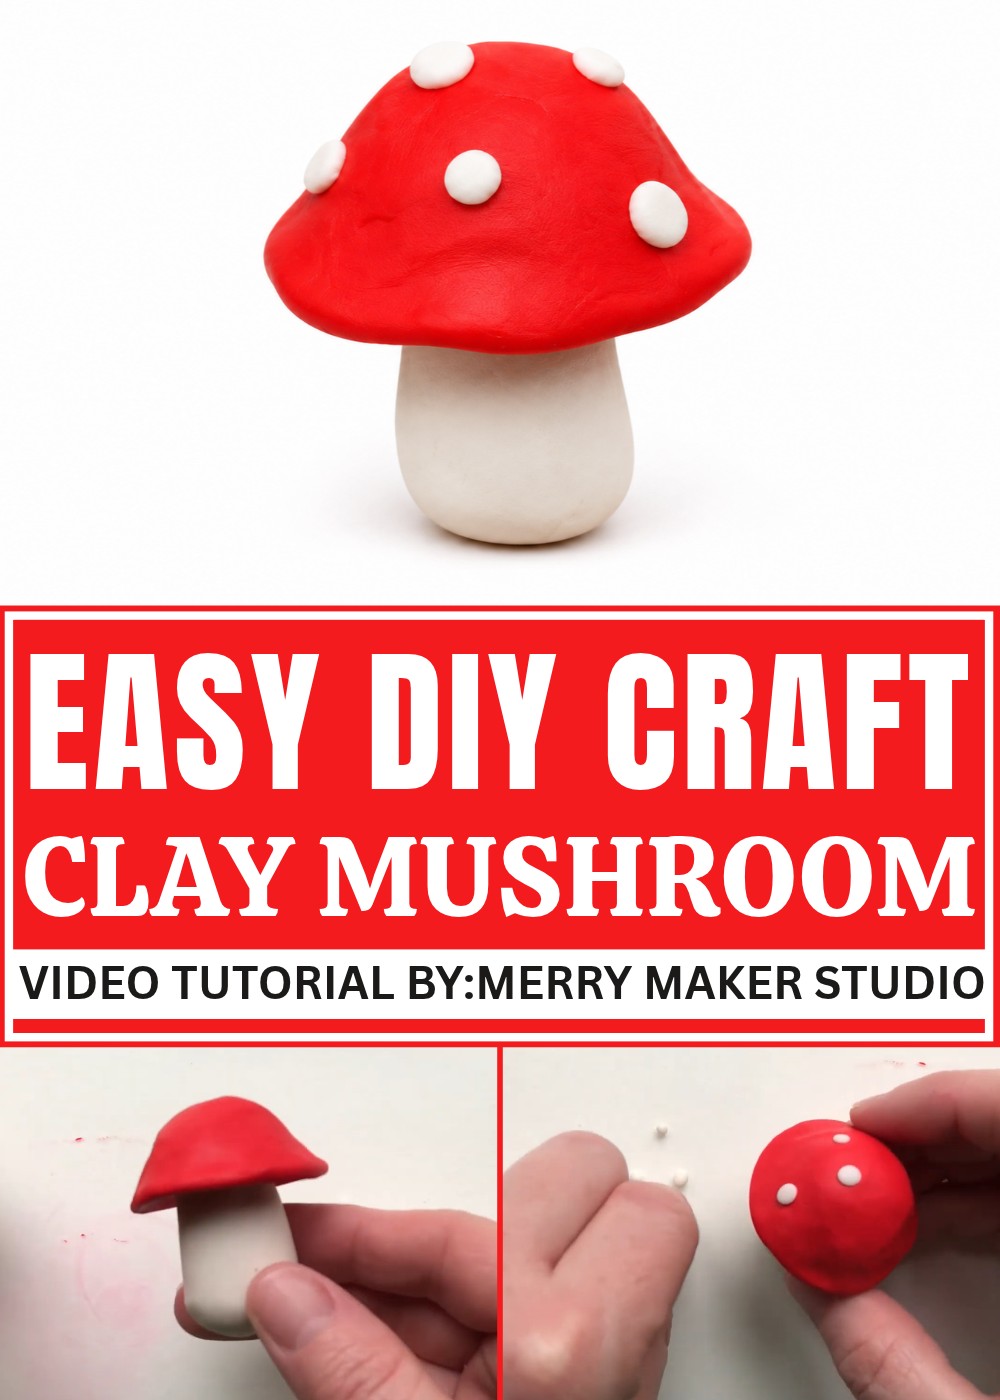
Designed for display or collection, this piece works well solo as a desk charm or clustered with other miniatures for a whimsical vignette. The color contrast and clean silhouette translate well to photos, making it a great prop for flat lays or product shots. There’s a pleasing balance between realism and stylized charm: proportions are true to a classic toadstool but simplified for a tidy, modern look.
What sets it apart is the thoughtful imperfection—tiny size, random spot placement, and a smooth, matte finish that reads both cozy and refined. Whether used as a shelf accent, a gift topper alternative, or a terrarium companion, the design feels approachable and characterful without fuss. This little mushroom tells a quiet story and anchors small spaces with subtle, handcrafted personality.
How to Sculpt Cute Mini Mushrooms from Polymer Clay
This step-by-step tutorial will guide you through crafting adorable little mushrooms (toadstools) from polymer clay. These charming miniatures can be great for decoration, gifts, or as whimsical additions to your art projects. The project is simple and enjoyable, teaching basic clay handling, shaping, and assembling techniques for beginners.
Design Overview of the Mini Mushroom Sculpture
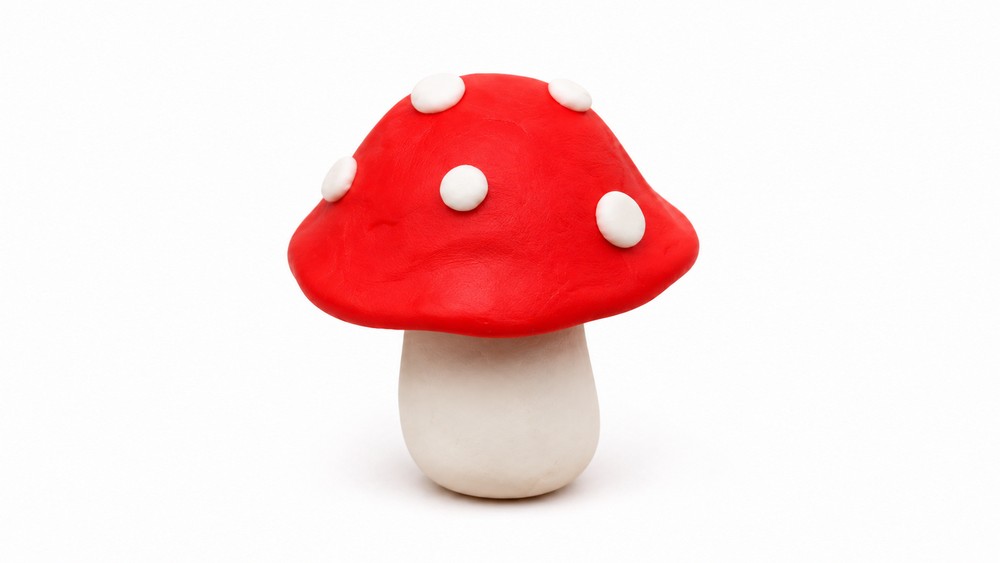
- Naturalistic Shape: Features a tapered stem and a flared cap mimicking real mushrooms.
- Classic Color Palette: White stem with a bright red cap adorned with random white dots.
- Textured Details: Slightly flared edges on the cap and polka-dotted surface add visual interest.
- Size Variation: Ability to make multiple mushrooms with varying dot patterns and sizes.
The Importance of Preparing Materials and Tools
Having good quality materials and the right tools ensures smooth handling and better results. Polymer clay with vibrant colors takes shape well and bakes into sturdy miniature forms. Tools like craft knives and pencils provide precision cutting and simple sculpting capabilities. Preparation reduces errors and allows more enjoyable creative focus during the process.
Materials and Tools Needed
- Polymer clay in white and red
- Craft knife, X-acto blade, or regular sharp knife for cutting
- Pencil (preferably with an eraser end)
- Clean flat workspace or tabletop
- Baking sheet and parchment paper (for baking polymer clay)
- Oven (for curing polymer clay according to packaging)
Important Tips Before Starting Your DIY
- Work in a clean, dust-free environment to maintain clay quality.
- Keep your hands clean to avoid contaminating or discoloring the clay.
- Roll and shape clay slowly to maintain smoothness and avoid cracks.
- When creating dots, vary sizes and placement to mimic natural randomness.
- Wash your hands thoroughly after handling colored clay to prevent unwanted staining.
- Use gentle pressure when attaching cap and dots to avoid distorting shapes.
- Follow curing times and temperatures specified on your clay package for best results.
Step-by-Step Pattern to Sculpt Mini Mushrooms
1. Preparing the Clay Pieces
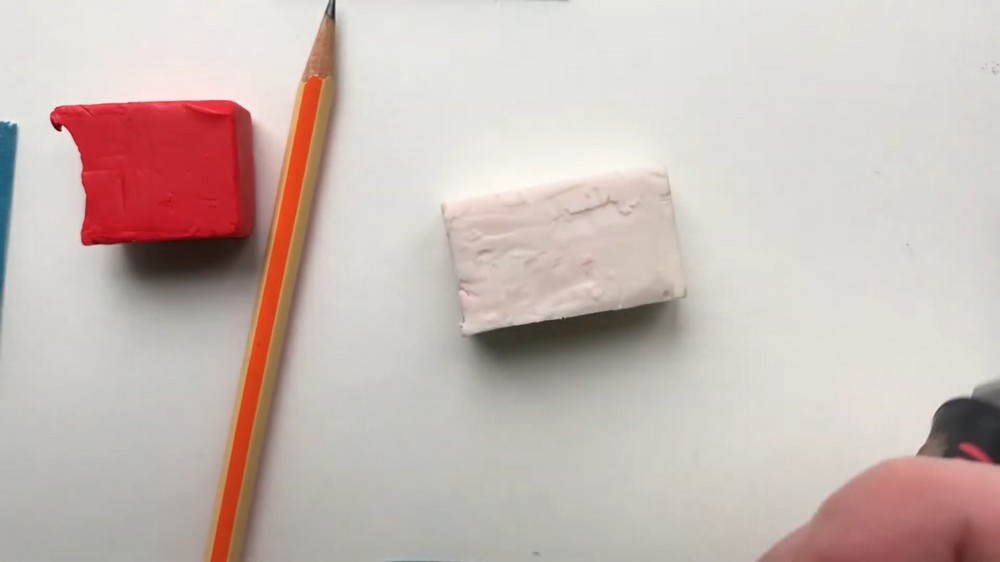
- Cut the White Clay: Slice your white polymer clay approximately in half; this will be used for the stem and the dots later. Set aside the excess.
- Cut the Red Clay: Take a slightly smaller piece of red clay equivalent in size to the white clay portion reserved for the cap. Set aside the rest.
2. Sculpting the Mushroom Stem
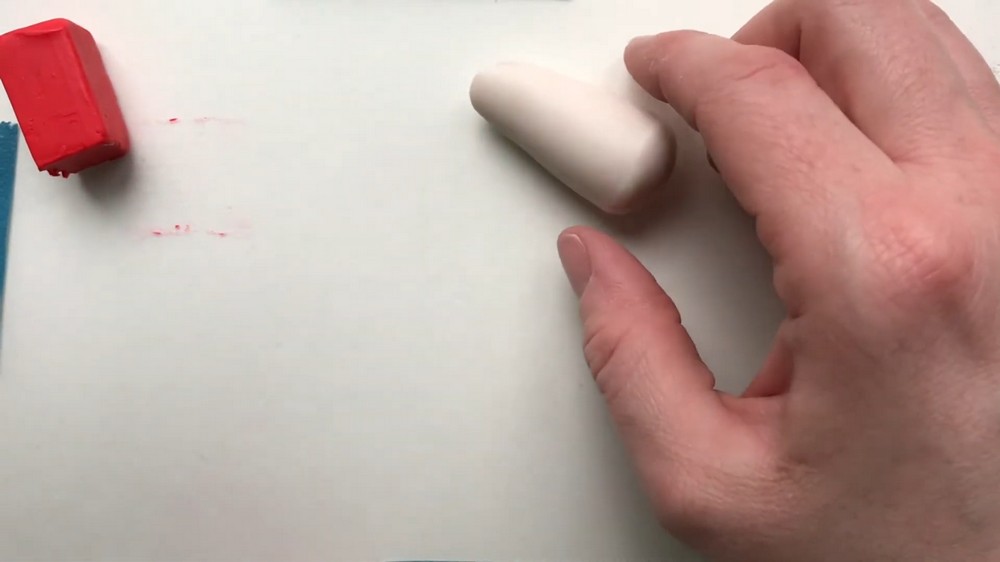
- Roll White Clay Into a Ball: Roll the white clay on a smooth surface between your hands until you have a smooth ball.
- Form a Log Shape: Roll the ball back and forth on the tabletop to elongate it into a log shape.
- Taper One End: Roll one end of the log thinner than the other, creating a gentle taper resembling a mushroom stalk.
- Round the Ends: Slightly roll and smooth the ends, especially the thin one, for a natural look.
3. Creating the White Dots
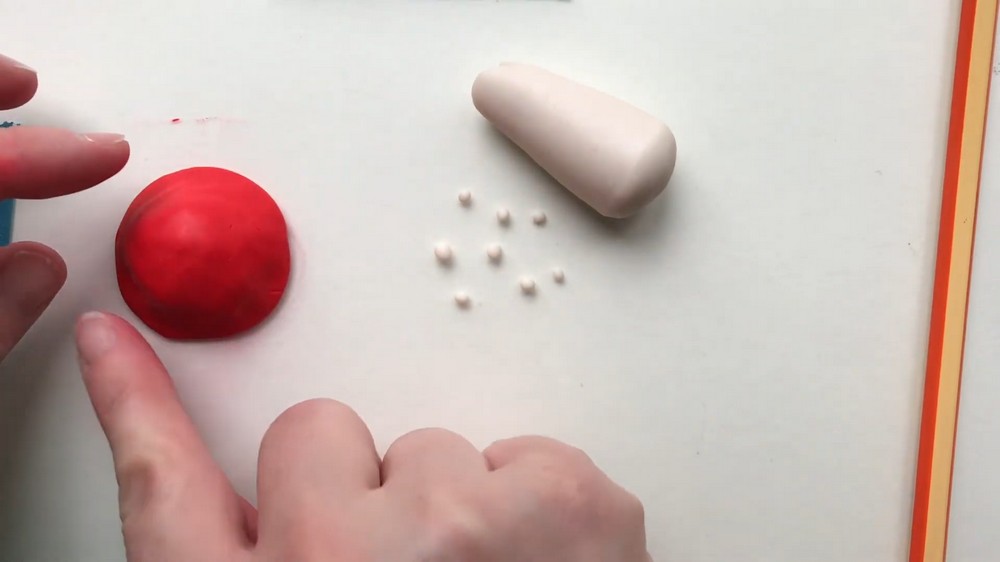
- Prepare Dots Ahead: Cut off some small bits of white clay and roll them into tiny balls. Aim for 5–10 small spheres of varied sizes.
- Roll Dots Between Fingers or Surface: You can shape each dot by rolling between your fingers or on the tabletop until smooth.
4. Sculpting the Mushroom Cap
- Roll Red Clay into a Ball: Shape the red clay section into a smooth ball.
- Create a Pinch Pot: Using the eraser end of a pencil, press into the red ball almost to the bottom to create a hollow cavity.
- Widen the Cavity: Wiggle and rotate the pencil gently inside to widen the hollow enough to fit over the stem.
- Smooth the Cap Surface: While fingers are unstained (wash hands if needed), smooth and thin the edges by pinching and turning the clay rim to flare outward, forming a natural mushroom cap flange.
5. Attaching the Cap to the Stem
- Clean Hands: Wash your hands thoroughly to remove any red pigment.
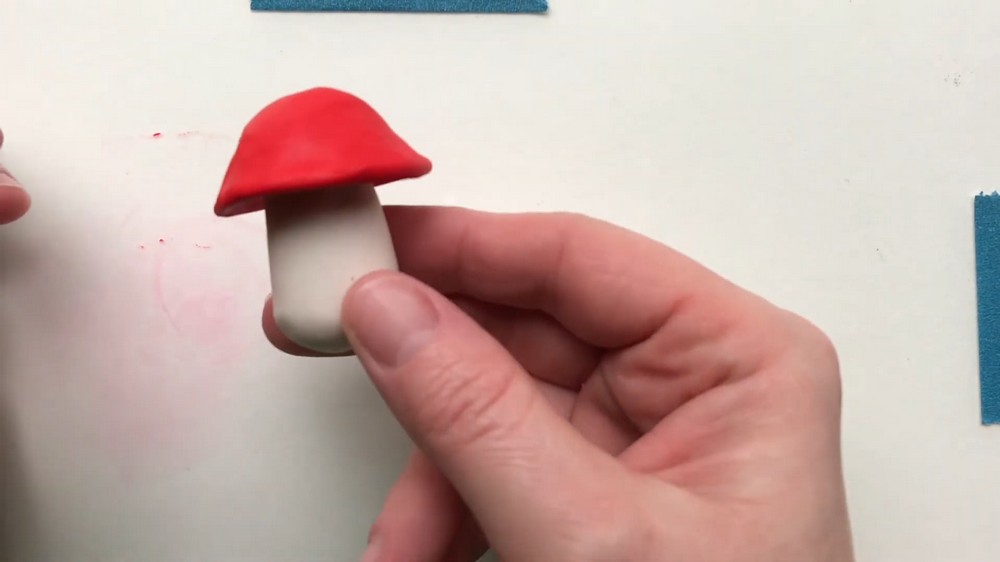
- Placement: Align the stem vertically and place the cap over the tapered end.
- Attach Securely: Twist and gently press the cap onto the stem to secure it without squashing the shapes.
6. Adding Polka Dots on the Cap
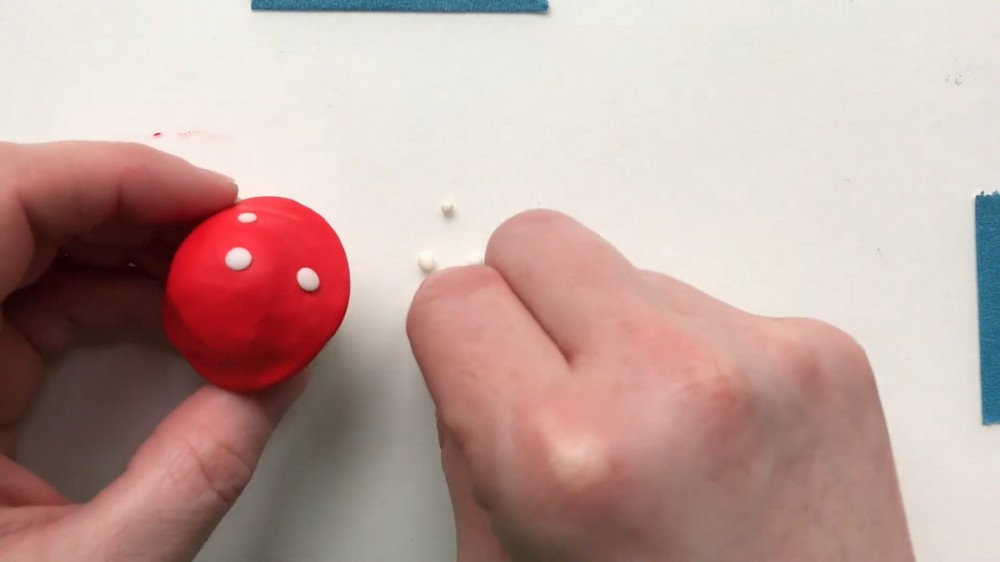
- Random Dot Placement: Attach the small white dots onto the red mushroom cap randomly — some near the center, some near the edges, varying sizes, mirroring natural mushroom patterns.
- Press Firmly, Not Hard: Apply enough pressure to stick the dots but avoid distorting the cap.
7. Baking and Finishing
- Preheat Oven: Follow your polymer clay manufacturer's instructions regarding temperature and time.
- Bake on Lined Tray: Place your assembled mushroom on parchment paper on a baking sheet.
- Bake: Cure at recommended temperature (commonly 110°C / 230°F) for approximately 15–30 minutes, depending on clay thickness.
- Cool Completely: Once baked, allow your mushrooms to cool fully before handling.
Conclusion
Sculpting mini mushrooms from polymer clay introduces essential techniques such as shaping tapered forms, creating pinch pots, and assembling multi-part sculptures. Paying attention to natural shapes and random dot placement enhances the realistic charm of your creation. This project is approachable yet flexible, allowing for creative variation in size, color, and details. With proper preparation and gentle handling, your miniature mushrooms will be durable, eye-catching decorative pieces.